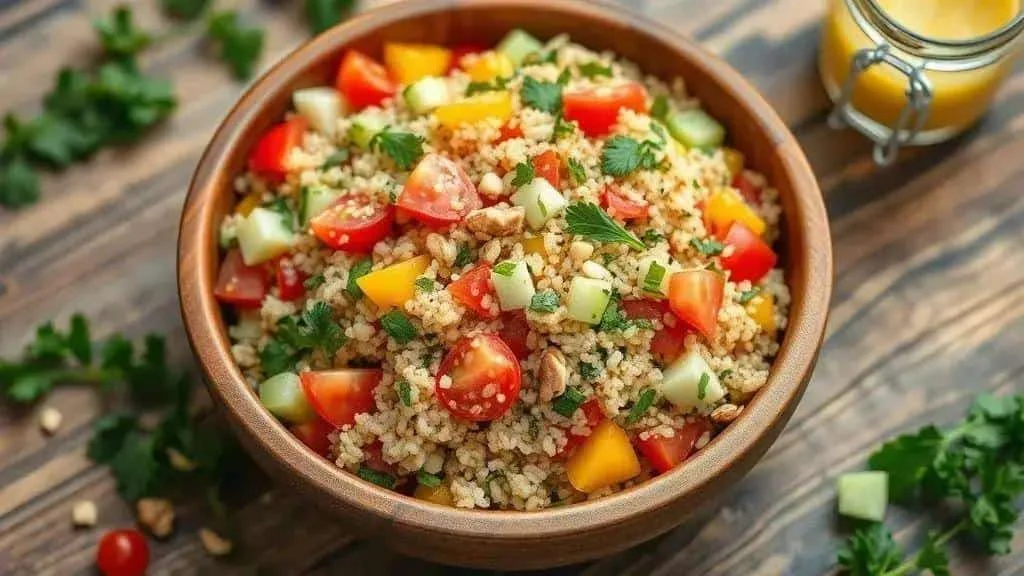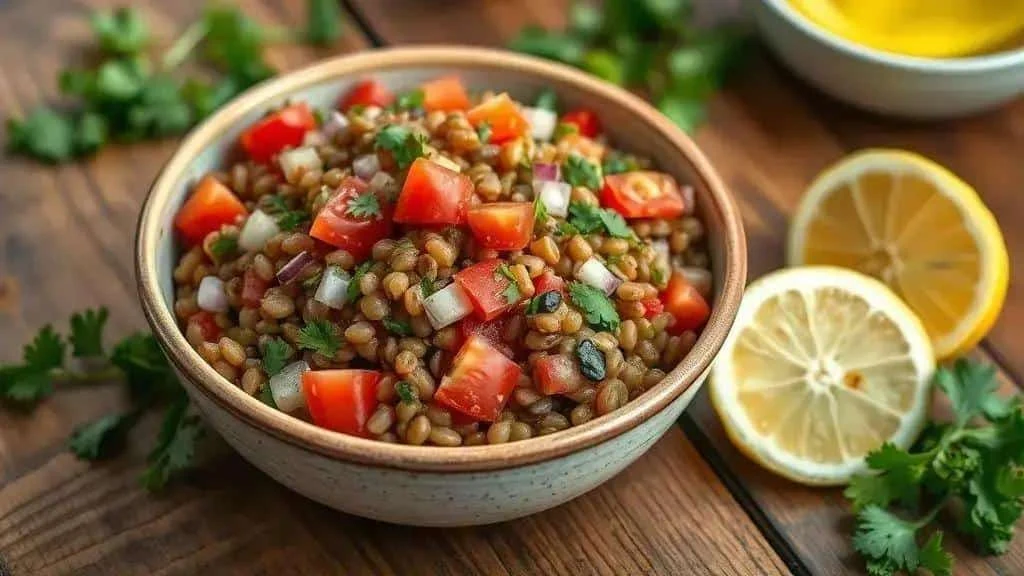
Explore ten homemade edible Christmas gifts, with step-by-step recipes, flavour variations and practical packaging ideas. Plan for baking, cooling and chilling as well as preparation, and check the storage and allergen information for each gift. If you plan to sell food, follow the rules that apply to your business rather than treating a gift tag as a complete commercial label.
Homemade edible Christmas gifts can be attractive, thoughtful and enjoyable to make. These ten ideas include Brazilian sweets, biscuits and jars of granola; choose a recipe that fits both your available time and the recipient’s dietary needs.
Choosing Ingredients and Packaging
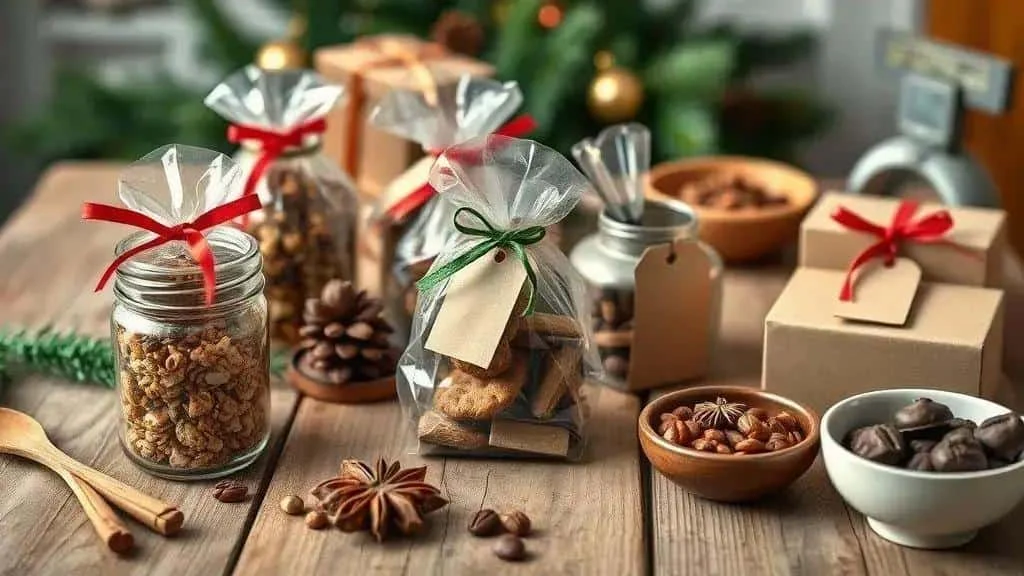
For gifts that will travel without refrigeration, choose a suitable dry biscuit or granola recipe. Cream-based sweets and fresh fruit need a cold chain. Check ingredient dates, but do not assume that an unopened ingredient’s shelf life applies to the finished food.
Choosing Ingredients
- Consider the finished recipe: dry biscuits, nuts and plain chocolate are generally easier to transport than cream-filled sweets. Fillings and added moisture change storage requirements.
- Check allergens: keep the ingredient labels, identify the specific nuts and cereals used, and consider cross-contact. Milk, egg, soya and other allergens may also be present.
- Choose portions: individual gifts of around 30–80 g can work for some sweets; adjust to the recipe and recipient.
- Buy in bulk selectively: compare unit prices and buy only what you can store and use in time.
- Check substitutions: changing butter alone does not make a recipe vegan. Review all ingredients; use certified gluten-free oats where needed and a tested recipe for substantial dietary changes.
Practical Packaging
- Materials: use clean, food-safe jars, bags or lined boxes suitable for the food and its storage temperature.
- Sealing: use appropriate lids or seals to prevent spills and contamination. A sealed pack does not make perishable food shelf-stable.
- Gift information: include the food name, ingredients, allergens, preparation date and storage instructions. Commercial sales have additional labelling requirements.
- Design: a simple bow, kraft-paper tag and red or green ribbon can provide an inexpensive festive finish.
- Materials and disposal: choose food-safe packaging that can be reused or recycled locally where possible; check any compostability claims.
Transport and storage: keep dry gifts cool and dry. Refrigerate brigadeiros, cream truffles and other perishable gifts at 5°C or below, transport them with ice packs and tell the recipient how to store them.
Organising a batch: measure ingredients, prepare packaging and check labels before starting. Keep packaging away from raw ingredients and dirty equipment.
Try a pilot batch: check the portions, finish and packaging before making a large order. Appearance or taste alone cannot establish a safe commercial shelf life.
Planning Time and Costs for Small Batches
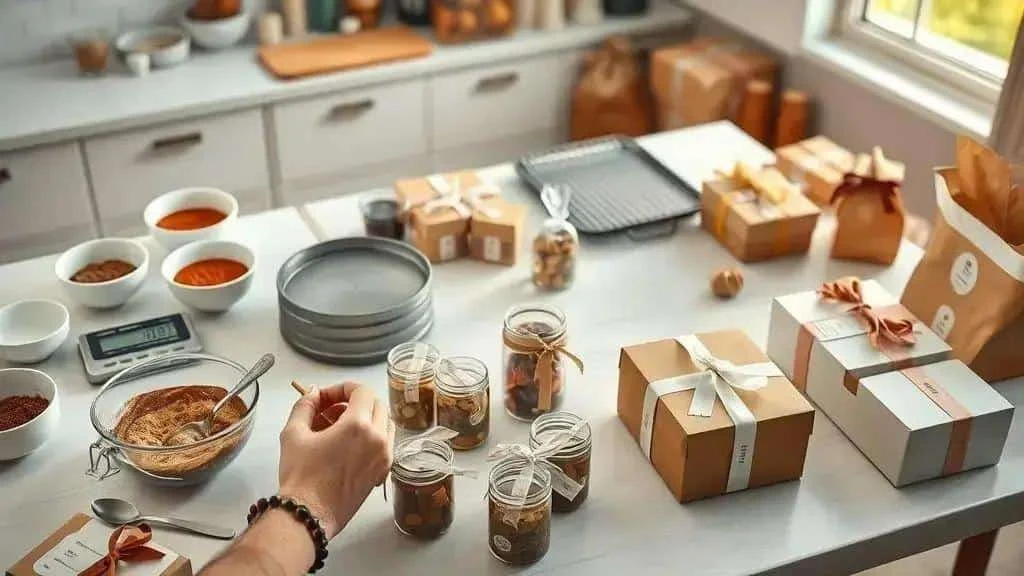
A simple workflow and clear costing help you plan small batches of edible gifts without unnecessary waste.
Time Planning
- List the stages: include preparation, cooking, cooling, chilling, packing and labelling when calculating the total time.
- Measure your output: record how many pieces your own equipment and working space can produce per hour rather than relying on a generic estimate.
- Work in batches: group similar tasks such as making dough, baking and packing, while keeping food within safe storage conditions.
- Build a schedule: reserve suitable blocks of time for each task and allow for delays and longer-than-expected chilling.
Cost Control
- Allocate overheads: account for relevant equipment, premises and running costs; energy costs may vary with each batch.
- List batch costs: include ingredients, packaging, labels, labour and delivery.
- Calculate the unit cost: divide the batch costs and allocated overheads by the number of saleable units.
- Illustrative Brazilian example: R$2.50 ingredients + R$0.80 packaging + R$1.20 labour + R$0.30 overheads = R$4.80 per unit. These are example figures, not current prices or UK costs.
- Set a sustainable price: distinguish mark-up on cost from profit margin on sales. Compare similar products, but use your own costs and selling expenses.
Workflow and Workstations
- Separate stages: organise areas for preparation, cooking or chilling, assembly and packaging to reduce cross-contamination.
- Keep tools ready: have scales, measuring tools, clean utensils, labels and a suitable food thermometer to hand.
- Track time: use timers for baking and record when perishable foods were cooked, cooled and refrigerated.
Buying and Storing Ingredients
- Compare bulk prices: larger packs can lower the unit cost of dry ingredients if storage and turnover allow.
- Choose reliable suppliers: keep an alternative for essential ingredients, and recheck allergen information when changing brands.
- Rotate stock: use the earliest appropriate expiry dates first; do not use food after its use-by date.
- Follow storage instructions: keep dry goods protected from moisture and pests, and refrigerate ingredients that require it.
Practical Pricing
- Add the costs: include ingredients, packaging, labour, overheads and relevant selling or delivery charges per unit.
- Distinguish margin from mark-up: a 50% mark-up on a cost of 4 gives a price of 6 and a margin of about 33%. A 50% margin would require a price of 8, before any omitted costs.
- Check the final price: compare like-for-like products and assess whether your price covers the real work involved.
Quality and Hygiene
- Check every batch: review appearance, texture, portion weight, packaging, storage and traceability records.
- Work hygienically: wash hands, tie back hair, wear clean clothing and clean food-contact surfaces and equipment appropriately.
- Check selling requirements: a date and a short allergen warning are not a complete commercial label. Follow the rules for your product and sales method, with advice from your local authority.
Records and Stock Planning
- Keep a simple spreadsheet: record costs, batch times, quantities produced and sales.
- Set reorder points: define a sensible minimum stock for essential ingredients and packaging.
- Review productivity: look at time and cost records regularly to identify improvements.
Ways to Work More Efficiently
- Standardise portions: use scoops or scales for consistency and predictable yields.
- Outsource suitable tasks: printed or pre-cut labels may save time when quantities justify the cost.
- Simplify repetitive work: suitable sealing or labelling equipment can help, provided it fits the packaging and food.
- Test before expanding: make a pilot batch and confirm the workflow, storage capacity and costs before taking large orders.
Ten Edible Christmas Gift Recipes: Quick Reference
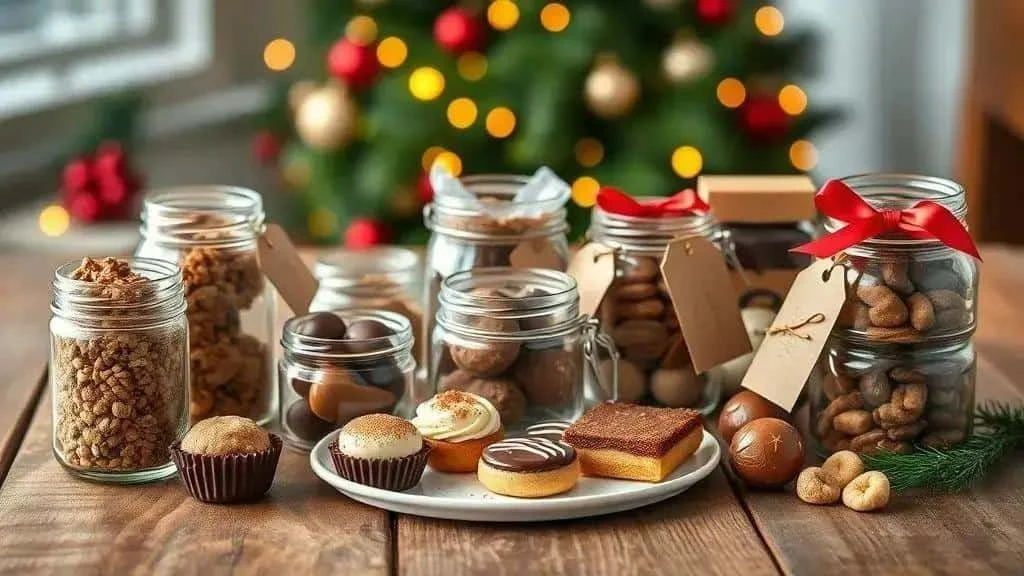
Spoonable Brigadeiro: Ingredients
- 395 g sweetened condensed milk
- 2 tbsp cocoa powder; sweetened drinking chocolate gives a sweeter, less chocolatey result
- 1 tbsp butter; replacing it alone does not make condensed-milk brigadeiro vegan
- Chocolate sprinkles, to decorate — optional
Spoonable Brigadeiro: Method
- Combine the condensed milk, cocoa and butter in a medium saucepan.
- Cook over a low heat, stirring continuously with a suitable spatula to prevent sticking and scorching.
- When thickened and beginning to pull away from the base, remove from the heat. Around 8–10 minutes is a guide; retain a spoonable texture.
- Cool promptly in a shallow clean container, then portion into small food-safe pots. Refrigerate within 1–2 hours of cooking.
- Decorate with sprinkles and keep refrigerated at 5°C or below, regardless of the weather. Use within 48 hours of preparation.
Brigadeiro Variations
- For a white brigadeiro, replace the cocoa with 1 tbsp milk powder rather than adding it to the chocolate version.
- Stir in a little chopped dark chocolate for a different texture; this will also change the firmness.
Simple Chocolate Truffles: Ingredients
- 200 g dark chocolate, chopped
- 100 g cream; for a vegan variation, check both the plant-based cream and chocolate
- Cocoa, desiccated coconut or chocolate sprinkles, for coating
Simple Chocolate Truffles: Method
- Warm the cream until small bubbles appear at the edge, then pour over the chopped chocolate.
- Stir until the ganache is smooth.
- Refrigerate for 1–2 hours, or until firm enough to shape.
- Shape small balls with two spoons or clean, lightly greased hands. Do not use raw flour to stop sticking.
- Roll in your chosen coatings and keep in a covered container in the fridge. Use within 48 hours of preparation.
Truffle Variations
- Add up to 1 tsp vanilla extract, or 1 tbsp liqueur for an adult-only version; clearly identify any alcohol and its allergens.
- For white-chocolate truffles, use a recipe with a suitable chocolate-to-cream ratio rather than substituting it directly here.
Decorated Butter Biscuits: Ingredients
- 200 g butter, softened
- 100 g icing sugar
- 300 g plain flour; use a tested gluten-free biscuit recipe if needed
- 1 tsp vanilla extract
- Ready-made royal icing or melted chocolate, to decorate
Decorated Butter Biscuits: Method
- Beat the butter and sugar until creamy.
- Add the vanilla, then gradually mix in the flour without overworking the dough. Chill for 30 minutes if needed to firm it.
- Roll the dough between sheets of baking parchment to about 5 mm thick and cut out festive shapes.
- Bake at 180°C conventional for around 8–12 minutes, until cooked through and lightly golden at the edges; adjust for size and oven.
- Cool completely before decorating with ready-made royal icing, icing made with a suitable pasteurised product, or melted chocolate.
Butter Biscuit Variations
- Add lemon zest or cinnamon to the dough for a different aroma.
- Use food colouring suitable for your icing to create Christmas designs.
Ginger Cookies: Ingredients
- 150 g butter
- 1 medium egg
- 100 g soft brown sugar
- 250 g plain flour
- 1 tbsp ground ginger, or a milder quantity of mixed spice if preferred
- 1 tsp bicarbonate of soda
Ginger Cookies: Method
- Beat the butter and sugar until creamy.
- Add the egg and mix thoroughly.
- Fold in the flour, ginger and bicarbonate of soda to make an even dough.
- Shape into small balls and flatten slightly on a lined baking tray, leaving space for spreading.
- Bake at 180°C conventional for around 10–12 minutes, until cooked through with golden edges. Cool completely before packing.
Ginger Cookie Variations
- Add chocolate chips, or dip half of each cooled cookie in melted chocolate.
- Dust lightly with icing sugar for a festive finish.
Mini Brazilian Honey Cakes: Ingredients
- 200 g honey; honey-containing foods are unsuitable for babies under one
- 100 g sugar
- 1 egg, plus 50 ml milk
- 250 g plain flour
- 1 tsp ground cinnamon
- 1 tsp bicarbonate of soda
- Up to 200 g chocolate for coating — optional
Mini Brazilian Honey Cakes: Method
- Mix the honey, sugar, egg and milk until combined.
- Add the flour, cinnamon and bicarbonate of soda, stirring to form a thick batter.
- Spoon into prepared mini muffin moulds, filling each no more than two-thirds full.
- Bake at 180°C conventional, checking from 12–15 minutes; the centres must be cooked through, with no wet batter on a skewer. Larger moulds take longer. Cool completely.
- Optional finish: dip in melted chocolate and leave on a rack until set.
Honey Cake Variations
- Split and fill with dulce de leche before coating with chocolate; filled cakes need appropriate chilled storage.
- Add chopped walnuts to the batter for texture, and identify the nut allergen.
Brownie Gift Pots: Ingredients
- 150 g dark chocolate
- 100 g butter
- 2 medium eggs
- 100 g sugar
- 80 g plain flour
- A pinch of salt
- Up to 200 g prepared cream filling or brigadeiro, for layering — optional
Brownie Gift Pots: Method
- Melt the chocolate and butter over a water bath or in short microwave bursts, stirring between them. Allow to cool slightly.
- Beat the eggs and sugar, then incorporate the warm, not hot, chocolate mixture.
- Fold in the flour and salt gently.
- Bake in a lined small tin at 180°C conventional. Start checking at 15–18 minutes, but allow longer as needed for the tin size and depth. A fudgy texture must not mean raw batter; cook through.
- Cut the cooled brownie into cubes and layer with chilled cream or brigadeiro in clean food-safe pots. Refrigerate promptly and use within 48 hours of the earliest-prepared perishable component.
Brownie Pot Variations
- Add chopped walnuts or caramel between the layers.
- For a white-chocolate version, use a separate tested blondie recipe rather than replacing the chocolate directly.
Festive Granola Jars: Ingredients
- 3 cups rolled oats; use a 240 ml measuring cup throughout
- 1 cup chopped nuts, such as almonds or walnuts
- ½ cup honey or maple syrup; choose maple syrup for a vegan version
- ¼ cup neutral oil
- 1 tsp ground cinnamon, or more to taste
- Up to 1 cup dried fruit, such as chopped apricots or dried cranberries
Festive Granola Jars: Method
- Combine the oats, nuts and cinnamon in a large bowl.
- Mix the honey or syrup with the oil, pour over the dry ingredients and stir well.
- Spread in a shallow layer on a baking tray and bake at 160°C conventional, stirring every 10 minutes, until golden and dry, roughly 20–25 minutes. Watch carefully near the end.
- Cool completely before adding the dried fruit and packing into clean, dry jars.
Granola Variations
- Add chocolate chips only after the granola has cooled completely.
- Maple or agave syrup can replace honey for a vegan version; check all other additions too.
Chocolate-Covered Fruit: Ingredients
- 200 g milk or dark chocolate
- A selection of firm fresh fruit, such as strawberries, banana slices or grapes; prepare only as much as the chocolate will coat
- 1 tsp neutral vegetable oil — optional, to thin the coating slightly
Chocolate-Covered Fruit: Method
- Wash and dry fruit thoroughly; peel bananas before slicing.
- Melt the chocolate gently and stir in the oil if using. Added oil can make the set coating softer.
- Dip the fruit in the chocolate and place on baking parchment.
- Chill for 15–30 minutes until set, then pack in a suitable container and keep refrigerated. Prepare close to gifting and eat the same day where possible.
Chocolate-Covered Fruit Variations
- Add sprinkles, finely chopped nuts or desiccated coconut before the coating sets. Check the recipient’s allergies.
- Use white chocolate for a contrasting finish, with colouring specifically suitable for chocolate if desired.
Chocolate and Caramel Fudge: Ingredients
- 200 g dark chocolate
- 200 g sweetened condensed milk
- 2 tbsp butter
- 100–150 g thick ready-made caramel or dulce de leche, for the middle layer
Chocolate and Caramel Fudge: Method
- Combine the chocolate, condensed milk and butter in a saucepan and heat gently until melted and smooth; avoid boiling.
- Line a small shallow tin with baking parchment and spread in half the mixture.
- Add a thin layer of thick caramel, then cover with the remaining chocolate mixture.
- Refrigerate for at least 2 hours, until set enough to portion. This makes a soft fudge and may need longer; if it remains too soft to cut, serve in small chilled pots rather than wrapping loose squares.
Fudge Variations
- Finish with a small pinch of flaky sea salt.
- Stir in chopped walnuts for crunch.
Glazed Mixed Nuts: Ingredients
- 2 cups mixed nuts, around 300 g depending on the nuts used
- 100 g sugar
- 60 ml water
- 1 tsp ground cinnamon — optional
Glazed Mixed Nuts: Method
- Heat the sugar and water gently until the sugar dissolves and a syrup forms. Hot syrup burns severely; do not touch or taste it while hot.
- Add the nuts and stir carefully to coat.
- Spread on a lined baking tray and sprinkle with cinnamon if using.
- Bake at 160°C conventional for about 12–15 minutes, stirring halfway and watching closely for burning. Cool completely before separating and packing.
Glazed Nut Variations
- Use brown sugar for a deeper flavour; it changes the appearance and behaviour of the syrup.
- Add finely grated orange zest for a citrus note and dry the nuts thoroughly before storing.
Spoonable Brigadeiro: Detailed Recipe and Variations
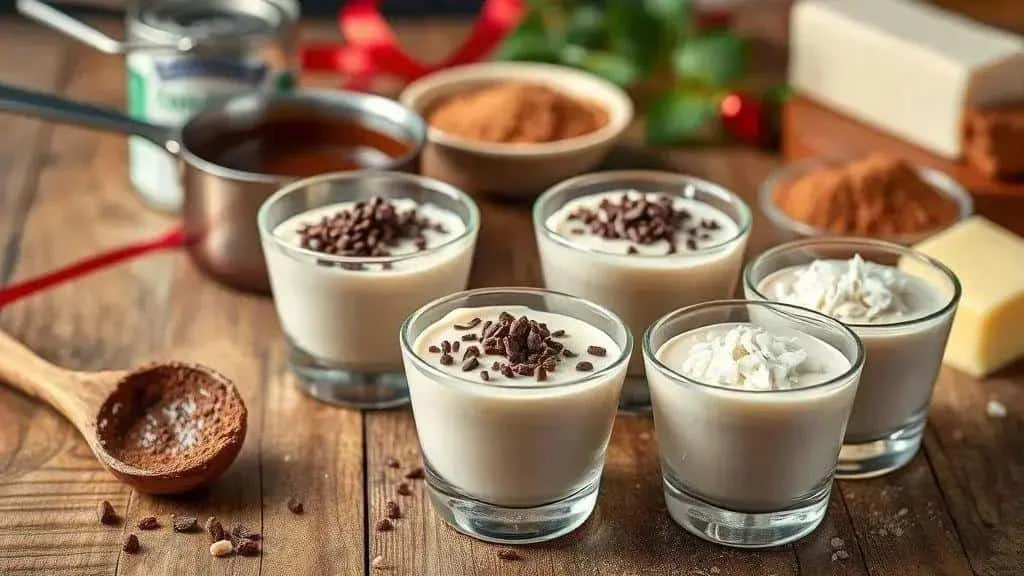
Spoonable brigadeiro is a Brazilian chocolate sweet that works well in small gift pots. It needs refrigeration and clear storage instructions for the recipient.
Ingredients
- 395 g sweetened condensed milk
- 2 tbsp cocoa powder; 3 tbsp sweetened drinking chocolate gives a sweeter, milder flavour
- 1 tbsp butter; for a vegan variation, both the condensed milk and butter need suitable replacements
- A pinch of salt — optional
- Sprinkles or other edible decorations; alternatives include desiccated coconut or cocoa
Method
- Combine the ingredients: put the condensed milk, cocoa and butter in a medium saucepan.
- Mix before heating: stir the cocoa into the condensed milk thoroughly to reduce lumps.
- Cook gently: heat over a low flame, stirring continuously with a suitable spatula to prevent scorching.
- Check the texture: after roughly 8–10 minutes, the mixture should thicken and begin to pull away from the base. Remove while it is still creamy enough to eat with a spoon.
- Cool promptly: transfer to a clean shallow dish and cool briefly before portioning. Get it into the fridge within 1–2 hours of cooking.
- Fill the pots: use a clean spoon or piping bag to fill 50–80 ml food-safe pots, leaving room for decoration.
- Decorate and refrigerate: add sprinkles, cover and keep at 5°C or below. Transport in an insulated bag with ice packs; do not rely on several hours at room temperature being safe.
Variations
- White brigadeiro: replace the cocoa with 1 tbsp milk powder and a little vanilla extract.
- Darker chocolate: add a small amount of melted 70% chocolate for a richer flavour, noting that it changes the set texture.
- Vegan brigadeiro: use suitable plant-based condensed milk, coconut oil and vegan decorations. Check product guidance and test a small batch, as plant-based products set differently.
- Coffee brigadeiro: stir in 1 tsp instant coffee dissolved in a little hot water for a coffee note.
- Nut brigadeiro: fold in ¼ cup finely chopped nuts after cooking and identify the nuts used on the label.
Storage and Packaging
- Refrigeration: keep covered at 5°C or below and use within 48 hours of preparation. This is cautious home-storage advice, not a validated commercial shelf life.
- Transport: keep chilled until departure and use an insulated bag with ice packs, including for same-day deliveries.
- Gift packaging: use food-safe lidded pots, festive ribbon and a tag giving ingredients, allergens, preparation date and chilled-storage instructions.
Simple Chocolate Truffles: Detailed Recipe and Variations

Chocolate truffles are easy to portion into small festive boxes, with several options for coatings and flavourings. Allow enough time for the ganache to firm in the fridge.
Ingredients
- 200 g dark chocolate, chopped; milk chocolate gives a softer, sweeter ganache and may need a different ratio
- 100 g cream; a vegan variation requires suitable plant-based cream and chocolate
- 1 tbsp butter — optional; omit for a vegan variation rather than assuming an oil swap gives the same texture
- Cocoa powder, desiccated coconut or chocolate sprinkles, for coating
- 1 tsp vanilla extract — optional
- 1 tbsp liqueur — optional, for adults only; rum or orange liqueur provides a different flavour
Method
- Chop the chocolate: cut into small pieces and place in a heatproof bowl.
- Warm the cream: heat gently until small bubbles form around the edge, without boiling vigorously.
- Pour over the chocolate: cover the chopped chocolate with the hot cream and leave for a minute to soften.
- Stir until smooth: mix with a spatula to form an even ganache, adding the optional butter and vanilla.
- Add liqueur if using: stir it in and clearly identify the alcohol-containing batch; it is not cooked off.
- Chill until firm: cover and refrigerate for 1–2 hours, or until the ganache can be shaped.
- Shape the truffles: use two spoons or clean, lightly greased hands to make small balls. Avoid raw flour for dusting.
- Add coatings: roll each truffle in cocoa, coconut, chocolate sprinkles or finely chopped nuts.
- Finish: place in paper cases and refrigerate for another 30 minutes if needed before packing. Keep chilled afterwards.
Variations
- White-chocolate truffles: use a tested white-chocolate ganache recipe with an appropriate cream ratio; lemon zest or vanilla works well as a flavouring.
- Filled truffles: enclose a small piece of firm caramel or a little thick jam in each truffle, allowing for the filling’s storage requirements.
- Crunchy truffles: fold in crushed biscuits or finely chopped nuts before chilling.
- Coffee truffles: add 1 tsp instant coffee dissolved in a little hot water. Alternatively, use a small amount of liqueur in an adult-only batch.
Storage and Packaging
- Refrigeration: keep covered at 5°C or below and use within 48 hours of preparation; do not assume that chocolate preserves the cream.
- Transport: use paper cases or a divided box inside an insulated carrier with ice packs.
- Presentation: line a gift box with food-safe paper and include ingredient, allergen, preparation-date and chilled-storage information.
Decorated Butter Biscuits: Detailed Recipe and Variations
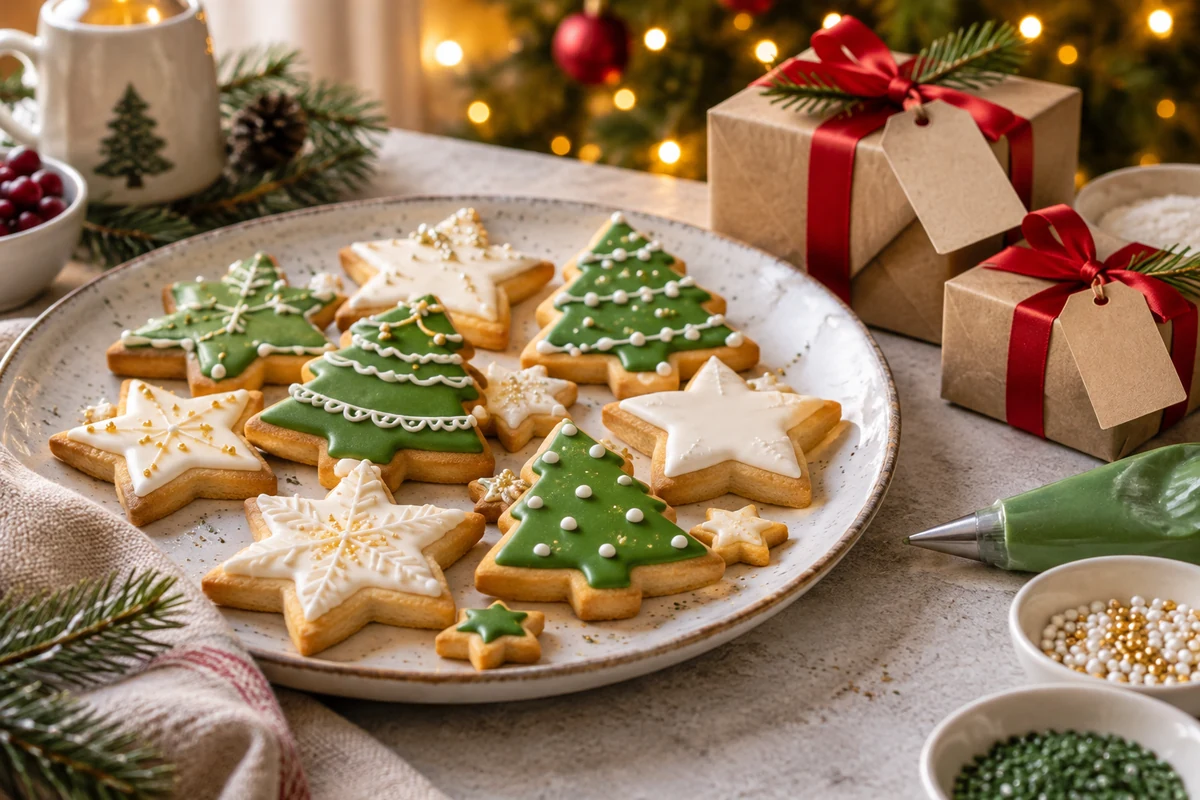
Decorated butter biscuits suit individual Christmas gift bags and can be finished with simple icing or chocolate designs.
Ingredients
- 200 g butter, softened; for dairy-free biscuits, use a tested recipe with a suitable baking block rather than an arbitrary reduced amount of margarine
- 100 g icing sugar; finely grinding granulated sugar is an alternative, though the texture may differ
- 300 g plain flour; gluten-free blends behave differently, so follow a suitable tested recipe when needed
- 1 tsp vanilla extract, or finely grated lemon zest for a different flavour
- A pinch of salt
- Ready-made royal icing, icing made with a suitable pasteurised egg product following its instructions, or melted chocolate, to decorate
- Food colouring — optional; choose a product suitable for the icing or chocolate used
Method
- Cream the butter and sugar: beat together until pale and creamy.
- Add vanilla and salt: mix until incorporated.
- Add the flour: mix it in gradually with a spatula to make an even dough; avoid excessive beating.
- Chill: wrap the dough and refrigerate for about 30 minutes to firm it.
- Roll and cut: roll between sheets of baking parchment to roughly 5 mm thick and cut out Christmas shapes.
- Bake: arrange on a lined tray and bake at 180°C conventional for around 8–12 minutes, until cooked through and lightly golden at the edges. Size and oven affect the timing.
- Cool completely: transfer to a rack before decorating so that the finish does not melt.
- Decorate: pipe fine lines of icing or chocolate. Let the first colour or layer set before adding another.
- Pack the gifts: once the decorations are dry, use food-safe bags or lined boxes, with baking parchment between layers.
Variations
- Spiced or citrus dough: add 1 tsp cinnamon or a little orange zest.
- Sandwich biscuits: join pairs with jam, dulce de leche or ganache. Perishable fillings change the storage requirements; refrigerate appropriately and use within 48 hours.
- Oat variation: replacing 100 g of the flour with oat flour produces a different, more crumbly texture. Test a small batch first; this does not make the biscuits gluten-free.
Decorating and Presenting the Biscuits
- Colour palette: choose two or three festive colours to simplify decorating a batch.
- Simple details: use food-safe stencils and icing sugar for quick, repeatable patterns.
- Protect the finish: place baking parchment between biscuits to reduce rubbing.
- Add a gift tag: identify the food, ingredients, allergens and preparation date, with suitable storage instructions.
Storage
- Unfilled biscuits: once completely dry and cool, store airtight in a cool, dry place and give them promptly. Moist decorations or fillings require different storage; there is no single shelf life for every version.
- Freezing: plain, undecorated biscuits can be frozen in a sealed container for up to a month for best quality. Thaw protected from contamination before decorating and packing.
- Transport: use divided boxes or food-safe layers. Keep bubble wrap outside the food-contact packaging.
Ginger Cookies: Detailed Recipe and Variations

Ginger cookies bring a familiar Christmas aroma to homemade gift bags. Allow time for the baked cookies to cool fully before decorating or packing.
Ingredients
- 150 g butter, softened; dairy-free alternatives need suitable product guidance or a tested recipe
- 1 medium egg; for vegan cookies, use a tested recipe that replaces both egg and butter
- 100 g soft brown sugar; demerara produces a coarser texture
- 250 g plain flour; use a separate tested gluten-free version if required
- 1 tbsp ground ginger; for a milder flavour, use 1 tsp ginger with ½ tsp cinnamon
- 1 tsp bicarbonate of soda; baking powder is not a direct equivalent
- A pinch of salt
- Optional orange zest or chocolate chips, for flavour variations
Method
- Preheat the oven: set to 180°C conventional and line a baking tray.
- Cream the butter and sugar: beat for 2–3 minutes until creamy and lighter in colour.
- Add the egg: beat until fully incorporated.
- Combine the dry ingredients: sift together the flour, ginger, bicarbonate of soda and salt.
- Make the dough: fold the dry mixture into the butter mixture until evenly combined, without overworking it.
- Shape: make balls of approximately 20–25 g, place 3–4 cm apart on the tray and flatten slightly with the back of a spoon.
- Bake: allow roughly 10–12 minutes, checking for golden edges and cooked centres. The cookies may be slightly soft when hot, but must not contain raw dough.
- Cool: leave on the tray for 5 minutes, then transfer to a rack until completely cold.
- Pack: use food-safe bags or lined boxes, with parchment between decorated layers.
Variations
- Chocolate-chip cookies: fold 50 g chocolate chips into the dough before baking.
- Simple icing: mix 1 cup icing sugar with water added gradually, up to around 2–3 tbsp, until suitable for your design. Let it dry before packing.
- Extra spice: add 1 tsp cinnamon and orange zest for a warmer, citrus flavour.
- Gluten-free option: follow a tested gluten-free cookie recipe. Flour blends differ, and this dough has no separate liquid that can simply be reduced by a spoonful.
Storage and Packaging Tips
- Short-term storage: keep fully cooled, dry cookies in an airtight container in a cool, dry place and gift promptly. Storage depends on the final decoration or filling.
- Freezing dough: freeze portioned balls on a tray, then transfer to a labelled sealed container. When baking from frozen, allow extra time and check that the centres are cooked through.
- Presentation: use food-safe bags or lined kraft boxes, a festive ribbon and a tag with ingredients, allergens, date and storage information.
Mini Brazilian Honey Cakes: Detailed Recipe and Variations
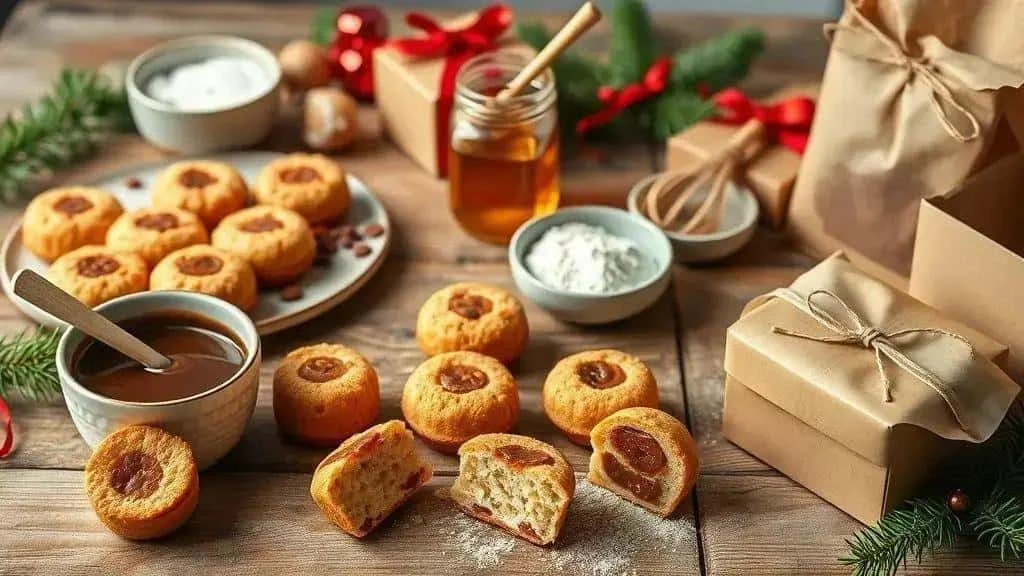
Mini Brazilian honey cakes, or pães de mel, make small, spiced gifts that can be coated with chocolate. They contain honey and are unsuitable for babies under one.
Ingredients
- 200 g honey; jam or molasses changes the moisture, flavour and texture and is not a tested direct substitute
- 100 g sugar; brown sugar gives a deeper flavour
- 1 egg; a vegan version needs a separate tested recipe without honey, egg or dairy
- 250 g plain flour; use a tested gluten-free cake recipe if necessary
- 1 tsp ground cinnamon; optionally add ½ tsp ground cloves
- 1 tsp bicarbonate of soda
- 50 ml milk; a suitable plant-based drink can replace it, but does not make the whole recipe vegan
- Up to 200 g dark or milk chocolate, for coating; check the label for allergens
Method
- Preheat: set the oven to 180°C conventional and prepare small muffin or honey-cake moulds according to their instructions.
- Mix the wet ingredients: combine honey, sugar, egg and milk until evenly mixed.
- Add the dry ingredients: sift the flour, cinnamon and bicarbonate of soda, then fold into the wet mixture to make an even batter.
- Fill the moulds: fill no more than two-thirds full to allow room for rising.
- Bake: check small cakes from 12–15 minutes, allowing longer as needed. A skewer should have a few cooked crumbs, not wet batter; the centres must be cooked through.
- Cool: leave in the moulds for 5 minutes, then transfer to a rack and cool completely before coating.
- Melt the chocolate: use a water bath or short microwave bursts, stirring regularly to prevent scorching.
- Coat: dip or brush the cakes with chocolate and set on a rack to drain excess coating.
- Finish: allow the chocolate to set, adding edible decorations or chopped nuts if desired. Add any dulce de leche filling before coating and refrigerate the filled version appropriately.
Variations
- Filled cakes: split and fill with dulce de leche, jam or brigadeiro, then close and coat. Storage depends on the filling; perishable versions need chilling.
- Extra spice: add up to ½ tsp nutmeg or cloves for a stronger flavour, avoiding a second addition if cloves are already included.
- Vegan alternative: use a tested vegan spiced-cake recipe. Replacing the egg and milk alone leaves honey in this recipe and does not make it vegan.
- Nut variation: add 2–3 tbsp finely chopped walnuts or almonds to the batter.
Storage and Packaging
- Storage: make close to gifting. Keep perishable filled versions at 5°C or below and use within 48 hours of preparation. Do not assume a five-day room-temperature shelf life for every filling or coating.
- Freezing: freeze plain, unfilled and uncoated cakes in a sealed container for up to a month for best quality. Thaw protected from contamination before finishing.
- Gift packaging: place cakes in paper cases inside food-safe bags or lined boxes. Include ingredients, allergens, date and storage instructions.
Brownie Gift Pots: Detailed Recipe and Variations
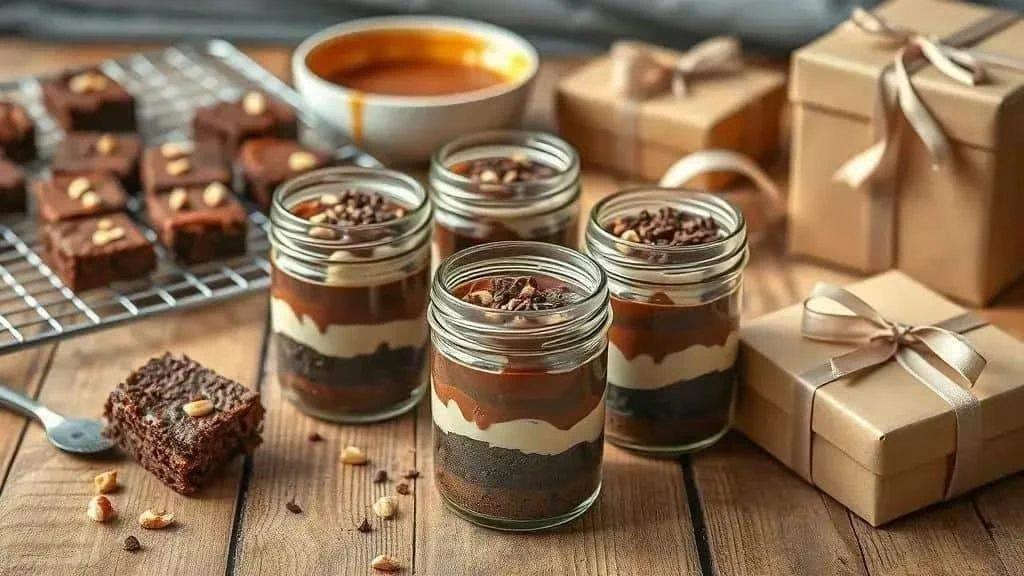
Brownie gift pots combine small pieces of baked brownie with creamy layers. Bake the brownie in a tin first; ordinary gift jars are not baking dishes.
Ingredients
- 150 g dark chocolate, chopped; milk chocolate changes the sweetness and texture
- 100 g butter; dairy-free versions require suitable alternatives throughout the recipe, including chocolate and filling
- 2 medium eggs; use a tested vegan brownie recipe rather than assuming apple purée is an equivalent replacement
- 100 g sugar; brown sugar gives a deeper flavour
- 80 g plain flour; a tested gluten-free brownie recipe is preferable where required
- A pinch of salt
- Optional filling: up to 200 g prepared cream, brigadeiro or ganache, chilled before assembly
- Optional toppings: chopped walnuts, chocolate pieces, caramel or berries
Method
- Preheat: set the oven to 180°C conventional and line a small baking tin. Tin size and batter depth affect the baking time.
- Melt chocolate and butter: use a water bath or short microwave bursts, stirring until smooth. Cool slightly before adding to the eggs.
- Beat eggs and sugar: whisk until lighter and slightly aerated.
- Add the chocolate: fold the warm, not hot, chocolate mixture into the eggs with a spatula.
- Add the dry ingredients: sift in the flour and salt and fold gently until evenly combined.
- Bake: pour into the tin and check from 15–18 minutes, allowing longer as needed. Cook through; a fudgy crumb should not contain raw egg-and-flour batter. A clean food thermometer can help confirm a core temperature of 75°C for 30 seconds, or an equivalent safe combination.
- Cut into pieces: cool the brownie, then cut into small cubes for the pots.
- Prepare the filling: use your chosen prepared cream, brigadeiro or ganache. Cool cooked fillings promptly and refrigerate within 1–2 hours; use chilled components for assembly.
- Assemble: layer brownie and filling in clean pots, repeating two or three times and finishing with the chosen topping.
- Cover and chill: refrigerate promptly. Chilling for 30–60 minutes may improve the texture, but the pots must remain refrigerated until serving or chilled transport.
Variations
- Caramel brownie pots: alternate brownie pieces with thick salted caramel.
- Red velvet pots: use a separate tested red velvet cake or brownie recipe and a chilled cream-cheese filling; simply replacing part of the chocolate does not establish a reliable recipe.
- White chocolate and berries: use a tested blondie recipe and a cooled berry compote for the layers.
- Vegan pots: use a tested vegan brownie with a suitable plant-based filling and decorations, checking every ingredient.
Assembling and Presenting the Pots
- Pot sizes: food-safe pots of 100–180 ml can suit individual servings; the yield depends on how much filling you use.
- Even layers: use a spoon or piping bag for neat, consistent portions.
- Choose a suitable filling: use a thick, spoonable filling rather than a runny one. Do not hide pieces of paper between edible layers.
- Finish: add a small topping, close the lid and label with ingredients, allergens, preparation date and chilled-storage instructions.
Storage and Transport
- Refrigeration: keep assembled pots at 5°C or below and use within 48 hours of preparing the earliest perishable component. Assembling a pot does not restart its storage clock.
- Transport: support pots upright in an insulated carrier with ice packs and refrigerate on arrival.
- Freezing: plain brownie pieces can be frozen in a sealed container for up to two months for best quality. Thaw safely before assembling; fillings may not freeze equally well.
Festive Granola Jars: Detailed Recipe and Variations
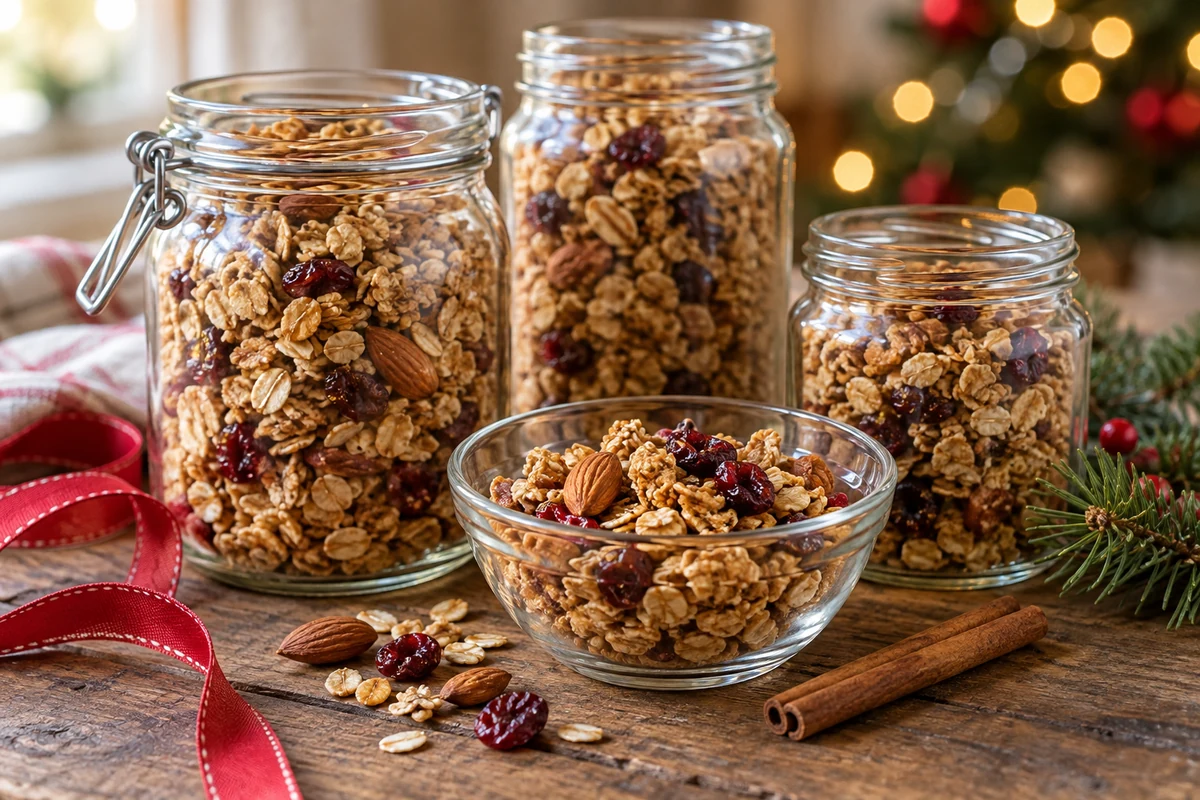
Festive granola combines toasted oats, spices and dried fruit in a gift that can be packed into small jars once completely cool and dry.
Ingredients
- 3 cups rolled oats; use a 240 ml measuring cup throughout, and certified gluten-free oats where required
- 1 cup chopped nuts, such as almonds, walnuts or Brazil nuts; suitable seeds offer a different variation, but allergy suitability requires checking products and cross-contact
- ½ cup desiccated coconut — optional
- Up to ½ cup brown sugar — optional for a sweeter variation, rather than essential to the basic recipe; coconut sugar is still added sugar
- ½ cup honey or maple syrup; choose maple or agave syrup for a vegan version
- ¼ cup neutral oil, such as rapeseed or sunflower oil; melted coconut oil has a different flavour
- 1 tsp ground cinnamon, increasing to taste up to 1 tbsp; optionally add ½ tsp nutmeg or cloves
- Up to 1 cup dried fruit, such as cranberries, chopped apricots or raisins; add after baking
- 1 tsp finely grated orange zest — optional; add before baking so that it dries with the mixture
Method
- Preheat: set the oven to 160°C conventional and line a large baking tray.
- Combine the dry ingredients: mix oats, nuts, cinnamon and any optional coconut, sugar and orange zest.
- Add the liquids: mix honey or syrup with the oil, pour over the dry mixture and stir to coat evenly.
- Spread out: arrange in a shallow, even layer on the tray, using a second tray if necessary.
- Bake and stir: stir every 8–10 minutes until golden and dry, usually around 20–25 minutes. Watch carefully, as nuts and sugar can burn.
- Cool completely: leave on the tray; the granola becomes crisper as it cools.
- Add dried fruit: fold it into the cold granola. Avoid adding fresh zest or other moist ingredients after baking to a batch intended for storage.
- Taste a cooled portion: note any changes for the next batch. Add extra honey at serving time rather than moistening the stored granola; separately toasted, fully cooled nuts can add crunch.
- Fill the jars: use clean, completely dry jars with well-fitting lids. Do not pack warm granola, which can cause condensation.
Variations
- Chocolate granola: stir in ½ cup chocolate chips only after the granola is completely cold.
- Citrus variation: increase the orange zest added before baking, and fold in up to ¼ cup dry candied nuts once cool.
- Less-sweet variation: omit the optional brown sugar. Honey, syrup and dried fruit still contribute sugars, so this is not sugar-free. Adding apple purée changes the moisture and needs a separate tested recipe and storage plan.
- Extra spice: add ½ tsp ground cardamom for a different aroma.
Storage and Presentation
- Storage: keep completely dry granola airtight in a cool, dry place and make close to gifting. Ingredients and residual moisture affect keeping quality; this recipe does not establish a multi-week commercial shelf life.
- Gift jars: 200–300 ml jars make useful small gifts. Add ribbon and a tag listing ingredients, allergens, preparation date and storage advice.
- Transport: cushion sealed jars inside a box to prevent breakage; keep non-food-safe protective materials outside the jars.
Practical Tip
Make small batches to try flavour combinations and avoid storing more than you need. Date each batch for traceability.
Chocolate-Covered Fruit: Detailed Recipe and Variations

- 200 g dark chocolate, chopped; milk or suitable vegan chocolate can be used, with different sweetness and setting properties
- 1 tsp neutral vegetable oil — optional, to thin the coating slightly; added oil may soften the set chocolate
- Around 300 g firm strawberries, washed and dried thoroughly, or choose one of the fruit alternatives below; these are options, not quantities to combine with the same 200 g chocolate
- Alternative: 12–16 firm banana slices, freshly peeled and sliced; make close to serving because cut fruit deteriorates quickly
- Alternative: around 200 g seedless grapes, washed and dried. Whole grapes are a choking risk for young children; cut lengthways into quarters and serve age-appropriate pieces
- Optional decorations, such as finely chopped nuts, coconut, cocoa or suitable sprinkles; check allergens and any gluten-free claim
- Small paper cases or suitable dipping tools; remove cocktail sticks before serving, especially to children
Method
- Prepare the fruit: rinse suitable fruit under running water and dry thoroughly with clean kitchen paper. Peel bananas before slicing; moisture makes coating difficult.
- Set up: prepare the chopped chocolate, heatproof bowl, spatula, dipping tools and a tray lined with baking parchment.
- Melt the chocolate: use a water bath or microwave in 20–30 second bursts at a suitable medium power, stirring between bursts until smooth.
- Adjust the coating if needed: stir in the optional teaspoon of oil. This thins the chocolate but is not a substitute for tempering and does not preserve the fruit.
- Check the consistency: test with a spoon or a piece of fruit. If too runny, let the chocolate cool briefly before dipping.
- Dip the fruit: use a suitable tool to coat as desired, let excess chocolate drain and place on the lined tray.
- Decorate immediately: add sprinkles, coconut or suitable finely chopped nuts before the chocolate sets.
- Chill: refrigerate for about 15–30 minutes until set, then keep the fruit chilled at 5°C or below.
- Pack carefully: arrange in paper cases in a suitable lidded container, with ingredient, allergen, date and refrigeration information.
Variations
- Dark chocolate and sea salt: add a very small pinch of flaky sea salt before the coating sets.
- Coloured white chocolate: use colouring specifically made for chocolate; ordinary water-based colours can make it seize.
- Filled variation: a little prepared ganache or dulce de leche can accompany the fruit in a chilled dessert pot. Keep refrigerated and account for the oldest perishable ingredient when planning storage.
- Crunchy coating: add finely chopped nuts or crushed biscuits while the chocolate is still soft.
- Vegan option: use suitable vegan chocolate with coconut or cocoa nibs, checking all labels. Vegan labelling alone is not an allergy guarantee.
Storage and Packaging
- Short-term storage: keep covered in the fridge at 5°C or below and preferably prepare and eat on the same day. Chocolate does not make fresh fruit safe to leave unrefrigerated for two days.
- Transport: use a divided box inside an insulated carrier with ice packs, keeping the fruit chilled until received.
- Information: list the actual ingredients and allergens, including milk, soya or specific nuts where present, and state that the fruit must be kept refrigerated.
- Gift sets: a small box of six to eight pieces can look attractive, but plan delivery and immediate refrigeration rather than treating it as a shelf-stable hamper item.
Chocolate and Caramel Fudge: Detailed Recipe and Variations
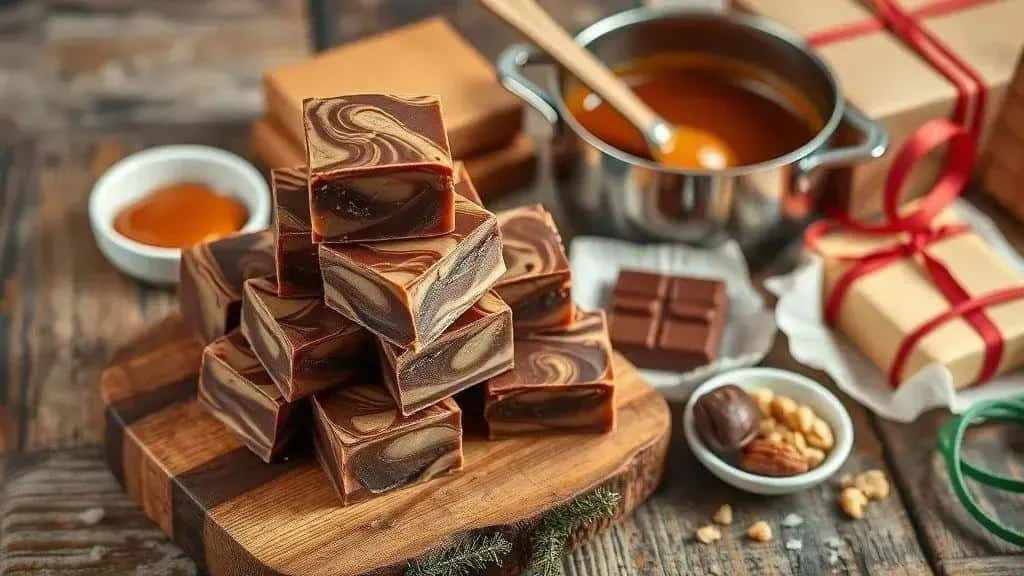
Chocolate and caramel fudge makes a rich, soft sweet. The set depends on the chocolate and caramel used; small chilled pots are a useful alternative if the mixture is too soft for neat squares.
Ingredients
- 200 g dark chocolate, chopped; milk chocolate produces a softer, sweeter result and is not guaranteed to set identically
- 200 g sweetened condensed milk; plant-based versions behave differently and need testing as part of a complete vegan recipe
- 2 tbsp butter; an oil substitution changes the texture and does not remove dairy elsewhere in the recipe
- 100–150 g thick ready-made caramel or dulce de leche, rather than a runny pouring sauce
- A small pinch of flaky sea salt — optional
- Optional chopped nuts, such as walnuts, almonds or pistachios; identify the type used
Method
- Prepare the tin: line a small tin of approximately 10 × 15 cm with baking parchment, leaving an overhang to help lift out the fudge.
- Melt chocolate and butter: use a water bath or short microwave bursts, stirring until smooth and avoiding scorching.
- Add condensed milk: stir into the melted mixture until smooth. Warm gently if needed to combine; do not boil vigorously.
- Add the first layer: spread half the mixture evenly in the lined tin.
- Add caramel: distribute small spoonfuls of thick caramel or dulce de leche over the chocolate layer.
- Create a swirl: draw a clean skewer gently through the caramel and chocolate without mixing them completely.
- Cover: spread the remaining chocolate mixture over the top and level gently.
- Finish: sprinkle with the optional nuts or a little flaky salt.
- Chill: refrigerate for at least 2–3 hours, allowing longer if needed. Only cut if firm enough; a knife warmed in water and dried can help make cleaner portions.
- Portion and pack: lift out and cut into small squares if the texture permits. Otherwise spoon into small lidded pots. Keep refrigerated and label with ingredients, allergens, preparation date and storage instructions.
Variations
- Salted caramel: use thick salted caramel and taste before adding any extra salt.
- Nut fudge: mix in ⅓ cup chopped, toasted and cooled nuts before chilling.
- White-chocolate fudge: use a tested white-chocolate recipe with suitable proportions rather than a direct chocolate swap.
- Flavoured fudge: add 1 tsp vanilla extract or ½ tsp instant coffee dissolved in a little hot water.
Storage and Packaging
- Storage: keep covered at 5°C or below and use within 48 hours as cautious home-storage advice. This soft, caramel-filled recipe has not been validated for one or two weeks at room temperature or for commercial shelf-life claims.
- Freezing: texture may change, especially with caramel. Test a small portion first, freeze in a sealed container with parchment between portions, thaw in the fridge and use within 24 hours of full thawing.
- Presentation: use paper cases in a food-safe lidded box, or small pots, with clear ingredient, allergen and refrigeration information.
Glazed Mixed Nuts: Detailed Recipe and Variations
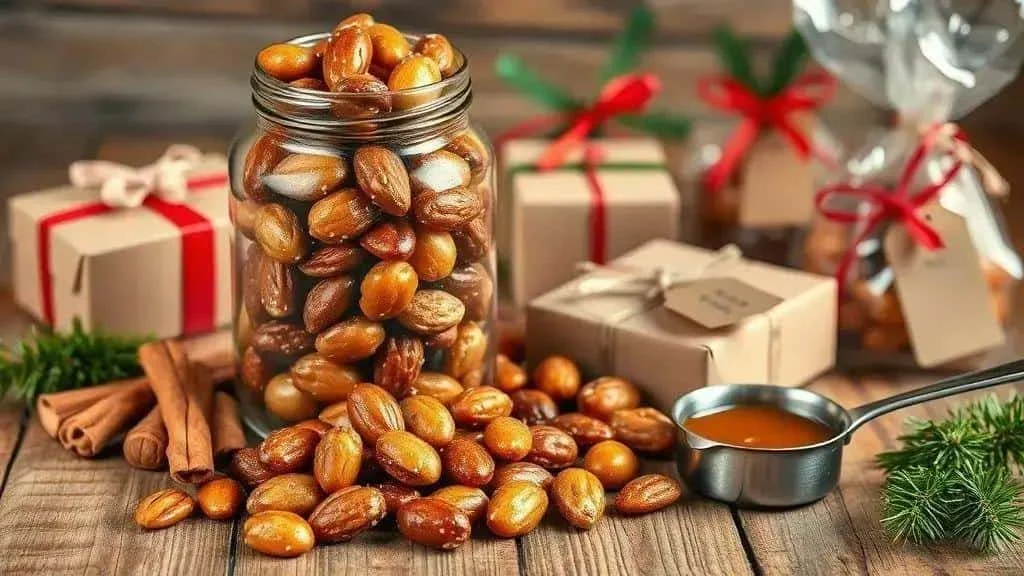
Glazed mixed nuts combine crunch with a sweet coating and can be varied with spices. They are unsuitable for children under five, who should not be given whole nuts.
Ingredients
- 2 cups mixed nuts, approximately 300 g, such as almonds, walnuts, Brazil nuts or hazelnuts. Seeds need different roasting times and are not automatically suitable for every allergy
- 100 g sugar; brown or demerara sugar changes the flavour and appearance
- 60 ml water, to dissolve the sugar; honey is not a direct replacement for the water
- 15 g butter — optional; omit for a dairy-free coating, checking the other ingredients and cross-contact
- 1 tsp ground cinnamon — optional; alternatively use ½ tsp cardamom or nutmeg
- ¼ tsp salt, adjusting only after tasting a fully cooled nut
- 1 tsp finely grated orange zest — optional; vanilla extract offers another flavour
Method
- Preheat: set the oven to 160°C conventional and line a baking tray.
- Optional pre-toasting: toast the nuts for about 6–8 minutes, watching closely, then let them cool. Pre-toasted nuts need less subsequent oven time.
- Make the syrup: heat the sugar and water in a saucepan until dissolved and syrupy, roughly 5–7 minutes depending on the heat and pan. Hot syrup can cause severe burns; keep children away and do not touch or taste it.
- Add flavourings: carefully stir in any optional butter, cinnamon and orange zest, plus the salt.
- Coat the nuts: add to the saucepan and stir carefully with a heatproof utensil.
- Spread out: transfer to the lined tray in a single layer, separating clumps with a utensil rather than your fingers.
- Dry in the oven: bake at 160°C conventional, stirring every 4 minutes and checking from 8–12 minutes if pre-toasted. Look for a dry-looking coating without burning; do not touch hot sugar to test it.
- Cool completely: leave on the tray until the coating is cool and firm, then separate with a spatula if needed.
- Check the finish: taste only after cooling and adjust with a small pinch of salt if desired.
Variations
- Brown sugar and sea salt: use brown sugar and finish sparingly with flaky salt.
- Spiced nuts: add ½ tsp allspice or cardamom for a different flavour.
- Citrus nuts: add extra zest to the syrup. A teaspoon of orange juice adds moisture, so ensure the coating dries fully before cooling and packing.
- Chocolate-dipped nuts: once completely cool and dry, dip part of each nut in melted chocolate and let it set.
Storage and Packaging
- Storage: pack only when fully cool and dry, keep airtight in a cool, dry place and give promptly. Humidity and additions affect keeping quality; do not promise a multi-week shelf life without validation.
- Gift packaging: small 120–250 ml jars, food-safe bags or lined boxes all work well.
- Labelling: list ingredients and the specific nuts used, plus any milk or other allergens, preparation date and storage advice.
- Transport: support sealed packs in a box to reduce movement. Keep protective foam or other non-food-safe materials outside the food packaging.
Practical Tip
Work in manageable batches suited to your pan and tray. Test a small batch before scaling up; larger quantities change heating and drying times, and require proportionately adjusted ingredients.
Ready to Make Your Christmas Gifts?
These ten edible Christmas gift ideas offer a range of flavours and formats, from dry biscuit bags to chilled dessert pots. Choose a recipe that suits the journey as well as the recipient.
Remember: try a small batch first, check allergens, work hygienically and include appropriate storage information.
Thank you for reading. Follow our social channels for more festive recipes and gift ideas.
Visit the I Love Christmas blog for more seasonal inspiration.
Share your finished gifts with us — we would love to see your ideas.
Edible Christmas Gifts: Frequently Asked Questions
How long do homemade edible Christmas gifts keep?
It depends on the ingredients, preparation and storage. Keep cream truffles, brigadeiros and other perishable sweets at 5°C or below and use within 48 hours as cautious home guidance. Chocolate-covered fresh fruit is best made and eaten the same day. Dry biscuits, granola and nuts need airtight, dry storage, but this article does not establish a commercial shelf life for them.
How should I package edible gifts?
Use clean food-safe jars, bags or lined boxes suited to the food. Let baked goods cool completely before packing. Keep perishable gifts refrigerated and transport with ice packs, regardless of the weather. Tell the recipient how to store and use the gift.
What allergen and date information should I include?
For gifts, list the ingredients, relevant allergens, preparation date and storage instructions. Name the actual nuts and cereals rather than using vague descriptions. If selling, check the rules for your product and sales method: PPDS food requires the food name and a full ingredient list with allergens emphasised, alongside any other applicable requirements.
How can I organise small batches without losing quality?
Standardise portions, separate workstations, plan cooking and cooling times, and keep batch records. Test before taking large orders, compare ingredient costs and use suitable scales and packaging equipment. Never let a production schedule override safe storage.
Can I sell homemade edible Christmas gifts in the UK?
You can run a food business from home, but must meet the applicable requirements. Register with your local authority at least 28 days before starting to trade, establish safe food-handling procedures and provide the required allergen and labelling information. Ask the local authority about your particular products and sales arrangements; regular food sales are not exempt simply because they are homemade.
Sources and Further Reading
- UK Government: cooking food safely
- Food Standards Agency: chilling food
- Food Standards Agency: allergen guidance
- UK Government: safe use of eggs and pasteurised egg products
- NHS: foods to avoid giving babies and young children