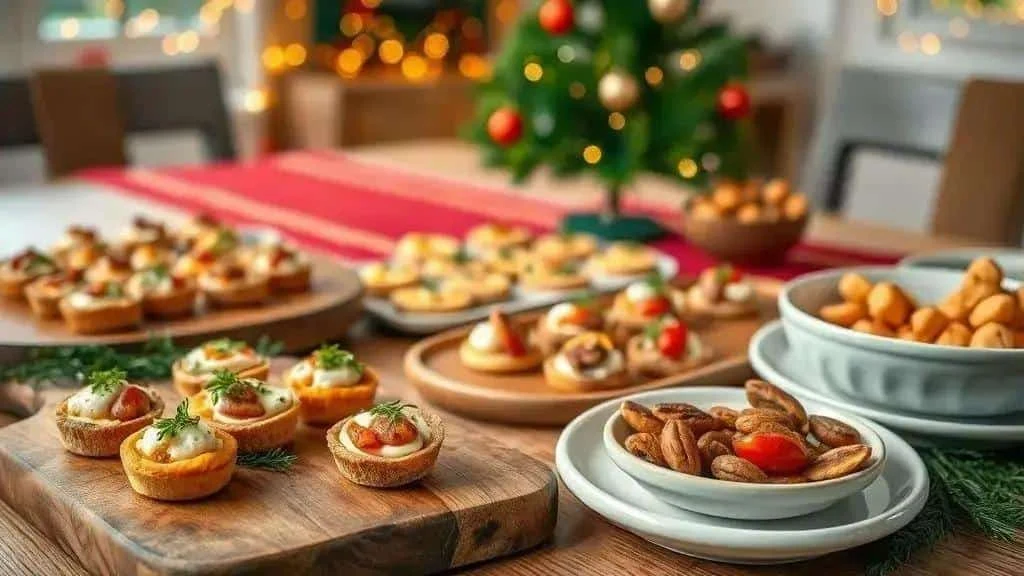
Savoury Christmas Eve snacks can make a relaxed buffet: choose from mini coxinhas, quiches, puff pastry rolls, bruschetta, stuffed mushrooms, salt cod bites and a cheese board. Prepare suitable components ahead, check dietary requirements and reheat cooked food thoroughly before serving.
These savoury Christmas Eve snacks bring together seven ideas for a family gathering, including favourites from Brazilian Christmas tables. Choose a manageable selection rather than trying to cook everything at once.
Why serve savoury snacks on Christmas Eve?
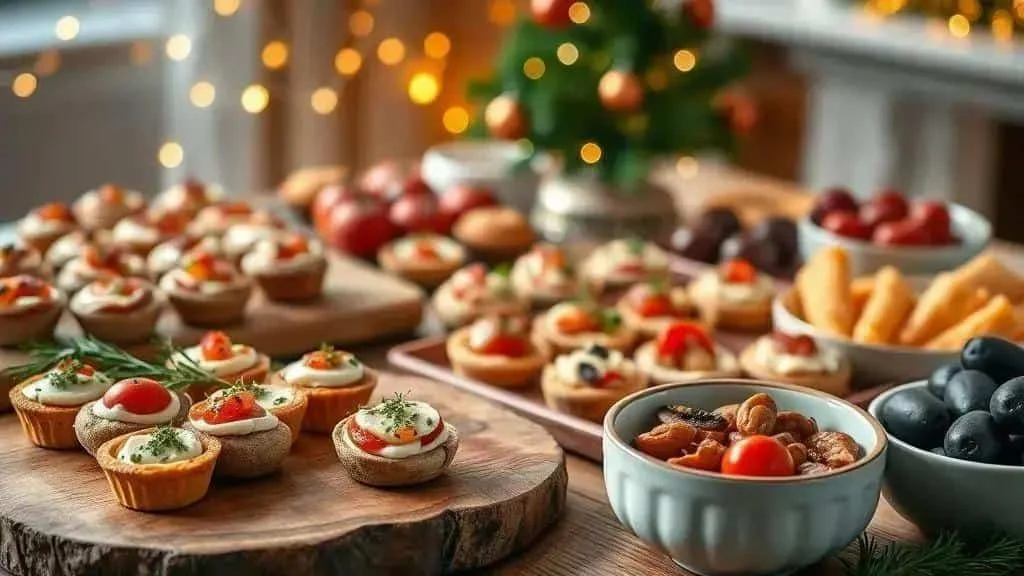
Small savoury dishes suit a relaxed Christmas Eve gathering. They are easy to share and let you offer a mixture of flavours without serving a formal starter.
Main advantages
- Practical preparation: some components can be made ahead, leaving time for other tasks. Allow enough time for recipes that involve making dough, shaping or chilling.
- Variety: combine meat-based and vegetarian choices, with a suitable gluten-free option where needed. Check every ingredient and preparation surface before making dietary claims.
- Easy serving: small portions and finger food reduce the need for cutlery and make it easier for guests to move around.
- Flexible drinks pairings: offer water and alcohol-free drinks alongside any wine, sparkling wine or beer chosen for adults.
- Budget planning: simple recipes can stretch ingredients across several dishes, especially when you plan portions before shopping.
Practical tips
- Prepare ahead: suitable recipes can be cooked the day before, cooled promptly and refrigerated, then reheated once or assembled just before serving.
- Create serving stations: group cheese boards, baked snacks and hot dishes so guests can choose without crowding one area.
- Vary the textures: combine crisp, creamy and fresh elements to make the spread more interesting.
- Check dietary needs: ask about allergies and distinguish vegetarian, lactose-free and milk-free choices; they do not mean the same thing.
- Finish simply: use fresh herbs or lemon zest for a festive finishing touch. Keep decorative picks away from young children.
Choosing snacks for your guests
- Consider how long the gathering will last, how many people are coming and whether a full meal follows.
- Choose food that is comfortable to eat standing up, without dripping fillings or several pieces of cutlery.
- Include a vegetarian choice and arrange a genuinely suitable gluten-free option when guests need one.
A quick list of seven savoury snacks
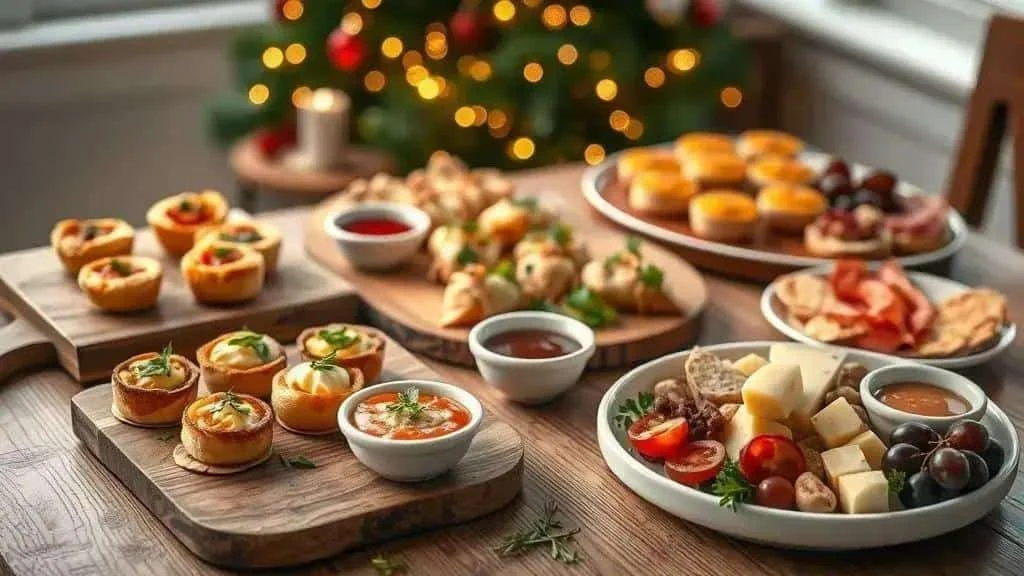
- Mini coxinhas – small Brazilian teardrop-shaped snacks filled with seasoned shredded chicken. Fry or bake them and serve hot.
- Mini ham and cheese quiches – ready-made pastry with an egg, cheese and ham filling. Baking may take around 20–25 minutes, in addition to preparation and preheating.
- Cheese puff pastry rolls – strips of pastry rolled around cheese and optional ham, then baked until the pastry is cooked and golden.
- Classic bruschetta – toasted bread topped with tomatoes, basil, garlic and olive oil for a fresh contrast to richer dishes.
- Stuffed mushrooms – mushroom caps filled with cream cheese and herbs, with optional grated cheese, baked until hot throughout.
- Mini salt cod bites – small potato and cod fritters with a crisp outside. If using a prepared mix, follow its instructions rather than the quantities below.
- Individual cheese and charcuterie boards – small portions of cheese, ready-to-eat cured meat, fruit and nuts, adapted for guests’ needs.
Quick serving tips
- Quantities: as a rough planning guide, allow 6–8 small pieces per person before dinner, or 10–12 for a snack-based gathering. Adjust for their size, guests’ appetites and the length of the event.
- Textures: combine crisp bites, creamy fillings and fresh toppings for variety.
- Dietary choices: plan a vegetarian option and a suitable gluten-free choice where required, with clear ingredient information.
- Reheating: ovens and air fryers can help restore crispness. Reheat cooked food only once, until steaming hot throughout; browning alone is not enough.
- Presentation: use boards, small dishes and serving utensils that guests can handle comfortably.
Suggested combinations
- Mini coxinhas with a mild chilli sauce served separately.
- Mini quiches with a leafy salad for a fresh contrast.
- Bruschetta with an alcohol-free spritz, or rosé or sparkling wine for adults who choose it.
- Cheese and charcuterie with a little jam or honey. Do not give honey to babies under one year old.
The seven snacks: ingredients and preparation overview

Mini coxinhas — Brazilian chicken-filled snacks, served hot with a crisp coating.
Ingredients
- 500 g cooked, shredded chicken breast – freshly cooked chicken is convenient for preparing the filling and cooking the coxinhas in the same session.
- 1 small onion, chopped – for the filling.
- 2 garlic cloves, crushed – optional.
- 500 ml chicken cooking stock – or stock made with water and a stock cube, following its dilution instructions.
- 2 cups plain flour – the original does not specify the cup volume, so no gram conversion is assumed. A gluten-free dough needs a tested recipe rather than an automatic one-for-one substitution.
- ½ cup milk and 2 tbsp butter – for the dough. The butter appears in the full ingredient list below and is included here for consistency.
- 2 eggs, breadcrumbs and frying oil – for coating and cooking, plus 1 tbsp oil for the filling. You can bake the shaped snacks instead of frying them.
Method
- Make the filling: heat 1 tbsp oil, soften the onion and garlic, then add the freshly cooked shredded chicken and season with salt and pepper.
- Make the dough: bring the stock, milk and butter to the boil, add the flour and stir thoroughly until the dough is smooth and pulls away from the pan.
- Shape: let the dough cool enough to handle. Flatten small portions in your palm, add chicken filling and seal into teardrop shapes.
- Coat: dip in beaten egg, then breadcrumbs.
- Cook: fry carefully in hot oil, or bake at 200°C conventional/180°C fan for roughly 20–25 minutes, turning halfway. Size and equipment affect timing: the centre must be thoroughly hot, reaching 70°C for 2 minutes or an equivalent such as 75°C for 30 seconds.
Mini ham and cheese quiches — convenient individual bakes using ready-made pastry.
Ingredients
- 1 pack ready-made shortcrust or puff pastry – pack size and mould size determine the yield; neither is specified in the original.
- 3 eggs – for the filling.
- 200 ml cream – the original also suggests 200 ml milk, which gives a different texture and may affect cooking time.
- 150 g grated cheese – mozzarella or Brazilian prato cheese, a mild melting cheese.
- 100 g cooked ham, chopped
- Salt, pepper and nutmeg, to taste
Method
- Line the moulds: cut pastry circles and press them into small tartlet moulds.
- Mix the filling: whisk the eggs and cream, then add cheese, ham and seasoning.
- Fill: divide between the pastry cases, leaving space below the rim.
- Bake: put in a preheated oven at 180°C conventional/160°C fan for approximately 20–25 minutes, until the filling is set and thoroughly cooked and the pastry is golden. Adjust for mould size and pastry instructions.
Cheese puff pastry rolls — small golden bakes that are easy to share.
Ingredients
- 2 rolls puff pastry – thaw in the fridge if frozen, following the packet instructions. Roll size is not specified in the original.
- 200 g sliced cheese – mozzarella or mild Brazilian prato cheese.
- 100 g cooked ham, optional
- 1 egg, beaten, for brushing
Method
- Assemble: working with both pastry rolls, cut strips, add cheese and optional ham, then roll up.
- Glaze: brush with beaten egg.
- Bake: the original suggests 200°C conventional/180°C fan for 12–15 minutes. Use the pastry packet guidance and continue until risen, golden and cooked through; thicker rolls may take longer.
Classic bruschetta — crisp bread with a fresh tomato topping.
Ingredients
- 1 baguette or Italian-style loaf – sliced and toasted.
- 4 ripe tomatoes, chopped – deseeded if preferred.
- 1 handful basil leaves
- 2 garlic cloves – for rubbing over the toast.
- 2 tbsp olive oil – plus salt to taste.
Method
- Toast the bread: toast the slices in the oven or a frying pan until crisp, then rub with garlic.
- Mix the topping: combine tomatoes, basil, olive oil and salt. Keep refrigerated until needed.
- Assemble: spoon the topping onto the bread immediately before serving to keep it crisp.
Stuffed mushrooms — a simple savoury bake; replace both cheeses for a vegan version.
Ingredients
- 12 medium portobello or large button mushrooms
- 150 g cream cheese – or well-drained mashed tofu for a plant-based filling.
- 2 tbsp chopped fresh herbs – parsley and chives.
- 50 g grated cheese, optional – use a suitable vegan alternative or omit for vegan mushrooms.
Method
- Prepare: remove the stems and wipe the mushrooms with a damp cloth.
- Fill: mix the cream cheese, herbs and seasoning, then divide among the mushroom caps.
- Bake: add the optional grated cheese and bake at 180°C conventional/160°C fan for around 15–20 minutes, until the mushrooms are cooked and the filling is hot throughout.
Mini salt cod bites — potato and fish fritters with a crisp coating and soft centre.
Ingredients
- 500 g desalted cod – cook, remove bones and skin, and shred before mixing.
- 400 g cooked potato, mashed
- 1 egg – to bind.
- ¼ cup chopped parsley and chives, plus ½ small onion, chopped – as listed in the detailed recipe below; the cup volume is unspecified.
- Plain flour as needed for shaping, and oil for frying
Method
- Combine: mix the cooked, boneless cod with mashed potato, egg, onion and herbs to make a mixture that holds its shape.
- Shape: form small bites and coat lightly in flour.
- Cook: fry carefully in hot oil, or bake at 200°C conventional/180°C fan for roughly 15–20 minutes. These are guide timings: the egg-containing centre must be thoroughly cooked, not merely the outside browned.
Individual cheese and charcuterie boards — easy to assemble in quantities suited to your gathering.
Ingredients
- 200–300 g mixed cheese, cubed – such as mozzarella, provolone or Brazilian minas cheese.
- 150–200 g sliced ready-to-eat meats – such as salami, cured ham or cooked turkey.
- Fruit and nuts – grapes, dried apricots and 100–150 g nuts, as in the full list below. Adapt for allergies and young children.
- 2 tbsp jam or honey in total, optional – not per portion. No honey for babies under one.
Method
- Portion: arrange three or four different items in each small dish, dividing the overall quantities between guests.
- Add contrast: include fruit or jam alongside a crisp accompaniment. Do not offer whole nuts to children under five; cut grapes lengthways into quarters for young children.
- Finish: provide small serving utensils and ingredient labels. Keep perishable components chilled until serving and avoid sharp picks for children.
Ingredients grouped by snack
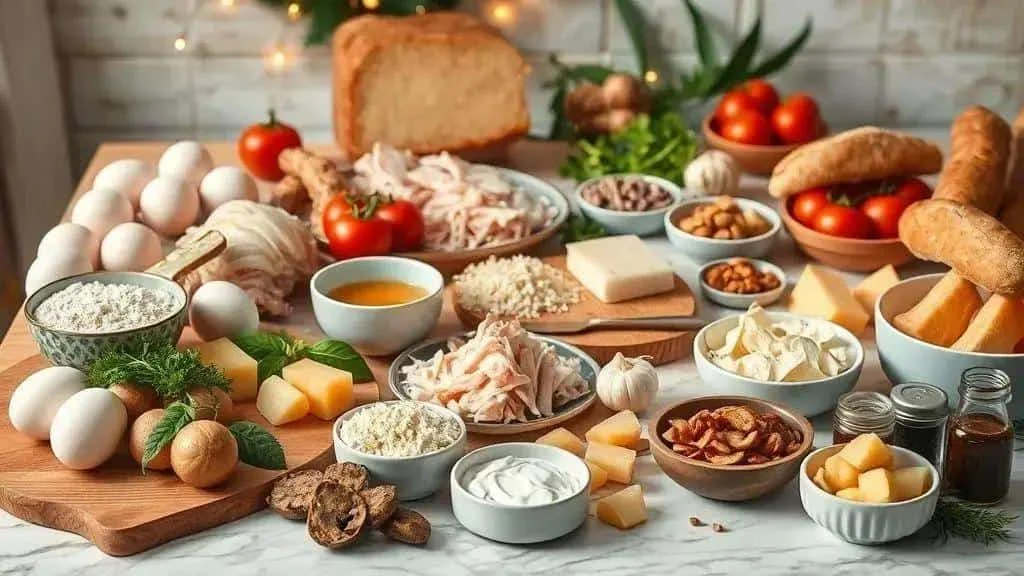
Use these lists alongside the methods below. Cup volumes, pastry pack sizes and exact yields are not fully specified in the original, so they have not been converted into invented weights or serving counts.
Mini coxinhas
- 500 g cooked, shredded chicken breast – preferably freshly cooked for preparing and cooking the snacks in one session.
- 1 small onion, chopped
- 2 garlic cloves, crushed – optional.
- 500 ml chicken cooking stock – or 500 ml stock made with a cube according to its dilution instructions.
- 2 cups plain flour – cup volume unspecified. For gluten-free coxinhas, use a complete tested dough recipe rather than assuming a direct flour swap works.
- ½ cup milk – oat drink is a possible alternative, but check the butter and other ingredients too if avoiding dairy.
- 2 tbsp butter – or 2 tbsp olive oil for the dough.
- 2 eggs – for the coating.
- Breadcrumbs or panko – enough to coat the shaped snacks.
- Oil for frying, plus 1 tbsp for the filling – the filling quantity comes from the method below. Alternatively, bake the coxinhas at 200°C conventional/180°C fan, checking the centre is thoroughly hot.
Mini ham and cheese quiches
- 1 pack ready-made pastry – shortcrust or puff pastry; pack and mould sizes affect yield.
- 3 eggs
- 200 ml cream – or the original’s milk variation, which changes the texture and may change cooking time.
- 150 g grated cheese – mozzarella, Brazilian prato or a mixture of melting cheeses.
- 100 g cooked ham, chopped – cooked turkey is another flavour option; its fat content depends on the product.
- Salt, pepper and nutmeg, to taste
Cheese puff pastry rolls
- 2 rolls puff pastry – thaw in the fridge according to the packet if bought frozen.
- 200 g sliced cheese – mozzarella, prato or a plant-based alternative. A vegan version also needs suitable pastry and no ham or egg wash.
- 100 g cooked ham, optional – or cooked turkey; omit for vegetarian or vegan rolls.
- 1 egg, beaten – for brushing; use plant-based milk instead for vegan rolls.
Classic bruschetta
- 1 baguette or Italian-style loaf – sliced.
- 4 ripe tomatoes – chopped and deseeded if preferred.
- 1 handful basil leaves
- 2 garlic cloves – for rubbing over the toast.
- 2 tbsp olive oil
- Salt and pepper, to taste
Stuffed mushrooms
- 12 medium portobello or large button mushrooms
- 150 g cream cheese – or well-drained mashed tofu for a plant-based filling.
- 2 tbsp chopped fresh herbs – parsley, chives or thyme.
- 50 g grated cheese, optional – choose a suitable vegan alternative or omit for a vegan version.
- Salt and pepper, to taste
Mini salt cod bites
- 500 g desalted cod – cook, remove bones and skin, and shred before using.
- 400 g cooked potato, mashed
- 1 egg – to bind.
- ½ small onion, finely chopped
- ¼ cup chopped parsley and chives – the original does not specify the cup volume.
- Plain flour as needed for shaping – a little Brazilian polvilho, or tapioca starch, can be tried for a gluten-free coating; check all ingredients and test the texture.
- Oil for frying – alternatively, bake at 200°C conventional/180°C fan for roughly 15–20 minutes, until cooked throughout.
Individual cheese and charcuterie boards
- 200–300 g mixed cheese, cubed – mozzarella, provolone or Brazilian minas cheese.
- 150–200 g sliced ready-to-eat meats – salami, cured ham or cooked turkey.
- Grapes and dried fruit, such as apricots or dates – to taste. Remove stones and cut food appropriately for young children, including grapes lengthways into quarters.
- 100–150 g mixed nuts or walnuts in total – omit where needed for allergies; no whole nuts for children under five.
- 2 tbsp jam or honey in total, optional – for a sweet contrast. Do not give honey to babies under one.
- Crackers or small bread rolls – choose suitable gluten-free products if required.
How to prepare each snack, step by step
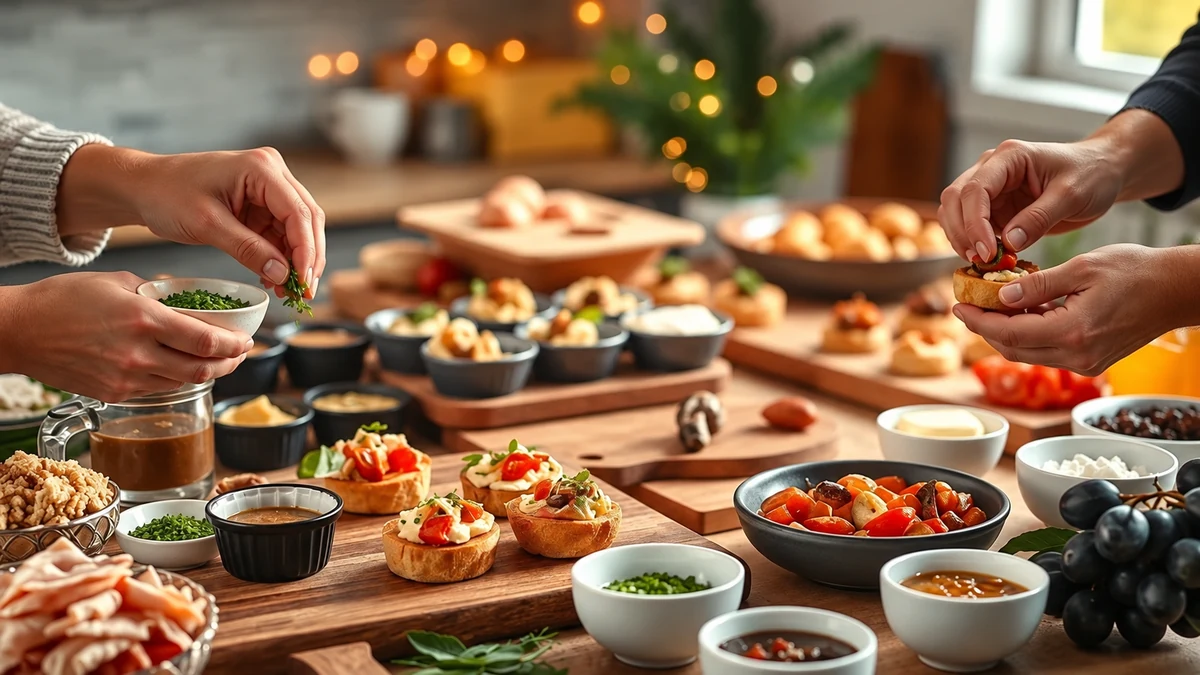
Mini coxinhas: shape, coat and cook for a crisp outside and chicken-filled centre.
Method
- Cook the filling: heat 1 tbsp oil, soften 1 chopped onion and 2 crushed garlic cloves, then stir in 500 g freshly cooked shredded chicken. Season and set aside briefly while making the dough.
- Make the dough: bring 500 ml stock, ½ cup milk and 2 tbsp butter to the boil. Add 2 cups plain flour and stir until the mixture forms a dough that pulls away from the pan. The source gives no cup volume, so these measures have not been converted to grams.
- Shape: cool the dough enough to handle, flatten small portions, add about 1 tsp filling to each and seal into a teardrop. Adjust the filling to the size of the dough portion so it closes securely.
- Coat: dip in the 2 beaten eggs, then breadcrumbs or panko.
- Cook: fry carefully in hot oil, or bake at 200°C conventional/180°C fan for approximately 20–25 minutes, turning for even colouring. Check that the centre reaches 70°C for 2 minutes or an equivalent such as 75°C for 30 seconds; timing depends on size and equipment.
Mini ham and cheese quiches: individual pastry cases with a savoury egg filling.
Method
- Line the moulds: cut the pastry into circles and press into small tartlet moulds. The original suggests 12, but the actual yield depends on the pastry pack and mould size.
- Mix the filling: whisk 3 eggs with 200 ml cream, then stir in 150 g grated cheese and 100 g chopped cooked ham. Season with salt, pepper and nutmeg.
- Fill: divide between the pastry cases, leaving room below the top to prevent spills.
- Bake: use a preheated oven at 180°C conventional/160°C fan for around 20–25 minutes, until the filling is set and cooked through and the pastry is golden. Follow the pastry guidance and adjust for mould size.
- Unmould and serve: leave for about 5 minutes before lifting out carefully.
Cheese puff pastry rolls: small, golden rolls with an optional ham filling.
Method
- Prepare the pastry: unroll both pastry rolls, working with one at a time, on a lightly floured surface. Cut into strips about 5 cm wide.
- Add the filling: distribute the cheese and optional ham across the strips, then roll up securely.
- Glaze: brush with the beaten egg.
- Bake: the source suggests 200°C conventional/180°C fan for 12–15 minutes. Follow the pastry packet guidance and continue until risen, golden and fully baked; larger or thicker rolls may need longer.
- Serve: allow about 2 minutes before transferring to a serving dish; the filling can be very hot.
Classic bruschetta: a fresh tomato topping on crisp, garlic-rubbed bread.
Method
- Toast the bread: slice 1 baguette and toast in the oven or a frying pan until crisp. Rub the slices with the 2 garlic cloves.
- Mix the topping: combine 4 chopped tomatoes, 1 handful basil, 2 tbsp olive oil, salt and pepper. Refrigerate if not serving immediately.
- Assemble at the last moment: add the tomato mixture just before serving so the bread stays crisp.
- Finish: add a small drizzle of extra virgin olive oil if liked. Optional Parmesan is not vegetarian; use a vegetarian-labelled alternative where needed, or omit cheese for vegan bruschetta.
Stuffed mushrooms: replace both the cream cheese and optional grated cheese for a vegan version.
Method
- Prepare the mushrooms: remove the stems and wipe 12 medium mushroom caps with a damp cloth.
- Mix the filling: combine 150 g cream cheese with 2 tbsp chopped herbs, salt and pepper.
- Fill: divide the mixture between the 12 caps, adjusting to their size rather than assuming a fixed spoonful for each.
- Bake: scatter over the optional 50 g grated cheese and bake at 180°C conventional/160°C fan for about 15–20 minutes, until the mushrooms are cooked and the filling is thoroughly hot.
- Serve: let stand for about 2 minutes before transferring to a platter.
Mini salt cod bites: a Brazilian-style party snack made with cod and potato.
Method
- Prepare the cod: use 500 g desalted cod. If desalting it yourself, keep it refrigerated and follow the product instructions. Cook until opaque and flaking, remove bones and skin, then shred. The stated weight is for desalted fish, not dry salted fish.
- Mix: combine the cooked cod with 400 g cooked mashed potato, 1 egg, ½ finely chopped onion and ¼ cup chopped parsley and chives. Avoid tasting the mixture after adding raw egg; season the cooked fish mixture first or check a fully cooked sample.
- Shape: form small bites and dust lightly with plain flour or suitable tapioca starch.
- Cook: fry carefully in hot oil or bake at 200°C conventional/180°C fan for approximately 15–20 minutes. Check the centre is cooked thoroughly, reaching 70°C for 2 minutes or an equivalent such as 75°C for 30 seconds, rather than relying on colour alone.
- Drain and serve: drain fried bites on kitchen paper and serve hot, with lemon or a mild sauce if liked.
Individual cheese and charcuterie boards: small portions that are quick to arrange.
Method
- Prepare: cut 200–300 g cheese and arrange with 150–200 g ready-to-eat sliced meats. Wash fresh fruit and prepare it appropriately for guests’ ages.
- Portion: divide among small dishes, adding fruit and suitable nuts or crackers for variety.
- Add a sweet contrast: divide the optional 2 tbsp jam or honey across the whole board or batch of portions. The ingredient list gives this as a total, not 2 tbsp for every guest.
- Finish: add edible herbs if liked, with serving utensils and clear ingredient labels.
- Keep chilled: refrigerate perishable components until needed and bring out small batches for serving.
Recipe variations and practical substitutions
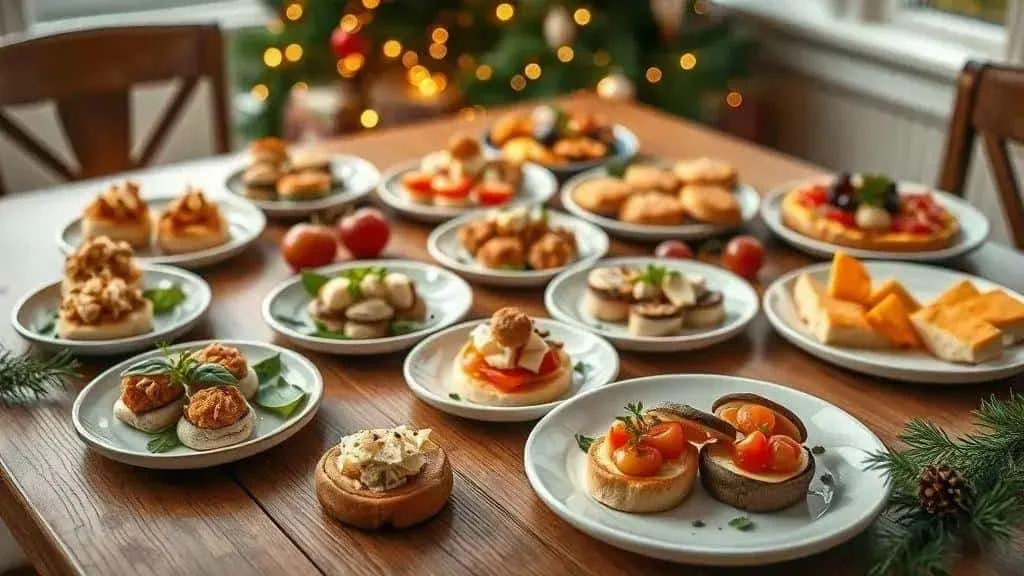
Adapt flavours to your guests, checking the whole recipe rather than just its main ingredient. Changes to doughs or cooking methods may need a separate tested recipe.
Mini coxinhas
- Oven or air fryer: the original suggests 200°C conventional/180°C fan for 20–25 minutes, or an air fryer at 180°C for 12–15 minutes. Treat these as starting points, follow appliance guidance and check that the centre is thoroughly hot.
- Fillings: try chicken with Brazilian requeijão, properly desalted and cooked carne seca (Brazilian dried beef) with Catupiry creamy cheese, or seasoned jackfruit. Jackfruit alone does not make the recipe vegan: change the stock, milk, butter and egg coating too.
- Gluten-free: use a complete tested gluten-free dough and suitable breadcrumbs. A plain flour blend is not guaranteed to behave like wheat flour in this cooked dough.
- Freezing: freeze shaped snacks on a tray, then pack securely and label their preparation date and whether they are cooked. Defrost in the fridge before cooking unless using a validated cook-from-frozen method; do not assume a few extra minutes is enough.
Mini ham and cheese quiches
- Pastry: try a suitable ready-made gluten-free pastry. A crustless version needs an appropriate greased dish and adjusted timing; check all filling ingredients too.
- Fillings: replace ham with spinach and ricotta, sautéed mushrooms, or sun-dried tomato and goats’ cheese. Choose vegetarian-labelled cheeses when needed.
- Lactose-free: use suitable cream and cheese alternatives. Lactose-free dairy still contains milk proteins and is not suitable for someone with a milk allergy; a milk-free version needs every dairy ingredient replaced.
- One larger quiche: a single tart tin reduces individual assembly, but filling depth changes the baking time. Use a complete recipe matched to the tin rather than the mini-quiche timing.
Cheese puff pastry rolls
- Vegan version: choose vegan-labelled pastry and plant-based cheese, omit ham and replace the egg wash.
- Other fillings: try cooked calabresa-style sausage with caramelised onion, brie with jam, or spinach and ricotta. Cook sausage as required before using it as a filling.
- Egg-free glaze: brush with a little plant-based milk mixed with a small amount of oil.
- Freezing before baking: follow the pastry manufacturer’s freezing guidance. Bake from frozen only with suitable instructions for the filled rolls; otherwise defrost safely in the fridge and cook through.
Classic bruschetta
- Alternative bases: try gluten-free bread, wholemeal baguette or prepared polenta slices cooked until firm and crisp.
- Toppings: combine avocado and lemon, grilled aubergine and tomato paste, or goats’ cheese and figs. Check the cheese is suitable if serving vegetarians.
- Keep it crisp: refrigerate the tomato mixture separately and assemble immediately before serving.
Stuffed mushrooms
- Vegan fillings: use well-drained mashed tofu with herbs or a suitable plant-based ricotta-style filling. Omit or replace the grated cheese too.
- Extra texture: add cooked quinoa or vegetarian bacon. Cooked smoked sausage is a separate meat option unless a suitable plant-based product is chosen.
- Other vegetables: small peppers or large cherry tomatoes can be filled instead, but their size and moisture content require different cooking times.
Mini salt cod bites
- Other bases: cooked, appropriately desalted hake or a chickpea-based fritter are possible alternatives. These need suitable recipes and seasoning adjustments; they are not identical substitutes for cod.
- Gluten-free coating: a little sweet or sour tapioca starch can replace the flour used for shaping. Check other ingredients and avoid cross-contact with wheat.
- Oven or air fryer: baking at 200°C conventional/180°C fan for around 15–20 minutes is a guide for small bites. For air frying, follow suitable appliance guidance and confirm the centre is cooked through.
Individual cheese and charcuterie boards
- Budget version: compare prices for local cheeses and seasonal fruit, adding a small amount of jam for contrast.
- Vegan board: replace dairy and meat with plant-based cheese, chickpea spread, marinated vegetables and cooked smoked mushrooms. Use jam rather than honey.
- Individual portions: small plates or dishes help with distribution, while serving utensils and chilled replenishment keep handling manageable.
General substitution tips
- Consider texture: check whether a replacement changes crispness, moisture or binding, and test a small batch before the gathering.
- Adjust seasoning: alternatives may need different herbs, salt or acidity. Taste only ingredients safe to eat as they are, or a fully cooked sample; do not taste raw flour or egg mixtures.
- Check cooking times: baking and air frying are not automatically faster than deep-frying. Thickness, temperature and equipment matter; check doneness throughout rather than colour alone.
- Identify allergens: keep ingredient and packaging information available, including milk, eggs, wheat, fish, nuts and any other allergens present.
Buffet presentation ideas

A clear, attractive layout makes Christmas Eve snacks more inviting. A few practical touches help guests find what they want without crowding the table.
Quick arrangement tips
- Group similar dishes: give cheese boards, hot snacks and cold toppings their own spaces.
- Vary the height safely: use stable, food-suitable stands for selected platters. Avoid improvised supports that can tip or place hot food within children’s reach.
- Offer small portions: individual dishes and small plates make food easier to serve and carry.
- Mix colours and textures: combine crisp, creamy and colourful items across the spread.
- Provide serving utensils: small tongs and spoons help guests take food neatly. Avoid sharp picks where young children can reach them.
Finishing touches
- Fresh herbs: finish suitable dishes with parsley, chives, basil or lemon zest.
- Sauces on the side: use small bowls so guests can choose how much to add.
- Visual balance: spread similar foods across the table rather than overfilling one board.
- Varied containers: clean, food-suitable ceramic, wooden and glass dishes give a simple contrast.
- Clear labels: identify ingredients and suitable dietary options. Only label food gluten-free or vegan when the ingredients and preparation support that description.
Keeping service practical
- Place essentials within reach: arrange napkins and plates in accessible spots so guests do not need to cross the serving area repeatedly.
- Replenish in small batches: keep reserve dishes safely chilled or properly hot-held in the kitchen, then bring out fresh platters as needed.
- Use comfortable lighting: warm light can make the table inviting, while still leaving labels and food clearly visible.
- Separate the drinks: a different area for glasses and drinks helps prevent queues around the food.
Simple festive styling
- Christmas details: rosemary, ribbons and pine cones can decorate the table, but keep non-edible decorations out of contact with food.
- A consistent palette: choose two or three main colours, such as green, red and natural wood.
- Leave space: gaps between dishes make individual choices easier to see and reach.
- Final touches: a little olive oil on bruschetta or suitable seasoning adds colour and flavour without elaborate decoration.
Budget choices and dietary adaptations
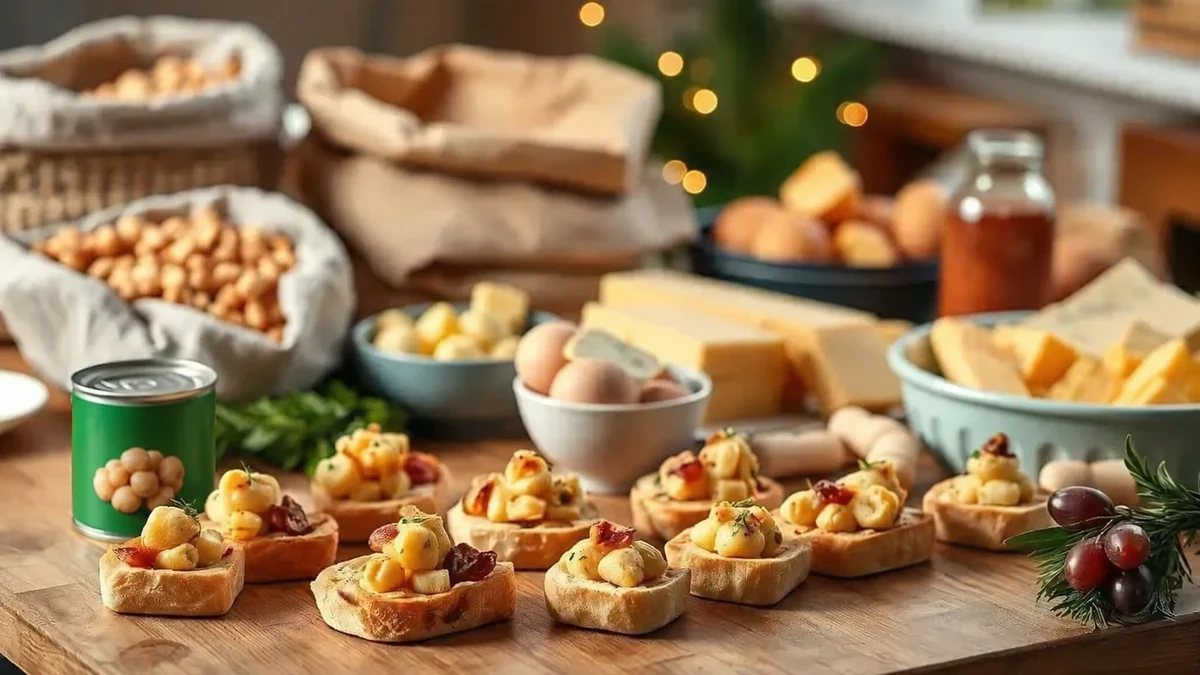
Planning ingredients and dietary requirements together can reduce waste and help you offer food that guests can comfortably enjoy.
Ways to keep costs manageable
- Use versatile basics: potatoes, sweetcorn, eggs and flour can be used across several dishes. Compare local prices rather than assuming every option is cheapest.
- Consider tinned ingredients: tuna, sweetcorn and chickpeas are convenient for spreads and fritters; check labels and dietary requirements.
- Compare pack sizes: larger packs of flour, breadcrumbs or tapioca starch may cost less per unit, but only help if you can use and store them within their shelf life.
- Choose fillings thoughtfully: shredded chicken or seasoned vegetables can replace more expensive meats. The 500 g chicken filling can be divided among small coxinhas.
- Use leftovers safely: suitable cooked vegetables can become fritters or spreads within their storage limits. Rice needs extra care: cool it quickly, ideally within one hour, refrigerate and use within 24 hours; reheat only once until steaming hot throughout.
Planning and shopping
- Make a list for each snack: use 6–8 small pieces per person before dinner as a rough guide, adjusting for size and appetite.
- Compare prices: check offers and own-brand options for bread, pastry and cheese.
- Look at seasonal ingredients: fruit and herbs in season may offer good value; compare freshness and price locally.
Adapting for dietary requirements
- Gluten-free: choose a tested gluten-free dough where flour provides the structure, plus suitable breadcrumbs and other ingredients. Tapioca starch is not a universal one-for-one replacement for wheat flour.
- Lactose-free or milk-free: these are different requirements. Lactose-free dairy still contains milk proteins. For a milk allergy, check pastry, butter, cheese, cream and every other ingredient; plant-based cream can also change the recipe’s texture and setting.
- Vegetarian or vegan: chickpeas, lentils or seasoned jackfruit can inspire meat-free fillings, and tofu can replace the mushroom filling. Check stock, pastry, eggs, dairy, cheese rennet and honey as well; changing the main filling alone is not enough.
- Fish and shellfish allergies: these are distinct allergies. Potato-and-cheese or chickpea bites may be alternatives to cod, but confirm the guest’s needs and all ingredients, including stock and sauces.
- Nut-free choices: omit nuts where required and check crackers or other crisp accompaniments. Seeds are not automatically suitable for every guest, and cross-contact must be considered.
Practical adaptation tips
- Test before the event: check flavour and texture with a small, fully cooked batch. Never taste raw egg or flour mixtures.
- Separate preparation as well as serving: use clean equipment, surfaces and storage for special dietary portions. Separate serving bowls alone do not prevent allergen cross-contact.
- Check the base: one pastry can support different fillings, but its own ingredients still determine whether the dish suits a particular dietary requirement.
- Plan presentation costs: small portions can reduce waste, but allow for the cost of serving dishes or cups too.
Quick budget ideas
- Simple bruschetta: use sound day-old bread, seasoned tomatoes and olive oil. Discard mouldy bread rather than cutting off the affected part.
- Potato-based bites: a potato-and-chicken dough is another option, but use a complete recipe designed for it rather than reducing the flour in the coxinha recipe arbitrarily.
- An affordable board: combine cheeses priced within your budget with seasonal fruit and a little jam or honey, taking guests’ dietary needs into account.
Involving children and guests in preparation
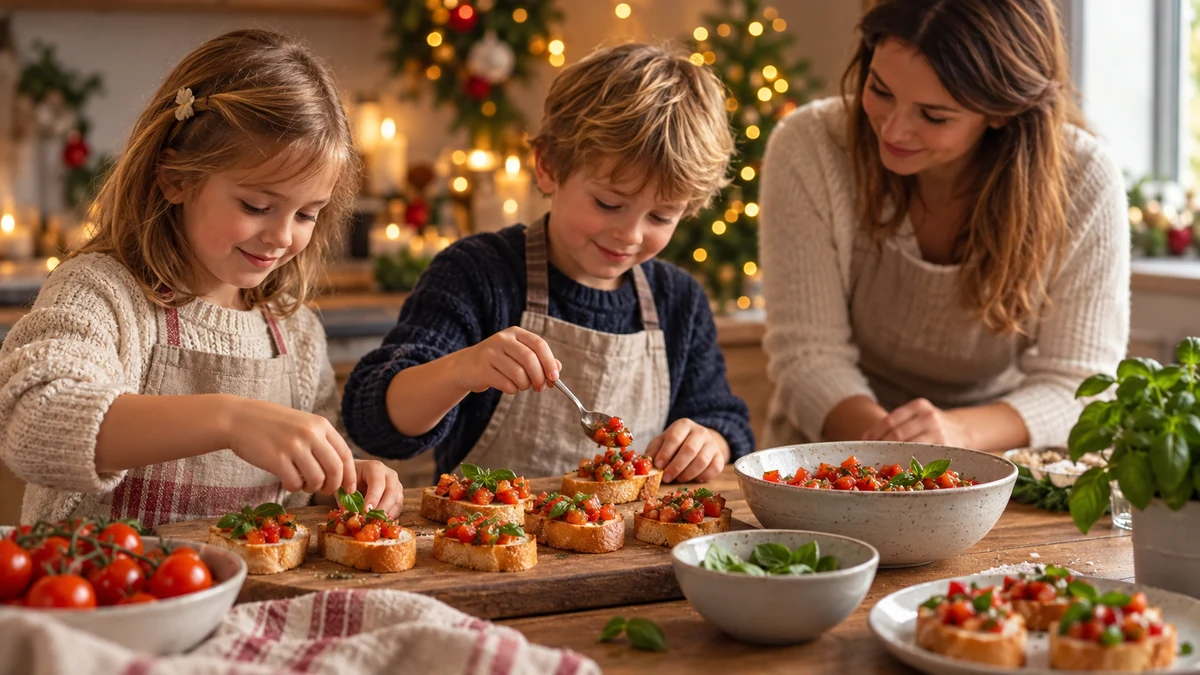
Sharing simple tasks can make food preparation sociable. Match jobs to each person’s age and experience, with an adult responsible for safety and dietary requirements.
Simple tasks for children
- Wash and sort herbs: supervised children can help after washing their hands, using a clean work area.
- Mix ready-to-eat ingredients: a large spoon can help with a cold spread or tomato topping. Keep raw egg and flour mixtures out of tasting activities.
- Arrange portions: help children place suitable food in small dishes or assemble bruschetta. Adults should cut grapes lengthways into quarters for young children and avoid sharp skewers or whole nuts.
- Decorate: sprinkle herbs or citrus zest over finished dishes, checking allergies first.
- Pack small gifts: help pack suitable biscuits or snacks to take home, with clear storage advice and proper chilling for perishable food.
Safety tips
- Choose suitable utensils: give young children age-appropriate tools under supervision; avoid sharp knives and pointed skewers, including plastic ones.
- Supervise closely: an adult should oversee each children’s activity and keep raw ingredients, hot food and allergens under control.
- Wash hands: handwashing before preparation and after handling raw food is essential. Gloves do not replace handwashing and must be changed when contaminated.
- Leave heat to adults: adults should handle ovens, hobs and frying oil. Children can help with suitable cool assembly tasks.
Ways adults can help
- Create task stations: separate bruschetta assembly, board preparation and cooking, with a competent adult in charge of the hot equipment.
- Take turns: willing guests could help for 15–20 minutes before swapping with someone else.
- Offer customisable portions: let guests choose from clearly labelled cheeses, jams and sauces, using separate serving utensils.
- Share contributions: families can bring a prepared dish, with ingredient information and suitable transport temperatures.
Small group activities
- Decorating challenge: offer a simple prize for an attractive arrangement, without rushing preparation.
- Recipe exchange: invite guests to share a favourite cooking or serving tip.
- Team presentation: give each group a small platter to arrange creatively. Focus on care and presentation rather than a timed race around food or utensils.
Dietary requirements during group preparation
- Use clean, separate preparation areas: prevent contact between allergen-containing foods and the portions intended for guests who must avoid them.
- Label accurately: identify ingredients and only use terms such as gluten-free or vegan when supported by the whole recipe and preparation process.
- Include suitable alternatives: offer a comparable choice for guests with dietary requirements, agreed with them in advance.
Shared organisation and cleaning
- Arrange waste bins: separate recycling and food waste where local collection allows.
- Keep service moving: ask someone to replenish dishes and clear used items while others enjoy the gathering.
- Tidy together: a short shared clean-up helps at the end, but chill suitable leftovers promptly rather than waiting until the party is over.
Storing, reheating and serving the snacks
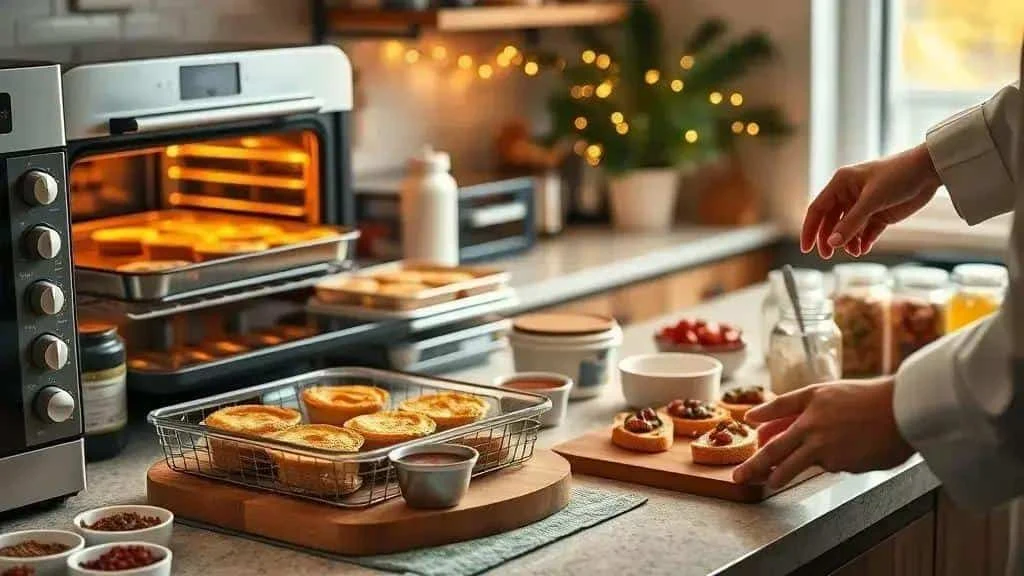
Plan where food will be chilled, cooked and served before starting. The storage advice below assumes careful handling and prompt cooling; follow any shorter ingredient use-by dates or manufacturer instructions.
Safe storage
- Containers: use clean, covered containers. Divide cooked food into smaller portions and refrigerate within 1–2 hours; do not leave it out overnight to cool.
- Temperature: keep the fridge at 0–5°C and the freezer at about −18°C. Keep raw food separate from ready-to-eat dishes.
- Mini coxinhas: refrigerate promptly and use within 48 hours, or sooner if an ingredient requires it. The suggested three months frozen is a quality guide, not a validated shelf life; label the preparation date and whether the snacks are cooked.
- Mini quiches and pastry rolls: cooked versions can be refrigerated for up to 48 hours after prompt cooling. One to two months frozen is a quality guide. Defrost in the fridge and use within 24 hours of fully defrosting, unless following a specific cook-from-frozen method.
- Bruschetta: keep the tomato topping covered in the fridge and use within 48 hours or sooner. Store bread according to its instructions and assemble immediately before serving; do not use mouldy bread.
- Stuffed mushrooms: refrigerate promptly after cooling and use within 48 hours or a shorter ingredient limit. Reheat cooked mushrooms only once, until steaming hot throughout.
- Salt cod bites: refrigerate promptly and use within 1–2 days, observing the shortest ingredient limit. Two to three months frozen is a quality guide. Defrost safely in the fridge rather than assuming the normal cooking time plus a few minutes is sufficient.
- Cheese and charcuterie: follow use-by dates and instructions after opening, using whichever limit is shortest. Keep assembled portions refrigerated and use within 48 hours at most; discard food left out beyond safe serving limits. Store dry nuts separately from moist fruit.
Reheating for texture and safety
- Oven: 180–200°C conventional/160–180°C fan can help restore crispness. The original suggests roughly 10–15 minutes for small coxinhas or quiches, 12–15 for pastry rolls and 10–12 for cod bites. These are not guaranteed times: start with properly refrigerated or defrosted food and check it is steaming hot throughout. Reheat only once.
- Air fryer: the suggested 160–180°C for 8–12 minutes is only a guide for small cooked snacks. Follow appliance instructions, check progress every few minutes and confirm the centre is thoroughly hot.
- Microwave: suitable for fillings or portions where crispness is less important. Short 20–30-second bursts may help control heating, but are not a complete reheating time; stir or turn, allow the recommended standing time and ensure the food is steaming hot throughout.
- Griddle or frying pan: toast plain bruschetta bread briefly, watching closely; around 30–60 seconds per side may be enough on a hot surface. Add the cold topping afterwards.
- Finishing under the grill: a brief 3–5 minutes may brown mushrooms or quiches, but surface browning does not replace thorough reheating of the centre. Watch continuously to prevent burning.
Assembly just before serving
- Separate stations: give hot food, cold dishes and drinks distinct spaces to reduce queues.
- Finish at the last moment: top bruschetta and add herbs or lemon zest immediately before bringing dishes to the table.
- Use small dishes: individual plates and cups are easier to carry, with utensils available for shared food.
- Keep sauces separate: small bowls prevent crisp snacks becoming soggy. Identify mild and hot sauces and their ingredients.
- Replenish safely: keep reserve food refrigerated until needed, or properly hot-held at 63°C or above after cooking. Replace serving dishes with fresh small batches rather than leaving everything on the table.
Temperature and presentation
- Keep food at suitable temperatures: hot-held food should remain at 63°C or above, and the fridge should stay at 0–5°C. Avoid prolonged room-temperature display; serve small quantities and follow UK food-safety guidance for any time out of temperature control.
- Prevent cross-contact: use clean, separate utensils for dietary portions as well as separate preparation and storage, taking all relevant allergens into account.
- Finish simply: fresh herbs, citrus zest or suitable seeds can add colour. Check guest allergies before adding garnishes.
A short checklist before guests arrive
- Check temperatures: have a clean food thermometer available and check the fridge, hot holding and cooked food where appropriate.
- Prepare spare containers: keep clean dishes for replenishment and suitable containers for promptly chilling leftovers.
- Provide utensils: put out enough serving spoons and tongs, keeping sharp picks away from young children.
- Plan reheating: allow longer for larger portions and heat each batch once. Keep ready food properly hot rather than repeatedly cooling and reheating it.
Ready to plan your Christmas Eve buffet?
These seven savoury snack ideas give you a starting point for a relaxed gathering. Choose a manageable menu, confirm dietary needs and plan chilling and serving space before you begin.
Follow us on social media for more recipe and presentation ideas, and visit the I Love Christmas blog for further festive inspiration.
Thank you for reading. Share your favourite combinations and photos with us, and enjoy your Christmas gathering.
Savoury Christmas Eve snacks: frequently asked questions
How many pieces should I allow per person?
As a rough guide, allow 6–8 small pieces before a full meal, or 10–12 for a snack-based gathering. Adjust for portion size, appetite and how long the event lasts.
Which snacks can I prepare ahead?
Mini quiches, pastry rolls and suitable coxinhas can be prepared the day before. Cool cooked food promptly, refrigerate within 1–2 hours and reheat only once until steaming hot throughout, observing the shortest ingredient storage limit.
How can I adapt the recipes for dietary needs?
Confirm each guest’s requirements and check the whole recipe, not just the filling. Use tested gluten-free doughs and suitable dairy alternatives, and remember that vegan versions also need animal-free pastry, stock, coatings and toppings. Prevent allergen cross-contact during preparation and serving.
What is the best way to reheat snacks while keeping them crisp?
An oven at 180–200°C conventional/160–180°C fan or an air fryer at 160–180°C can help, depending on the food and appliance. Follow suitable instructions and check the centre is steaming hot throughout; reheat only once. Microwaves generally give a softer finish.
How can I arrange the buffet to reduce queues and waste?
Separate hot food, cold dishes and drinks, and serve small portions. Keep reserve food chilled or properly hot-held at 63°C or above, then replenish with fresh small batches. Provide clear labels and serving utensils.
Sources and Further Reading
- Food Standards Agency: chilling, freezing and defrosting
- Food Standards Agency: cooking and reheating
- NHS: foods to avoid for babies and young children
- GOV.UK: cooking and hot holding
- Food Standards Agency: student food safety guide, including rice