Roast turkey with orange and herbs brings citrus fragrance and golden skin to the Christmas table. This guide covers the ingredients, herb butter, roasting method, variations, economical side dishes and safe thawing and storage. Cooking times are estimates: check the bird with a food thermometer before serving.
Roast turkey with orange and herbs makes a festive centrepiece, with citrus and rosemary scenting the kitchen as it cooks. The method below explains how to season the bird, protect the breast and check doneness without relying on the colour of the skin alone.
Ingredients for roast turkey with orange and herbs
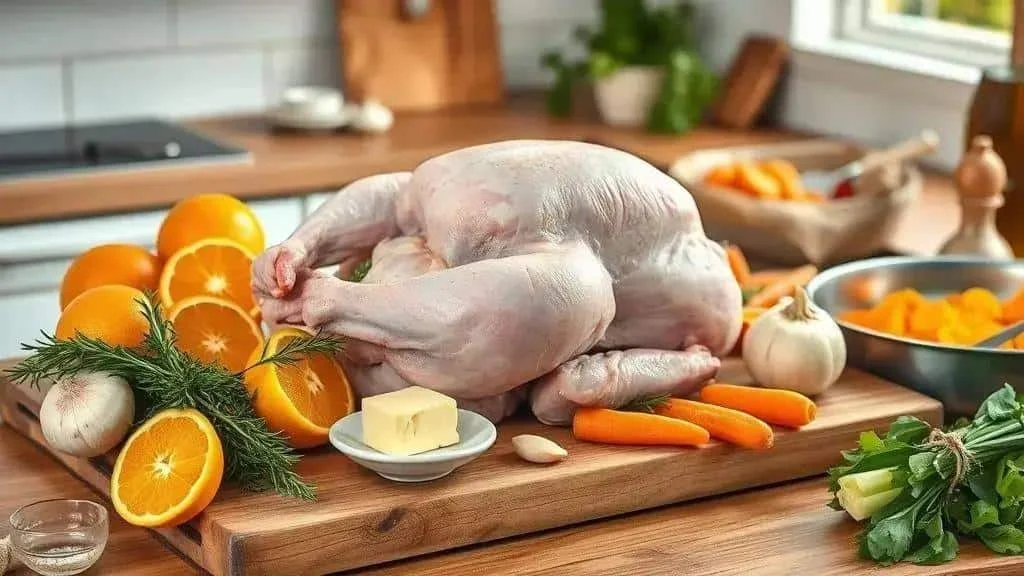
- 1 whole turkey, 4–5 kg – fully thawed if frozen, with the giblets removed. A smaller bird or boneless breast needs its own cooking instructions.
- 100 g unsalted butter – softened for spreading under the skin. For a dairy-free alternative, use 80 ml olive oil instead of this butter.
- 120 ml freshly squeezed orange juice – for the roasting tin. Tangerine juice, or a blend of orange and a little lemon, is an alternative.
- Finely grated zest of 2 oranges – avoid the bitter white pith.
- 4 garlic cloves – crushed or finely chopped; alternatively, use 1 teaspoon garlic powder.
- 60 ml extra virgin olive oil – for coating the skin. Vegetable oil also works.
- 2 tablespoons chopped fresh herbs – rosemary, thyme and parsley; alternatively, use 2 teaspoons dried herbs.
- Up to 1 tablespoon coarse salt – adjust for the saltiness of your stock and whether the turkey is already brined or seasoned. Fine salt packs more densely: do not substitute a larger spoonful.
- 1 teaspoon freshly ground black pepper – or to taste.
- 1 tablespoon sweet paprika, optional – for colour and a mild pepper flavour. Use smoked paprika if you want a smoky note.
- 1 large onion – quartered, for the roasting tin. A quartered apple gives a sweeter alternative.
- 2 carrots and 2 celery sticks – roughly chopped, for the roasting tin and gravy.
- 200 ml dry white wine or chicken stock – for the tin. Choose stock for an alcohol-free version and dilute stock cubes according to their instructions.
- Orange slices – for the roasting tin, with fresh separate slices for garnishing if desired.
- 1 tablespoon honey or 2 tablespoons soft brown sugar, optional – for a light glaze towards the end. Maple syrup offers another flavour.
Quick substitution tips
Use the specified 2 teaspoons of dried herbs in place of 2 tablespoons fresh. For a lighter coating, use less butter rather than replacing it with liquid under the skin. Reduce added salt if the bird or stock is already seasoned.
How to roast turkey with orange and herbs: step by step
Preheat the oven to 180°C conventional, 160°C fan, gas 4, unless the turkey packaging specifies otherwise. Position a shelf so the bird fits with space for air to circulate.
- Prepare the turkey: remove the giblets and any packaging from the cavity. Do not wash raw poultry. Pat the skin dry with kitchen paper, discard the paper and wash your hands and utensils after handling the bird.
- Loosen the skin: gently slide your fingers between the breast meat and skin, taking care not to tear it. This creates room for the herb butter.
- Make the herb butter: combine the softened butter, orange zest, garlic, herbs, salt and pepper. Spread some beneath the breast skin and the remainder over the bird. Mix the optional paprika with the olive oil and rub it over the outside.
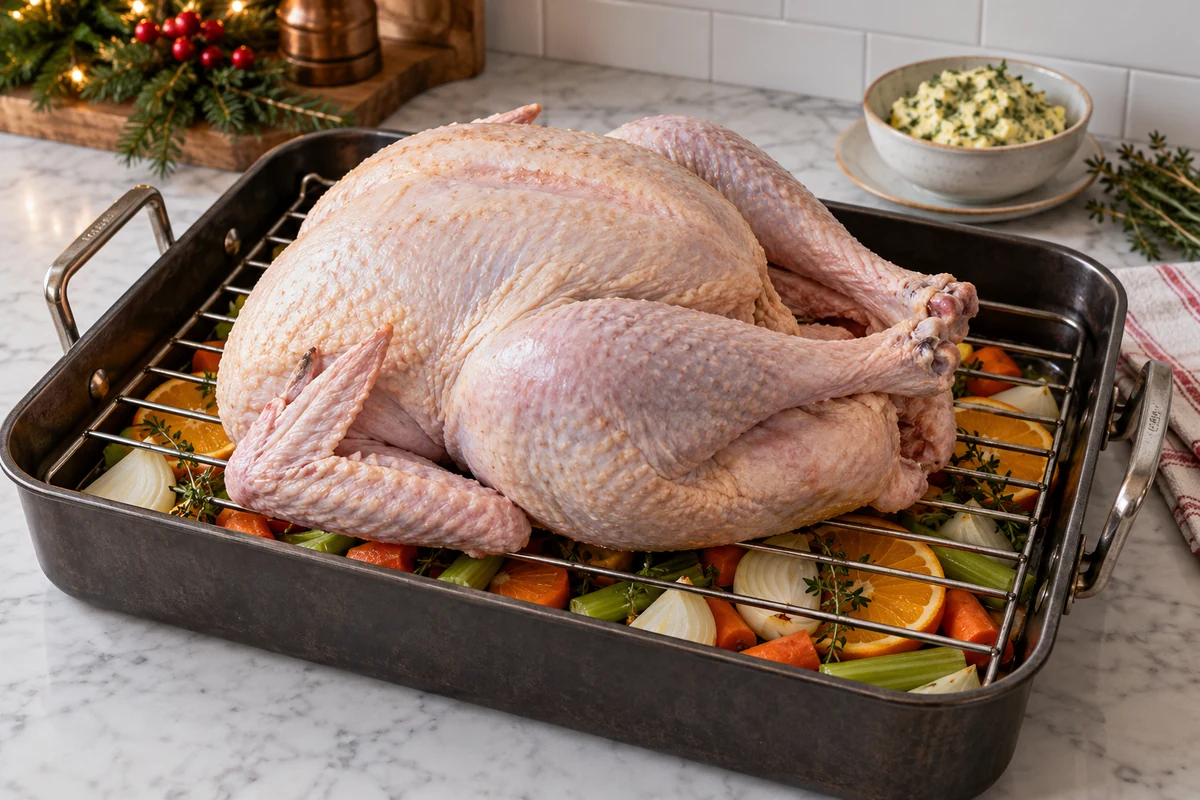
- Keep the cavity unstuffed: put the orange slices and onion in the roasting tin instead. Cook any stuffing in a separate dish; filling the cavity slows cooking and requires different instructions.
- Arrange the bird: tuck the wing tips underneath to protect them. If tying the legs for presentation, use kitchen string loosely and follow the packaging guidance; tight trussing can slow heat penetration.
- Set up the roasting tin: place the turkey on a rack above the carrots, celery, onion and orange. The vegetables will flavour the juices for the gravy.
- Add the liquids and cover: pour the wine or stock and the 120 ml orange juice into the tin. Loosely cover the breast with foil for most of the cooking time, keeping the foil away from the heating element.
- Plan the roasting time: follow the instructions for your turkey’s weight and your oven. Allow several hours for a 4–5 kg bird, plus resting time; a generic minutes-per-kilo calculation is not proof that it is cooked.
- Check the temperature: test the thickest parts of the breast and thigh without touching bone, using a clean probe. Each area should reach 75°C for at least 30 seconds, or an equivalent safe time and temperature such as 70°C for 2 minutes.
- Brown the skin: remove the foil for roughly the final 30 minutes, watching closely. If using the optional honey or sugar, dissolve it in a little hot tray liquid and brush over the skin at this stage. Cover again if the glaze darkens too quickly.
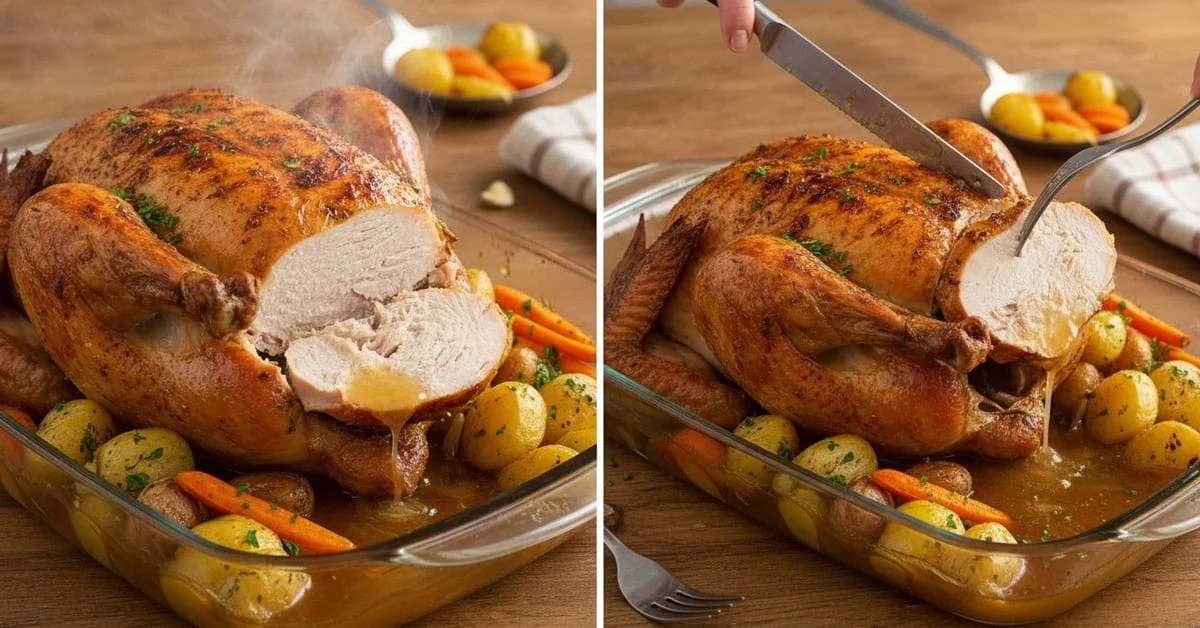
- Rest before carving: once fully cooked, rest the turkey loosely covered with foil for 20–30 minutes. This makes carving easier and helps retain the juices.
- Make the gravy: transfer the tray juices to a saucepan, or use a hob-safe roasting tin. Scrape up the browned bits, add stock as needed and bring to a full boil before simmering and reducing. Strain if preferred and adjust the seasoning.
- Carve: remove the legs first, separating drumsticks and thighs, then lift off each breast and slice across the grain. Use a sharp carving knife and a stable board.
- Safety and lighter variations: cook stuffing separately and check it is steaming hot throughout. You can reduce the butter, but do not shorten the cooking time to keep the breast moist: use the thermometer and protect the skin with foil instead.
Common problems and quick fixes
If the breast browns before the meat is cooked, cover it with foil and continue roasting. Check several thick areas until each reaches 75°C for 30 seconds or an equivalent safe combination. Browning, elapsed time and resting cannot replace that check.
Keeping the breast moist and the skin crisp
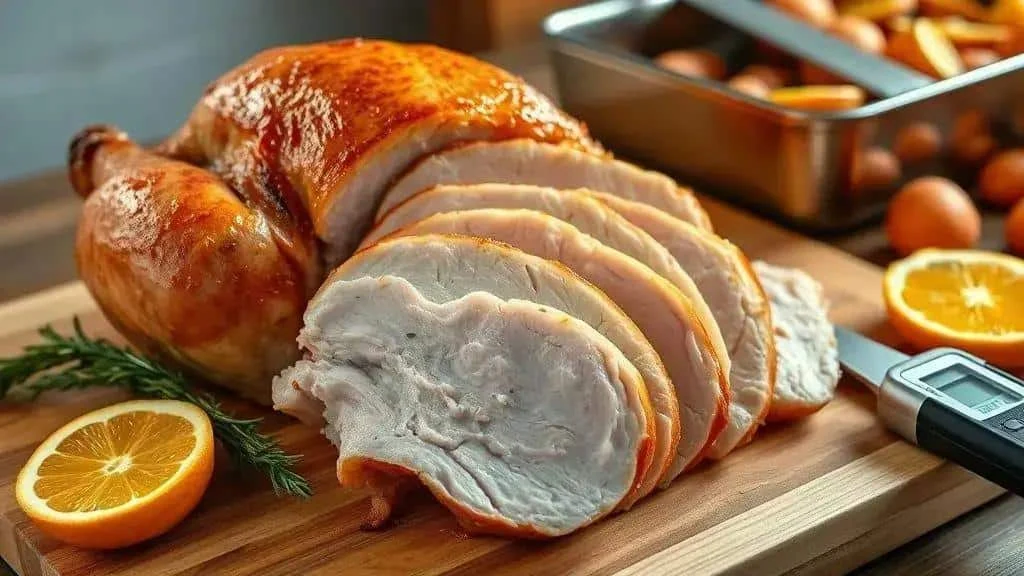
For a moist turkey breast and crisp skin, pay attention to seasoning, herb butter, surface moisture and the final temperature. Brining is optional, not a requirement.
- Brining or advance salting: first check whether your bird is already brined or seasoned. If using a separate brining recipe, follow its measured salt concentration and refrigeration instructions. Treat its salt as part of the total seasoning rather than adding the full salt quantity from this recipe again.
- Herb butter under the skin: spread softened butter with zest, garlic and herbs between the breast and skin. It adds flavour and richness, although it cannot compensate for overcooking.
- Dry the surface: pat the skin with kitchen paper just before seasoning. Keep raw poultry contained on the lowest fridge shelf, away from ready-to-eat food; avoid leaving it exposed where juices might contaminate other items.
- Use a roasting rack: raising the bird above the liquid allows air to circulate and helps the underside roast rather than sit in the juices.
- Control the oven heat: use the setting given in the main method or on the packaging. Removing the foil towards the end usually provides enough browning; a sugary glaze can burn quickly under a grill or at a much higher temperature.
- Use a thermometer: check breast and thigh at their thickest points, clear of bone. Both need the same safe cooking check: 75°C for 30 seconds, or an equivalent combination.
- Cover when needed: loose foil shields the breast during most of the roast. Remove it towards the end and replace it if the skin starts to scorch.
- Rest before slicing: allow 20–30 minutes under a loose foil cover once the bird has passed its cooking checks.
Quick tips for crisp skin
- Use a light coating of fat: the butter and oil already in the recipe help the skin colour. Repeatedly opening the oven to baste can extend cooking time.
- Allow for a fan oven: use the appropriate fan setting rather than the conventional temperature; check your oven handbook and the turkey instructions.
- Manage the tray liquid: keep the bird above it and add a little stock if the tin dries out. Carefully remove excess liquid to a saucepan if it threatens to reach the turkey.
Troubleshooting the roast
- Dry breast meat: this often follows overcooking. Next time, check temperatures earlier and protect the breast with foil; serve the current roast with gravy.
- Soft skin: excess surface moisture or prolonged covering can prevent crisping. Pat dry before roasting and uncover towards the end.
- Skin browning too fast: cover with foil and continue at the recommended oven setting until the meat is properly cooked. Avoid adding more sugary glaze.
Orange and herb turkey variations
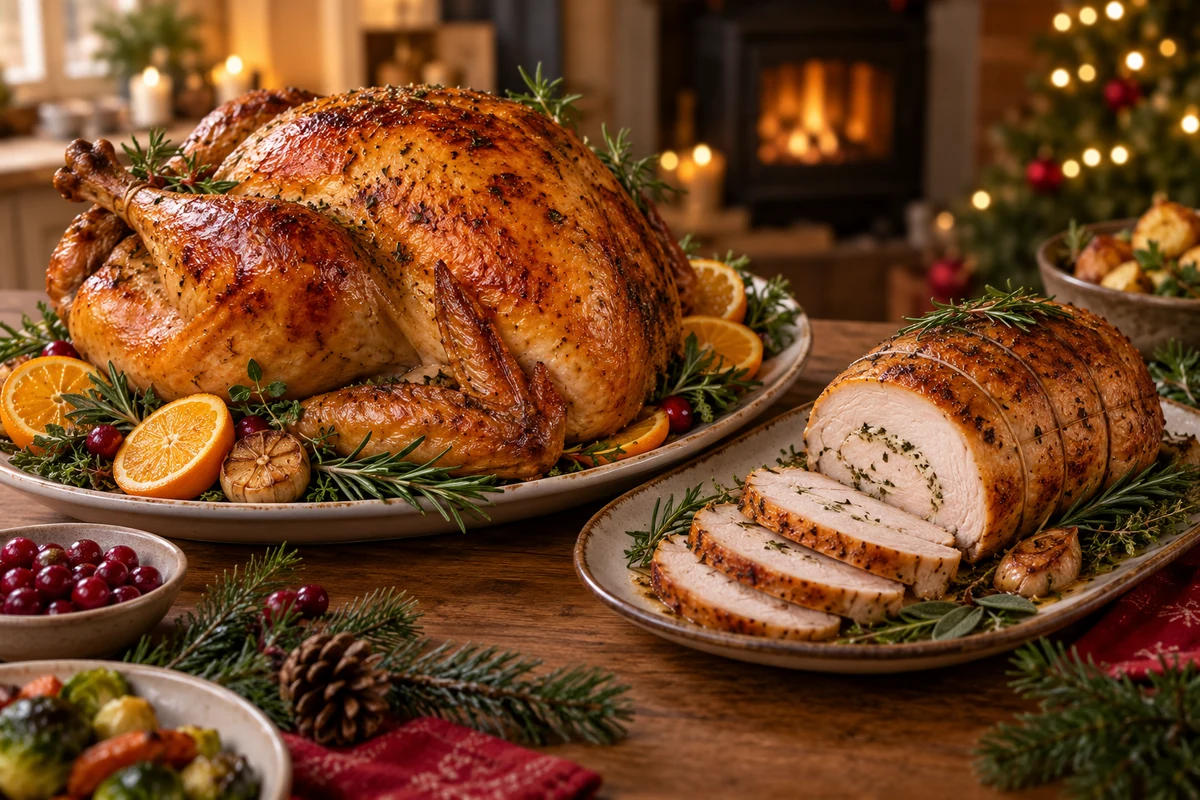
These variations adapt roast turkey with orange and herbs to different tastes and equipment. Use one at a time unless you have allowed for the combined salt, fat and sweetness.
- Honey and orange glaze: combine 60 ml honey, 60 ml orange juice, the zest of 1 orange and 1 tablespoon soy sauce or tamari. Use instead of the optional simple glaze, brushing on during the final 30 minutes and watching for burning.
- Dairy-free coating: replace the 100 g butter with 80 ml olive oil or a suitable dairy-free spread. Rub it gently beneath and over the skin, checking the spread’s label if cooking for an allergy.
- Less added fat: omit the butter and use the 60 ml olive oil already listed for the whole coating. Keep stock in the tray and rest the cooked bird before carving.
- Smoky flavour: use 1 teaspoon smoked paprika in place of the sweet paprika. If using food-grade liquid smoke, follow its label sparingly; there is no need to create smoke indoors.
- Tangerine and lemon: replace half the orange juice with tangerine juice and add the zest of 1 lemon for a brighter citrus note.
- Alternative accompaniments: roast 2 sliced apples with 1 onion in a separate dish, or prepare cooked rice with 100 g chopped chestnuts. Serve beside the turkey rather than packing either mixture into the cavity.
- Dried herbs: use 2 teaspoons of a rosemary, thyme and parsley mixture instead of the 2 tablespoons of fresh herbs. Do not also add the fresh-herb quantity.
- Alcohol-free roast: replace the white wine with 200 ml chicken stock. Choose a lower-salt stock if the bird is already seasoned.
- Turkey breast or legs: use the cooking instructions for that cut and weight. A boneless breast, crown and whole turkey are not interchangeable for timing; check each thick part with the thermometer.
- Sous-vide alternative: this requires a separate validated method matched to the thickness, starting temperature and equipment. Do not substitute a fixed four-hour low-temperature cook for the roasting instructions given here.
- Vegetarian centrepiece: roast a whole cauliflower with a separate batch of herb butter and orange juice, untouched by raw poultry. At 200°C conventional or 180°C fan, allow roughly 45–60 minutes, adjusting for size, until tender and golden.
Adjusting cooking time and temperature
- Whole unstuffed turkey: follow the packaging’s weight-based timing and use a thermometer as the final check, rather than a single rule for birds of every size.
- Stuffed turkey: this recipe recommends cooking stuffing separately. If choosing a stuffed-bird recipe, use its full validated instructions and check the centre of the stuffing as well as the meat.
- Separate breast joint: follow its own roasting guidance and the same safe internal temperature and holding time. Do not remove it at 65–68°C and assume a quick browning step will finish the centre.
Practical tips for trying variations
- Try a small batch first: test a glaze or herb combination on a smaller piece of poultry before changing the flavour of a whole Christmas turkey.
- Adjust the salt: concentrated stock, soy sauce and pre-seasoned turkey reduce the amount you need to add.
- Balance the flavours: use sweetness from honey or brown sugar, acidity from citrus and savoury stock or tamari in moderation. Taste only mixtures that have not touched raw poultry.
Classic, budget-friendly side dishes
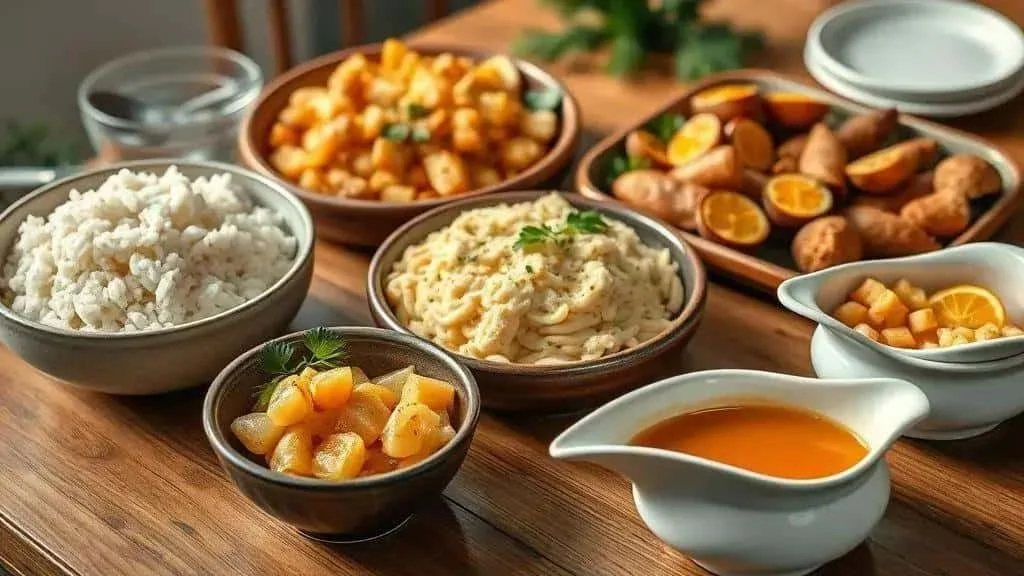
These simple sides draw on a Brazilian Christmas table and make the roast go further. For the cup measures below, use a 240 ml measuring cup consistently; follow rice packet instructions if its water ratio differs.
White rice with onion
Lightly flavoured rice is a versatile accompaniment to turkey and gravy.
- 2 cups white rice – rinsed and drained if required by the packet.
- 4 cups hot water – adjust to the rice packet’s instructions.
- 1 medium onion – chopped.
- 2 tablespoons vegetable or olive oil
- 1 teaspoon salt – or less, to taste.
- Soften the onion: heat the oil in a medium saucepan and cook the onion until translucent.
- Add the rice: stir the drained rice into the onion for 1 minute.
- Add water and salt: bring to the boil, then turn the heat low and cover.
- Cook without stirring: allow about 15 minutes, or the packet’s stated time, until the rice is tender and the water absorbed. Leave off the heat for 5 minutes, then fluff with a fork and serve.
Creamy mashed potatoes
An economical side that works particularly well with turkey gravy.
- 1 kg potatoes – peeled and cut into chunks.
- 50 g butter – or 4 tablespoons olive oil for a dairy-free alternative.
- 200 ml milk – warmed; use an unsweetened plant drink if needed.
- Salt and pepper to taste.
- Cook the potatoes: simmer in salted water until tender, roughly 15–20 minutes depending on the size of the pieces.
- Mash while hot: drain well and mash until smooth.
- Add butter and milk: stir in the butter, then add the warm milk gradually until the mash has the consistency you prefer.
- Season: adjust the salt and pepper and serve hot.
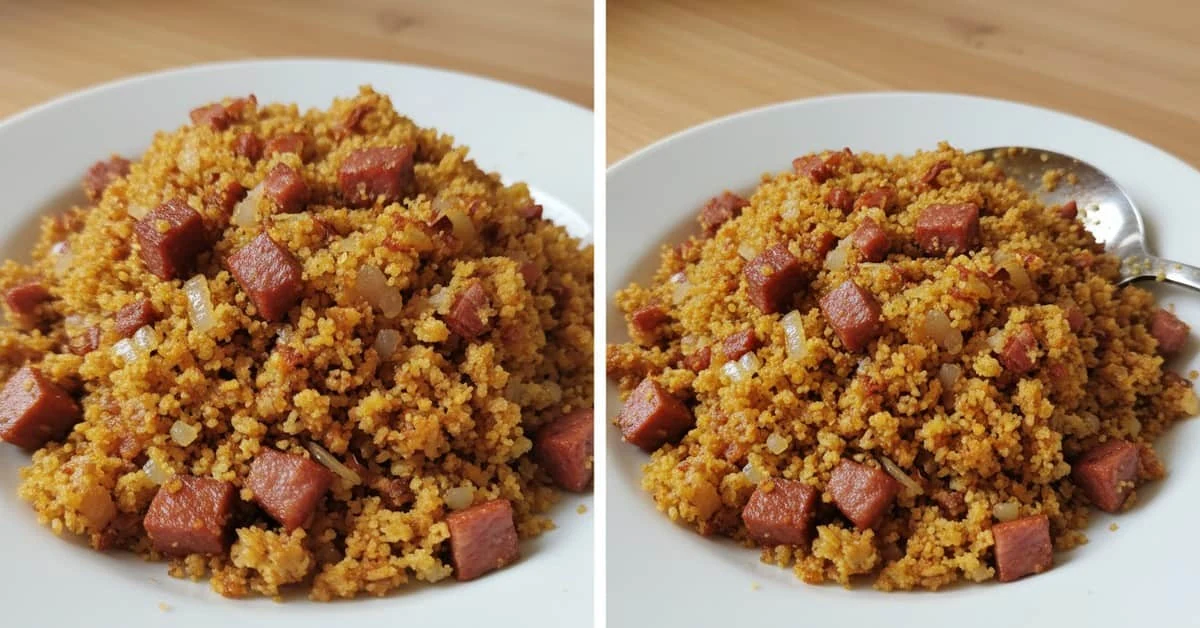
Simple, crisp farofa
Farofa is a Brazilian toasted cassava-flour accompaniment. It adds a crumbly contrast to the roast with just a few ingredients.
- 2 cups Brazilian farinha de mandioca – the coarse cassava flour used for farofa, not tapioca starch.
- 2 tablespoons butter or oil
- 1 small onion – chopped.
- Salt to taste; optional chopped parsley and spring onion.
- Cook the onion: heat the butter in a large frying pan and fry the onion until softened and lightly golden.
- Add the cassava flour: stir over a medium heat until lightly toasted and crisp, taking care not to burn it.
- Finish: season with salt and add the optional fresh herbs just before serving.
Herb-roasted vegetables
Use vegetables you already have, allowing extra time for denser pieces.
- 4 carrots – thickly sliced.
- 3 potatoes – cut into medium chunks.
- 1 courgette – sliced.
- 3 tablespoons olive oil
- 1 tablespoon dried rosemary or thyme – plus salt and pepper to taste.
- Preheat the oven to 200°C conventional, 180°C fan, gas 6: line a roasting tray with suitable baking parchment.
- Season the vegetables: toss with oil, herbs, salt and pepper.
- Roast: spread in a single layer and cook for about 30–40 minutes, turning halfway, until tender and golden. Add the courgette later if you prefer it firmer.
Brazilian-style potato and mayonnaise salad
This make-ahead cold side combines potatoes, carrots and peas with a creamy dressing.
- 4 medium potatoes – cooked and diced.
- 2 carrots – cooked and diced.
- 1 cup frozen peas – cooked according to the packet.
- ½ cup mayonnaise – or plain yoghurt for a tangier dressing.
- Salt and parsley to taste.
- Cook and cool the vegetables: cook separately as needed, drain and cool promptly in shallow containers.
- Add the mayonnaise: combine the cooled vegetables and dressing, then season.
- Chill: refrigerate for at least 1 hour before serving and keep chilled until needed. Do not leave the bowl standing on a buffet all afternoon.
Quick citrus sauce
A small orange sauce adds a bright finishing touch to sliced turkey.
- 120 ml freshly squeezed orange juice
- 1 tablespoon honey or soft brown sugar
- 1 tablespoon butter – optional.
- Salt and pepper to taste.
- Reduce the juice: simmer the orange juice and honey or sugar in a small saucepan until slightly thickened.
- Add the butter: whisk it in for a glossy finish, if using, and season with salt and pepper.
- Serve warm: spoon over sliced turkey or offer separately.
Practical ways to keep costs down
- Compare unit prices: larger bags of rice, cassava flour or potatoes may be cheaper if you will use them and can store them properly.
- Plan for leftovers: set aside properly chilled turkey for a pie, croquettes or a baked rice dish, observing the storage guidance below.
- Allow sensible portions: roughly 150–200 g cooked, boneless turkey per adult is a starting point alongside several sides. This is not the weight of a whole raw bird, which includes bones.
Thawing, seasoning, storing and using leftover turkey
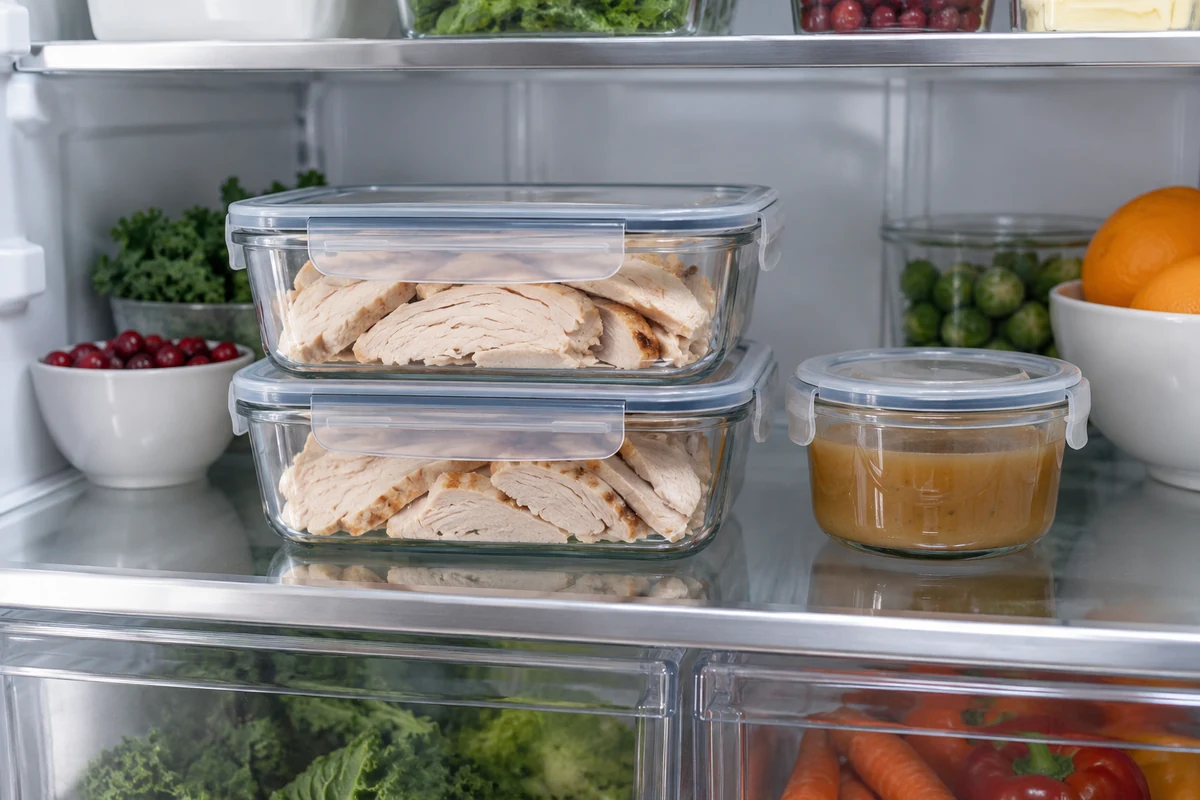
Safe thawing starts before Christmas Day. Allow enough fridge space and time, and never leave a frozen bird on the kitchen worktop to defrost.
Reliable thawing methods
- In the fridge: follow the packaging. If no times are given, allow roughly 10–12 hours per kilogram at 4°C, checking that the bird is fully thawed. Keep it covered in a deep tray on the bottom shelf and cook within 24 hours of full defrosting.
- Avoid improvising a water thaw: use the fridge method for this recipe. A large bird needs controlled thawing, and the sink creates opportunities for raw juices to splash onto other surfaces.
- Microwave defrosting: only consider this if the appliance and poultry instructions allow it and the bird fits properly. Cook immediately afterwards; for a large whole turkey, fridge thawing is more practical.
Tasting and adjusting the seasoning
Taste a small reserved portion of the seasoning before it touches raw turkey. Never taste raw meat or a marinade that has been in contact with it.
- Check the herb butter: warm a little uncontaminated butter mixture in a pan and assess the salt, garlic and zest.
- Balance the mixture: citrus and a little honey alter the flavour, but do not remove excess salt. Dilute an over-salted seasoning with unsalted ingredients before using it.
- Check the stuffing separately: cook a small portion before tasting if it contains raw ingredients, and bake the remaining stuffing in its own dish.
Storage times and temperatures
- In the fridge: divide cooked turkey into shallow portions, cool and refrigerate within 1–2 hours. Eat within 48 hours of cooking, or freeze promptly.
- In the freezer: wrap portions well and label them. Using cooked turkey within 2–3 months is a practical quality target, not a promise that texture will remain unchanged.
- Temperatures: keep the fridge at 5°C or below, ideally around 4°C, and the freezer at −18°C or below.
- Suitable packaging: use airtight containers or freezer bags, removing excess air to reduce freezer burn.
Reheating and using leftovers
Reheat only the amount you need, once, until steaming hot throughout. A splash of stock helps protect the texture but does not replace thorough heating.
- In the oven: put portions in a covered dish with a little stock or orange juice. Heat at 170°C conventional or 150°C fan until thoroughly hot, checking the centre rather than relying on a fixed number of minutes.
- On the hob: heat chopped turkey in sauce or stock, stirring so there are no cold patches.
- In the microwave: use a suitable covered container, stir or turn the pieces and follow the appliance’s standing-time guidance. Check that every portion is steaming hot throughout.
- Ways to use leftovers: try turkey pie, croquettes, freshly cooked risotto with turkey, sandwiches with herb mayonnaise, or potato salad with cold turkey. Keep cold dishes chilled and follow the shortest storage limit of any ingredient.
Practical safety reminders
- Check both breast and thigh: do not use a lower finishing target for the breast. Apply the same safe time-and-temperature check throughout the bird.
- Freezing after thawing: do not refreeze thawed raw turkey without cooking it first. Once cooked and promptly cooled, portions can be frozen for later use.
- Label containers: note the cooking and freezing dates so you can track storage time.
- Use leftovers promptly: keep to the 48-hour fridge limit or freeze earlier. Cooked rice needs stricter handling: cool it quickly and refrigerate for no more than 24 hours before reheating once.
Bringing the Christmas meal together
Orange zest, herb butter and careful roasting give this turkey its festive character. A roasting rack, foil when needed and a thermometer help you work towards moist meat and crisp skin without relying on guesswork.
Choose a variation and a few economical sides, then plan thawing, oven space and leftovers before the day. The practical timing will vary with the bird and equipment; this guide does not claim that every variation has been kitchen-tested.
Thank you for reading. Follow our social channels and visit the I Love Christmas blog for more festive recipes and ideas. Share your photos or questions about preparing your Christmas meal.
FAQ: roast turkey with orange and herbs
How long does a turkey take to thaw in the fridge?
Follow the packaging first. As a guide, allow 10–12 hours per kilogram in a fridge at 4°C, with the bird covered in a deep tray on the bottom shelf. Check for remaining ice and cook within 24 hours of full defrosting.
How can I keep the breast moist and the skin crisp?
Pat the skin dry, add herb butter beneath it, roast on a rack and protect the breast with foil for most of the cooking. Uncover towards the end, use a thermometer and rest the cooked bird before carving. Brining is optional.
Can I replace the butter with a dairy-free ingredient?
Yes. Replace the 100 g butter with 80 ml olive oil or a suitable dairy-free spread. Check labels if cooking for someone with an allergy and account for the other oil already in the recipe.
What internal temperature should the turkey reach?
Check the thickest parts of both breast and thigh, avoiding bone. Each must reach 75°C for 30 seconds, or an equivalent safe combination such as 70°C for 2 minutes. Do not use a lower target for the breast.
Can I prepare the turkey ahead and reheat it without drying it out?
You can season a fully thawed turkey ahead within its storage and use-by limits; keep it refrigerated and cook stuffing separately. For cooked leftovers, cool and chill promptly, use within 48 hours and reheat once with a little stock until steaming hot throughout.
Which economical sides go well with this turkey?
Onion rice, mashed potatoes, Brazilian farofa, herb-roasted vegetables and potato salad with mayonnaise all work well. Choose a few complementary dishes and plan portions to limit waste.
Sources and Further Reading
- Food Standards Scotland: turkey cooking guide
- UK government: cooking and reheating food safely
- UK government: chilling, freezing and defrosting food safely