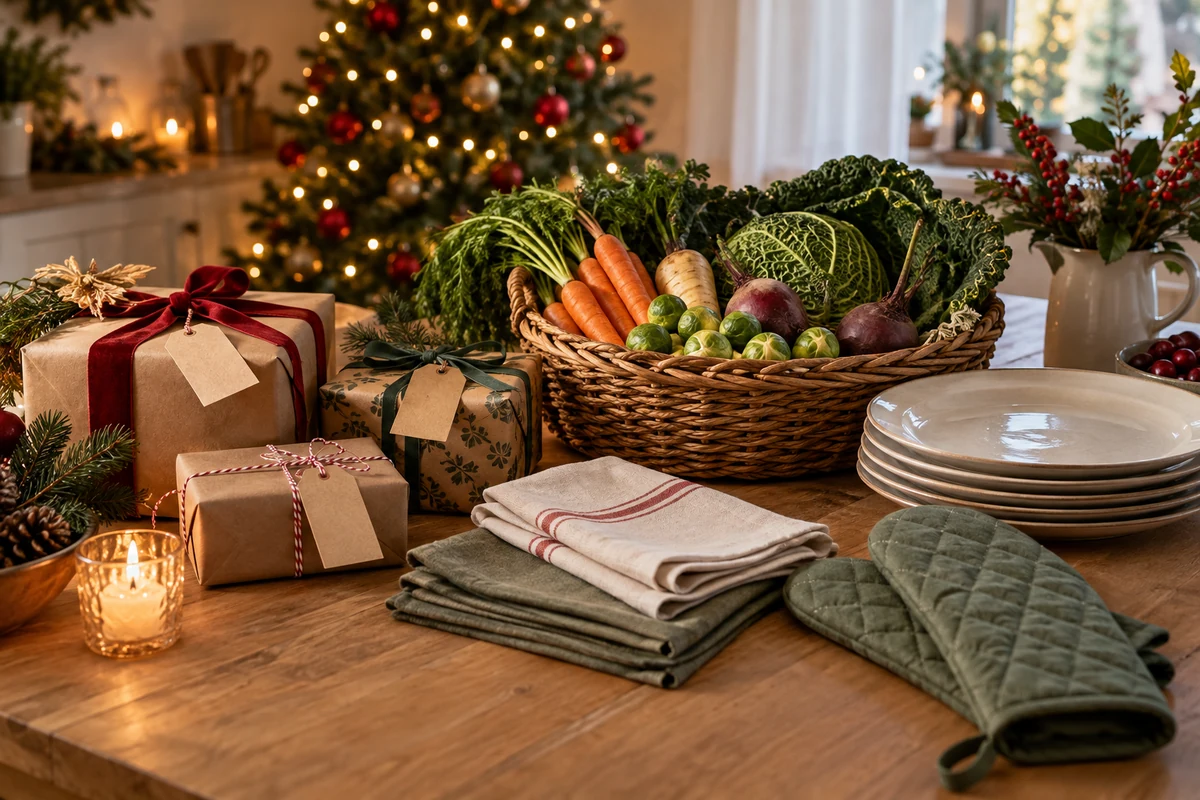
Family Christmas traditions can be small, repeatable activities: an activity calendar, a decoration workshop, a memory jar or a shared meal. Choose affordable ideas that suit your household, give children appropriate tasks and let traditions develop without expecting a perfect celebration.
Family Christmas traditions need not be elaborate to feel meaningful. A simple activity that everyone enjoys can become something to look forward to. Here are adaptable ideas for making, cooking and remembering together.
Simple traditions to start this year

- Switch on the lights together: set aside an evening to enjoy the tree lights. Adults should handle electrical connections and high decorations; others can choose music or place safe ornaments. Share a drink afterwards, allowing hot drinks to cool before children handle them.
- A calendar of small surprises: fill reusable envelopes or fabric pockets with easy activities such as a film night, biscuit decorating or writing cards. Leave some days free so that the calendar remains enjoyable rather than another obligation.
- A memory and gratitude jar: invite everyone to add notes about moments, thanks or hopes during December. Choose a day to open it together, but let each person decide whether their message can be read aloud.
- A decoration workshop: use coloured paper, fabric scraps, cinnamon sticks or salt dough for simple stars, hearts and ornaments. Supervise tools and small parts; salt dough is a craft material, not food, and should be kept away from pets and young children who might eat it.
- A family recipe evening: try biscuits, Brazilian brigadeiro sweets or rabanada, Brazil’s cinnamon-sugar version of French toast. Divide measuring, mixing and decorating by age and ability. For dietary adaptations, choose a suitable tested recipe rather than assuming one ingredient swap makes the whole dish safe.
Getting started in three steps
- Choose just one or two traditions so that the plan fits your routine. Enjoyment matters more than perfection.
- Agree a convenient date and keep it flexible if circumstances change. One shared evening can be enough.
- Prepare materials and tasks in advance, inviting people to take part in ways that suit them.
Practical tips
- For children, consider activities lasting around 20–60 minutes, shortening them when attention or energy fades.
- Reuse suitable materials you already have to keep costs down and encourage creativity.
- Take a few photographs with everyone’s agreement if you would like an end-of-year album; recording every moment is unnecessary.
- Offer absent relatives the option of sending a note or recorded message, without making participation compulsory.
Activities for children and a sweet treat

- Paper-and-ribbon decorating: provide age-appropriate paper, blunt-ended scissors, glue and ribbon for paper chains or folded stars. Younger children can stick pieces together while older children cut shapes with supervision.
- Story time with fairy lights: make the room cosy while keeping enough light to move safely. Read a short Christmas story, then invite children to draw a scene or imagine another ending.
- An ornament treasure hunt: hide large, unbreakable decorations in safe, accessible places and offer simple rhyming clues. Each find can prompt a memory or a small story.
- A shared playlist: let each child choose a song for singing, dancing or clapping together. Ask before recording or sharing a video.
- Simple sweet-making: children can help measure ingredients and decorate cooled treats. Keep cooking with heat under adult control and match each task to the child’s abilities.
Spoonable brigadeiro: a Brazilian chocolate treat
Children can help with measuring and decorating this condensed-milk sweet, while an adult does the cooking and handles the hot mixture. It is an occasional sweet treat, not a recipe for babies.
- 1 tin condensed milk, 395 g. A plant-based condensed alternative changes the recipe and may cook differently.
- 1 tablespoon butter. Oil or a suitable margarine can alter the flavour and texture; check ingredients if adapting for dietary needs.
- 2 tablespoons cocoa powder. Sweetened drinking chocolate would give a sweeter, less concentrated chocolate flavour.
- Sprinkles, optional. Desiccated coconut or another suitable topping can be used instead, after checking allergens and age suitability.
Method:
- Mix before heating: put the condensed milk, butter and cocoa in a medium saucepan and stir together.
- Cook over a low heat: an adult should stir continuously for approximately 6–8 minutes, until thickened but still spoonable. Timing varies with the pan and heat; do not cook it into a firm rolling consistency.
- Cool before serving: an adult should transfer the mixture to suitable serving bowls and allow it to cool thoroughly. Do not rely on a fixed 10–15-minute wait to make hot condensed milk safe for children to touch.
- Decorate once cool: let children add suitable toppings with small spoons.
Helping children take part
- Match tasks to ability: measuring cold ingredients, stirring before heating and decorating cooled food are different from working at the hob.
- Keep children away from hot pans and let an adult handle cooking and transfers.
- Start with short activities of around 15–45 minutes and stop earlier if needed.
- Keep reused craft materials separate from food preparation and use only food-safe equipment for cooking.
- Invite children to draw or write about the activity, and take photographs only if they are comfortable with it.
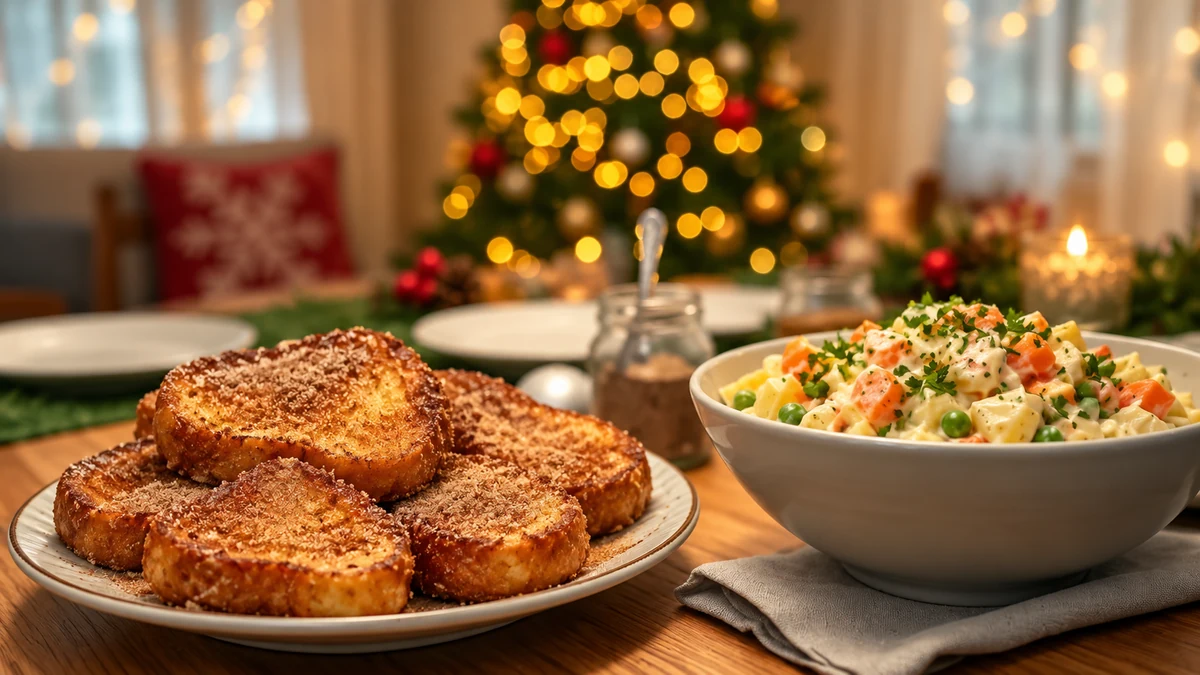
For a shared Christmas meal, choose recipes with manageable tasks and familiar flavours. These two Brazilian-inspired dishes offer different ways to contribute, with adults responsible for frying and food storage.
Quick homemade rabanada
These cinnamon-sugar bread slices are a Brazilian Christmas favourite. Children can help measure ingredients, while an adult handles frying and checks that the slices are cooked through.
- 6 slices of day-old French-style bread. Brioche gives a softer result and may contain additional milk or egg.
- 240 ml milk. A suitable plant-based drink is an alternative, but replacing the milk alone does not make a recipe containing eggs vegan.
- 2 eggs. The original suggests 2 tablespoons chickpea flour mixed with 6 tablespoons water as a binder; this has not been tested here and should not be assumed to give an identical result.
- 3 tablespoons sugar, divided between the soaking mixture and coating. Coconut sugar changes the flavour; liquid sweeteners are not a straightforward equivalent in the coating.
- 1 teaspoon ground cinnamon.
- Butter or oil for frying. Using oil alone does not make the whole dish dairy-free if the milk or bread contains dairy.
- Prepare the mixture: beat the milk, eggs and 1 tablespoon of the sugar together in a shallow dish.
- Dip the bread: briefly coat each slice in the mixture without soaking it until it falls apart.
- Fry over a medium heat: an adult should heat butter or oil in a frying pan and fry the slices for approximately 2–3 minutes on each side, until golden and cooked through. Adjust for the thickness of the bread and the heat of the pan.
- Coat: mix the remaining 2 tablespoons sugar with the cinnamon and coat the warm slices, keeping children away from hot oil and cookware.
- Serve: arrange on a platter and allow to cool to a suitable eating temperature. Fruit can be served alongside. If offering honey as an optional topping, never give it to a child under one year old. Source: NHS: foods to avoid giving babies and young children
Brazilian-style Christmas potato salad
This creamy vegetable salad can be prepared ahead, provided it is cooled promptly and kept refrigerated. The optional apple adds a crisp contrast.
- 500 g potatoes, diced. Sweet potatoes give a different flavour and may need a different cooking time.
- 2 medium carrots, peeled and finely diced.
- 1 cup frozen peas, cooked according to the packet instructions.
- 1 green apple, cored and diced, optional.
- 1/2 cup mayonnaise. Suitable vegan mayonnaise or plain yoghurt changes the ingredients and flavour; yoghurt is not a dairy-free substitute.
- Salt and pepper to taste.
- Chopped parsley, to finish.
- Cook and cool the vegetables: cook the potatoes and carrots until tender but still holding their shape, then drain. Cool cooked food promptly and refrigerate within 1–2 hours; do not leave it on the counter for a long cooling period.
- Combine: mix the cooled potatoes, carrots, cooked peas and optional apple in a large bowl.
- Dress: add the mayonnaise, season and fold gently so that the vegetables retain their shape.
- Refrigerate: chill for at least 1 hour for the flavours to combine, keeping the fridge at 5°C or below. Keep the salad chilled until serving and use leftovers within 48 hours, or sooner if an ingredient’s storage instructions require it. Source: Food Standards Agency: chilling, freezing and defrosting food
- Finish: add parsley before serving. Olives or raisins are optional garnishes rather than essential ingredients.
Small ways to remember the meal
- Give a dish a family nickname: choose a name that genuinely means something to your household and note who made it, without inventing a family history for the recipe.
- Notes beside the table: invite people to write a memory or wish and place it in a separate container, away from the food. Share only the notes their writers want read aloud.
- A yearly photograph: take a quick picture of the table or willing participants and organise it in an album by year.
- Meaningful small tasks: offer suitable roles such as arranging napkins, mixing cold ingredients or setting out plates.
- Recipe cards: write or print the recipes for a family collection, adding honest notes about changes and who took part.
Reused decorations with warmth and character

Begin with decorations and materials you already own. Reusing them can reduce unnecessary purchases; a material being natural does not automatically make it cheaper, safer or environmentally preferable.
Materials to reuse
- Newspapers and magazines: make paper chains, woven ornaments or flowers, keeping printed paper away from food and heat.
- Fabric scraps and ribbon: turn them into bows, garlands or small decorative cushions.
- Twigs and pine cones: use clean, dry pieces in wreaths or rustic arrangements, avoiding sharp points and collecting only where permitted.
- Clean glass jars: use intact jars as vases or holders for suitable battery-powered LED lights, never as improvised candle holders surrounded by flammable decorations.
- Dried orange, cinnamon and greenery: add colour and texture, keeping them away from heat, flames and pets that might chew them.
Simple projects, step by step
Pine-cone and cinnamon wreath
- Gather suitable pine cones: use clean, dry cones from your own garden or a place where collection is allowed.
- Paint if you wish: add a little white or gold craft paint, following its age and ventilation instructions.
- Prepare a base: use a craft hoop or reinforced cardboard ring, covering sharp ends if using wire.
- Attach the decorations: tie or glue cones to the base with cinnamon sticks and small sprigs. An adult should handle hot glue if it is used.
- Finish: add a reused ribbon and secure the wreath in a dry, sheltered position appropriate to its materials.
Paper-and-fabric garland
- Cut strips: prepare strips of paper and fabric around 2–4 cm wide, using suitable scissors with supervision.
- Make links: loop and glue paper strips together with an age-appropriate adhesive; keep link sizes similar if you want an even finish.
- Add texture: tie fabric strips or bows between the paper sections.
- Hang safely: place the garland on a wall or another secure position well away from fireplaces, heaters and other heat sources.
A jar lantern with LED lights
- Prepare the jar: wash and dry an intact jam or preserving jar, discarding chipped or cracked glass.
- Decorate the outside: attach ribbon or lace with suitable craft adhesive. Any hot-glue work should be done by an adult.
- Arrange the light: choose an LED light intended for this use and follow its placement instructions. Keep its battery compartment accessible and secure, without loose filler touching electrical parts.
- Use electric light only: place the LED light inside; do not substitute a real candle. Keep batteries and small parts away from children.
Keeping the look simple and affordable
- Choose a small colour palette: two or three colours can help different reused materials look coherent.
- Store for another year: pack dry decorations carefully and group them by use, such as tree, table and doorway.
- Make together if you enjoy it: offer manageable tasks without making crafting an obligation.
- Consider local makers: a carefully chosen handmade piece can support a craft business; check materials and workmanship rather than assuming every local product has a lower environmental impact.
- Check safety: keep decorations away from flames and heat, secure hanging pieces and check lights before use.
Keeping memories from year to year
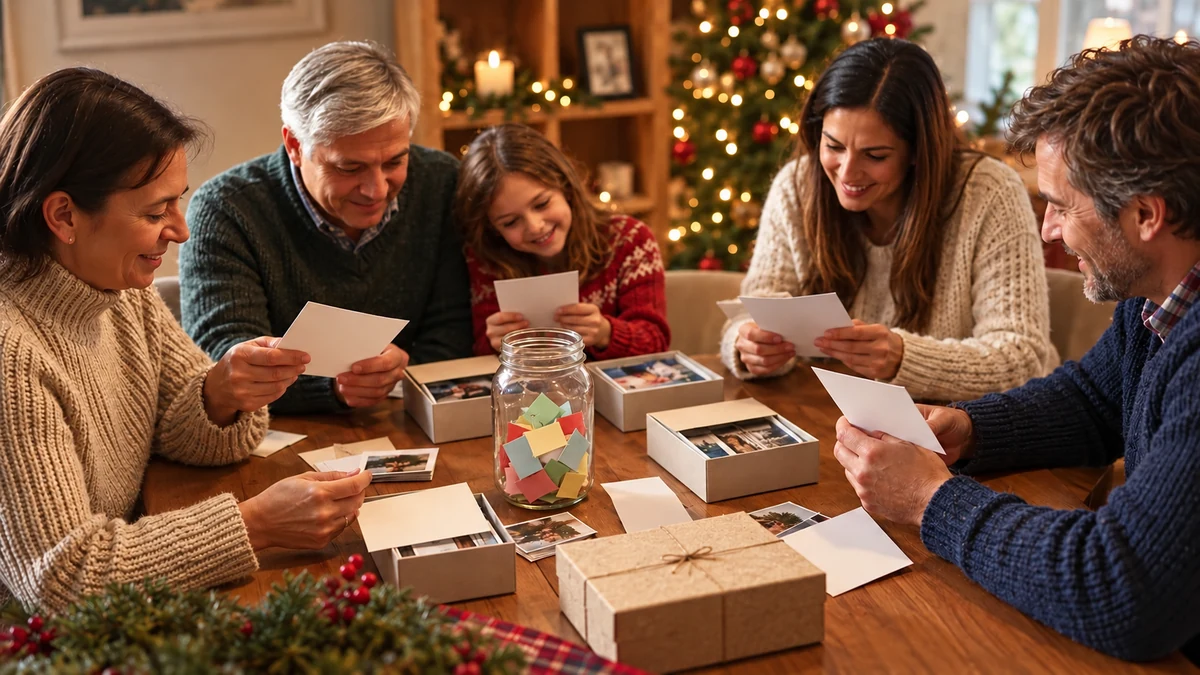
Memory traditions can be as simple as saving a note or choosing a few photographs. Repeat what your family enjoys and allow the ritual to change as people and circumstances change.
- A memory jar: collect notes about moments, achievements or thanks, with a choice about what will be shared at Christmas.
- An annual album: select favourite photographs and label a printed or private digital album with the year.
- An ornament for the year: choose or make one decoration that means something to you and keep a dated note with it.
- Recorded greetings: invite relatives to record a short highlight of their year. Store recordings privately and check consent before sharing them.
- A family recipe book: record recipes, actual cooks and memories connected with each dish, adding notes as the collection grows.
Making a time capsule
- Choose a container: use a sturdy box or suitable sealed container, putting only dry items inside.
- Choose meaningful objects: add notes, printed photographs, drawings or a small keepsake.
- Include a letter: invite each person to write about the year or their hopes, without requiring them to share private thoughts.
- Label it: note the date it was closed and when you hope to open it.
- Store it safely: choose a dry, protected place and keep a note of the location.
Making the memory jar easy to use
- Keep participation voluntary: add a note weekly or whenever something memorable happens, without imposing a quota.
- Keep materials handy: small pieces of paper and a pen are enough.
- Choose an opening date: arrange a convenient time for anyone who wants to join in.
- Read with care: ask before reading personal messages aloud and let people keep some memories private.
Organising photographs
- Select first: choose the photographs you want to keep before scanning a large collection.
- Use a phone or scanner: photograph prints in even light without glare, or scan them for a more consistent result.
- Name and group files: organise folders by year and use a date plus a short description, such as YYYY-MM-DD-christmas-dinner, replacing the date format with the real date.
- Keep backups: retain copies in separate places, such as protected cloud storage and an external drive, and check that they can be opened.
- Make a small retrospective: create an album or short video from the images participants are happy to include.
Keeping traditions manageable
- Avoid unnecessary rules: a simple activity is easier to repeat than a complicated production.
- Share responsibilities: invite willing people to look after photographs, the memory jar or decorations.
- Offer children small tasks: let them participate at their own level rather than expecting a polished result.
- Record and share thoughtfully: a few notes or photographs can preserve details; ask before sharing anyone’s image or story.
- Review and adapt: keep what worked and let go of activities that no longer suit the family.
A final thought
Thank you for exploring these ideas for family Christmas memories. Start with something small and enjoyable, and let it become a tradition only if it continues to work for you.
Keep a private album or a few notes if you wish. There is no need to share the celebration publicly for it to be meaningful.
Visit the I Love Christmas blog for more recipes, decorations and seasonal ideas.
Frequently Asked Questions About Family Christmas Traditions
How can I start a tradition without making it complicated?
Choose one simple activity, agree a convenient time and offer small tasks to willing participants. Enjoyment and flexibility matter more than a perfect result.
Which activities help children take part?
Short, supervised activities such as paper decorations, measuring cold ingredients, decorating cooled treats, storytelling and choosing music can work well. Match tasks to each child’s age and ability.
How can I reduce decoration costs and waste?
Reuse suitable decorations, paper, fabric and intact jars already at home, then store finished pieces for another year. Use LED lights rather than candles in decorated jars and avoid assuming natural materials are automatically safer or greener.
What can go in a memory jar?
Short notes about moments, achievements, thanks or wishes are enough. Keep contributions voluntary and ask before reading personal messages aloud.
How should I adapt food for dietary restrictions?
Check every ingredient, the preparation method and cross-contact risks. Use a suitable tested recipe where possible: replacing milk alone does not remove eggs, and changing butter alone does not remove other dairy ingredients.
How can I preserve Christmas photographs and keepsakes?
Select favourite images, scan or photograph prints in good light, label files with dates and keep protected backups in separate places. Store physical keepsakes dry and ask permission before sharing personal photographs.
Sources and Further Reading
- NHS: foods to avoid giving babies and young children
- Food Standards Agency: chilling, freezing and defrosting food