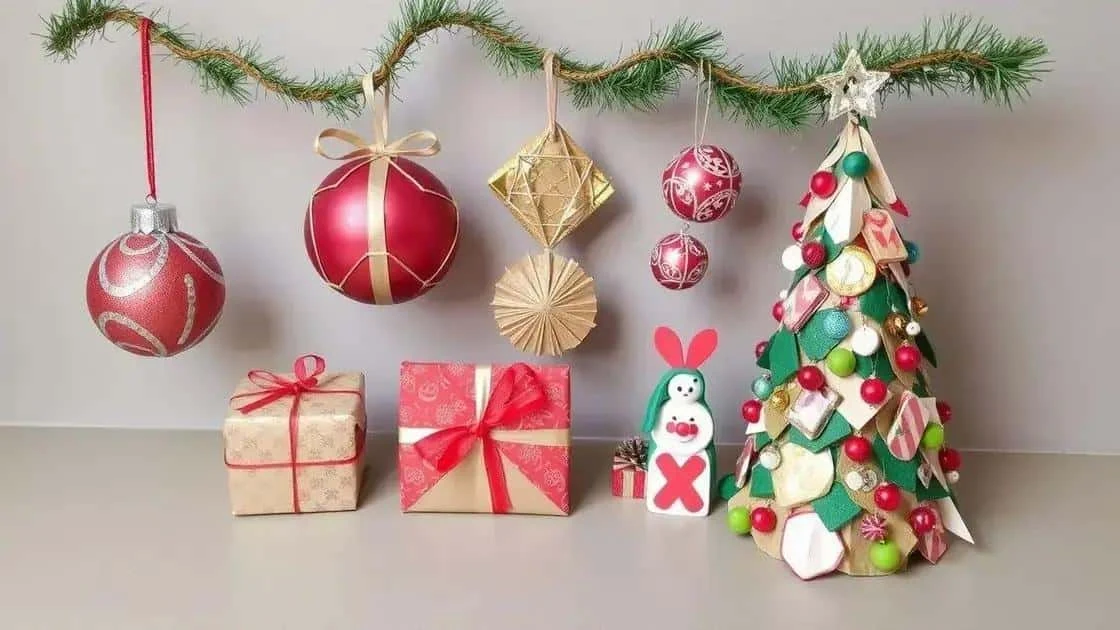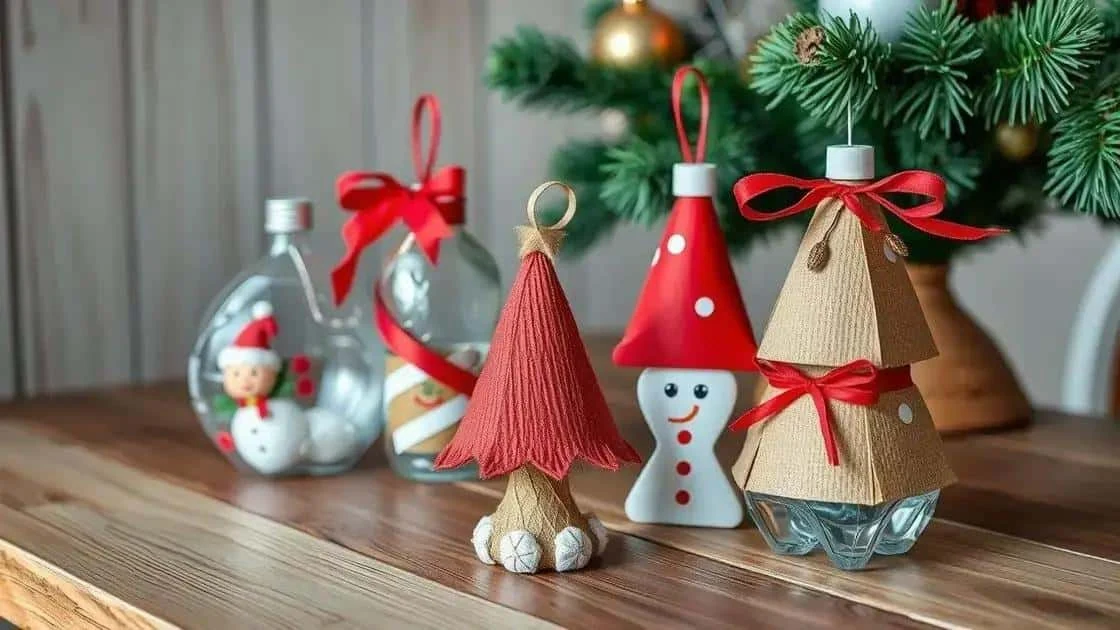
Christmas decorations made from reused materials can give cardboard, paper and saved ribbon another purpose. Reuse is different from recycling: once you add paint, glue or mixed materials, the finished decoration may no longer belong in your household recycling. Design it to keep and use again.
Making Christmas decorations from reused materials is a chance to enjoy crafting without buying everything new. A plain box or a few pages of old paper can become a personal ornament. Here are some ideas, with attention to practical construction, children’s involvement and what happens to the materials afterwards.
Why make decorations from reused materials?
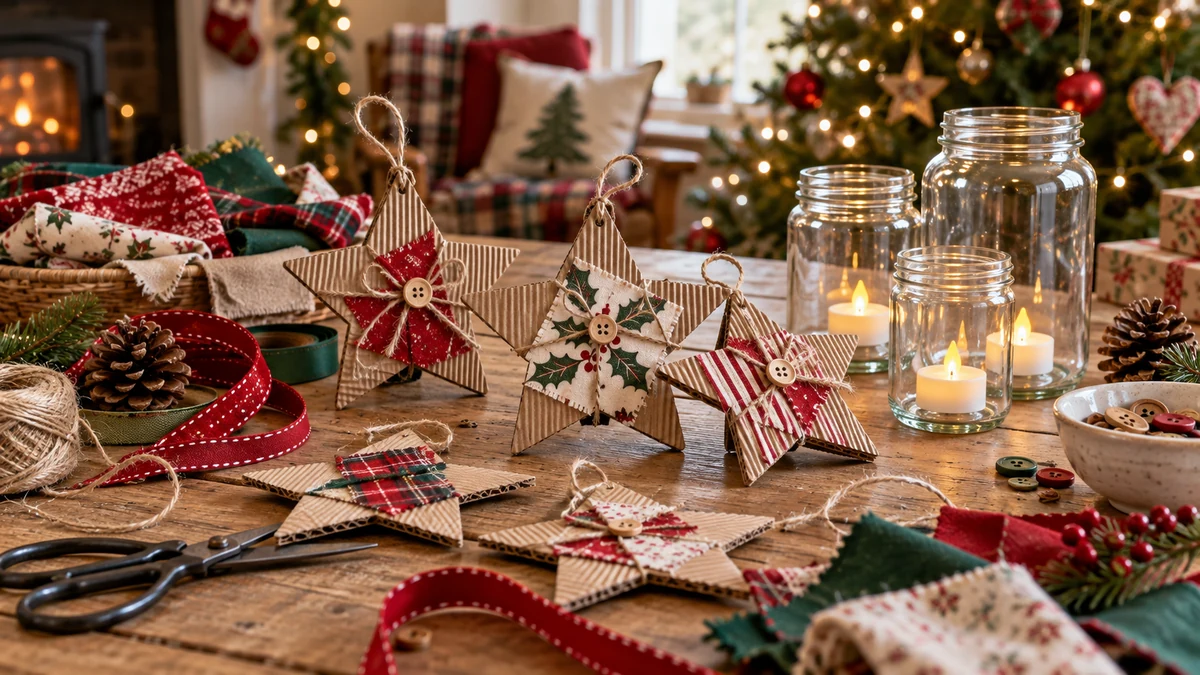
Choosing reused materials for Christmas decorations can reduce the need for new craft supplies and help you see familiar objects differently. The benefit depends on what you use and how long you keep it, rather than on the word ‘recycled’ alone.
Giving existing materials another use
A durable decoration can put a clean piece of packaging to further use. Keep components simple where possible, and check local recycling guidance when the item is no longer wanted. A craft made from recyclable materials is not necessarily recyclable after they have been joined together.
Saving money through creativity
Cardboard boxes, saved wrapping paper and ribbon can reduce the cost of a project. Start with what you already have rather than buying extra packaged products for the containers. Set a small limit for any glue or tools you genuinely need.
Building a family tradition
Making and keeping a few decorations each year can become a familiar family activity. Add a date or a short note to the storage box so that you can remember who made each piece when you bring it out again.
Materials you can reuse
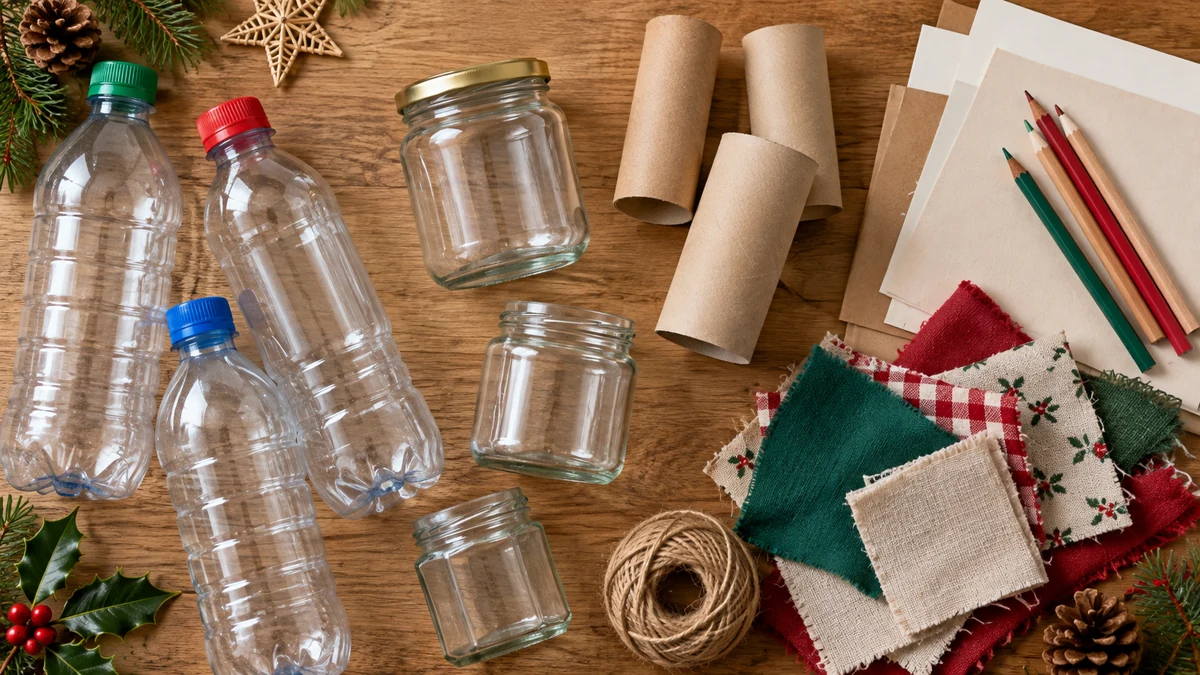
Many clean, dry household materials can be used for simple decorations. Check each item for sharp edges, dirt, staples or other hazards before putting it on the craft table.
Plastic bottles
A clean, intact plastic bottle can become a tabletop snowman with a removable paper sleeve. Avoid cutting or heating plastic for a children’s project. Keeping the bottle whole also makes it easier to separate the materials later.
Cardboard boxes
Flatten a clean box and cut stars, circles or tree shapes from it. Remove tape and staples first. Simple paper decorations or pencil designs may be enough; you do not need a thick layer of glitter or paint.
Old newspapers and magazines
Fold old paper into stars or cut strips for a garland. Check that the print and paper are suitable for the intended use, and keep paper decorations indoors and away from heat or flames.
Corks
Saved corks can form small figures or hanging ornaments for older children and adults. They are small objects, so keep them away from young children and pets. Different types of cork may require different disposal routes later.
Saved ribbons and bows
Reuse gift ribbons to hang or finish a decoration. Short, secure loops are more practical than long trailing lengths. Keep loose ribbon away from babies, young children and pets.
Step by step: an intact-bottle snowman
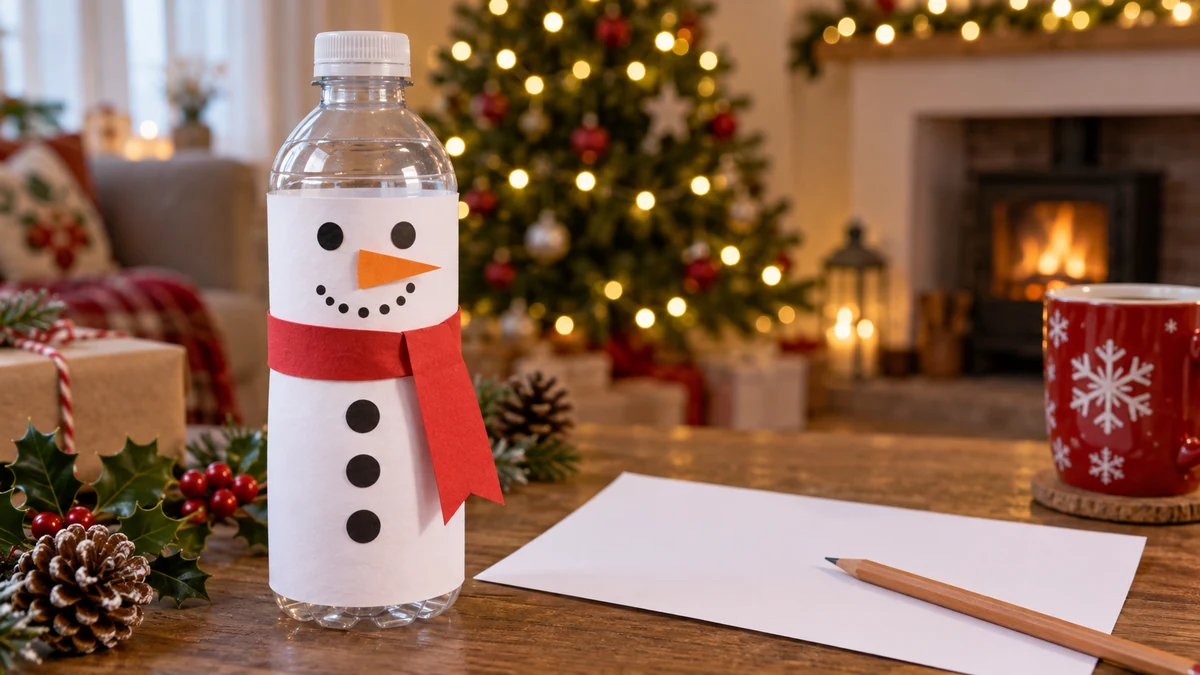
This plastic-bottle decoration uses a clean bottle without cutting or melting it. Make a simple tabletop snowman, then remove the paper parts when you want to store or recycle the materials separately:
Materials
Use a clean, dry empty plastic bottle, a strip of reused white paper, coloured paper scraps, pencils or pens, age-appropriate scissors and a small amount of removable tape. An adult should manage any loose cap or small parts.
Step 1: Prepare the bottle and sleeve
Wash and dry the bottle and remove its label if practical. Cut a paper strip wide enough to wrap around the middle. Keep the plastic intact and check that the empty bottle stands steadily before decorating it.
Step 2: Draw the design
Lay the paper flat and draw a snowman’s face and buttons. Add a paper scarf shape if you like, without beads or other loose small pieces. Keeping the decoration on the sleeve makes it easier to remove later.
Step 3: Attach the paper sleeve
Wrap the paper around the bottle and secure paper to paper with a small piece of tape. Do not cover the opening with loose pieces that a child or pet could swallow. This design is for standing on a surface, not hanging from a branch.
Step 4: Display your snowman
Place it on a stable shelf or sideboard away from heat and flames. If it tips easily, choose a more suitable bottle rather than filling it with small loose objects. Keep the finished ornament out of reach of young children and pets.
Creative ways to reuse cardboard

Cardboard is easy to shape into decorations and gift presentation. Choose a project that suits its thickness and keep the finished piece dry:
Stars and hearts
Draw a simple template, cut around it and decorate with pencil, paper scraps or suitable paint. An adult can make a small hanging hole if needed. Use a short loop and check that the ornament is light enough for its support.
Personalised wreaths
An adult can cut a ring from sturdy cardboard, which children can decorate with paper leaves or reused ribbons. Hang it indoors using a secure fitting. There is no need to add glitter, which makes loose mess and can complicate recycling.
Small gift boxes
Decorate an existing clean box with drawings or saved paper. Check that it is strong enough for the gift. Food should have suitable food-safe packaging inside rather than being placed directly against painted or glued card.
Christmas characters
Cut simple silhouettes of Father Christmas, reindeer or snowmen and add features with pens. A folded cardboard tab can help a figure stand on a shelf. Avoid small detachable decorations in projects for younger children.
Decorative storage boxes
Cover a sturdy box with a simple design and use it to store the finished ornaments. Reinforce it only as much as necessary. Keeping decorations together and protected makes them easier to reuse next Christmas.
Helping children take part
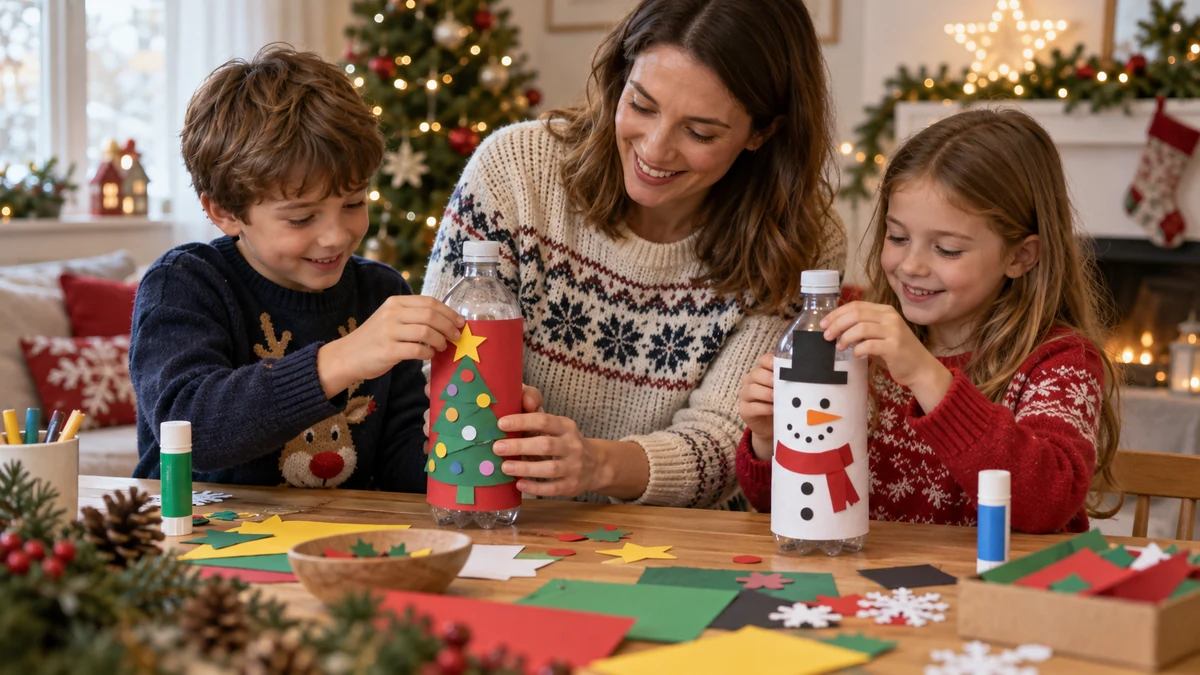
Making decorations with children works best when the materials and tasks match their age and abilities. Prepare the trickier parts first, then leave room for their own ideas:
1. Choose suitable materials
Use clean paper and card without staples or sharp edges. Adults should handle craft knives and difficult cutting. Keep small parts, strong adhesives and hot tools away from younger children.
2. Prepare a comfortable workspace
Cover a stable table, provide good lighting and put the materials within easy reach. Leave enough space between children to use scissors safely. Keep food and drinks separate from paints and glue.
3. Allow creative choices
Let children choose colours and designs within clear safety boundaries. A lopsided star or unusual colour scheme can be part of the charm. Offer help with a difficult step rather than taking over the whole project.
4. Explain reuse and recycling
Show how a box is being used again before it becomes waste. Explain that recycling is a separate process, and that paint, glitter and mixed materials can affect what the local service accepts. Avoid presenting every craft as automatically good for the environment.
5. Make it a family activity
Keep the session short enough to remain enjoyable, with breaks if needed. Older family members can prepare templates or help assemble pieces while younger children decorate. Serve snacks after hands and the table have been cleaned.
6. Enjoy the results
Give each child a place to display a favourite piece and ask about the idea behind it. If sharing photographs with others, respect the family’s privacy preferences and avoid posting identifying details without permission.
Where to display your reused-material decorations
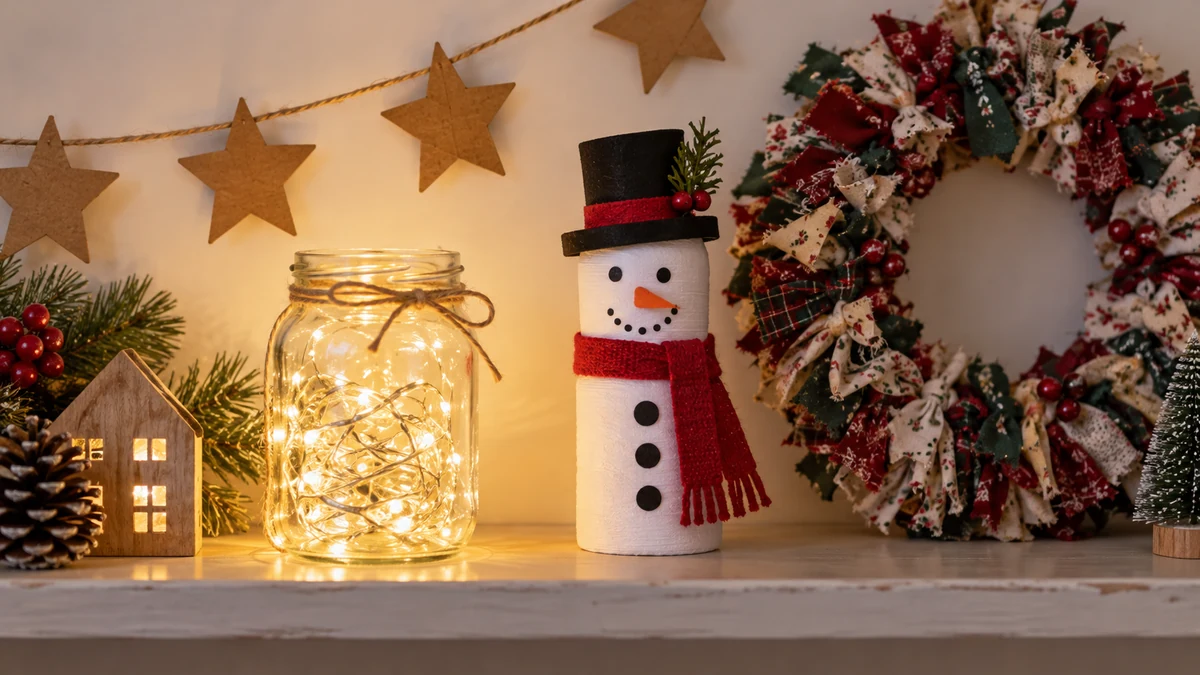
Display Christmas decorations made from reused materials where they will remain stable, dry and clear of hazards. Try these arrangements:
1. On the Christmas tree
Mix lightweight paper and cardboard ornaments with decorations you already own. Use secure short loops and keep them clear of heat sources. Real candles do not belong on a Christmas tree.
2. By a window
Hang lightweight pieces from a suitable fitting, away from blind cords and out of children’s reach. Leave window handles and escape routes accessible, and keep decorations clear of nearby heaters.
3. On an indoor door
A cardboard wreath can brighten an interior door if it does not interfere with the handle, hinges or closing. Paper and card may not withstand rain, so do not assume the decoration is suitable outside.
4. On shelves and sideboards
Group a few stable ornaments on a clear surface. If adding light, use an appropriate LED candle and keep its battery compartment secure. Avoid placing paper, card or plastic beside a real flame.
5. In a separately lit display
Let ordinary room lighting illuminate the decorations from a distance. Do not attach them to lamps, lampshades, bulbs, heaters or electrical fittings; decorative materials can create a fire risk or obstruct ventilation.
6. On a display line
A short, securely fixed line with clips can show several paper creations. Position it out of children’s and pets’ reach, without loops or trailing ends, and keep it away from doors and walking routes.
Make decorations worth keeping
Reusing materials can be an enjoyable and economical way to decorate for Christmas. The most useful project is one you like enough to keep, made without unnecessary new supplies.
A family craft session can give simple materials a personal meaning. Store the finished pieces carefully, repair them when practical and separate components when they eventually need to be discarded.
Start with one small idea, such as a cardboard star or an intact-bottle snowman, and build a collection at your own pace.
FAQ: Christmas decorations from reused materials
What materials can I use?
Clean cardboard, old paper, saved ribbons and suitable intact containers are useful starting points. Check for hazards and remember that small objects such as corks are not suitable for every age group.
How can children join in?
Prepare a clear workspace and age-appropriate materials, let children choose their designs and supervise practical tasks. Adults should handle sharp tools, difficult cutting and any hot equipment.
Where can I display the decorations?
Use suitable shelves, indoor doors or a tree for lightweight ornaments, keeping them clear of heat, flames, cables and escape routes. Secure hanging items out of children’s and pets’ reach.
Is this an expensive way to decorate?
It can be inexpensive if you use materials and tools you already have. Check what is available first and set a budget for any additional supplies rather than buying lots of new embellishments.
How can I explain the environmental side to children?
Explain that reuse gives an object another job, while recycling processes suitable waste into materials. Check local guidance together, because added glue, paint or glitter can change whether an item is accepted.
Will the decorations last?
Well-made pieces can last for several Christmases if they are kept dry and stored carefully, but durability depends on the materials. Repair loose parts and inspect decorations before putting them up again.