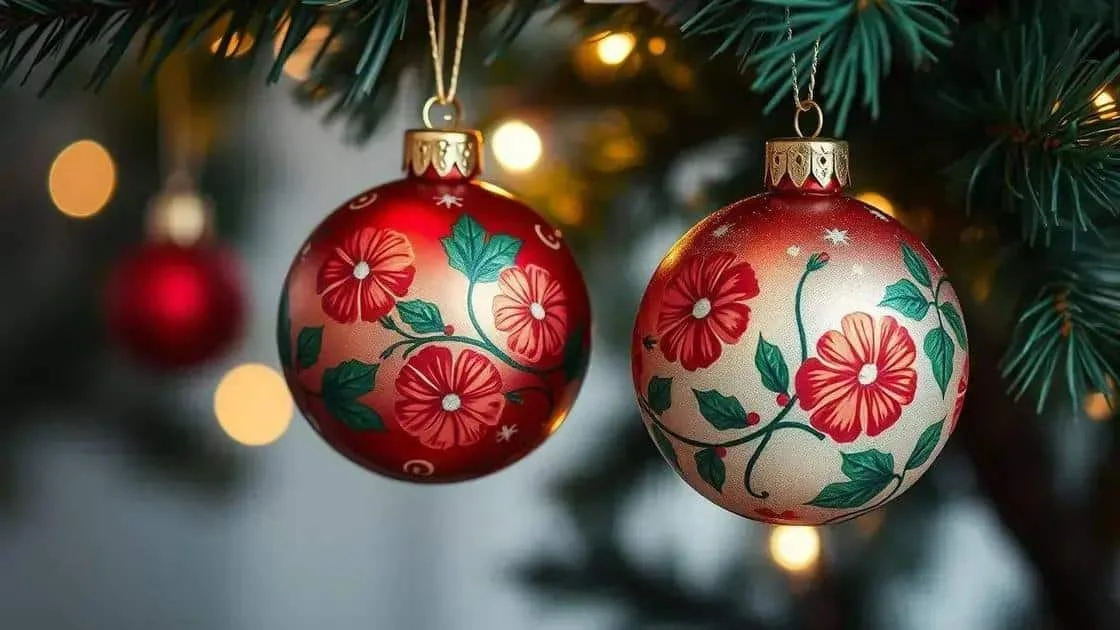
To paint Christmas baubles, choose paint compatible with the ornament’s surface, clean and dry it, then build up thin layers. Brushwork, sponging, decoupage and geometric patterns can all create a personal festive design.
Learning how to paint Christmas baubles gives you a way to refresh existing decorations and add your own colours to the tree. Start with a simple pattern, test your materials and enjoy trying a design that feels personal.
Materials for painting Christmas baubles
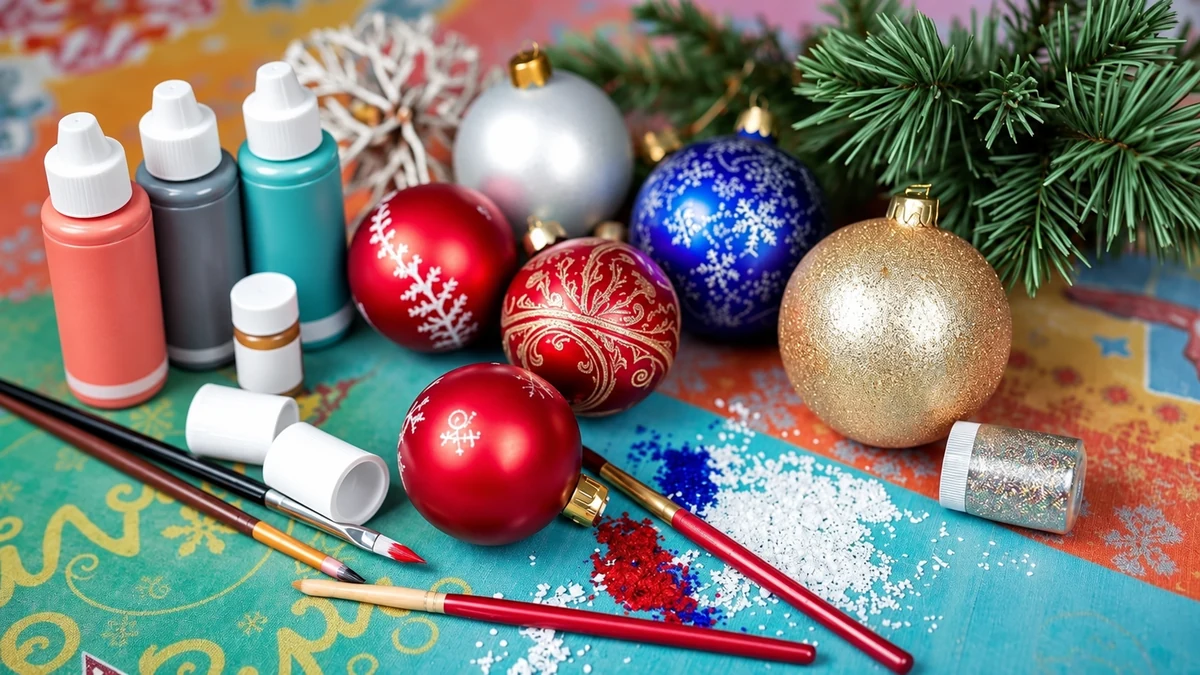
Before you paint Christmas baubles, gather a few supplies suited to the surface you are decorating:
- Christmas baubles: Choose glass or plastic ornaments in good condition. Shatter-resistant baubles are more practical for children’s crafts; adults should handle fragile glass.
- Acrylic paint: Check that the paint is suitable for your bauble’s material. Smooth glass and plastic may need a compatible primer or a specialist paint; test a small area first.
- Brushes: Use a broad brush for coverage and a fine brush for lines and small details.
- Sponges: Small pieces of sponge can create a softly textured finish.
- Stickers and sparkle: Suitable stickers or metallic paper add details after painting. If using loose glitter, contain it on a tray and keep it away from eyes, food and young children.
- Protective finish: A compatible craft varnish may protect the design, but it is optional. Follow the product instructions; spray finishes need the specified ventilation and are an adult’s task.
Cover your work surface and prepare a stable way to support the bauble while it dries. Keep its hanging cap and fittings in a safe place.
Choosing your colours
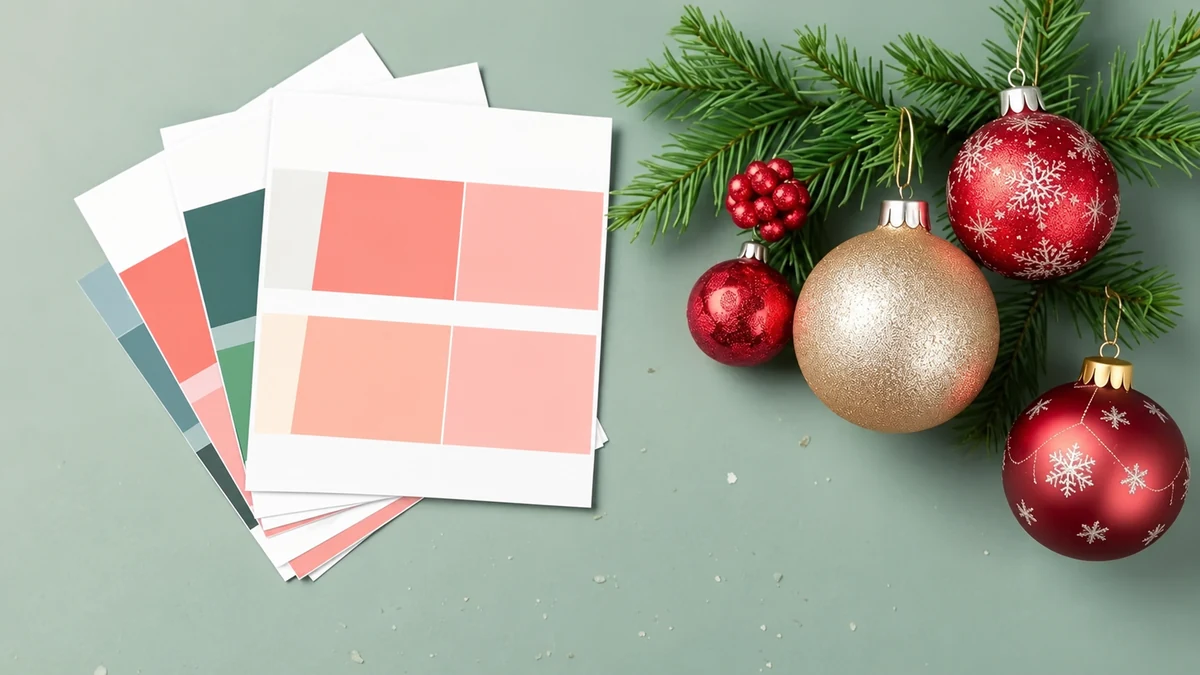
A colour scheme helps the painted baubles work with the rest of your decorations. Consider these approaches:
- Look at your existing palette: Pick colours that complement the ornaments, ribbons and lights you already use.
- Try traditional colours: Red, green and gold create a familiar Christmas combination.
- Explore unexpected combinations: Blue and pink, or silver and copper accents, can give the tree a different look.
- Check the lighting: Paint can look different under daylight and festive lights. View a dried sample in the room before committing to a whole set.
- Balance bright colours: White or other quiet base colours can soften a bold palette, while gold and silver provide metallic accents.
- Choose a theme: Blue and white might suit a wintry design, while brown and green can complement a rustic scheme.
There is no single correct palette. A small, consistent selection often makes it easier to combine different handmade designs.
Simple painting techniques
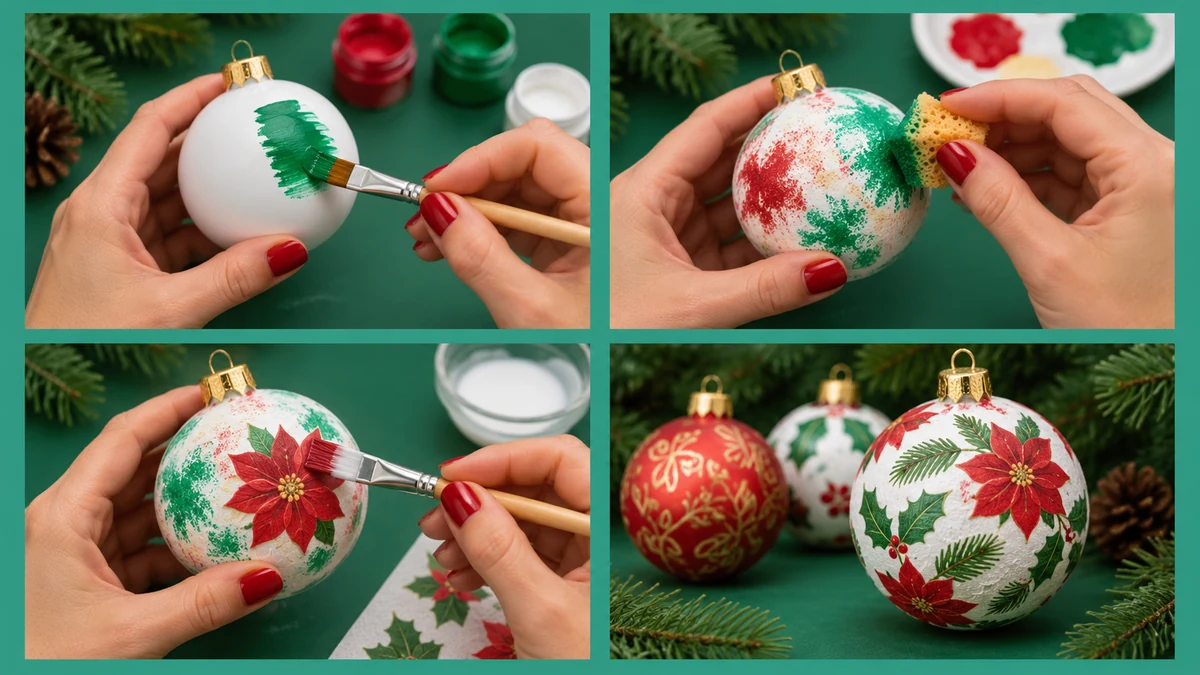
These simple painting techniques offer different ways to personalise your Christmas baubles:
- Brush painting: Apply compatible paint in thin layers. Try a plain base, small motifs or repeated dots, allowing each layer to dry as instructed.
- Sponge painting: Dab a lightly loaded sponge onto the surface. Build the texture gradually rather than covering the bauble with a thick wet coat.
- Decoupage: Attach small pieces of decorative paper or napkin with a compatible decoupage medium. Smooth them carefully, then let the surface dry before adding any suitable protective finish.
- Spraying and stencils: An experienced adult can use a suitable spray product or equipment with the ventilation and protection specified by its instructions. Beginners can achieve stencilled patterns with a brush or sponge instead.
- Splatter painting: Flick a small amount of paint from a brush onto the bauble for a speckled pattern. Protect the surrounding area and keep the brush directed away from faces.
- Masking tape patterns: Use suitable low-tack tape to mark stripes or geometric areas. Test that it will not lift the base coat and remove it according to the paint’s instructions.
Try one technique on a spare ornament before combining effects. A few deliberate details can be more effective than covering every part of the surface.
Adding glitter and stickers
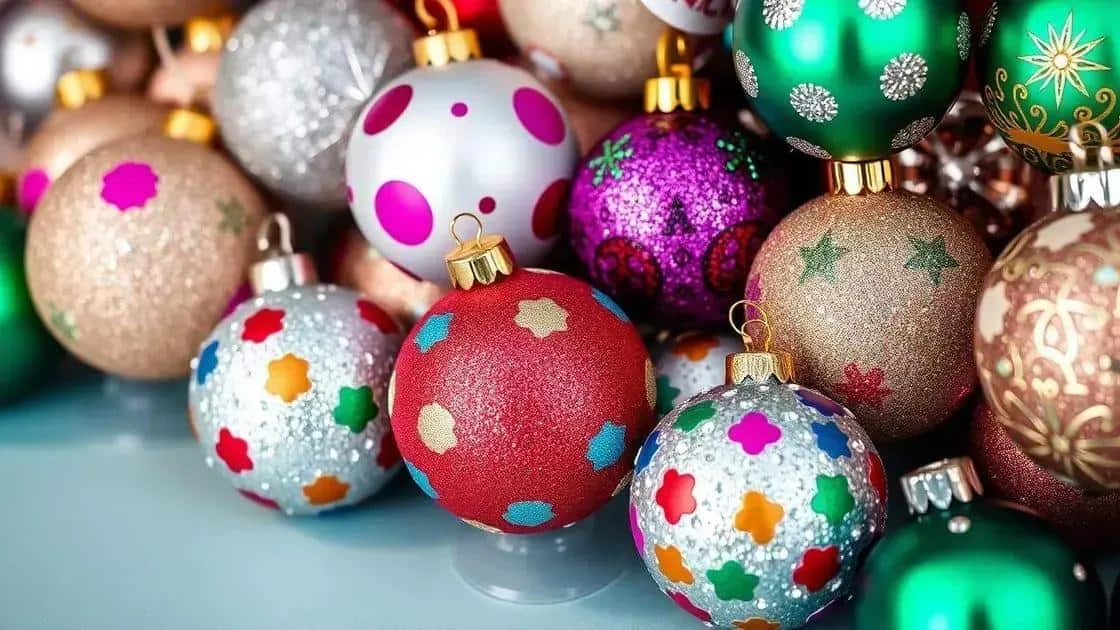
Glitter and stickers can provide extra detail on painted baubles. Metallic paper or painted dots are alternatives if you prefer to avoid loose glitter.
- Choose your sparkle: Select a colour and size that suit the design. Keep small pieces away from children who may put them in their mouths.
- Prepare the surface: Make sure the paint has dried fully and the surface is clean before adding adhesive or stickers.
- Apply suitable glue: Brush a little compatible craft glue onto the chosen area. This is easier to control than spray adhesive for a small craft project.
- Add glitter sparingly: Work over a tray and sprinkle a small amount onto the glued area. Let it dry, then gently remove loose excess without blowing it into the air.
- Attach the stickers: Choose motifs that fit the curved surface and press them down carefully, checking that the edges adhere.
- Consider a protective coat: Only use a finish compatible with the paint, glue and stickers. Test it first, as some products can smudge or discolour a design.
Leave the finished bauble to dry completely before handling or hanging it. Check for loose details before putting it on the tree.
Creative design ideas
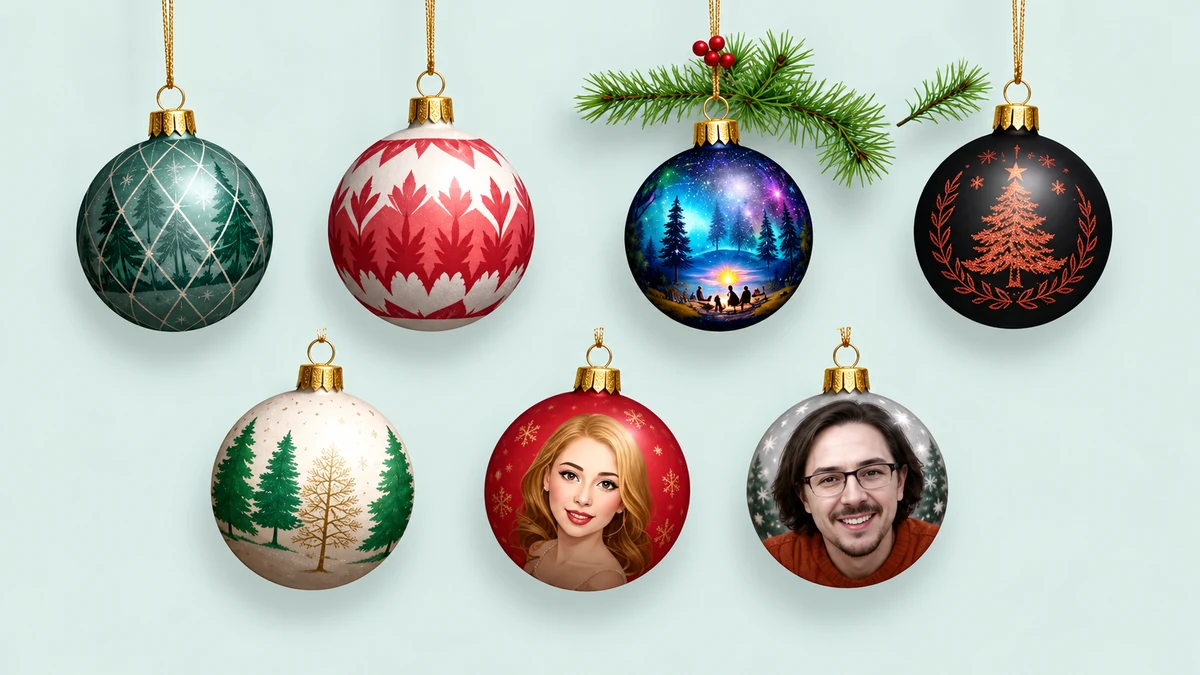
Looking for creative design ideas? These starting points can help you plan a personal set of baubles:
- Geometric patterns: Use masking tape to divide the surface, then paint the sections in contrasting colours.
- Nature-inspired details: Paint leaves or branches, or attach a small, clean dried leaf with suitable craft adhesive. Avoid heavy or sharp additions and keep the finished ornament away from flames.
- Ombré colours: Blend a light shade into a darker one across the bauble, working in small sections while the compatible paint remains workable.
- Portraits and illustrations: Use suitable fine pens or paint to add a small illustration, checking that the medium will adhere to the base coat.
- Photograph decorations: Print a small photograph and apply it with a compatible decoupage medium. Ask permission before using or sharing someone else’s image.
- Film and television themes: Use colours and simple motifs inspired by a favourite story for a personal decoration. Check rights before selling items featuring protected characters or artwork.
Combine techniques if you enjoy experimenting, or repeat one simple design in several colours for a coordinated set.
How to hang your finished baubles
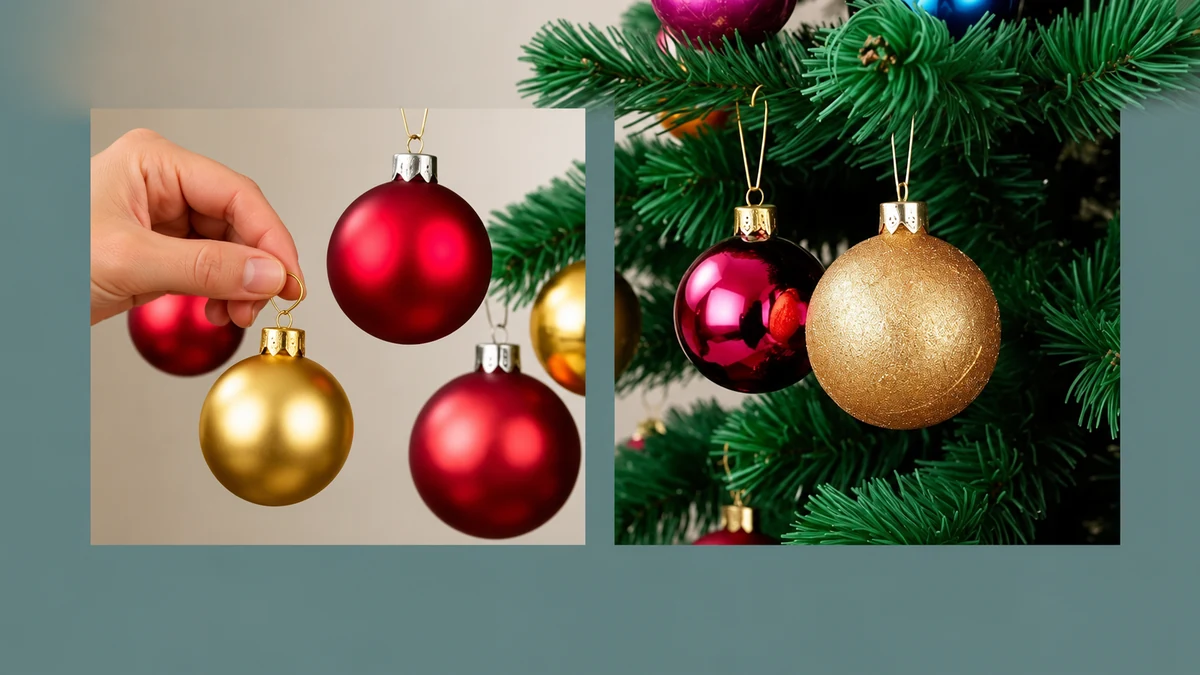
Once the decorations are completely dry, follow these steps for hanging your baubles:
- Choose the position: Use a tree branch, wreath or suitable display stand strong enough to support the ornament’s weight.
- Check the fittings: Make sure the cap, loop and hook are secure. Keep loose metal hooks and small fittings away from children and pets.
- Spread the colours: Step back occasionally to check the balance of colours and shapes across the display.
- Vary the sizes: Larger ornaments often suit stronger, lower branches, but keep fragile pieces out of children’s and pets’ reach. Do not overload a branch.
- Check stability: Support each bauble as you check that its fitting is seated properly. Avoid tugging fragile glass or a loosely attached cap.
- Position the lights: Use suitable lights according to their instructions and keep painted or paper-covered decorations away from heat sources and real flames.
A secure fitting and a considered position will help the decoration stay where you want it throughout the festive season.
Enjoy your personalised Christmas baubles
Painting baubles lets you bring your own style to familiar decorations. Choose compatible materials, build up the finish gradually and experiment with a few colours or patterns.
Whether you keep the ornaments or give them as gifts, a handmade detail can make them feel personal. Start with one manageable design and develop it at your own pace.
When Christmas is over, wrap the dry ornaments separately and store them somewhere they will not be crushed or scratched.
Frequently asked questions about painting Christmas baubles
What materials do I need to paint Christmas baubles?
Use sound baubles, paint compatible with their material, brushes and optional sponges or stickers. A compatible primer or protective finish may be useful, depending on the surface and paint instructions.
How can I choose colours for my Christmas baubles?
Look at your existing decorations, try traditional red and green or explore a new combination. Check a dried sample under the lighting where the baubles will be displayed.
Which simple painting techniques can I try?
Brushwork, sponging, decoupage, splatter effects and masking tape patterns are useful starting points. Spray products require the equipment, ventilation and precautions specified by the manufacturer.
Is it difficult to add glitter and stickers?
Simple designs can be straightforward on a clean, dry surface. Use compatible glue, contain loose glitter and test any protective finish before applying it to the completed design.
How should I hang painted Christmas baubles?
Wait until the finish is completely dry, check the cap and hook, and choose a branch or support that can bear the weight. Keep fragile ornaments and small fittings away from young children and pets.
Can I combine different design ideas on my baubles?
Yes. Combine colours, patterns and textures that suit your style, testing compatibility between materials and allowing each stage to dry.