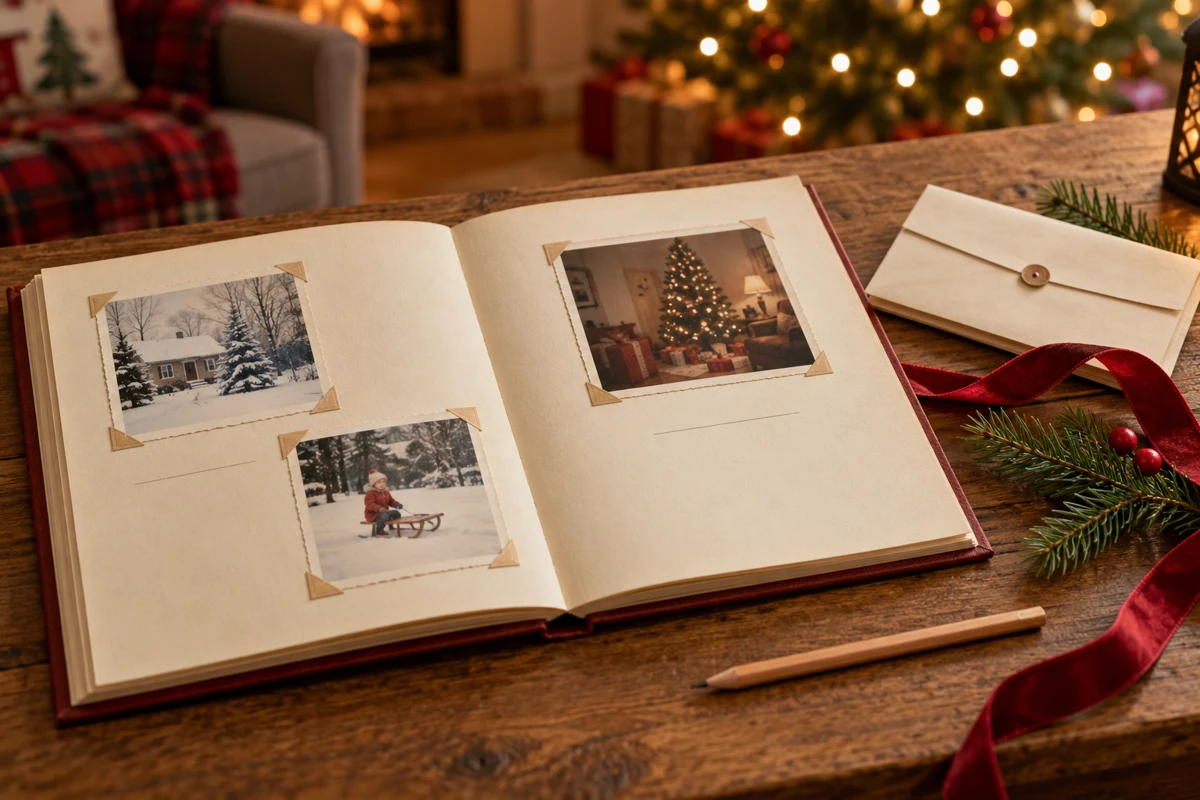
A Christmas memory book brings together photographs, recipes, letters and little stories that might otherwise remain scattered across boxes and phones. Start with a few pages and add another celebration each year. The aim is to keep what matters, not to create a perfect album.
Gather and identify your memories
Invite relatives to send a few photographs and a short memory, agreeing on a deadline. Sort the material by year or theme: meals, gatherings, trips, recipes and drawings. Choose varied images and record who appears, where it was and the date. If uncertain, write “approximate date” rather than inventing one.
Do not glue irreplaceable original letters or photographs directly into the book. Make copies for the layout and store originals separately. Handle items by their edges with clean, dry hands, without forcing fragile pages. Seek specialist advice for damaged or historically valuable material.
Simple scanning and organisation
- For printed photographs, 300–600 ppi is often a useful starting point; use more resolution if enlarging. Negatives need suitable equipment and their own settings.
- Scan without cropping important edges and keep an unretouched copy. TIFF or PNG can preserve files without further lossy compression; high-quality JPEG is convenient for sharing.
- Use names such as 2024-christmas-grandparents-01 and a folder for each year. Keep full names and notes in a separate list if the file cannot store captions.
- Keep more than one copy in different places and check that they open. A synchronised folder alone does not protect against every accidental deletion.
A plan for 24 inside pages
For a first book, allow 2 pages for an introduction and contents, 12 for photographs from six celebrations, 4 for recipes, 4 for letters and drawings, and 2 for traditions and acknowledgements. That totals 24 inside pages; the cover is separate, and the printer may require a different page count for your chosen binding.
Choose a size offered by your printer before laying out the pages. Use one or two legible typefaces, sufficient contrast and room for captions. One large photograph with a short story may work better than a page packed with tiny images. Keep text away from the central fold and page edges.
How to record a family recipe
Record who taught the recipe, its yield, tin size, weighed ingredients and complete method. If an older note says only “a cup”, confirm the volume or weigh the ingredient. Keep the original note as a memory and clearly label any adapted version.
Example: simple dried-fruit cake, 12 slices
This is an example recipe for structuring a page, not a recipe attributed to your grandmother. Use a greased 23cm round tin at least 7cm deep, with its base lined.
- 300g plain flour, reserving 10g to coat the fruit
- 200g softened unsalted butter and 200g caster sugar
- 4 medium eggs, approximately 200g without shells
- 120ml milk, 10g baking powder and 1 tsp (5ml) vanilla extract
- 150g raisins or chopped candied fruit; do not replace with wet fresh fruit
- Heat the oven to 180°C conventional or 160°C fan. Toss the fruit with the reserved 10g flour.
- Beat the butter and sugar until pale and fluffy. Beat in the eggs one at a time, then add the vanilla.
- Mix the remaining 290g flour with the baking powder. Fold it into the mixture in stages, alternating with the milk, just until combined. Fold in the fruit.
- Transfer to the tin without filling it more than two-thirds high and level the top. Bake for approximately 45–60 minutes, until the centre is firm and a skewer comes out without raw batter. Timing varies between ovens.
- Wait 15 minutes before turning out, then cool completely on a rack before slicing. Do not swap in wholemeal flour or honey in the same quantities: those changes require a different formula.
Once cold, keep tightly covered in the fridge and eat within 48 hours, or freeze individual slices. Let a serving lose a little of its chill before eating rather than leaving the whole cake out for hours. Record the date you made it and your actual observations, without claiming a version was tested before making it.
Personalise, review and make a proof
Include drawings, cards, the story of a decoration or a short timeline. Reproduce a loved one’s handwriting from a digital copy without damaging the original. Ask someone else to check names, dates and recipe quantities. Before printing several copies, order a physical proof to check text size, cropping and colours.
Follow the printer’s specifications for margins, bleed, colour profile and PDF format. Do not automatically convert everything to CMYK: some services request sRGB files. Useful resolution depends on image pixels and printed size, not merely changing a dpi number in the file. Keep the editable source for next year as well.
Preservation, sharing and privacy
Store the book somewhere dry and out of direct sunlight, using photo-safe materials for loose keepsakes. Before sharing online, seek agreement from the people pictured, particularly children’s guardians, and prefer restricted access. Remove addresses, documents and other details that do not need to circulate.
A small annual update is often more manageable than a huge project: choose a few photographs, add a story and check your backups. The book can grow at your family’s pace.
AI-generated illustrative image.