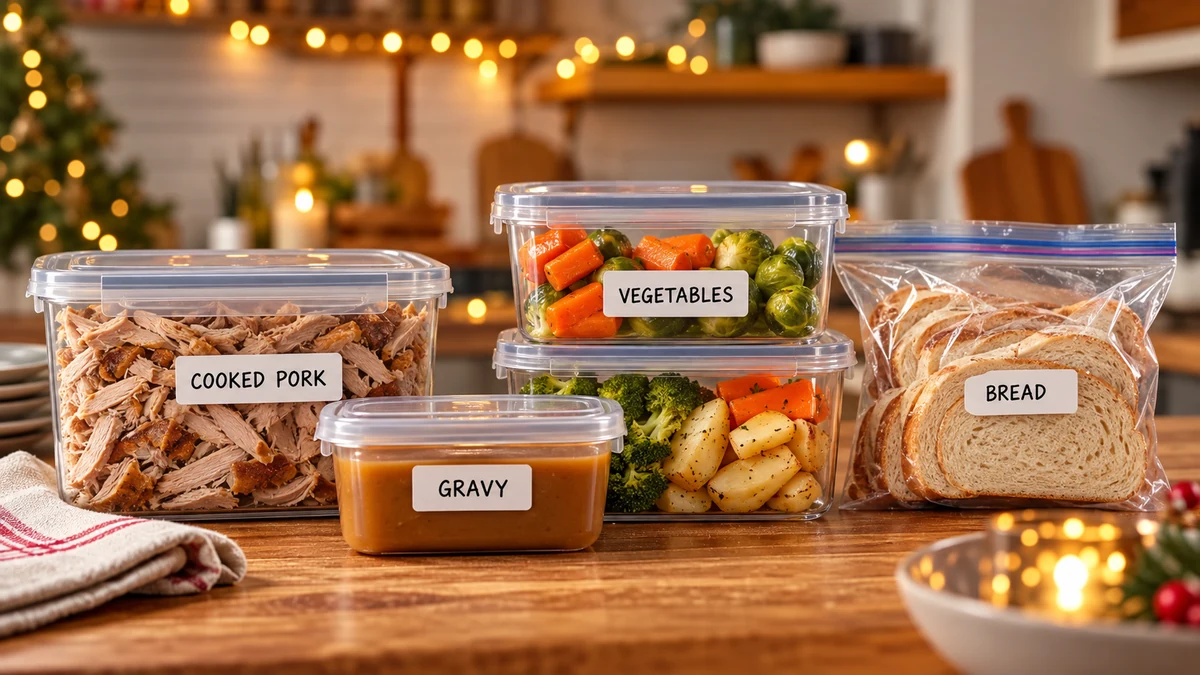
When deciding what to freeze for Christmas dinner, consider fully cooked meat dishes, gravy, mash, farofa and suitably prepared vegetables. Freeze food promptly in labelled portions at around −18°C, follow recipe or packet instructions and plan safe thawing and thorough reheating. Never partly cook meat to finish after freezing.
Knowing what to freeze for Christmas dinner can mean less rushing and more time with family. This guide combines practical freezer planning with Brazilian festive favourites, including rabanada and farofa, while using UK food-safety guidance.
What is worth freezing for Christmas dinner?
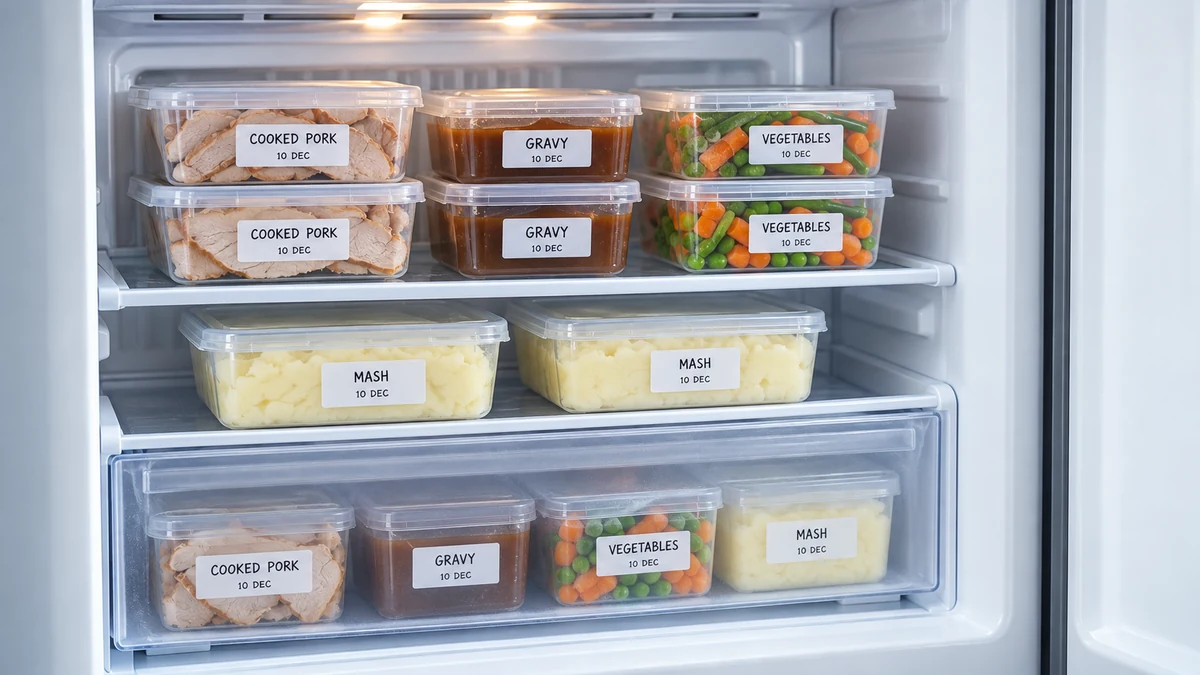
Choosing what to freeze for Christmas dinner involves both food safety and eating quality. The suggestions below are a planning guide, not a substitute for product instructions or a recipe’s specific freezing advice.
Main dishes
- Fully cooked roast pork leg or loin — portion, cool promptly and pack securely. Do not freeze a partly cooked joint for later completion. Smaller cooked portions are easier to chill and reheat evenly than a whole joint.
- Raw chicken or turkey — freeze only when suitable according to the label and before the use-by date. Keep stuffing separate. Follow the bird’s weight-based thawing instructions; a whole turkey can take longer than 48 hours in the fridge.
- Meat in sauce — fully cooked ragù and stews can be divided into meal-sized containers. Cool promptly before freezing, then reheat each portion thoroughly only once.
Side dishes
- Seasoned farofa — this Brazilian toasted cassava-flour side can be frozen in sealed portions. Bacon, eggs or other perishable additions require the same careful cooling and reheating as any cooked meal.
- Mashed potato or arracacha — freeze a small trial portion first, as texture varies by recipe. Stir gently when reheating; vigorous blending can make potato mash gluey.
- Cooked rice — cool quickly, ideally within one hour, and freeze promptly in small portions. If refrigerating instead, use within 24 hours. Reheat only once, until steaming hot throughout. Source: GOV.UK: student guide to food safety and hygiene
Sauces and stuffing
- Roast gravy — cool promptly and freeze in small containers, leaving suitable expansion space. This allows you to thaw only the amount needed.
- Stuffing and moist farofa — use a recipe with clear make-ahead instructions. Freeze separately from raw poultry and label whether it is raw or fully cooked, with the appropriate cooking directions.
Bread, dough and desserts
- Yeasted dough — some recipes freeze successfully at a specified stage, but not every dough follows the same method. Use the recipe’s freezing, thawing and proving instructions rather than a universal rule.
- Rabanada — Brazilian-style eggy bread is easiest to manage here when fully cooked, cooled promptly and frozen in separate portions. Reheat thoroughly in the oven for a firmer exterior.
- Creamy desserts — freeze only when the recipe is suitable. Custards and puddings may separate or become watery, so test a small portion and thaw in the fridge.
Prepared ingredients
- Vegetables — carrots, green beans and broccoli can be prepared for freezing. Follow blanching instructions specific to the vegetable and cut size, then cool rapidly, drain and pack.
- Seasoning pastes and unused marinades — suitable mixtures can be frozen in small portions. Keep them separate from any marinade that has touched raw meat, and follow their ingredients’ storage requirements.
- Homemade stock — cool quickly in shallow portions and freeze in suitable containers for later sauces and soups. Leave room for expansion.
Packaging and planning tips
- Use clean, freezer-safe, airtight containers or securely wrapped freezer bags. Remove excess air where practical to reduce drying and freezer burn.
- Cool cooked food quickly in small portions and refrigerate within one to two hours; rice needs faster cooling, ideally within one hour. Freeze promptly once cooled rather than leaving food on the worktop waiting indefinitely. Source: GOV.UK: chilling, freezing and defrosting food safely
- Label the outside clearly with the dish name, freezing date, raw or cooked status, allergens where relevant, and thawing or cooking instructions. Keep an inventory if it helps.
- Freeze quantities that match the people you expect to serve, so you need not thaw and reheat a large batch unnecessarily.
Foods that may disappoint after freezing
- Leafy salads and delicate crisp foods — their texture often deteriorates after thawing. Prepare these fresh when possible.
- Watery or delicate cream desserts — they may split or weep. Choose a recipe designed for freezing instead of assuming every pudding will work.
- Fried and breadcrumb-coated foods — crispness may suffer. Follow a suitable recipe’s freezing and reheating method; do not partly cook meat or poultry simply to preserve its coating.
Quick tip: make a thawing schedule from the actual food’s instructions and size. Thaw in the fridge, check that the centre is fully thawed, use within 24 hours of complete defrosting and reheat cooked food only once until steaming hot throughout. Source: GOV.UK: chilling, freezing and defrosting food safely
Preparing and packing food before freezing
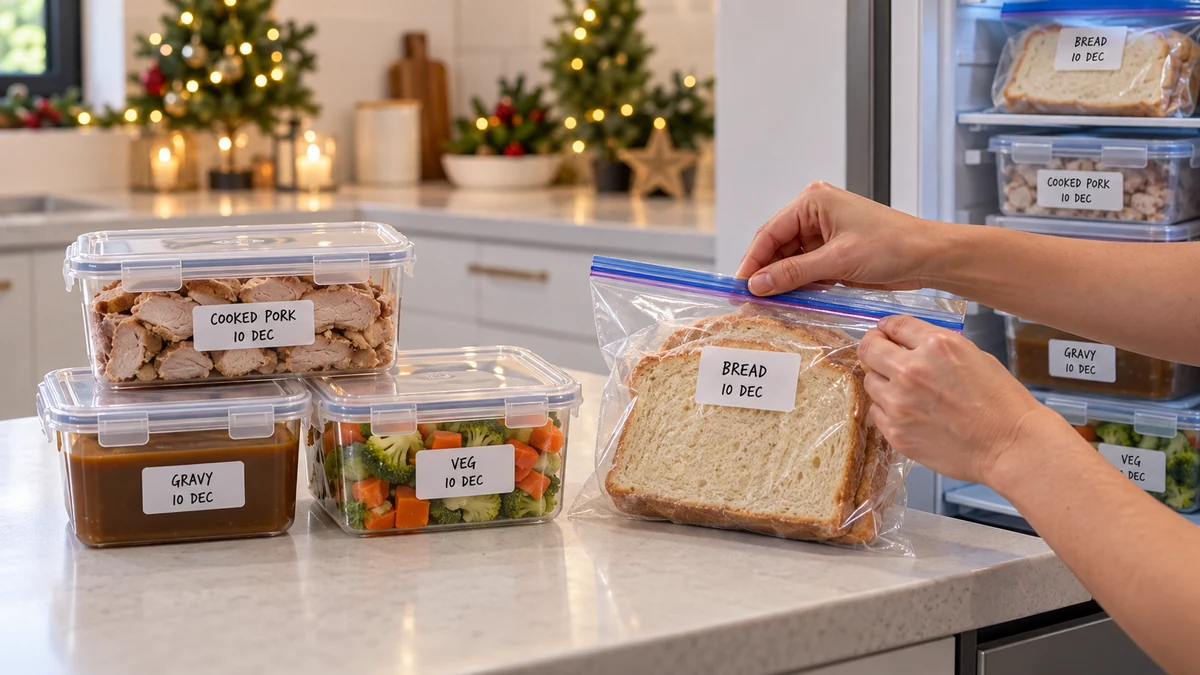
Good preparation means choosing suitable recipes, cooling promptly, preventing cross-contamination and using packaging that protects the food.
Main dishes: pork and poultry
- Cook fully or keep raw: never stop cooking meat or poultry part-way through to freeze and finish later. Either freeze suitable raw food as directed or fully cook it before cooling and freezing.
- Cool promptly: divide cooked food into smaller, shallow portions so heat escapes quickly, then refrigerate within one to two hours. Keep it protected from contamination while cooling.
- Portion: cut cooked meat into manageable slices or meal-sized portions using clean utensils, rather than trying to cool and reheat a large joint intact.
- Pack: use freezer-safe containers or suitable food wrap inside a strong freezer bag. Remove excess air and seal securely.
- Label: write the dish name, freezing date and reheating instructions on the outside. A clear date such as 10 December avoids ambiguity.
Mash, rice and farofa
- Potato or arracacha mash: prepare the recipe normally, cool promptly and portion. There is no need to add a fixed extra spoonful of butter to every serving before freezing.
- Rice: spread into small, shallow portions to cool quickly, ideally within one hour, then freeze promptly. Do not leave it in a pan or rice cooker at room temperature to cool slowly.
- Prepared farofa: cool promptly, then pack in sealed portions. Stir during reheating so the centre becomes hot as well as the surface crisping.
Sauces and stuffing
- Gravy: strain if desired, divide into small containers, cool quickly and freeze. Leave headspace suitable for the container and liquid.
- Moist stuffing: pack according to a suitable recipe and label its cooking status. Keep it separate from raw poultry and avoid adding raw ingredients to a cooked batch intended only for reheating.
- Texture changes: cream- or starch-thickened sauces can split after freezing. Test the recipe first; gentle stirring may help, but extra liquid will not repair every sauce or make mishandled food safe.
Bread and raw dough
- Bread and enriched dough: follow a recipe that specifies when to freeze, how to wrap it and how to thaw and prove it. Freezing can affect yeast performance.
- Baked sweet bread: cool, wrap and freeze according to the recipe. A fully baked loaf does not need another proving stage; raw shaped dough and baked bread require different instructions.
- Cooking from frozen: label this option only when the recipe or manufacturer explicitly permits it, and include the appropriate cooking instructions.
Vegetables
- Blanch where appropriate: use guidance specific to the vegetable and piece size, then cool rapidly in clean iced water. One fixed blanching time is not suitable for every vegetable.
- Drain and dry: remove excess water with clean kitchen paper or a clean cloth before packing.
- Portion: pack meal-sized quantities in freezer-safe bags or containers and label how they should be cooked.
Desserts and delicate foods
- Creamy desserts: choose freezer-suitable recipes and small portions. Delicate fresh fruit may soften, so consider adding it after thawing instead.
- Cooked rabanada: cool promptly, separate the slices with baking parchment and pack for freezing. Reheat once, thoroughly, using an oven method suited to the slice thickness.
- Toppings: where the recipe allows, freeze the base separately and add icing or fresh fruit after thawing. Keep perishable toppings properly chilled.
Packaging habits that help
- Reduce air exposure: a well-sealed freezer bag or container is sufficient for many dishes. Vacuum packing is optional and does not replace safe storage or extend a use-by date on its own.
- Use practical portions: freeze the quantities you will serve together, making cooling, thawing and reheating more manageable.
- Make labels useful: include the name, approximate quantity, freezing date and any important instructions or allergens.
- Allow food to cool promptly: do not stack hot dishes together or overload the freezer with warm food. Follow the appliance’s freezing-capacity guidance.
- Protect the surface: close packaging securely and use suitable wrap where needed. Baking parchment between portions helps separate them but is not an airtight seal by itself.
Thawing before reheating
- Use the fridge: allow enough time for the size and density of the food, following packet instructions where available. Large birds and joints may take several days; check the centre rather than relying on a blanket 24–48-hour rule.
- Microwave defrosting: follow the appliance instructions, turn or stir as directed, and cook or reheat immediately afterwards. Do not microwave-defrost food and then leave it waiting for later.
- Oven reheating: follow suitable recipe instructions, covering food if helpful to retain moisture. Check that every portion becomes steaming hot throughout, not merely browned on top.
Planning tip: list the order in which dishes need thawing and reheating, including fridge space, oven space and any separate cooking requirements.
Freezer storage: quality, dates and safe handling
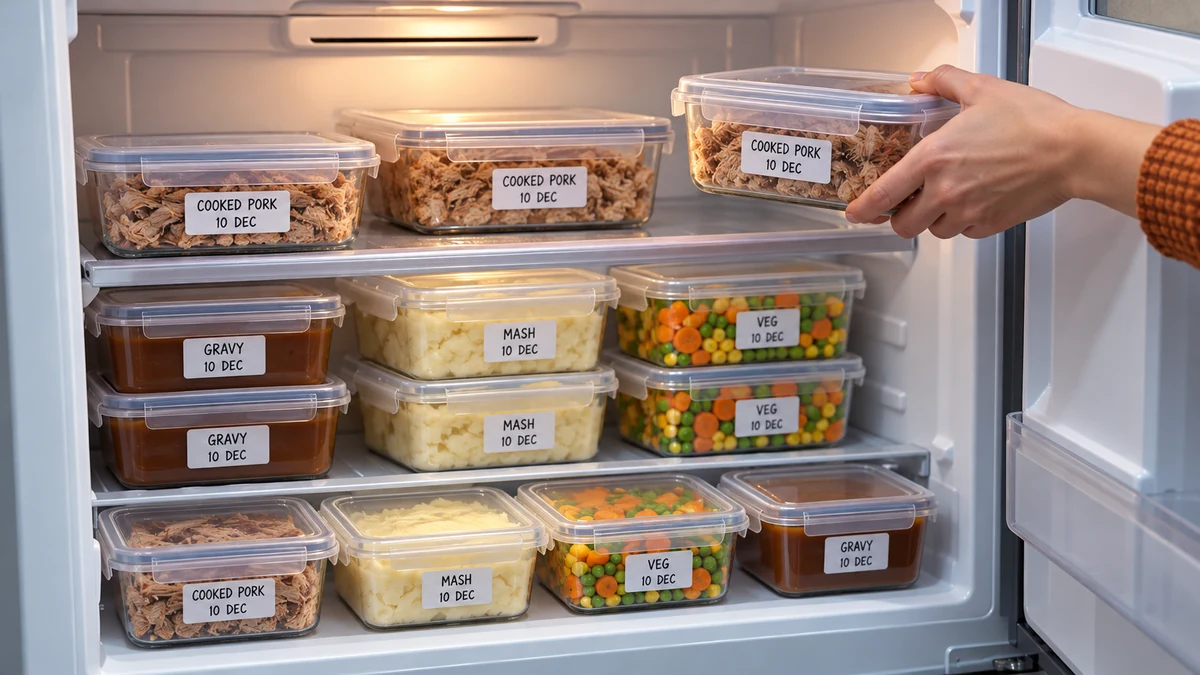
Freezer storage times are often quality guidelines rather than guarantees of safety. Food must have been safe when frozen, kept continuously frozen and handled correctly after thawing. Follow product-specific instructions first.
A practical storage checklist
- Cooked roast pork: plan to use within roughly two to three months for good quality, or sooner if the recipe specifies. Freeze promptly after safe cooking and cooling.
- Raw pork: follow the pack’s home-freezing advice and freeze before its use-by date. Do not assume every cut has the same storage recommendation.
- Raw chicken or turkey: follow the manufacturer’s freezing and thawing directions, including instructions for a product bought already frozen.
- Cooked meat dishes and stews: use a two- to three-month quality target where no shorter recipe instruction applies, and freeze in suitable portions.
- Sauces and gravy: follow the recipe’s freezer advice. For Christmas planning, making them a few weeks ahead is more useful than seeking the longest possible storage time.
- Mash: test a small frozen portion before making a large batch, since texture depends on the ingredients and method.
- Rice: prompt cooling and freezing matter more than a long freezer timetable. Label the portion for one thorough reheating after safe defrosting.
- Farofa: consider all additions, particularly bacon or egg. Use recipe-specific advice and plan a small batch close enough to Christmas to retain its texture.
- Raw yeasted dough: follow a tested recipe’s storage period and proving method; do not apply baked-bread guidance to raw dough.
- Prepared vegetables: use advice for the particular vegetable or the packet instructions. General guidance for frozen fruit and vegetables often suggests three to four months for best quality.
- Creamy desserts: freeze only where the recipe permits, for its recommended period. Separation after thawing is a quality issue, but unsafe handling cannot be judged by texture alone.
Freezer temperature and organisation
Keep the freezer around −18°C and the fridge between 0°C and 5°C. Check temperatures, use secure packaging and avoid thawing more than you need. Freezing does not undo unsafe storage before the food was frozen.
Quality changes and warning signs
- Freezer burn: dry, discoloured areas can result from air exposure. Freezer burn itself affects quality rather than safety, but that does not prove the food’s overall storage history was safe.
- Smell and appearance: discard food showing spoilage, but remember that harmful bacteria may be present without an obvious smell. Never taste food to test whether it is safe.
- Separation: sauces and creams may lose their original consistency. Judge storage safety separately from whether the texture can be improved.
Safe ways to defrost
- Fridge: thaw in a suitable covered container and allow enough time for the centre to defrost fully. Use within 24 hours once fully defrosted, unless the product requires a shorter time.
- Plan ahead: make space in the fridge rather than improvising a worktop or water-bath thawing method. Follow any specific manufacturer instructions.
- Microwave: use the correct defrost setting and cook or reheat immediately afterwards, following the appliance and food instructions.
- Avoid room-temperature thawing: the outside can become too warm while the centre remains frozen.
Habits that reduce waste
- Label every portion: make the contents and freezing date visible on the package, with a separate inventory if useful.
- Use older portions first: rotate food while respecting its specific instructions and storage history.
- Do not simply refreeze thawed food: safely thawed raw ingredients can be fully cooked into a dish, cooled promptly and then frozen. Avoid repeated thawing and refreezing, and reheat previously cooked food only once.
- Cool cooked food promptly: portion it to release heat quickly, refrigerate within one to two hours and freeze as soon as practical once cooled. Rice needs faster cooling.
Putting the plan together
Record what is frozen, how many portions it provides and when it needs thawing. Keeping gravy and side dishes separate can make the final meal easier to organise.
Thawing and reheating while preserving texture
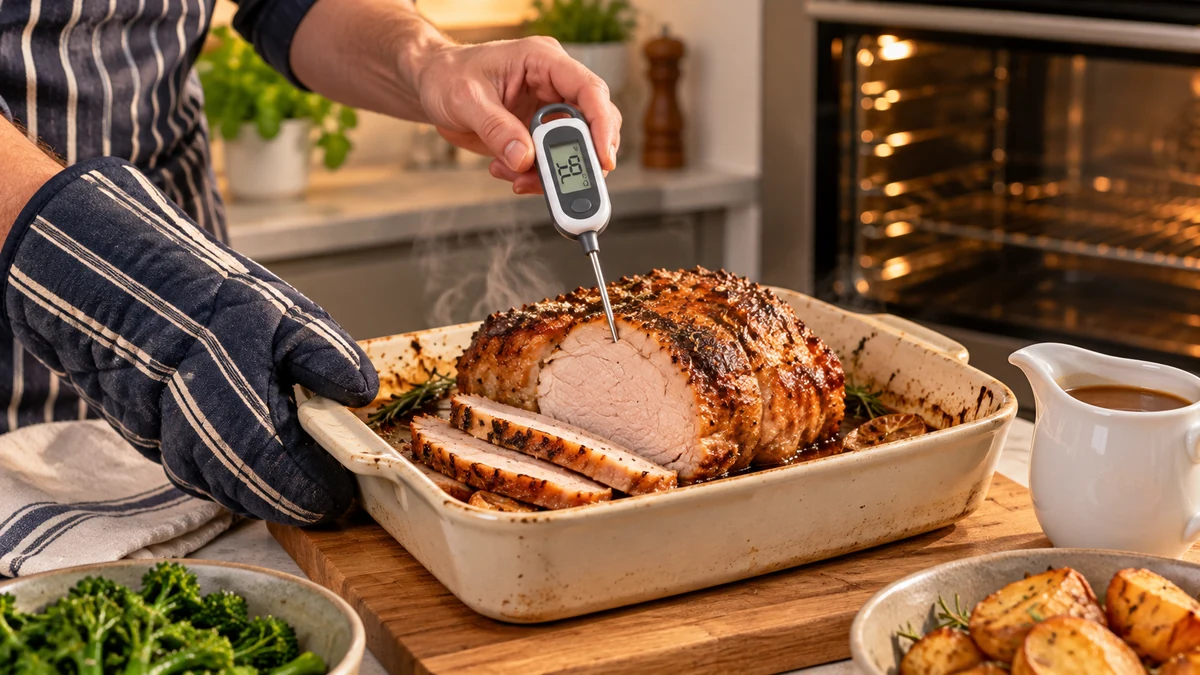
Thawing and reheating well means combining suitable methods with safe temperatures. Crispness is useful, but it must not take priority over thorough heating.
Choosing a thawing method
- Fridge: use covered containers and keep raw meat on the bottom shelf, separate from cooked and ready-to-eat food. Follow size-based thawing instructions and check the centre.
- If time is short: use a permitted microwave method or change the menu. Do not rush thawing on the worktop or with warm water.
- Microwave: turn or stir where instructed to reduce uneven thawing, then immediately continue with cooking or thorough reheating.
- Cooking from frozen: do this only when the packet or a suitable recipe provides instructions. A blanket percentage added to cooking time is not a reliable method for every food.
- Keep perishables cold: do not use a two-hour worktop period as a defrosting allowance. Thaw in the fridge or by an explicitly suitable method.
Reheating cooked roast pork
- Prepare the oven: use the reheating setting given by a suitable recipe. Smaller portions are easier to heat evenly than an intact joint.
- Arrange the meat: place fully thawed slices or manageable portions in an ovenproof dish. Add a little suitable gravy if desired to help retain moisture.
- Cover where helpful: foil or an ovenproof lid can reduce drying, but must not prevent you checking the food’s centre.
- Heat thoroughly: the centre must be steaming hot, not merely warm. A clean probe can check a safe time–temperature combination, such as 70°C for two minutes or 75°C for 30 seconds. A brief reading of 60–65°C is not enough. Source: Food Standards Agency: cooking temperatures
- Finish the surface: uncover briefly if browning is wanted, watching carefully. A browned surface does not demonstrate that the centre has reached a safe temperature.
- Serve with hot gravy: reheat the gravy thoroughly as well, and serve promptly. Do not cool and reheat the same cooked portion repeatedly.
Mash, gravy and creamy side dishes
- Defrost in the fridge: allow the portion to thaw fully in a covered container, then use within 24 hours.
- Stir during heating: use a suitable pan and stir regularly so the food heats evenly without catching. It must become steaming hot throughout.
- Adjust consistency: add a small amount of suitable liquid if needed, then heat through again. Stir potato mash gently rather than blending it vigorously.
- Season at the end: check seasoning once the food is thoroughly hot, taking account of salt already present in stock or gravy.
Rice, farofa and vegetables
- Rice: reheat a safely stored portion with a little water if necessary, stirring so no cold pockets remain. It must be steaming hot throughout; reheat only once and serve immediately.
- Farofa: stir in a suitable frying pan until hot throughout, taking particular care with bacon or other perishable additions. Adjust heat to avoid burning the flour.
- Blanched vegetables: finish cooking according to the vegetable and freezing method, using the hob or oven as appropriate. Appearance alone is not a reliable cooking guide for every ingredient.
Restoring a crisp coating
- Oven or air fryer: follow suitable instructions for the food and appliance. Leave space for air circulation and check the centre; no single eight- to twelve-minute reheating time suits all foods.
- Microwave texture: a microwave may soften a crisp coating. If using it to defrost before an oven finish, continue immediately and make sure the final reheating is thorough.
Delicate puddings and creams
- Thaw in the fridge: use the recipe’s instructions and keep chilled desserts cold until serving. Slow thawing does not guarantee that a freeze-sensitive cream will remain smooth.
- Reheat only when appropriate: some desserts are intended to be served chilled and should not be warmed to try to repair their texture. Follow the specific recipe rather than applying a bain-marie method to every pudding.
- Fresh fruit: add suitable washed fruit near serving time where the recipe allows. Freezing and reheating can soften delicate fruit such as strawberries.
Food-safety reminders
- Thorough reheating: use a suitable method that leaves food steaming hot throughout. Reheating does not make food safe if it was stored unsafely beforehand, and it cannot be described as eliminating every risk.
- Avoid repeated cycles: do not repeatedly thaw, refreeze and reheat cooked dishes. Safely defrosted raw food can be fully cooked, cooled promptly and frozen as a new cooked dish.
- Portion sensibly: thaw only what you intend to use within 24 hours, reducing waste and unnecessary reheating.
- Use a clean probe: check the thickest or coldest parts as appropriate, and clean the thermometer between uses to avoid cross-contamination.
Texture tip: thaw appropriately, heat thoroughly and use a brief oven or pan finish only where useful. Do not sacrifice safe heating to keep a dish slightly juicier.
Brazilian-inspired recipes: rabanada, farofa and roast gravy
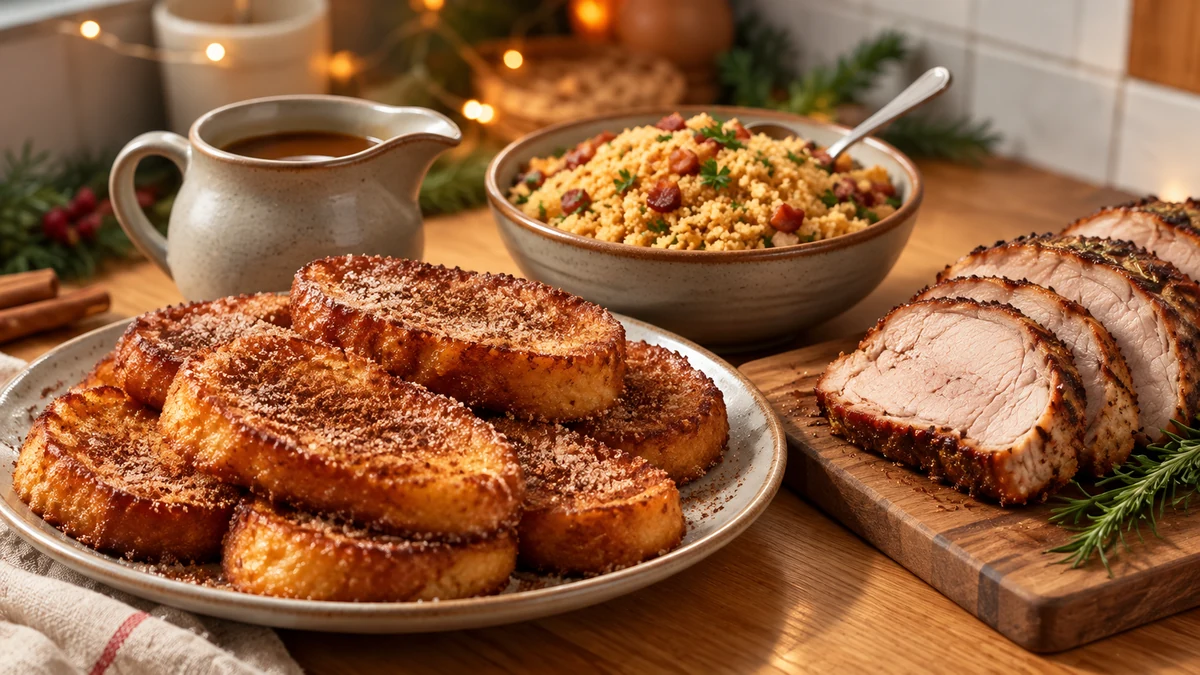
- Rabanada — ingredients:
- 8 thick slices of day-old bread, approximately 500 g — brioche, a firm white loaf or a suitable baguette-style loaf can be used. Slice size and absorbency affect how much mixture is needed.
- 200 ml milk — or a suitable plant-based drink, checking all ingredients if an allergy is involved.
- 2 large eggs — beaten for coating the slices.
- 50 g sugar — for the milk mixture, plus extra to taste for dusting if desired.
- 1 tsp ground cinnamon — for the mixture, with an optional extra pinch for dusting.
- 50 g butter — for frying in batches. A suitable oil is an alternative, but changing the frying fat alone does not make a recipe containing milk and possibly dairy bread lactose-free or milk-free.
Making the rabanada
- Mix: combine the milk, sugar and cinnamon in a wide bowl, stirring to dissolve the sugar as far as possible. Place the beaten eggs in a separate shallow bowl.
- Dip the bread: briefly dip each side into the milk mixture. Adjust the soaking time to the bread: it should absorb some liquid without falling apart. Do not force every loaf to follow the same timing.
- Coat in egg: pass the dipped slices through the beaten eggs, coating both sides. Prepare only as many slices at once as you can cook promptly.
- Fry: heat some of the butter in a frying pan over moderate heat and cook in batches, adding more from the measured amount as needed. Turn until both sides are golden and the egg coating and centre are thoroughly cooked; timing depends on thickness and heat.
- Finish: transfer to kitchen paper if needed, then dust lightly with the optional extra sugar and cinnamon. Serve promptly or cool and store using the guidance above.
- For a baked version: use a complete oven-baked rabanada recipe with appropriate cooking instructions. A short fixed oven time cannot guarantee that thick, soaked slices are cooked through.
- Farofa — ingredients:
- 200 g Brazilian cassava flour, farinha de mandioca — the granular flour used for farofa, not tapioca starch. A maize-based variation needs the appropriate Brazilian-style flour, not UK cornflour used for thickening.
- 100 g butter, or 3 tbsp oil — these are alternative versions from the recipe, not equivalent quantities of fat, so the texture will differ.
- 100 g diced bacon, optional — omit for a bacon-free version, or use a little extra onion to taste.
- 1 medium onion, chopped
- 2 garlic cloves, chopped
- 50 g chopped nuts, optional — omit where necessary and check ingredients and cross-contact for anyone with an allergy.
- Chopped parsley, salt and pepper to taste.
Making the farofa
- Cook the bacon: if using, fry until fully cooked and crisp, then set aside. Drain excess rendered fat rather than automatically adding it all to the measured butter or oil.
- Cook the aromatics: use the chosen butter or oil to soften the onion, reserving a little of that measured fat if you want to adjust the texture later. Add the garlic and stir briefly without burning it.
- Add the flour: stir in the cassava flour over moderate heat, toasting it gently and distributing the onion and garlic evenly.
- Check the texture: stir in any reserved portion of the measured fat if needed. The result should be crumbly; this version does not require an unspecified extra stock or liquid.
- Finish: return the cooked bacon if using, add the optional nuts and parsley, and season to taste. Serve hot or cool promptly for storage.
- Simple roast gravy — ingredients:
- 300–400 ml roast juices or stock — use safely collected cooked-meat juices with excess fat removed, homemade stock or a suitable ready-made stock.
- 2 tbsp butter — or 2 tbsp oil.
- 2 tbsp plain flour — alternatively, use 1½ tbsp cornflour mixed with a little cold water as described below. For a gluten-free version, every ingredient must be suitable, including stock and optional sauce.
- 1 small onion, chopped
- 1 garlic clove, crushed
- 1 tbsp Worcestershire sauce, optional — check the label for fish, gluten and other allergens, and choose a suitable alternative where needed.
- Salt, black pepper and thyme or rosemary to taste.
Making the gravy
- Prepare the liquid: collect juices from the fully cooked roast, strain if needed and remove excess fat. Measure 300–400 ml, using stock to make up the amount if necessary.
- Soften the onion and garlic: heat the butter or oil in a saucepan, cook the onion until soft, then add the garlic and stir briefly without browning it heavily.
- Thicken appropriately: for plain flour, stir it into the fat and cook for one to two minutes before adding liquid. For cornflour, skip the roux: mix the cornflour with a little cold water in a separate cup and add this slurry later to the simmering liquid.
- Add the stock: gradually whisk the liquid into the flour mixture, then bring to a simmer. If using cornflour, add the stock to the softened onion first, bring it to a simmer and stir in the freshly mixed slurry gradually until the desired thickness is reached.
- Simmer and season: cook the plain-flour gravy for around five to eight minutes, stirring, until thickened and the flour is cooked. Let a cornflour version simmer until thickened, following its packet guidance. Add the optional Worcestershire sauce and herbs, then season after checking the stock’s saltiness.
- Finish: strain for a smooth gravy if desired and serve promptly. If making ahead, cool and refrigerate or freeze safely rather than leaving it lukewarm in a water bath.
Make-ahead tip: freeze cooled gravy in small labelled portions. Reheat once until steaming hot throughout, stirring and adding a little suitable liquid if needed to adjust the consistency.
Variations, substitutions and budget ideas
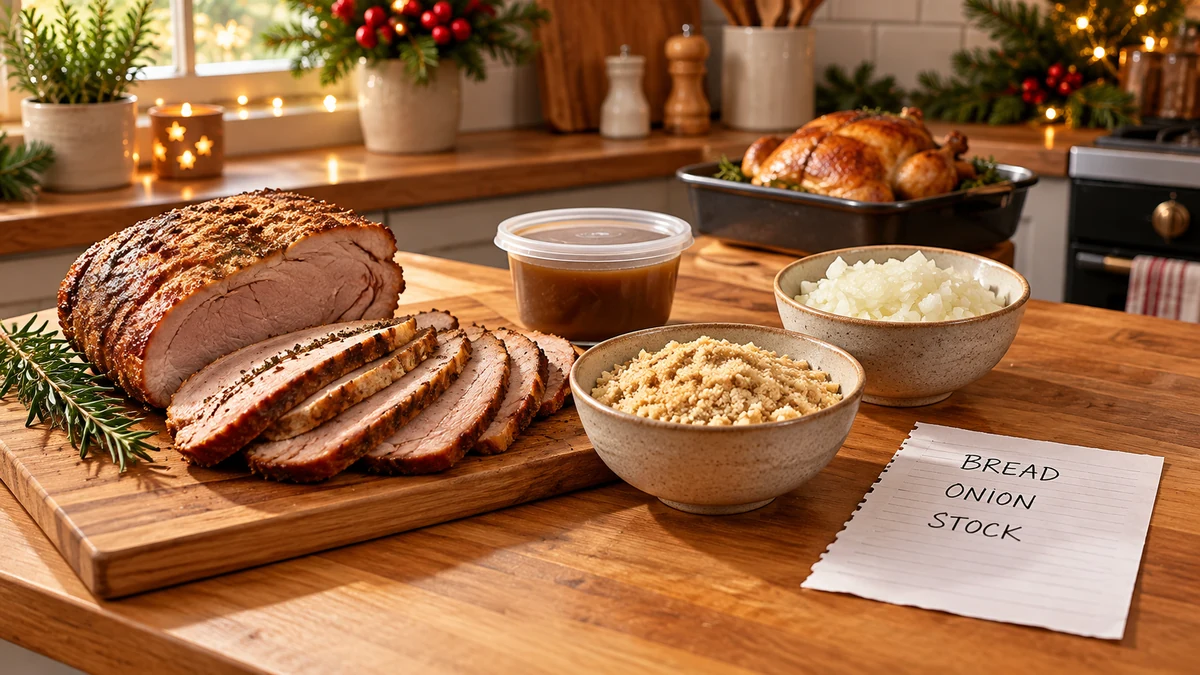
Variations and substitutions can help fit the meal to your guests and budget. Compare actual prices and keep cooking and storage requirements in mind.
Practical variations
- Shredded roast pork — a suitable slow-cooking cut can be portioned and served with different sauces. Compare the price per edible serving rather than assuming shredded meat is cheaper than a whole joint.
- Roast chicken — a smaller bird may suit a smaller gathering and can be easier to portion than a large turkey. Follow its own cooking instructions.
- Flexible side dishes — farofa with dried fruit or vegetables can use ingredients already in the cupboard. Any leftovers added must have been stored safely and must not already have been reheated.
Choosing substitutions carefully
- Meat: compare cuts such as pork shoulder or braising beef with more expensive options, choosing a recipe designed for the cut’s cooking needs.
- Dairy: milk may work in some sauces that do not need cream’s richness, but milk and butter are not a universal cream substitute. Check the recipe and remember that both contain milk allergens.
- Farofa: compare plain cassava flour with ready-seasoned mixtures. Onion and herbs can add flavour, although imported ingredients may cost more in the UK.
- Sugar: brown sugar can change flavour and moisture but is not automatically cheaper. Follow the recipe for substantial substitutions; sweeteners are not always interchangeable by weight.
- Desserts: compare simple chocolate treats or fruit-based puddings with more elaborate desserts. Choose ingredients intended for the recipe rather than assuming a coating product behaves like chocolate.
Practical ways to reduce spending
- Compare unit prices: larger bags of rice, flour or nuts can offer value only if you can store and use them without waste.
- Compare whole and prepared cuts: account for bones, trimming, cooking time and the number of servings, not just the shelf price.
- Plan portions: use the recipe’s servings as a starting point and adjust for appetites, children, side dishes and whether meat weights include bones. One fixed gram allowance does not suit every menu.
- Use leftovers safely: plan meals around food that was cooled and stored correctly. Respect its storage time and one-reheat limit rather than repeatedly repurposing the same dish.
- Seasonal shopping: compare fresh, frozen and seasonal produce, buying only what the menu needs.
- Freeze useful quantities: small labelled portions help you use food without thawing a whole batch.
Keeping a recipe’s character
- Keep its core seasoning: onion, garlic and herbs can preserve a familiar flavour, while quantities should suit the particular recipe.
- Try a small batch: test a major ingredient substitution before making it for a celebration.
- Check texture: reducing fat or changing liquids can affect a dish considerably. Use a recipe designed for the change instead of automatically compensating with stock.
- Balance flavour: a little lemon juice or vinegar can brighten some savoury dishes, but taste carefully and consider whether acidity will split a dairy sauce.
Ideas for desserts and sides
- Rabanada: a firm day-old white loaf can replace brioche, with soaking adjusted to the bread’s texture.
- Mash: compare potato with other suitable root vegetables and use a recipe with clear preparation instructions. Arracacha and cassava are different roots and should not be treated as interchangeable ingredients.
- Farofa: grated carrot or apple can add flavour and volume, but also changes moisture and storage needs. It is a variation, not a like-for-like replacement for nuts.
Final budget tip: estimate the cost per serving and choose a few reliable dishes. Good planning often saves more than adding extra recipes or buying ingredients just because they are on offer.
Final thoughts
Make-ahead cooking can reduce the Christmas rush when dishes are chosen, cooled, packed and reheated carefully. Start with a manageable menu and enough fridge and freezer space.
Label portions clearly, keep a thawing timetable and test texture-sensitive recipes in small quantities. Safe handling and realistic portions help reduce waste as well as last-minute work.
Thank you for reading! Share your own festive cooking ideas and questions, and explore more seasonal recipes and practical guides.
Visit the I Love Christmas blog for more Christmas food and celebration ideas.
FAQ: freezing and preparing Christmas dinner
Which Christmas dishes can I freeze?
Suitable fully cooked meat dishes, gravy, mash, farofa and prepared vegetables can be useful choices, provided they are cooled and stored safely. Raw food and dough need their own instructions. Check the recipe or label; delicate salads and some creamy desserts lose quality after freezing.
How long can food stay in the freezer?
Follow the product or recipe instructions first. General quality guidance suggests roughly two to three months for meat and three to four months for baked goods, fruit and vegetables, but these are not universal safety deadlines. Food must be safe before freezing, remain frozen and be handled correctly after thawing.
How should I pack food to reduce freezer burn?
Use freezer-safe airtight containers or securely wrapped freezer bags, remove excess air where appropriate and leave expansion space for liquids. Label the contents, freezing date and cooking status, and freeze useful portion sizes.
What is the best way to defrost food?
Thaw in the fridge, allowing enough time for the centre to defrost fully, and use within 24 hours. If microwave-defrosting is suitable, cook or reheat immediately afterwards. Do not thaw perishable food on the worktop.
How do I reheat meat without drying it out?
Use smaller portions, a suitable covered dish and a little gravy if appropriate. Reheat only once until steaming hot throughout; a clean probe can verify 70°C for two minutes or 75°C for 30 seconds. Browning or a brief 60–65°C centre reading is not enough.
How can make-ahead cooking help with the budget?
Compare unit prices and edible servings, choose recipes suited to affordable ingredients and freeze only useful portions. Plan safe use of leftovers and avoid buying more food than you can store or serve.
Sources and Further Reading
- Food Standards Agency: Christmas food safety
- GOV.UK: chilling, freezing and defrosting food safely
- Food Standards Agency: cooking temperatures
- GOV.UK: student guide to food safety and hygiene