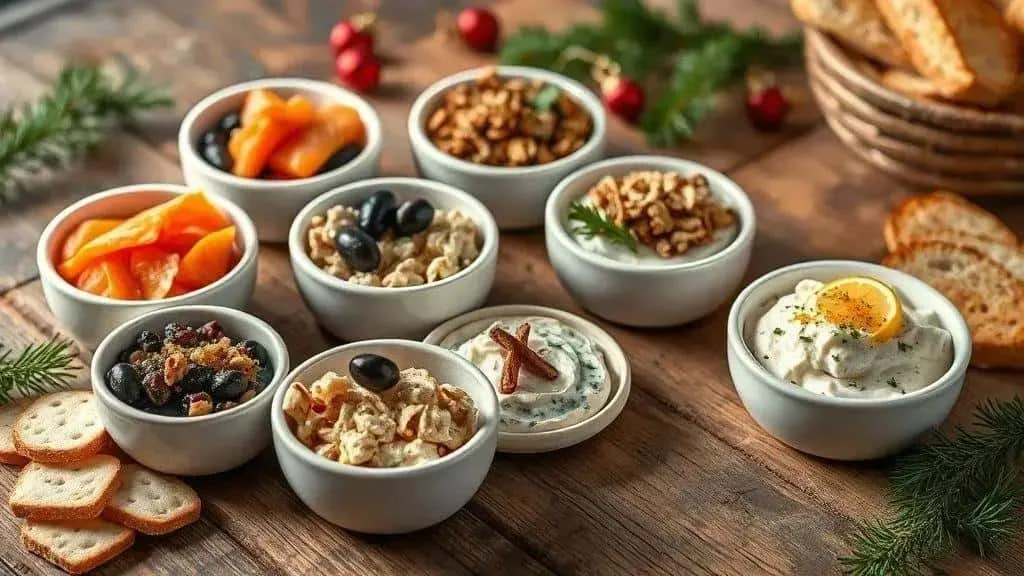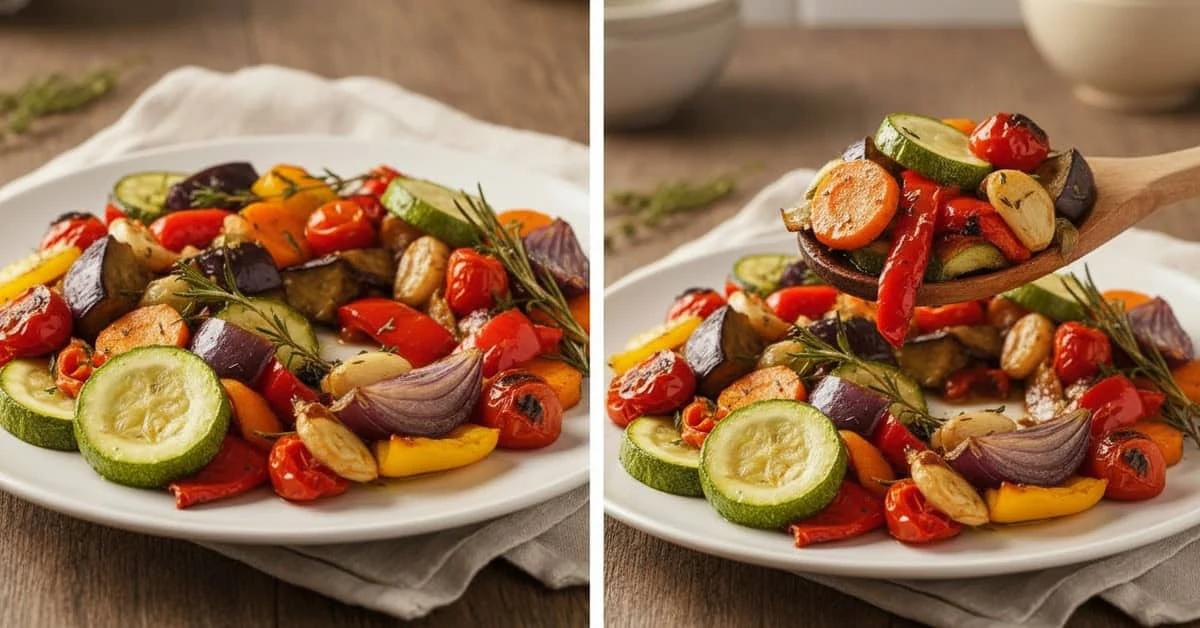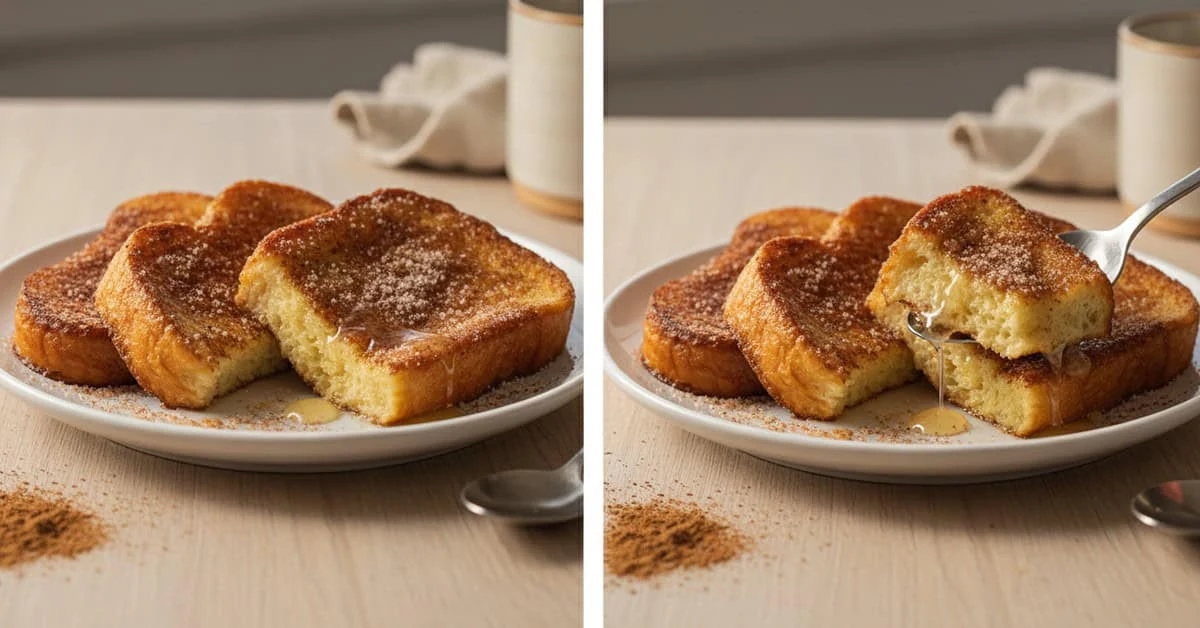
Explore ten Christmas and New Year dessert ideas, with detailed preparation for orange rabanadas, tropical panettone pavé and Brazilian cheese flan with guava sauce. The remaining suggestions offer inspiration rather than complete recipes. Find variations, presentation ideas and practical advice on preparing, chilling and transporting festive desserts.
These Christmas and New Year dessert ideas bring a different flavour to the festive table. Try citrus-scented rabanadas, give panettone a tropical twist or pair Brazilian cheese with guava. Three detailed recipes follow the ten-idea overview.
Trying Something Different for Christmas Dessert

A new flavour or texture can refresh a familiar festive menu without requiring every dish to be elaborate.
Reasons to Vary the Dessert Table
- A change from the usual: an unexpected combination can give guests something new to enjoy.
- More choice: carefully planned alternatives can suit different preferences and dietary needs, provided every ingredient is checked.
- Contrasting textures: creamy, crisp and chilled elements make a varied dessert selection.
- Flexible spending: a small change to familiar ingredients can create a special dish without necessarily costing more.
- Less waste: use panettone, cake or fruit that has been stored safely and is still suitable to eat. Adding cream does not make old or spoiled food safe.
When choosing desserts, consider the main course, your preparation time and a mix of citrus, creamy and crisp flavours. Leave enough time for chilling as well as cooking.
Offer contrasting textures and use individual portions or a sharing dish decorated with suitable washed fruit, nuts or mint.
Try unfamiliar recipes before the celebration, note any adjustments and test a smaller batch where practical. This helps you plan portions and equipment without promising a perfect result on the first attempt.
Choosing and Adapting the Dessert Ideas
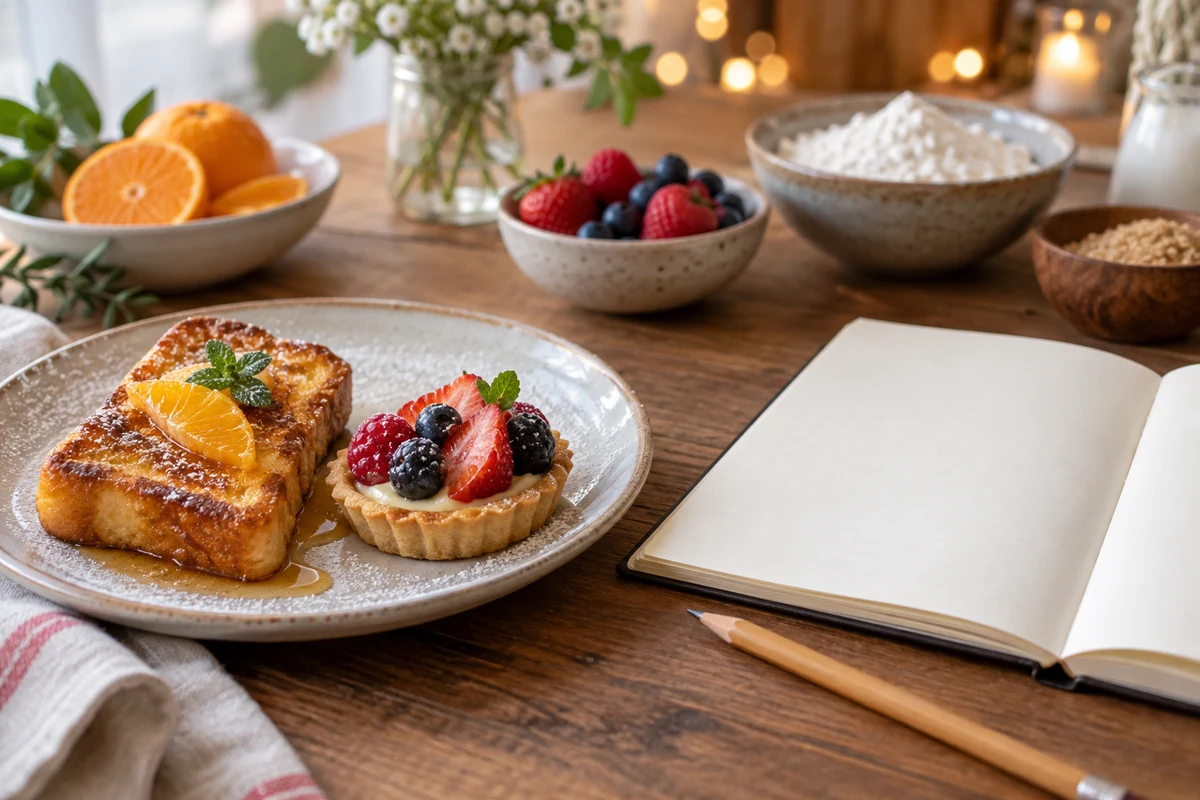
Use these practical criteria to choose recipes that suit your kitchen and guests.
What to Consider
- Balanced flavour: sweetness can be complemented by citrus, fruit or a contrasting texture.
- Preparation time: count cooling, chilling and setting time separately from hands-on work; some desserts need overnight preparation.
- Cost and availability: choose ingredients you can find locally and test suitable alternatives before the event.
- Dietary requirements: vegan, gluten-free and allergy-safe versions need the whole recipe checked, not just one ingredient swapped.
- Serving style: individual dishes or easily portioned desserts can simplify a busy table.
Testing and Adjusting Recipes
- Try a smaller batch: where practical, halve the recipe, using suitable cookware and checking the changed cooking time.
- Keep notes: record ingredient quantities, oven settings, timings and the finished texture.
- Adjust sweetness carefully: sugar affects structure as well as flavour. Taste only mixtures that are safe to eat, never raw egg or flour mixtures.
- Check consistency: follow the thickener’s cooking method and allow for setting time before making changes. Adding raw starch to a finished chilled cream is not a suitable fix.
- Assess storage: refrigerate a test portion as intended and check texture the next day, while still respecting safe storage times; smell and appearance do not prove safety.
Notes on Substitutions
- Milk: a suitable plant-based drink can replace milk in some recipes at a similar volume, but protein, richness and setting behaviour differ.
- Butter: baking margarine or coconut oil behaves differently from butter. Use a tested substitution for the dish rather than a universal weight conversion.
- Eggs: 1 tablespoon ground flaxseed with 3 tablespoons water can bind some recipes after thickening for about 5 minutes. It does not replace the setting or aerating role of eggs in every dessert.
- Wheat flour: use a gluten-free blend intended for the recipe or a tested gluten-free version; different blends need different liquids and binders.
- Sugar: demerara is still sugar, and erythritol changes sweetness and texture. Follow product instructions and a suitable recipe instead of assuming cup-for-cup equivalence.
- Cream: a suitable plant-based cream may replace dairy cream in some dishes. Coconut milk has a different consistency; lactose-free dairy cream still contains milk proteins.
Adapting to Your Guests
- For children: offer small portions without alcohol, and choose age-appropriate garnishes without whole nuts or other choking hazards.
- For dietary restrictions: confirm needs in advance and check labels and preparation methods. Do not describe a dessert as free from an ingredient unless the whole dish meets that claim.
- Individual portions: these can simplify serving and let guests choose a modest amount.
- Small samples: offer these for exploring unfamiliar flavours, never for testing an allergy.
- Menu balance: citrus or fruit can be refreshing after a rich main course, while a creamy dessert suits smaller servings.
Practical Organisation
- Make a timetable: divide shopping, dry preparation and chilled components between the days before the meal, staying within each food’s storage limit.
- Prepare components: suitable sauces, bases and fillings can be made ahead and stored correctly for assembly later.
- Check your dishes: confirm their capacity and fridge space before choosing presentation and quantities.
Ten Festive Dessert Ideas at a Glance

Here are ten ideas for the table. The first three are developed into detailed recipes below; the others need a separate complete recipe before you make them.
Creamy Orange Rabanadas
Thick bread dipped in a milk-and-egg mixture with orange zest makes this Brazilian-style French toast. A citrus variation on traditional rabanadas, it works well as individual slices.
Tropical Panettone Pavé
Layers of panettone, cooked cream, mango, pineapple and passion fruit turn the festive loaf into a chilled Brazilian-style dessert.
Brazilian Cheese Flan with Guava Sauce
Slightly salty queijo coalho and sweet goiabada, a firm guava paste, create a Brazilian sweet-and-savoury pairing in a chilled flan.
Champagne and Lemon Sorbet
A sharp frozen dessert is a refreshing idea after a rich meal. For an alcohol-containing version, use a tested recipe: alcohol affects freezing and remains in the sorbet. Choose a separate alcohol-free recipe for children or anyone avoiding alcohol.
Passion Fruit Mousse with Nut Crunch
A sweet-sharp mousse with toasted nuts offers creamy and crunchy textures. Use a complete recipe with a safe method for any eggs and check allergens.
Almond and Berry Tartlets
Small pastry cases with almond filling and fresh berries make an attractive individual dessert. Follow a complete tartlet recipe, including any baking needed for the filling.
Chocolate Truffles with Pink Peppercorns
A small amount of pink peppercorn can add a fragrant note to rich chocolate truffles. Use a tested ganache recipe, check guest allergies and keep cream-based truffles refrigerated.
Dulce de Leche Cheesecake with Flaky Salt
A creamy cheesecake topped with dulce de leche and a little flaky salt provides a rich option best served in modest portions.
Mosaic Jelly with a Sparkling Drink
Coloured jelly cubes in a pale base create a festive pattern. Use a tested recipe for the setting agent and liquid; gelatine is not vegetarian, and alcoholic sparkling wine is unsuitable for children.
Pineapple Upside-Down Cake with Toasted Coconut
Caramelised pineapple rings and toasted coconut give an upside-down cake a tropical flavour. Choose a complete cake recipe and avoid burning the coconut.
Orange Rabanadas: Ingredients
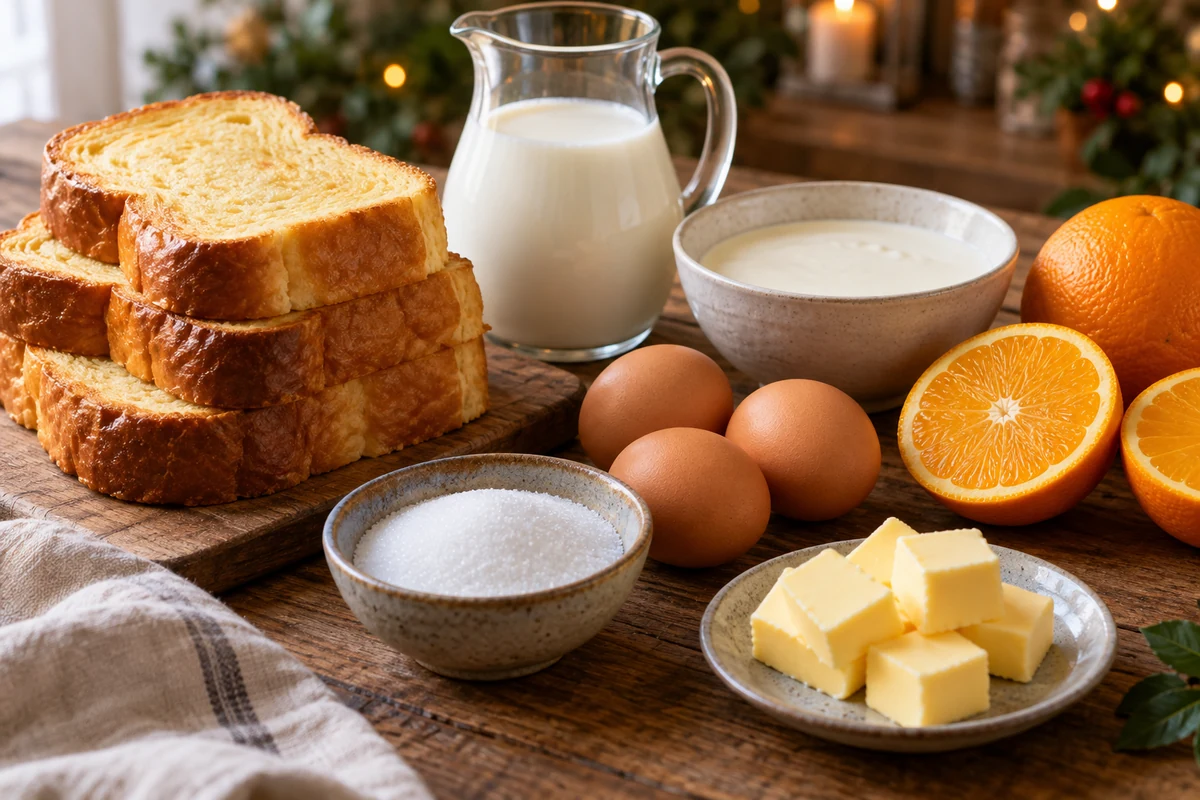
For about eight slices of creamy orange rabanadas, gather the following. Portion size and absorbed liquid depend on the loaf and slice thickness:
- 8 thick slices of firm brioche or slightly stale bread — use a loaf that holds its shape; slice weight varies, so eight slices should not automatically be treated as 800 g. Never use mouldy bread.
- 500 ml whole milk — a suitable unsweetened oat or almond drink gives a different variation, but other dairy ingredients also need changing if avoiding milk.
- 200 ml fresh cream — evaporated milk gives a less rich texture but still contains dairy.
- 3 large eggs — use the separate vegan variation below if avoiding eggs and animal products.
- 100 g sugar — adjust cautiously to taste and recipe requirements; demerara is not a lower-sugar substitute.
- Finely grated zest of 2 oranges — tangerine zest gives a different citrus note.
- About 50 ml orange juice — optional; add to the cooled mixture gradually to limit curdling, or omit for a milder flavour.
- 1 teaspoon vanilla extract — optional; choose alcohol-free flavouring where required.
- 50 g butter for frying — use a suitable cooking oil instead if preferred, adding as needed between batches.
- 2 tablespoons sugar mixed with 1 teaspoon cinnamon — for a light finishing dusting, to taste.
- 1 tablespoon orange liqueur, optional and for adults only — omit for children or anyone avoiding alcohol; cooking does not guarantee its removal.
- Orange marmalade or dulce de leche, optional — for serving.
Ingredient Notes
- Milk: whole milk provides richness; semi-skimmed or plant-based drinks change the result, and their nutritional profiles vary.
- Cream: fresh cream gives a richer mixture than evaporated milk; both require chilled storage.
- Eggs: these help the coating set. The flaxseed variation below has a different texture and needs suitable vegan bread as well.
- Sugar: assess sweetness using the milk mixture before adding eggs or a fully cooked test slice, not by tasting raw egg mixture.
- Bread: very fresh bread may fall apart; lightly toast it first if necessary to firm the surface.
Quick Preparation Tips
- Slices: use thick, even slices so they absorb the mixture consistently and can be cooked through.
- Zest: grate only the coloured part of the washed orange peel, avoiding the bitter white pith.
- Soaking: try a short dip first. Firm bread may take around 20–30 seconds per side, but softer slices need much less; do not soak them until they disintegrate.
How to Make Creamy Orange Rabanadas
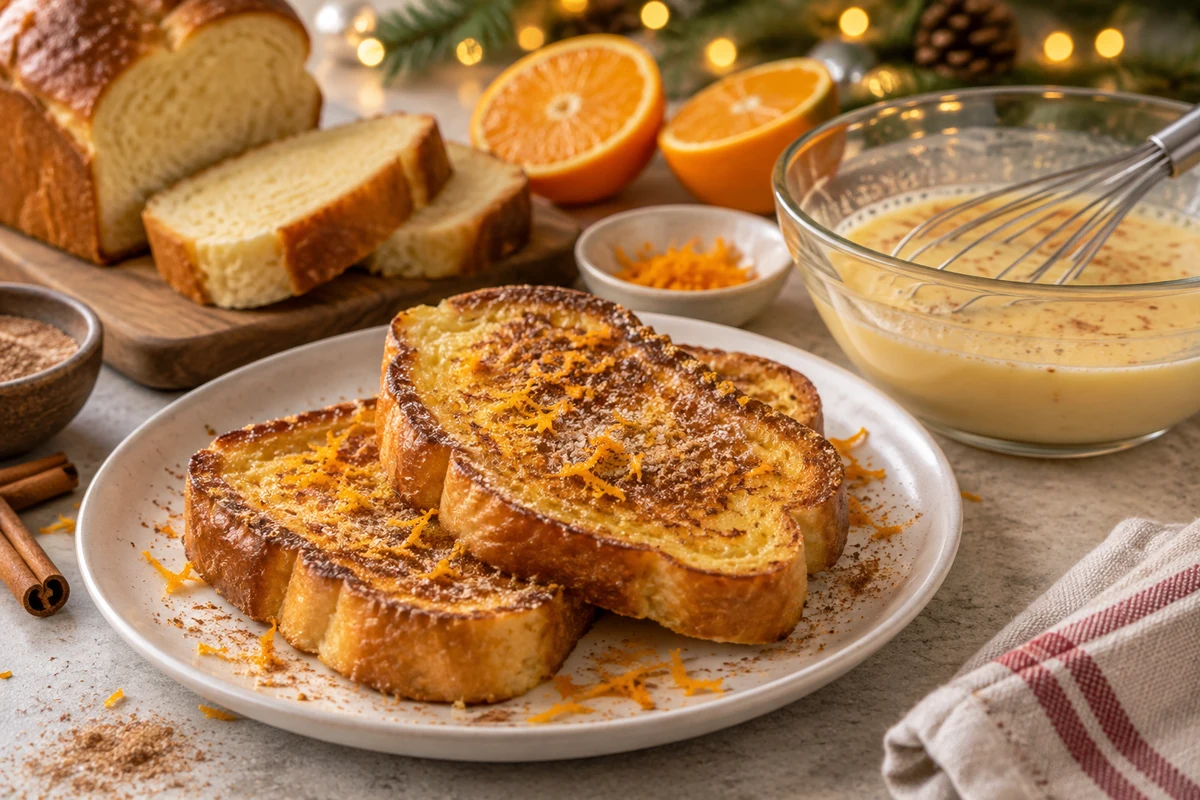
Follow these steps for creamy orange rabanadas, checking the centre is cooked rather than relying only on a browned surface:
- Beat the eggs: whisk the 3 eggs in a large bowl until evenly combined.
- Warm the liquids: gently warm the 500 ml milk, 200 ml cream, 100 g sugar, orange zest and optional vanilla, stirring to dissolve the sugar. Remove from the heat before boiling.
- Combine: slowly whisk a ladle of warm milk mixture into the eggs, then another, before combining with the rest. Let it cool to lukewarm and gradually add the optional orange juice. This tempering step does not fully cook the eggs.
- Prepare the bread: cut eight thick, even slices, lightly toasting first if they are too soft.
- Dip: dip each slice until it absorbs some mixture but still holds together. Start briefly and extend only if the bread needs it.
- Drain briefly: allow excess mixture to drip off over the bowl or on a clean rack for a couple of minutes, then cook promptly.
- Heat the pan: melt some of the 50 g butter in a large frying pan over medium heat, without letting it burn; reserve the rest for later batches.
- Cook: fry for roughly 2–3 minutes per side to colour, then continue gently or finish in the oven until the egg-soaked centre is fully cooked. A clean probe can confirm 75°C for 30 seconds or 70°C for 2 minutes.
- Drain: briefly place the cooked slices on kitchen paper if needed to remove excess fat.
- Finish: lightly dust with the mixture of 2 tablespoons sugar and 1 teaspoon cinnamon, or use a little sugar and extra orange zest.
- Oven finish: if thick slices need longer in the centre, transfer to a tray at 180°C and cook until the centre reaches the safe temperature above. A fixed 5–8 minutes is not a guarantee, and this step does not remove the frying fat.
- Serve: add an optional spoonful of marmalade or dulce de leche and washed mint. If using the optional tablespoon of orange liqueur, divide it only among clearly identified adult servings, keeping alcohol-free portions separate.
- Store and reheat: cool promptly, refrigerate within 1–2 hours at 5°C or below and eat within 48 hours. Reheat once until steaming hot throughout; the time depends on slice thickness and starting temperature.
Tips and Variations
- Vegan version: use the complete variation below, including vegan bread, plant-based milk and cream, flaxseed and suitable cooking fat. Changing milk alone does not make brioche or an egg coating vegan.
- Less sweet: reduce the finishing sugar or adjust the milk mixture before adding eggs. Do not taste the raw egg mixture.
- Extra crunch: add suitable chopped toasted nuts just before serving, keeping allergies and children’s needs in mind.
- Keep slices intact: test the soaking time on one slice before dipping the rest.
- Serve promptly: rabanadas are best soon after cooking. If hot-holding, keep them at 63°C or above; a merely warm oven is not a safety guarantee.
Rabanada Variations: Vegan, Filled and Crunchy
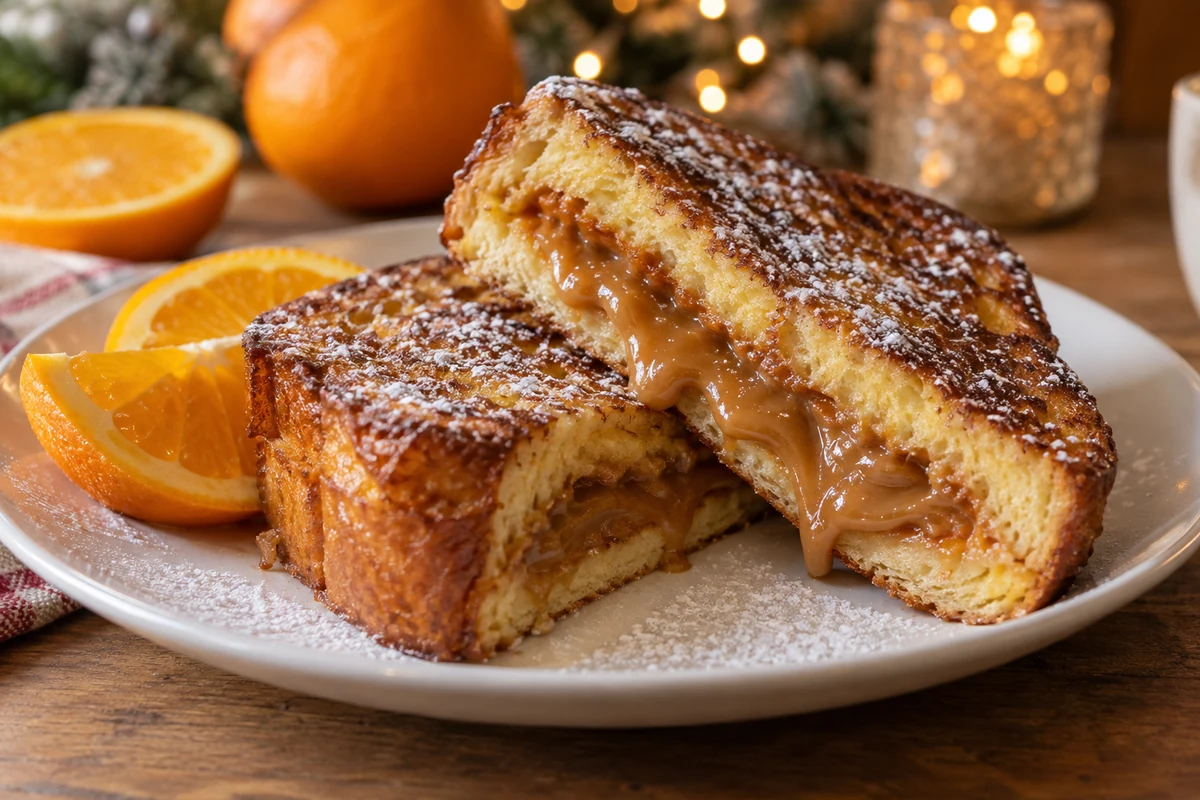
These three variations change the ingredients and texture. Check the whole recipe for dietary suitability and cook egg-containing versions through to the centre.
Vegan Version
A plant-based variation with citrus flavour and a flaxseed coating, using bread without milk, butter or eggs.
- 8 thick slices of firm vegan bread — slightly stale but not mouldy; wholemeal bread gives a different texture.
- 500 ml unsweetened plant-based drink, such as oat or almond.
- 200 ml plant-based cream, such as a suitable coconut or soya product.
- 3 tablespoons ground flaxseed mixed with 9 tablespoons water and left to thicken for about 5 minutes.
- 100 g sugar, adjusting cautiously to taste.
- Zest of 1 orange and a little of its juice — add juice gradually to taste and consistency rather than automatically using it all.
- 50 g coconut oil or vegan butter, used as needed for frying.
- Cinnamon sugar for finishing — up to 2 tablespoons sugar mixed with 1 teaspoon cinnamon.
Vegan Method
- Thicken the flaxseed: combine it with the water and leave for about 5 minutes.
- Warm the liquids: gently warm the plant-based drink, cream, sugar and orange zest, stirring to dissolve the sugar. Remove from the heat and let cool to lukewarm before adding a little juice gradually.
- Combine: whisk the flaxseed gel into the liquid until evenly mixed. Unlike eggs, it does not need tempering.
- Dip the bread: soak briefly, testing one slice first so it absorbs some liquid without collapsing.
- Cook: heat a little of the cooking fat over medium heat and cook each side until golden, usually starting around 2–3 minutes per side. Continue as needed until the centre is hot through.
- Finish: lightly dust with cinnamon sugar and serve promptly.
Filled Rabanadas
A richer variation with a small amount of dulce de leche or cream cheese enclosed in thick bread slices.
- 8 thick slices of brioche — cut a pocket into each, or use thinner paired slices with a suitably smaller portion size.
- 200 g dulce de leche or cream cheese — chocolate ganache is another variation, with its own storage needs.
- 500 ml whole milk.
- 3 eggs — this version contains eggs and dairy; use a separate tested plant-based version if needed.
- 50 g butter, used as needed for frying.
- Optional chopped dried fruit or nuts — for finishing; a little extra sugar is optional if sweetening cream cheese.
Filled Rabanada Method
- Prepare the filling: stir the dulce de leche until spreadable, or mix cream cheese with a little optional sugar. Keep perishable filling chilled until assembly.
- Fill: divide the 200 g filling among the eight bread pockets, around 25 g each, without overfilling.
- Dip: whisk the milk and eggs together, then briefly dip the filled bread without soaking it excessively.
- Cook carefully: fry in butter over medium heat, turning with a spatula. Thick filled slices may need an oven finish; ensure the egg-soaked centre and filling are hot through, not just the surface golden.
- Finish: add suitable chopped nuts or fruit and serve promptly, warning that the filling may be very hot.
Crunchy Version
A breadcrumb-and-nut coating adds crunch to the soft centre.
- 8 firm bread slices.
- 1 cup panko breadcrumbs or crushed biscuits — using a 240 ml measuring cup.
- ½ cup finely chopped almonds or other suitable nuts; they will toast further during cooking.
- 2 eggs, beaten, for the coating.
- 500 ml milk and 200 ml cream, mixed for dipping.
- 50 g butter or suitable oil, used as needed for cooking.
Crunchy Rabanada Method
- Prepare the crumbs: mix the panko or biscuit crumbs with the finely chopped nuts. Additional sugar is unnecessary if using sweet biscuits.
- Dip the bread: briefly dip in the milk-and-cream mixture, allowing excess to drain off.
- Coat: dip each slice in beaten egg, then press into the crumb mixture.
- Cook: fry gently in butter or oil, or lightly oil and bake at 200°C, turning as needed. Cook until the coating is golden and the egg layer is fully cooked, checking the centre; thickness determines the time.
- Serve: finish with optional orange zest and serve promptly.
Practical Tips
- Test absorption: prepare one slice first to find the right dipping time for your bread.
- Control the heat: use moderate heat so the coating does not burn before the centre cooks.
- Prepare ahead carefully: suitable mixtures and fillings can be made the day before and kept covered at 5°C or below. Do not reuse dipping mixture that has been left out during cooking.
- Reheat safely: reheat cooked slices once until steaming throughout. A short fixed time is not enough to guarantee a hot centre.
Ingredients for Panettone Pavé with Tropical Fruit
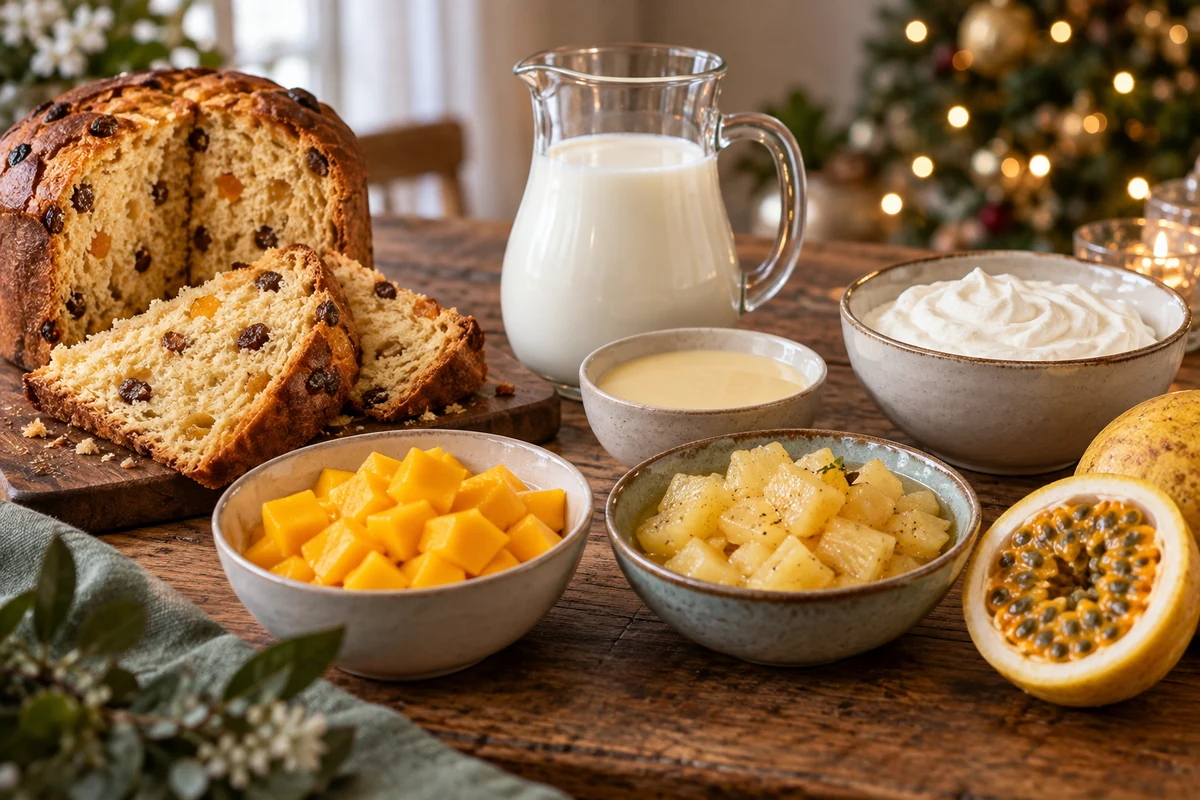
For panettone pavé with tropical fruit, gather the ingredients below. The number of portions depends on your dish and serving size.
- 400–500 g panettone, cut into 1–2 cm slices; chocolate-chip panettone gives a chocolate variation.
- 1 tin condensed milk, 395 g. For a lactose-free version, check the condensed milk and every other dairy ingredient, including the panettone.
- 500 ml whole milk, plus 100 ml for moistening the slices. Lactose-free milk or a suitable unsweetened plant drink may be used; texture and allergens will differ.
- 2 tbsp cornflour to thicken the custard. Cornflour is naturally gluten-free, but check the pack and cross-contamination advice if required.
- 3 egg yolks for richness. For an egg-free dessert, use a separately tested egg-free custard and check the panettone too.
- 200 ml cream for the custard. A suitable plant cream can change the flavour and consistency; check the full recipe for dietary suitability.
- 1 tsp vanilla extract, optional.
- About 300 g diced mango flesh, from a large mango. Ripe, firm papaya is an alternative.
- 150 g passion fruit pulp, with seeds if liked. Use less if it is very sharp; reserve 2 tbsp from this amount for moistening the bread.
- 150–200 g diced pineapple. Cooked, cooled pineapple or drained tinned pineapple is a useful choice for a dairy dessert; drained tinned peaches are an alternative.
- Up to 2 tbsp sugar, optional, according to the sweetness of the fruit and bread.
- 50–70 g toasted desiccated coconut or chopped nuts for decoration, such as almonds, cashews or walnuts. Check allergies and omit whole or coarse nuts for young children.
- Juice of ½ lemon, optional, added gradually to the fruit if it needs a sharper flavour.
Notes and Substitutions
- Panettone: use bread that is within its safe storage period and free from mould. Do not use old, spoiled leftovers; soaking them in custard does not make them safe.
- Condensed milk and cream: lactose-free dairy still contains milk proteins. Plant alternatives do not make this recipe vegan: the eggs and panettone must also be considered. Do not stir raw cornflour into finished cold custard.
- Fruit: choose ripe but firm fruit. Reduce the passion fruit if it is very sharp, or add a little of the optional sugar to the custard while it cooks.
- Custard consistency: for a firmer version, an extra tablespoon of cornflour can be mixed with cold milk before cooking. Test a small batch first; changes affect texture and setting.
- Moistening the bread: brush lightly with the extra milk and a little passion fruit pulp. A small amount of an alcohol-free sparkling drink is an alternative flavouring; avoid soaking the slices.
How to Make Panettone Pavé with Tropical Fruit
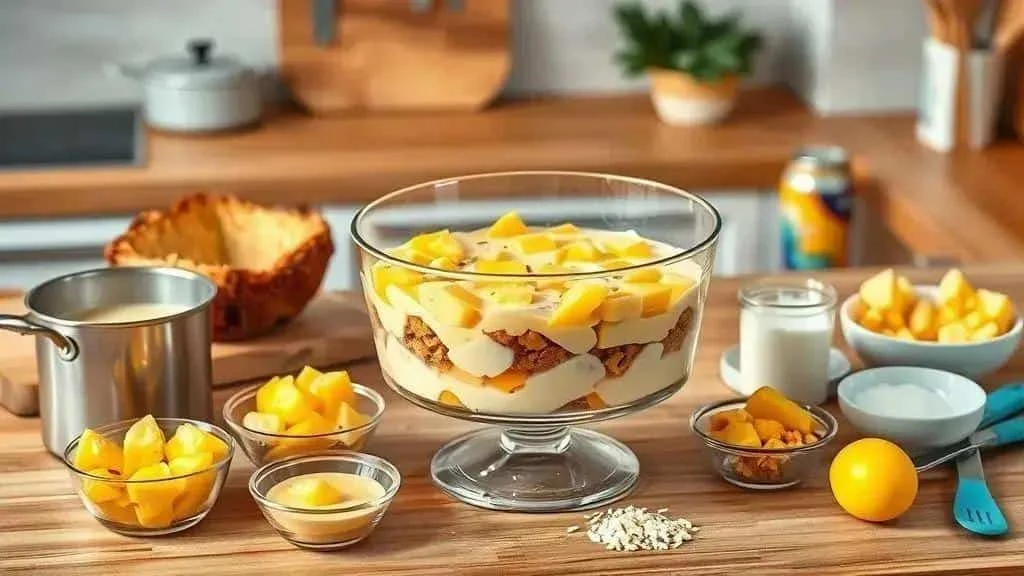
Follow these steps to assemble panettone pavé with tropical fruit. Cool the custard safely before building the layers.
- Start the custard: dissolve 2 tbsp cornflour in a little cold milk taken from the 500 ml allowance. Put it in a saucepan with the remaining milk and the 395 g tin of condensed milk.
- Thicken gently: heat, stirring continuously, until it thickens and starts to bubble. Cook for 1–2 minutes, following the cornflour instructions, then take off the heat briefly.
- Add the yolks: whisk the 3 yolks in a bowl. Gradually whisk in some hot custard, then return everything to the pan. Add the cream and vanilla as described next and cook thoroughly; tempering the eggs alone does not cook them.
- Finish cooking the custard: stir in 200 ml cream and the optional 1 tsp vanilla. Heat gently, stirring, until smooth and cooked through. Check that the mixture reaches 75°C for 30 seconds or 70°C for 2 minutes; avoid scorching it.
- Cool promptly: transfer to shallow containers and cool quickly, for example over an ice-water bath. Refrigerate within 1–2 hours of cooking and keep at 5°C or below. Allow it to become thoroughly cold before assembly; do not rely on a fixed 30-minute chilling time.
- Prepare the fruit: wash and prepare the mango and pineapple. Drain cooked or tinned pineapple well and let cooked fruit cool. Measure the passion fruit pulp, reserving 2 tbsp for the moistening mixture and some fruit for decoration.
- Slice the panettone: cut into 1–2 cm slices and trim to fit the dish. You may lightly toast the slices at 160°C, checking after about 4 minutes, then cool them. Toasting changes texture, not the amount of sugar.
- Moisten lightly: mix the extra 100 ml milk with the reserved 2 tbsp passion fruit pulp, or a little alcohol-free sparkling drink instead. Brush onto the slices without soaking them; use only as much as needed.
- Lay the first layer: cover the bottom of the dish with panettone, without excessive overlapping.
- Add custard and fruit: spread a third of the cold custard over the bread. After setting aside the garnish, add half the remaining mango and pineapple and a little passion fruit pulp.
- Repeat the layers: add more lightly moistened panettone, another third of the custard and the remaining filling fruit. Finish with a third layer of bread and the last of the custard.
- Decorate: add the fruit reserved for the top and 50–70 g toasted coconut or chopped nuts. A little finely grated lemon zest is optional.
- Chill before serving: refrigerate for at least 4 hours, preferably 6–8 hours or overnight, so the layers settle. Keep within the overall storage period counted from making the custard.
- Portion and serve: serve chilled. For neater portions, dip a clean knife in hot water and dry it before cutting; a soft pavé can simply be spooned into bowls.
- Storage: cover and refrigerate at 5°C or below, using within 48 hours of making the custard, or sooner if any ingredient requires it. Removing excess liquid does not extend its safe storage time.
Practical Tips and Variations
- Lactose-free version: check the condensed milk, milk, cream and panettone. This is different from a milk-allergy-free version, and the recipe still contains eggs unless separately adapted.
- Less acidity: use less passion fruit. If adding orange juice, use a little at a time so the filling does not become watery.
- Firmer texture: mix an extra tablespoon of cornflour into cold milk before cooking the custard, rather than adding it raw afterwards.
- Individual portions: assemble in small glasses for easier serving and portion planning.
Pavé Variations: Gluten-Free, Yoghurt and Caramel
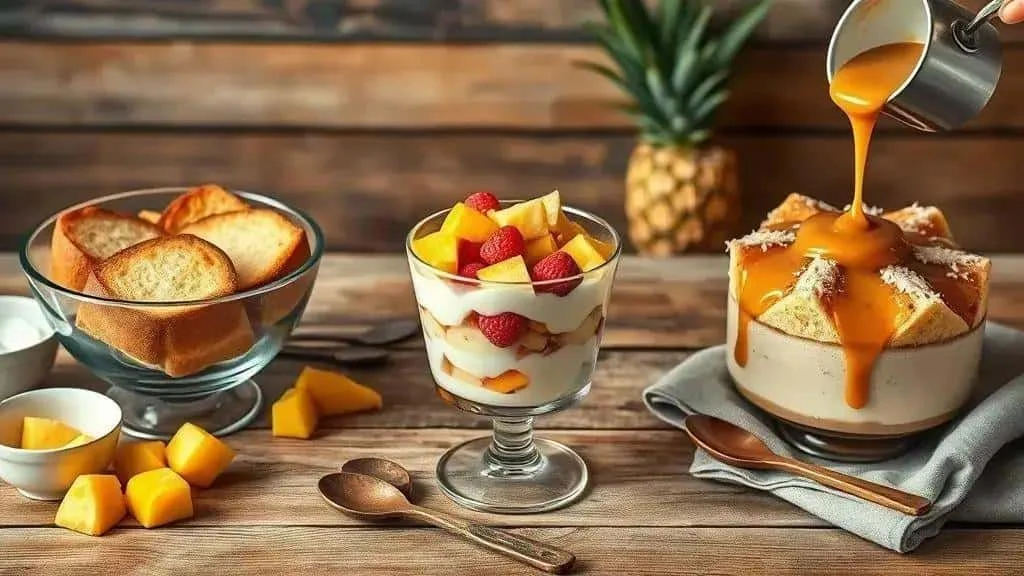
These three approaches offer different flavours and textures. Check the whole ingredient list for dietary requirements; an ingredient swap alone does not guarantee suitability.
Gluten-Free Variation
Choose explicitly gluten-free ingredients where needed and use clean utensils to avoid cross-contamination.
- 300–400 g gluten-free panettone, cut into 1–2 cm slices. Gluten-free biscotti or toast gives a different texture and needs different moistening.
- 395 g condensed milk, checked for gluten-free suitability. Lactose-free or plant-based condensed milk is a separate choice if needed; gluten-free does not mean dairy-free.
- 500 ml suitable plant drink, plus up to 100 ml for moistening. Use certified gluten-free oat drink if required, or another suitable drink, checking its allergens.
- 2 tbsp cornflour, checked for gluten-free suitability. Do not assume rice flour or arrowroot gives the same result in the same quantity.
- 200 ml suitable plant cream for the custard.
- Prepared tropical fruit: use the mango, pineapple and passion fruit quantities from the main recipe, with a little reserved for the top.
Method for the Gluten-Free Variation
- Cook the custard: dissolve the cornflour in some of the cold plant drink. Add the remaining 500 ml allowance, condensed milk and plant cream. Heat gently, stirring, then simmer as directed on the cornflour pack until thickened. This variation does not use egg yolks and may be softer than the main version.
- Flavour and cool: add up to 1 tsp vanilla if liked. Cool promptly in shallow containers and refrigerate within 1–2 hours; chill thoroughly before assembly.
- Moisten the bread: brush with a little of the extra plant drink, optionally mixed with a small amount of passion fruit pulp or orange juice. Use sparingly.
- Assemble: alternate bread, cold custard and fruit. Finish with custard, reserved fruit and suitable toasted coconut or nuts, accounting for allergies.
- Refrigerate: chill for at least 4 hours before serving. Keep at 5°C or below and use within 48 hours of cooking the custard.
Yoghurt Variation
Yoghurt gives a tangier flavour. The final energy and sugar content depend on the products and portions, so this is not automatically a low-calorie dessert.
- 400 g wholemeal panettone or wholemeal sliced bread. Wholemeal panettone is not necessarily lower in sugar; compare labels if that matters to you.
- 395 g reduced-fat condensed milk, or 1 cup plain Greek yoghurt with up to 2 tbsp honey. Choose one option; a cup here is 240 ml. Honey must not be given to children under 12 months.
- 500 ml skimmed milk or suitable unsweetened plant drink, plus a little extra for moistening the bread.
- 2 tbsp cornflour to thicken the milk base.
- 200 g plain low-fat yoghurt to stir into the cold base; this is in addition to the Greek yoghurt if choosing that option.
- Prepared mango, pineapple or strawberries for layering. Use firm, washed fruit and drain it well.
Method for the Yoghurt Variation
- Make the base: dissolve the cornflour in some cold milk from the 500 ml allowance, add the remainder and cook, stirring, until thickened. If using condensed milk, cook it with this base. Cool promptly and refrigerate within 1–2 hours; once cold, stir in the 200 g plain yoghurt and, if chosen, the cup of Greek yoghurt.
- Adjust sweetness: if choosing the Greek yoghurt option, stir in up to its 2 tbsp honey, tasting the cooked, cooled mixture with a clean spoon. The condensed-milk version may need no further sweetening.
- Moisten the bread: brush lightly with extra milk or plant drink, without soaking it.
- Build the layers: alternate bread, yoghurt filling and prepared fruit, finishing with a little fruit on top.
- Chill: refrigerate for 3–4 hours and serve cold. It may be spoonable rather than sliceable. Use within 48 hours of cooking the base, or sooner if the ingredients require it.
Caramel Sauce Variation
A little caramel sauce adds a glossy finish and toasted flavour to the pavé.
- 200 g sugar for the caramel.
- 4 tbsp water to dissolve the sugar.
- 50 g butter. Lactose-free butter still contains milk proteins; check suitability separately for milk allergy.
- 100 ml fresh cream. A suitable plant cream gives a different sauce; the butter and the rest of the dessert also need checking for dietary requirements.
How to Make the Caramel Sauce
- Dissolve the sugar: put the sugar and water in a heavy-based saucepan over a medium heat. Once boiling, avoid stirring; gently swirl the pan if necessary.
- Watch the colour: remove from the heat when amber, before it becomes dark and bitter. Hot caramel can cause serious burns.
- Add the butter carefully: stir it in with a long-handled utensil, keeping your hands and face clear of splashes.
- Add the cream: carefully pour in warmed cream, a little at a time, stirring until smooth. It will bubble and may spit; never taste hot caramel.
- Cool before using: let the sauce cool before adding a small amount to the chilled pavé. Refrigerate promptly; warm sauce can soften the layers and warm the dessert unnecessarily.
Practical Tips for Every Variation
- Try a small batch: test unfamiliar custards or sauces before the celebration so you can check their sweetness and texture.
- Control moisture: brush the bread sparingly to prevent a soggy pavé.
- Prepare ahead: assembling the day before gives the layers time to settle. Count storage time from making the oldest perishable component, not from assembly.
- Serve individually: small glasses make portioning and serving easier.
Ingredients for Brazilian Cheese Flan with Guava Paste
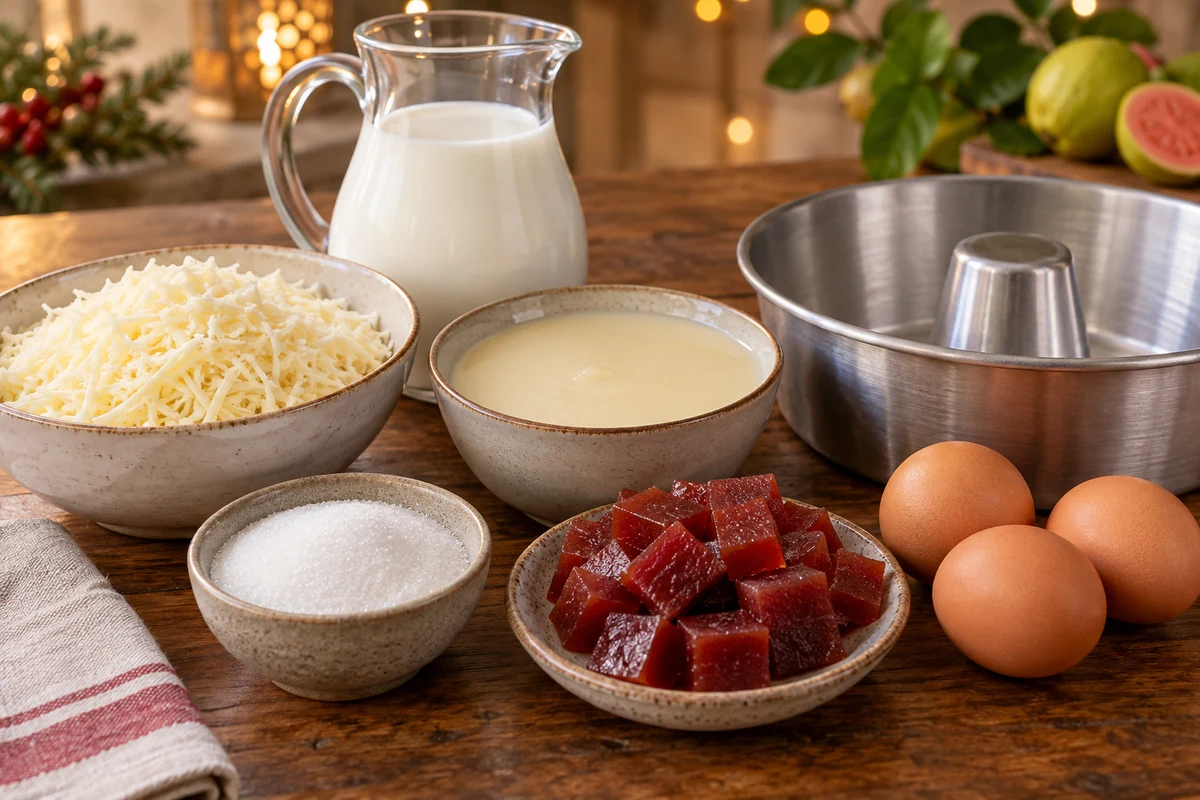
- 400 g grated queijo coalho, a firm Brazilian white grilling cheese. Other Brazilian cheeses, such as semi-mature Minas or firm queijo prato, change the flavour, salt level and texture.
- 1 tin condensed milk, 395 g. A lactose-free version requires suitable alternatives for every dairy ingredient, including the cheese.
- 500 ml whole milk. Lactose-free milk is an option where appropriate; using a plant drink alone does not make this flan dairy-free.
- 3 large eggs to set the flan. A vegan flan needs a separately tested recipe, not a simple egg swap.
- 100 ml cream, optional for added richness.
- 200 g sugar for the caramel, or 150 g for a smaller amount of caramel.
- 200–250 g firm guava paste, or goiabada: use 150 g for the sauce and the remaining 50–100 g as optional cubes in the flan.
- 2 tbsp water for the caramel, plus 2 tbsp for the guava sauce; add a little more to the sauce only if needed.
- 1 tsp vanilla extract, optional.
- A small pinch of salt, optional; judge the saltiness of the cheese before adding it.
- Up to 1 tbsp butter for the mould, optional. If greasing, do so before pouring in the caramel.
Notes and Substitutions
- Cheese: queijo coalho adds a slightly salty flavour. Wetter or saltier cheeses are not identical substitutes; try a small batch rather than adjusting egg quantities by guesswork.
- Dietary versions: a lactose-free version requires suitable cheese, condensed milk, milk, cream and butter. For a vegan or milk-allergy-free flan, choose a tested recipe designed for that need; replacing eggs with cornflour does not remove the dairy.
- Guava paste: gently melt 150 g with water for the sauce. Cut the remaining 50–100 g into small cubes if adding them to the flan.
- Caramel: using 150 g rather than 200 g sugar makes less caramel. Handle the hot sugar with care and keep children away from the pan.
- Mould and portions: a 20–22 cm ring mould may suit, but depth and capacity vary. Check that it will hold the mixture with room at the top; portion numbers depend on the finished size.
- Texture: the optional cream makes a richer mixture. Avoid adding extra eggs or liquid without testing, as both setting and cooking time will change.
How to Make Brazilian Cheese Flan with Guava
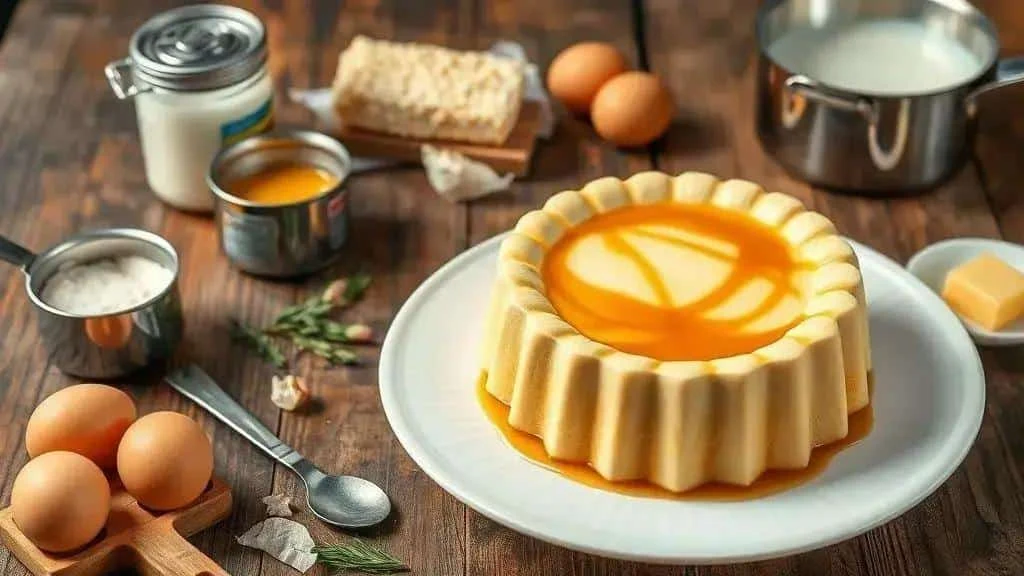
Use the following steps to make Brazilian cheese flan with guava paste. Allow time for safe cooling and thorough chilling.
- Make the caramel: lightly grease the mould first if using butter. Heat 200 g sugar, or the chosen 150 g, with 2 tbsp water until amber, swirling rather than stirring excessively. Carefully coat the inside of the heatproof mould with the hot caramel.
- Make the guava sauce: gently heat 150 g chopped guava paste with the separate 2 tbsp water, stirring until smooth. Add a little more water only if needed, then cool and refrigerate if not using immediately.
- Prepare the cheese: grate or finely dice the 400 g queijo coalho so it blends more easily.
- Blend the flan mixture: blend the cheese, 395 g condensed milk, 500 ml milk, 3 eggs, optional 100 ml cream and optional vanilla until evenly combined. Add the small pinch of salt only if the cheese needs it. Do not taste the raw egg mixture.
- Add guava cubes if liked: scatter the remaining 50–100 g diced guava paste in the caramel-lined mould before pouring in the mixture. Alternatively, swirl a little cooled guava sauce through the mixture and keep the rest for serving.
- Pour carefully: let large bubbles settle and skim excess foam, then pour into the mould. Do not strain out the cheese solids, which are part of the recipe.
- Bake in a water bath: cover the mould with foil and set it in a larger roasting tin. Carefully add hot water halfway up the mould. Bake in a preheated oven at 180°C, checking from about 50 minutes; 50–70 minutes is only a guide and depends on the mould and oven.
- Check it is cooked: the edges should be set and the centre gently wobbly, not liquid. Check the centre with a clean food thermometer: 75°C for 30 seconds or 70°C for 2 minutes. A cake-style moist-crumb skewer test is not a reliable test for flan.
- Cool and unmould: remove carefully from the water bath and cool promptly. Refrigerate within 1–2 hours of cooking, then chill for at least 4 hours. Loosen the edges with a thin knife and briefly stand the base in warm water before inverting onto a plate. Do not heat the mould over an open flame.
- Finish with guava sauce: spoon over the cooled reserved sauce and add washed mint if liked. Avoid uncooked cheese garnish if the cheese instructions require cooking.
- Store safely: keep covered at 5°C or below and use within 48 hours of cooking. Serve chilled and return the remaining flan promptly to the fridge.
- Lactose-free reminder: changing only the milk and condensed milk is insufficient. Check the cheese, cream and butter too; lactose-free dairy is not suitable for milk allergy.
Practical Tips
- Reduce bubbles: blend only as much as needed, let foam settle and skim it rather than sieving out the cheese.
- Watch the caramel: stop at amber to avoid a burnt, bitter flavour.
- Use an even water bath: choose suitable heatproof cookware and take care when moving the tin of hot water.
- Test unfamiliar changes: make a small trial before the celebration if changing the cheese, sweetness or mould size.
Festive Flan and Jelly Presentation Ideas
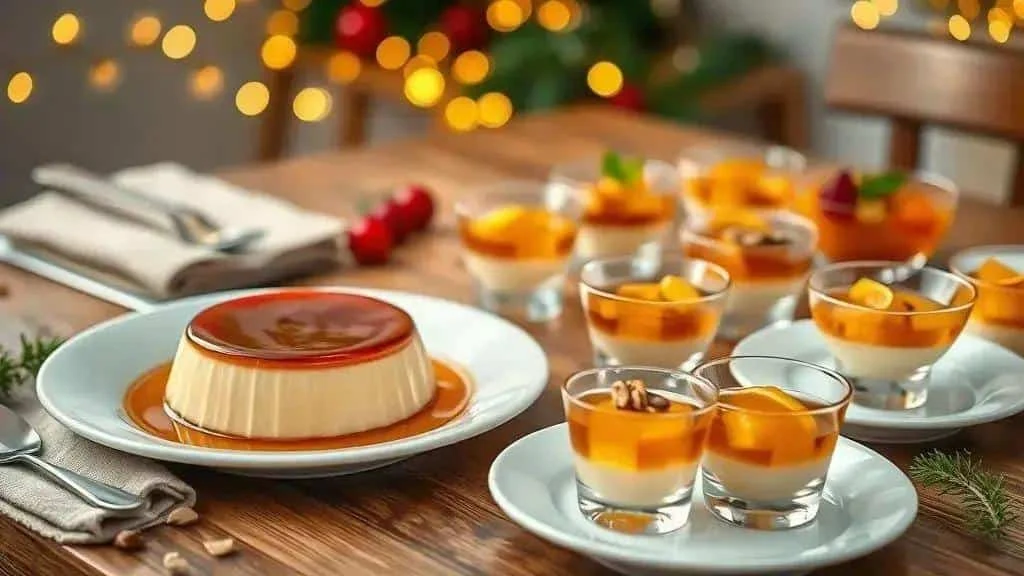
These serving ideas can give Christmas and New Year flans and jellies a more colourful finish. Use a tested recipe for each dessert rather than treating the suggestions as complete formulas.
Flavour Variations
- Flavoured flan: look for tested recipes featuring coffee, dark chocolate, orange or cheese.
- Layered desserts: alternate portions of set flan with fruit sauce or guava sauce in serving glasses for contrasting colours and flavours.
- Mosaic jelly: combine coloured fruit-juice jelly cubes with a separately prepared creamy or alcohol-free sparkling jelly base, following a tested setting recipe.
- Tropical fruit jelly: passion fruit, mango or pineapple can add flavour, but fresh pineapple and certain other fruits can prevent gelatine setting. Follow the setting-agent instructions and use cooked or tinned fruit where required.
- Individual flans: small heatproof ramekins or suitable moulds simplify serving. Smaller portions need their own cooking and setting checks.
Texture and Flavour
- Contrast textures: add a little toasted nut topping, cooked crumble or biscuit crumb just before serving, checking dietary requirements.
- Balance sweetness: a little citrus sauce or a few flakes of salt can contrast with a sweet dessert.
- Set jelly correctly: follow the manufacturer’s liquid ratios and preparation method. Gelatine, plant setting agents and cornflour are not interchangeable; use a recipe developed for your chosen ingredient.
Visual Presentation
- Choose clear containers: glass dishes or dessert glasses show off colourful layers.
- Offer small portions: little pots are easy to serve and let guests try more than one dessert.
- Keep decoration simple: use prepared fruit, citrus zest, washed mint, chocolate shavings or suitable toasted nuts.
- Add a glossy finish: brush fruit with a little diluted jam or cooled glaze. Avoid warming the whole chilled dessert with a hot topping.
- Label clearly: use cards beside the dishes to describe ingredients and genuine dietary suitability. Do not label a dessert allergen-free without checking ingredients and preparation.
Assembly and Party Planning
- Allow setting time: many flans and jellies benefit from 6–8 hours in the fridge, though the recipe and portion size determine the time needed.
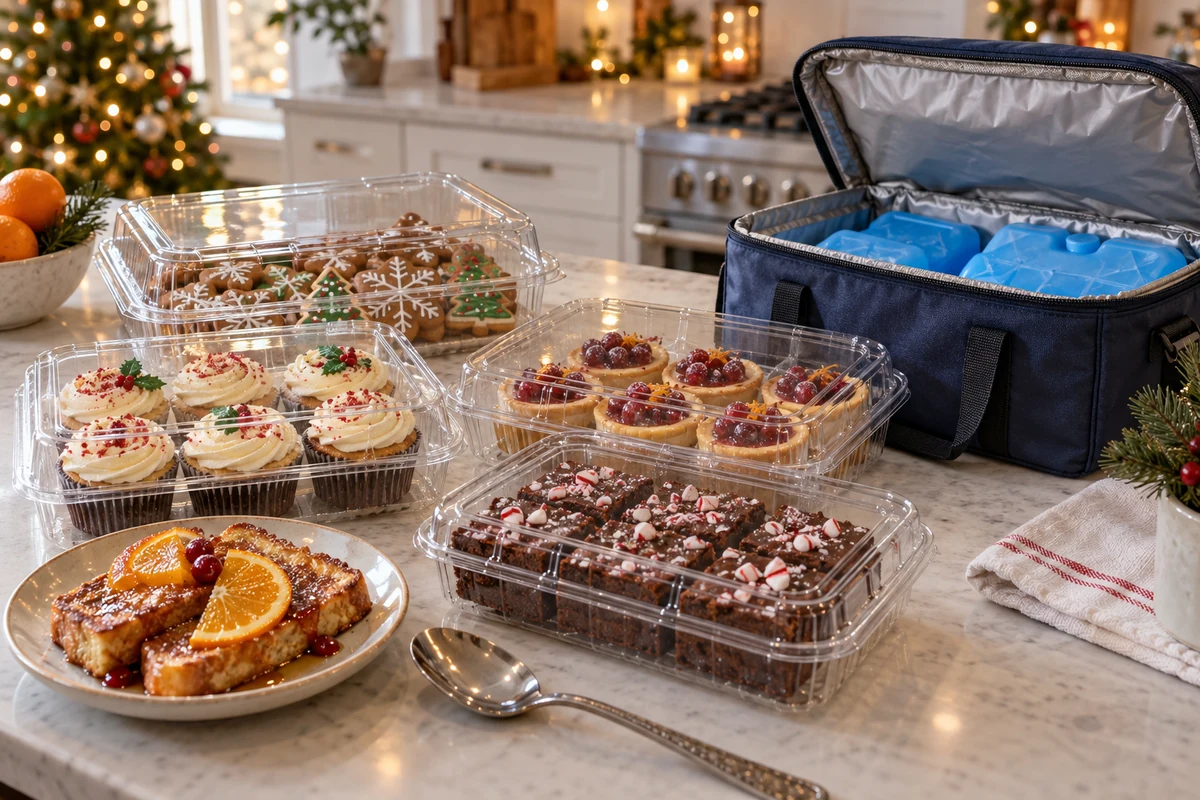
- Transport cold: use lidded containers in an insulated cool box with sufficient frozen ice packs. Keep chilled desserts at 5°C or below; do not improvise with dry ice.
- Pack sauces separately: add toppings at the destination to preserve texture, keeping perishable sauces chilled during travel.
- Cut neatly: dip a clean knife in hot water, dry it and cut, cleaning between portions as needed.
Serving for Different Occasions
- Formal dinner: choose clear dishes or individual glasses with a restrained fruit garnish.
- Outdoor party: bring out small batches from the fridge or cool box. Less cream does not automatically make a dessert safe to leave in warm weather.
- For children: offer small alcohol-free portions and age-appropriate fruit. Avoid whole nuts for under-fives, honey for under-ones and hard or sharp decorations.
Final Checks
- Hygiene and temperature: keep desserts refrigerated until serving and avoid prolonged exposure to warmth.
- Allergies: identify ingredients such as milk, eggs, nuts and gluten-containing cereals, and prevent cross-contact through utensils and surfaces.
- Try a sample presentation: assemble one portion in advance to check the appearance and serving size.
Planning, Storing and Serving Festive Desserts
Planning Checklist
- Choose make-ahead recipes: flans, firm tarts and truffles can be useful, provided their storage requirements fit your timetable.
- Divide the work: separate shopping and dry preparation from the perishable tasks for the day before and the day itself.
- Check your equipment: have suitable dishes, lidded containers, a food thermometer, ice packs and an insulated cool box ready.
Suggested Timetable
- Two days before: shop, measure dry ingredients and prepare equipment. Only make perishable fillings this early if they will be used within their safe storage period; a 48-hour limit starts when they are made, not after the party.
- The day before: cook and safely cool custards and flans, and assemble pavés that need time to set. Keep them refrigerated.
- 6–12 hours before: finish any safely prepared chilled toppings. Keep dry crunchy decorations separate so they remain crisp.
- Shortly before serving: prepare fresh garnishes and add cooled toasted nuts where suitable. Reheat only desserts intended to be served hot.
Storage
- Temperature: keep the fridge at 5°C or below, ideally around 4°C, and frozen food at about −18°C. Cool cooked desserts promptly and refrigerate within 1–2 hours.
- Containers: use clean, covered food containers to protect from odours and contamination. Choose food-safe film suitable for the temperature if covering a surface directly.
- Mousses and custards: cover to prevent a skin, keep chilled and follow the shortest storage limit of the components; for these homemade perishable desserts, plan to use within 48 hours.
- Dry meringues and crunchy toppings: keep fully cooked, unfilled dry items in an airtight container away from moisture. Once filled with cream or combined with fruit, they need the storage conditions of that filling.
Safe Transport
- Keep dishes level: use a stable, non-slip base and secure containers against movement.
- Cold food: pack chilled desserts with plenty of frozen ice packs in an insulated box and keep it closed. Check that food stays at 5°C or below.
- Hot food: use suitable covered insulated containers and maintain 63°C or above when holding hot. An insulated bag alone does not guarantee this temperature.
- Plan the journey: check food temperature regardless of journey length. If you cannot maintain hot holding, transport suitable food chilled and reheat it thoroughly at the destination instead.
Assembly and Serving
- Individual portions: make serving simpler and reduce repeated handling of a large dessert.
- Separate sauces: keep sauces in suitable covered containers and add them at serving time, maintaining any required refrigeration.
- Separate utensils: provide a dedicated spoon, slice or pair of tongs for each dessert, particularly where allergens differ.
- Finish at the table: add prepared fruit, citrus zest or suitable toasted nuts just before serving.
Reheating and Restoring Texture
- Oven: for desserts intended to be eaten hot, a moderate oven can restore a crisp surface. Do not rely on a fixed 5–10 minutes: reheat thoroughly to 75°C for 30 seconds or 70°C for 2 minutes at the centre, and reheat only once.
- Microwave: heat in short stages, stirring or turning where possible and allowing standing time. Check the centre is thoroughly hot rather than judging only the surface.
- Grill: a brief grill can brown a suitable already-hot dessert, watched continuously. Browning the top does not reheat the centre safely.
Labels and Final Checks
- Identify dietary needs: keep ingredient information available beside the dishes, including relevant allergens.
- Serving temperature: keep cold desserts refrigerated until needed and hot food at 63°C or above when holding it for service.
- Final check: use a clean spoon to taste a small sample of fully cooked food if adjusting seasoning. Never taste raw egg mixtures or use taste to decide whether old food is safe.
Quick Checklist
- Ingredients bought and dietary needs checked
- Clean utensils and suitable containers ready
- Prepared items safely cooled, labelled and refrigerated
- Frozen ice packs, cool box and thermometer available
- Serving portions and ingredient information prepared
These Christmas and New Year dessert ideas combine Brazilian favourites with make-ahead planning. Choose a manageable selection, try unfamiliar recipes beforehand and allow enough chilling time.
Follow us on social media for more festive ideas and practical tips, and visit the I Love Christmas blog for further inspiration.
Share your variations and serving ideas in the comments. Enjoy planning your next festive table!
Christmas and New Year Desserts: Frequently Asked Questions
Can I prepare the desserts in advance?
Yes. Flans, pavés and jellies often need several hours to set, so preparing them the day before can help. Cool cooked components promptly, refrigerate within 1–2 hours and keep at 5°C or below. Use these perishable homemade desserts within 48 hours of making the oldest component, or sooner if required. Add crunchy toppings at serving time.
How can I adapt recipes for dietary requirements?
Check the entire recipe, including bread, biscuits, chocolate and garnishes. Lactose-free dairy is not milk-allergy-free, and plant milk does not remove eggs or butter elsewhere in the dessert. Use suitable labelled products and tested gluten-free, egg-free or vegan recipes rather than assuming flour, flaxseed or starch swaps work in every custard or flan.
How should I reheat desserts without losing their texture?
Reheat only desserts intended to be served hot, and only once. An oven can restore crispness; a microwave needs stirring or turning where possible and standing time. Check the centre reaches 75°C for 30 seconds or 70°C for 2 minutes instead of relying on a fixed short heating time. Add cold or crunchy toppings afterwards; serve flans and pavés chilled.
How many portions should I plan for Christmas dinner?
Start with one modest dessert portion per guest, or one or two small items, then adjust for appetites, children, the rest of the meal and how many desserts you offer. Count the total portions across the selection rather than making a full serving of every dessert for everyone. Recipe yields depend on your dishes and portion sizes.
How can I transport desserts safely to another home?
Use covered containers on a stable base, with chilled desserts in an insulated cool box containing enough frozen ice packs to keep them at 5°C or below. Carry perishable sauces chilled and separately, and dry crunchy decorations in their own container. Check temperatures and refrigerate promptly on arrival; do not improvise with dry ice.
Sources and Further Reading
- UK Government: cooking food safely
- Food Standards Agency: chilling food
- Food Standards Agency: allergen guidance
- UK Government: safe use of eggs and pasteurised egg products
- Dr. Oetker: guide to gelatine