Chilled Christmas sharing desserts are convenient for a festive meal. This guide includes seven ideas, two detailed recipes, planning estimates and advice on assembly, decoration and chilled transport. Dietary changes need ingredient checks and may alter the texture.
Chilled Christmas sharing desserts bring colour and variety to the table. If you want something easy to portion for family and friends, these ideas offer a starting point, with preparation and presentation tips. They are not a ranked or independently tested list.
Why choose a sharing dessert for Christmas?
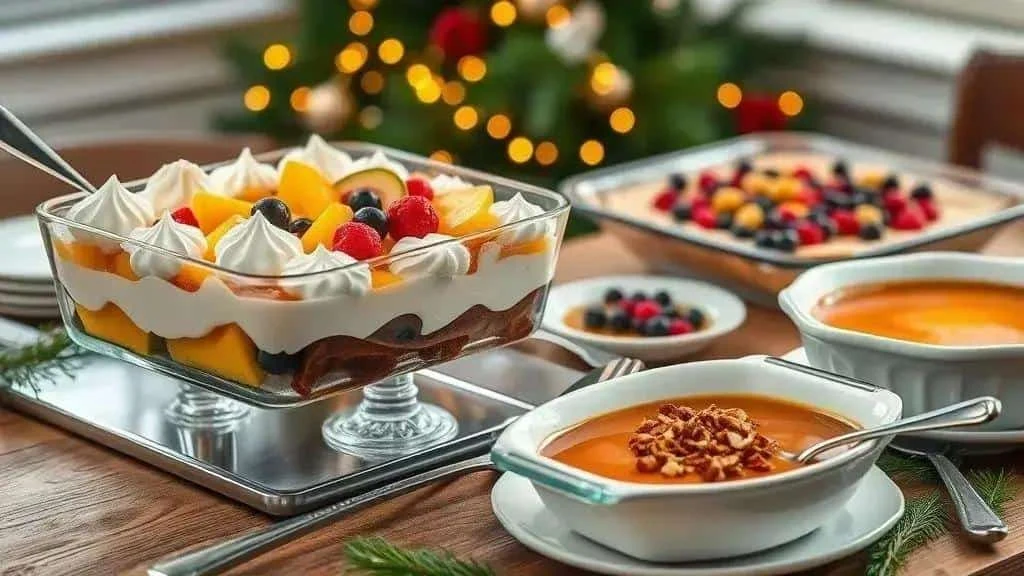
A dessert assembled in one dish can combine straightforward preparation, generous servings and attractive layers without elaborate decoration.
Main advantages
- Servings: one dish can provide several portions for a family meal or a gathering.
- Prepare ahead: many chilled desserts can be made the day before and refrigerated until service, within their storage limits.
- Cost planning: comparing larger ingredient packs may reduce cost per serving, provided you can use the quantity.
- Flavour variety: combine cream, fruit, biscuits and chocolate in different layers.
- Presentation: a clear or ceramic serving dish looks attractive with simple fruit, chocolate or nut decorations.
- Transport: a covered dish is manageable in a cool box with sufficient ice packs, kept level and cold.
- Dietary adaptations: some recipes can be adapted, but vegan, lactose-free and reduced-sugar versions require separate checks and may not set in the same way.
- Simple service: slice a firm dessert or spoon a softer one directly into individual bowls.
Choosing a style
- Warm weather: mousse, chilled pavê and fruit desserts suit Brazil’s summer Christmas setting.
- A formal meal: visible layers and neatly arranged fruit, chocolate shavings or nuts give a polished finish.
- An informal gathering: a spoonable vanilla pudding or biscuit-and-cream dessert is easy to share.
Texture tip: combine a creamy element with biscuits or nuts and tart fruit for contrast.
Planning quantities and choosing the dish
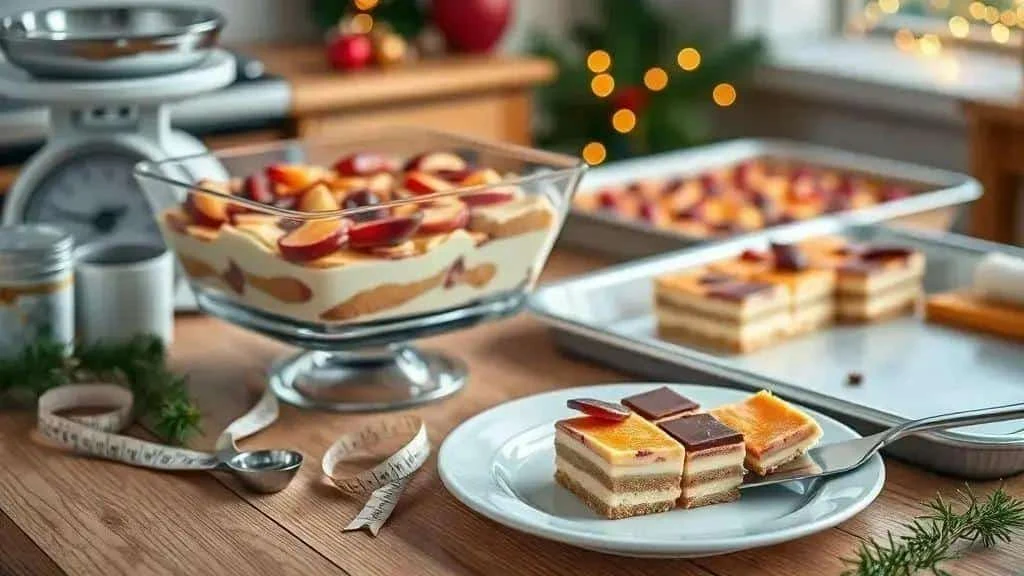
Consider guest numbers, serving sizes and other desserts before choosing a dish. The estimates below are planning examples, not guaranteed yields for every recipe.
Portion estimates
- An adult serving: around 100–140 g may suit a dessert after a meal. Grams and millilitres are not interchangeable for every mixture.
- Several desserts: smaller servings of roughly 70–100 g may be sufficient.
- Children: offer smaller, age-appropriate portions rather than a fixed allowance; consider ingredients and choking hazards as well as appetite.
- Squares: 5 × 5 cm or 4 × 4 cm cuts are possible, but portion weight depends on depth and ingredients. The dish-yield examples below assume larger servings, not these exact square sizes.
Dish sizes and approximate servings
- 20 × 20 cm, about 4 cm deep: roughly 8–10 servings, depending on fill and portion size.
- 23 × 33 cm, about 9 × 13 inches: roughly 12–15 servings; useful for layered desserts and mousse.
- 25 × 35 cm: roughly 14–18 servings, depending on the recipe.
- 30 × 40 cm: roughly 20–25 servings for a larger gathering.
- Depth: 3–5 cm allows visible layers. Deeper mixtures need adequate cooling and chilling; check the dish capacity rather than relying only on length and width.
Scaling a recipe
Use this calculation: servings needed ÷ original recipe servings = scaling factor. Multiply each ingredient by that factor, then check the equipment capacity and method.
For example, to increase 12 servings to 20, calculate 20 ÷ 12 = about 1.67. Multiply ingredients by 1.67; preparation and chilling times may not scale directly.
Materials and shape
- Clear glass: shows the layers well. Follow the manufacturer’s temperature guidance and avoid sudden changes between hot and cold.
- Ceramic: makes an attractive serving dish; allow time for the dessert to chill throughout.
- Disposable aluminium: can be practical for transport, but support the base and check suitability for acidic ingredients.
- Metal: suitable food-grade metal can be used for cooking or chilling, depending on the recipe and container. Choose a serving finish you like.
- Rectangular dishes: regular shapes make portioning easier; round dishes work too, with a different cutting pattern.
Planning and transport
- Prepare ahead: making the dessert the day before usually leaves time for setting. Keep within the recipe’s maximum storage period, including the preparation day.
- Keep cold in transit: cover securely and use a cool box with frozen reusable ice packs.
- Keep level: secure the dish on a flat surface with a non-slip base so it cannot slide.
- At the destination: arrange fridge space beforehand and tell the host that the dessert needs refrigeration until serving.
Serving tip: score portion lines on a firm dessert with a clean knife, then lift pieces with a broad spatula. Softer desserts are better spooned.
Seven dessert ideas: preparation and chilling estimates
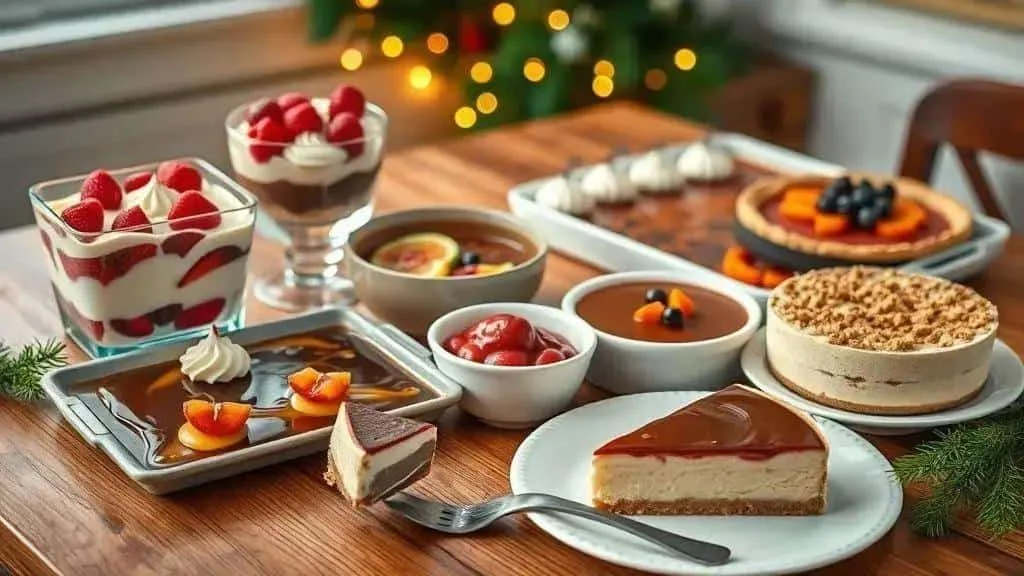
- Creamy Christmas pavê
Brazilian layers of cream, biscuits and berries, with a soft texture and festive colours. A full recipe follows below; times and yields are approximate.
- Active preparation: about 25 minutes, plus cooling.
- Chilling: at least 4 hours; 6–8 hours gives more time to set.
- Total: at least 4 hours 25 minutes, plus cooling; allow longer for a firmer result.
- Difficulty: easy.
- Yield: about 12 servings.
- Chocolate and berry mousse
An airy chocolate mixture with a tart berry topping. A full recipe follows below.
- Active preparation: about 20 minutes, plus cooling.
- Chilling: at least 3 hours; preferably 4–6 hours.
- Total: at least 3 hours 20 minutes, plus cooling; setting time varies.
- Difficulty: easy.
- Yield: about 10–12 servings.
- Chilled vanilla pudding
A smooth, spoonable vanilla pudding made without a water bath. This is an idea for a suitable recipe, not a complete formula in this guide.
- Indicative preparation: 15–20 minutes, depending on the recipe.
- Indicative chilling: about 6 hours; follow your chosen recipe.
- Planning estimate: about 6 hours 20 minutes, plus any cooling.
- Difficulty: usually easy, depending on the method.
- Suggested batch size: choose a recipe for 10–14 servings.
- No-bake sharing cheesecake
A biscuit base with cream cheese filling, finished with berry sauce. Choose a complete cheesecake recipe for the quantities and setting method.
- Indicative preparation: about 30 minutes.
- Indicative chilling: 6–8 hours, subject to the recipe.
- Planning estimate: about 6½–8½ hours.
- Difficulty: moderate, depending on the setting method.
- Suggested batch size: choose a recipe for 12–16 servings.
- Chilled lime dessert with a biscuit base
A tart, creamy filling contrasts with a biscuit base. Use a complete recipe to establish the filling’s proportions and firmness.
- Indicative preparation: 20–25 minutes.
- Indicative chilling: 3–4 hours, or as the chosen recipe requires.
- Planning estimate: about 3 hours 20 minutes to 4 hours 25 minutes.
- Difficulty: usually easy.
- Suggested batch size: choose a recipe for 10–14 servings.
- Passion fruit pavê with ganache
Tart passion fruit cream and biscuit layers with a glossy chocolate topping. Follow a complete recipe for the cream and ganache quantities.
- Indicative preparation: about 25 minutes, plus any cooling.
- Indicative chilling: 4–5 hours, subject to the recipe.
- Planning estimate: about 4 hours 25 minutes to 5 hours 25 minutes, plus cooling.
- Difficulty: usually easy.
- Suggested batch size: choose a recipe for 12–15 servings.
- Dulce de leche and walnut pavê
Rich caramelised milk and crunchy walnuts suit those who enjoy a sweeter dessert. Use a complete recipe for the filling and biscuit layers.
- Indicative preparation: 20–30 minutes.
- Indicative chilling: 3–4 hours, subject to the recipe.
- Planning estimate: about 3 hours 20 minutes to 4½ hours.
- Difficulty: usually easy.
- Suggested batch size: choose a recipe for 12–16 servings.
A few planning notes
- Setting: many cream desserts need several hours in the fridge. Follow the actual recipe rather than relying on a universal chilling time.
- Texture: combine creamy layers with biscuits or nuts and fresh fruit for contrast.
- Scaling: use the serving calculation above, checking dish capacity and cooling arrangements.
- Substitutions: use a suitable plant-based condensed milk for a dairy-free adaptation; ordinary plant milk and syrup are not equivalent. Wholemeal biscuits change texture and are not automatically dairy-free or gluten-free.
Ingredients for creamy Christmas pavê
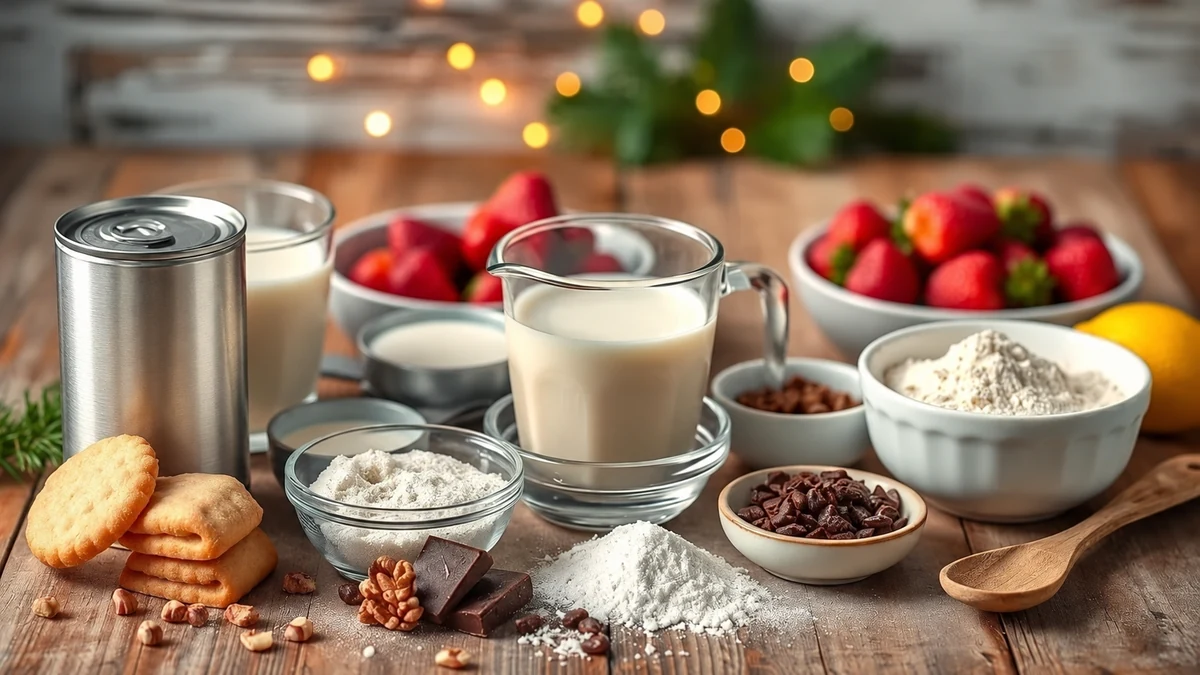
For a creamy Christmas pavê serving about 12, gather the following ingredients:
- 395 g sweetened condensed milk. A suitable plant-based condensed milk is an adaptation; reduced-fat dairy condensed milk is not necessarily lactose-free.
- 300–350 g cream. The Brazilian original allows this range. Use spoonable cream to fold in, or whipping cream for a more aerated result; coconut cream is a different-textured dairy-free variation.
- 480 ml milk for the cooked cream, plus extra as needed for dipping biscuits. Whole milk or a suitable plant drink can be used, with a different final texture.
- 30 g cornflour, approximately 3 tbsp, for thickening. Use the weight where possible; do not assume rice flour behaves identically.
- 1 tsp vanilla extract
- 200 g plain sweet biscuits or sponge fingers. Check ingredients if selecting a gluten-free or dairy-free alternative.
- 200 g strawberries and/or raspberries. Wash fresh fruit and dry well. If using frozen fruit, follow its cooking or thawing instructions, then cool and drain as necessary.
- 100 g grated dark chocolate, for the layers and topping. Milk chocolate makes a sweeter variation.
- 50 g chopped walnuts or other suitable nuts. Almonds or pecans are alternatives; omit where needed for allergies.
- Juice of ½ lime, optional, to add a sharper flavour to the fruit.
Yield and preparation notes
Yield: about 12 servings. Portion weight depends on the cream quantity, biscuit soaking and finished yield; the ingredients do not support a fixed 100–120 g claim for every serving.
Layers: briefly dip biscuits in the extra milk, then alternate with cream and berries. Reserve some of the measured chocolate and nuts for the topping.
Dairy-free adaptation: use suitable plant-based milk, cream and condensed milk, checking biscuits and chocolate too. Lactose-free dairy is not suitable for milk allergy; vegan does not mean allergen-free.
Storage: keep covered at 0–5°C and use within 48 hours or the shortest ingredient limit. Allow at least 4 hours to set, with longer chilling where needed.
Making creamy Christmas pavê
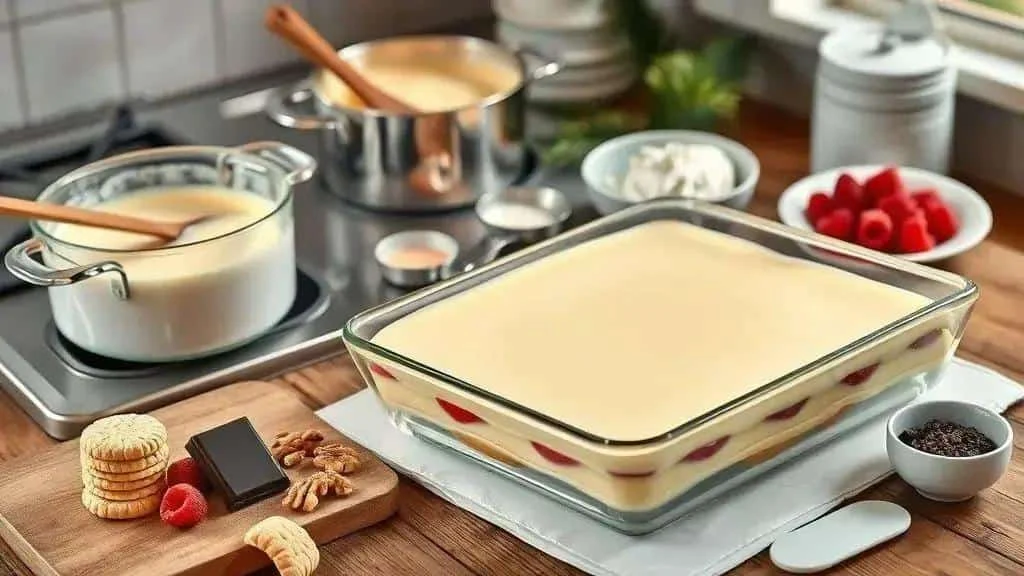
Follow these steps to assemble the creamy Christmas pavê, keeping the milk for the cream separate from the extra milk used for dipping.
- Mix the cornflour: take 120 ml from the measured 480 ml cold milk and stir in the 30 g cornflour until smooth.
- Cook the cream: combine the condensed milk, remaining 360 ml milk and cornflour mixture in a saucepan. Stir over medium heat until thickened and gently bubbling, then cook while stirring until the cornflour is cooked through. The original 5–8 minute estimate varies with the pan and heat. Stir in the vanilla.
- Cool promptly: transfer to a shallow container and cover appropriately to limit a skin. Cool promptly and refrigerate within 1–2 hours; do not leave a large warm batch out for hours.
- Add the cream: fold spoonable cream into the cooled base. If using whipping cream, whip it cold to soft peaks first and fold in gently. Ordinary cooking cream may not whip.
- Prepare fruit: wash, dry and slice strawberries, using raspberries as appropriate. Add the optional lime juice to taste and drain excess liquid; reserve a little fruit for decoration.
- Dip the biscuits: pour a little extra milk into a shallow bowl and top it up as needed. Dip each biscuit briefly, about a second per side, rather than soaking it. This milk is additional to the 480 ml used in the cream.
- Start the layers: spread a thin layer of cream in the dish, then arrange dipped biscuits evenly over it.
- Continue layering: add cream, berries and some of the measured chocolate or nuts. Repeat, leaving room for a final cream layer and topping.
- Decorate: add the reserved chocolate, berries and nuts, using the 50 g nuts across layers and topping rather than adding another 50 g. Optional lime zest can provide a finishing touch.
- Chill: refrigerate for at least 4 hours; 6–8 hours or overnight allows more time to set, within the overall storage limit.
- Serve: cut a firm pavê with a clean knife warmed in water and dried, using a broad spatula to lift portions. If softer, serve with a spoon.
- Storage and transport: keep covered at 0–5°C for no more than 48 hours, or a shorter ingredient limit. Transport already chilled in a covered dish inside a cool box with ice packs.
Practical tips
- Avoid soggy biscuits: dip them briefly to retain some structure.
- Plant-based variation: use plant-based condensed milk, oat drink and suitable coconut cream, checking every ingredient and testing the texture first.
- Firmer cream: optional gelatine requires the manufacturer’s quantity and method for the mixture volume. Agar is not a direct half-teaspoon replacement and needs a different heating method; test an adaptation rather than adding it blindly.
- Drain fruit: dry freshly washed berries well. If choosing to macerate them with an optional tablespoon of sugar, drain the released juice and account for the extra sweetness.
Ingredients for chocolate and berry mousse
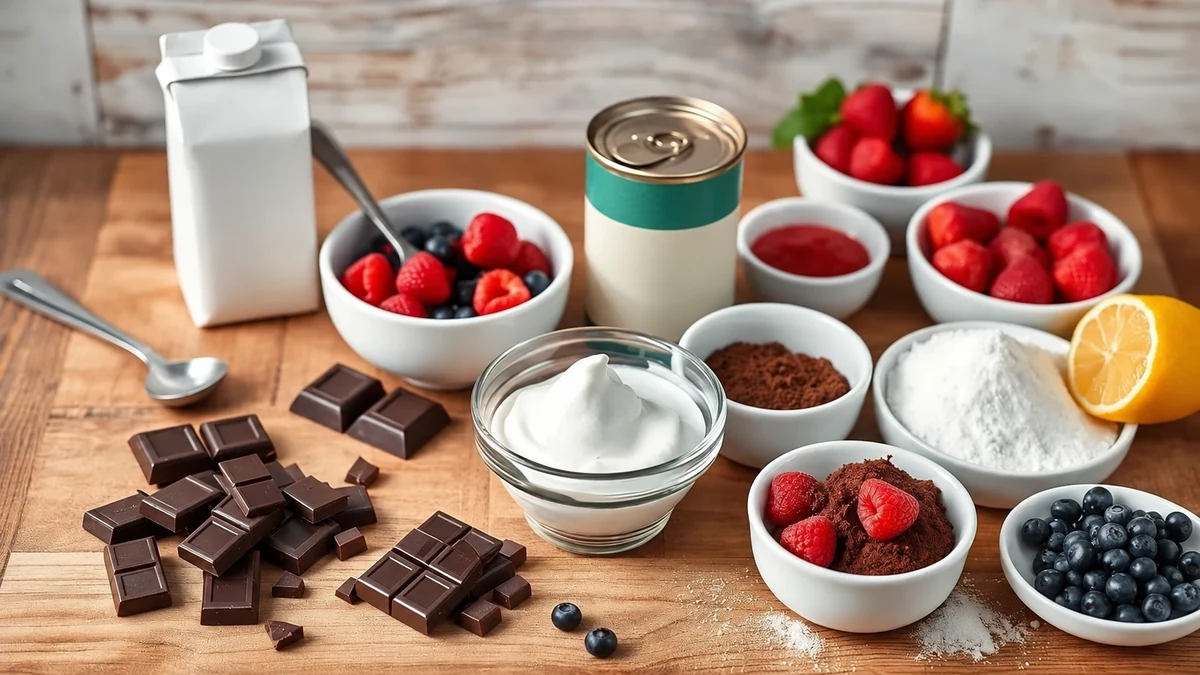
For chocolate and berry mousse serving about 10–12, gather:
- 300 g dark chocolate, chopped. Milk chocolate is a sweeter variation; check dairy-free chocolate carefully for allergy requirements.
- 400 ml whipping cream, well chilled. A plant-based product must be suitable for whipping; ordinary coconut milk is not equivalent.
- 395 g sweetened condensed milk. A suitable plant-based condensed milk is an alternative; 240 ml sugar syrup is not an equivalent replacement for its texture.
- 3 pasteurised egg whites suitable for uncooked use, using the product’s stated equivalent if measured from a carton. A separate plant-based adaptation can use 120 ml aquafaba, with a different result.
- 12 g powdered unflavoured gelatine, as specified in the original recipe; check the product’s setting strength and instructions. A vegan setting agent needs its own quantity and method, not an assumed teaspoon-for-sachet swap.
- 250 g mixed berries, such as strawberries, raspberries and blueberries, for the topping. Follow any cooking instructions on frozen berries, then cool before use.
- Up to 45 g sugar, about 3 tbsp, optional, for the berry purée; start with less if the fruit is sweet.
- Juice of ½ lime, to balance the berry topping.
- Extra chocolate shavings and a few berries, optional, for decoration.
Ingredient notes
- Chocolate: 50–60% cocoa chocolate gives a balanced starting flavour. For a dairy-free adaptation, check the ingredients and allergen information.
- Egg whites: use a pasteurised product suitable for uncooked use and whipping. Aquafaba is a different, egg-free adaptation, not a guarantee of identical volume or texture.
- Setting agent: the original gelatine method uses 5 tbsp cold water; follow your product’s blooming and dissolving directions. Agar needs a different heating process, so use a tested vegan method for it.
- Frozen berries: follow the packet’s cooking or thawing directions, cool if heated and drain excess liquid before assembling.
- Sweetness: reduce optional sugar in the fruit first. Changing the condensed milk quantity alters the filling; reduced-fat or plant-based does not automatically mean less sugar.
Making chocolate and berry mousse
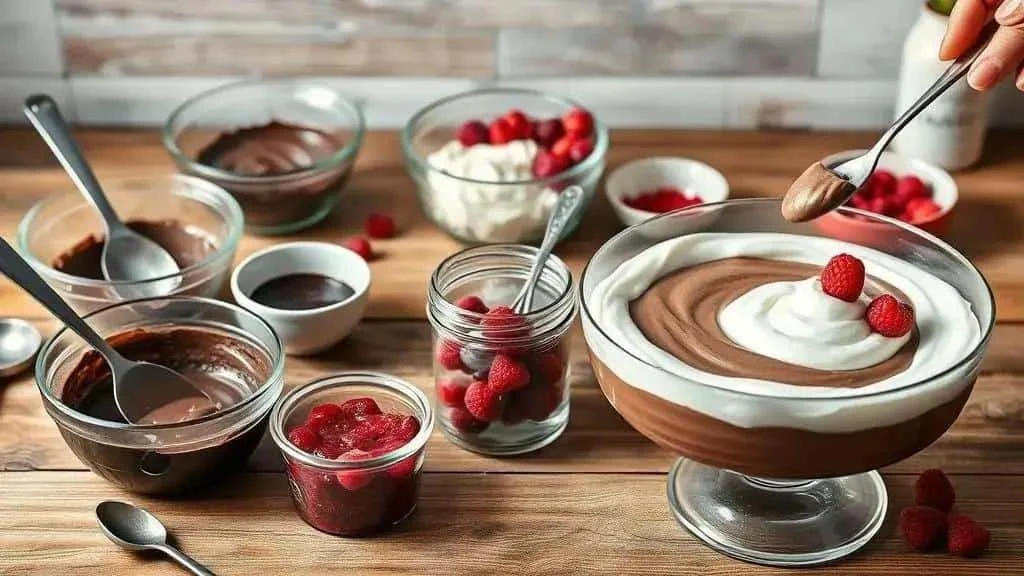
- Prepare gelatine: bloom the 12 g powdered gelatine using its package instructions; the original uses 5 tbsp cold water. Dissolve gently as directed and keep fluid but not hot. Do not substitute agar using this same method.
- Melt chocolate: melt 300 g chopped chocolate over a pan of gently simmering water without letting the bowl touch the water, or microwave in short bursts, stirring between them. Allow to cool slightly while remaining fluid.
- Temper the gelatine: stir a little condensed milk into the dissolved gelatine to help combine it smoothly. Avoid pouring a small watery mixture directly into melted chocolate, which can seize.
- Whip cream: whip the 400 ml chilled whipping cream to soft peaks, stopping before it becomes grainy.
- Whip egg whites: beat the 3 pasteurised whites suitable for uncooked use to firm peaks, following any product instructions. If testing the aquafaba adaptation, whip 120 ml separately instead.
- Combine the base: mix the remaining condensed milk with the melted chocolate, then stir in the tempered gelatine mixture until smooth. Keep the base fluid but cool enough not to melt whipped cream.
- Fold in cream: add the whipped cream in two additions, folding gently to retain air.
- Fold in whites: gently fold in the whipped pasteurised egg whites, or aquafaba in the separate adaptation.
- Make the berry topping: blend the 250 g ready-to-eat berries with lime juice and optional sugar to taste. Strain if preferred. If the berries require cooking, follow their instructions and cool before blending and assembly.
- Assemble and chill: spoon mousse into a serving dish or glasses, adding the berry mixture as a layer, topping or swirl. Refrigerate at least 3 hours, preferably 4–6 hours or overnight within the storage limit.
- Finish: decorate with optional berries, chocolate shavings or clean mint leaves. Keep refrigerated until serving.
Mousse tips
- Chocolate temperature: let the chocolate base cool enough not to melt whipped cream, but avoid leaving it until it sets before folding.
- Egg choice: this uncooked mousse specifies pasteurised whites suitable for uncooked use; do not replace them with an unsuitable egg product.
- Gelatine: follow the product directions to avoid lumps. Agar and other vegetarian setting agents require their own heating and setting method.
- Airy texture: fold gently rather than beating the finished mixture vigorously.
- Service: serve cold. A brief few minutes out may help portioning, but do not leave the whole dish warming throughout the meal.
Dietary adaptations: vegan, lactose-free and reduced-sugar options
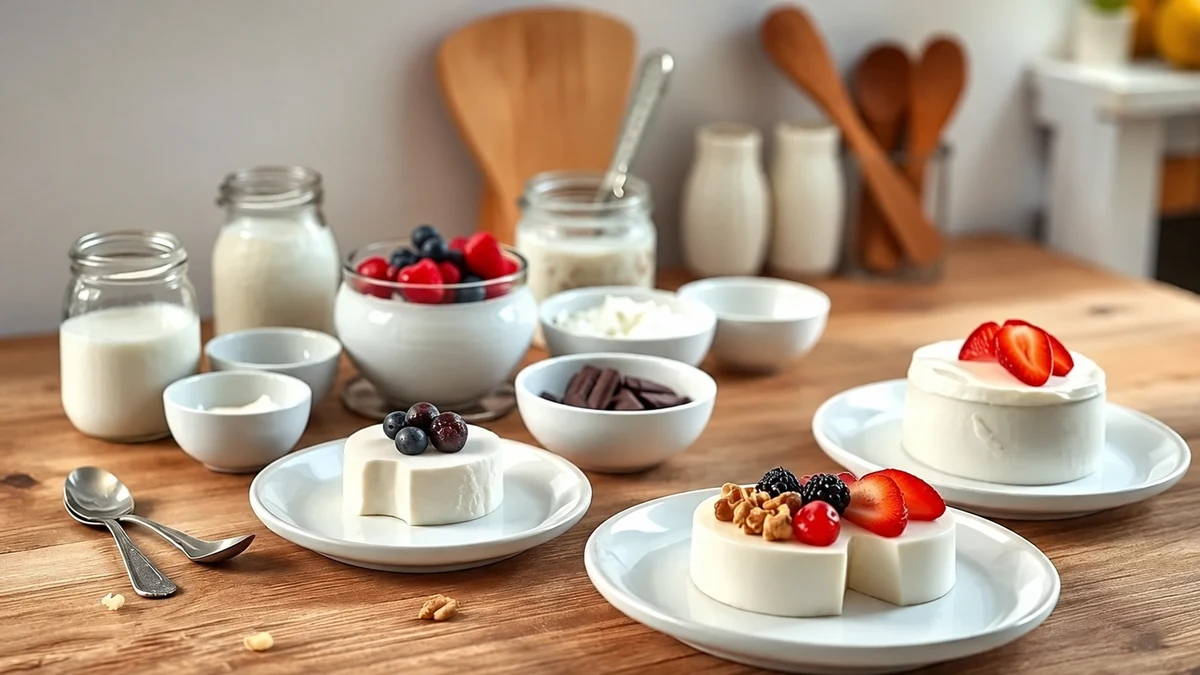
Dietary changes affect both ingredients and structure. Treat the following as adaptation notes, not tested one-for-one replacements or a promise of identical flavour and texture.
Dairy alternatives
- Milk: a suitable almond, oat or soya drink can be tried in the same measured volume for a cooked cream, but thickening may differ. Unsweetened does not automatically mean that the whole dessert is sugar-free.
- Cream: choose a plant-based cream appropriate to the task. For mousse, use a product intended for whipping; 400 ml ordinary coconut milk will not necessarily behave like whipping cream.
- Condensed milk: a suitable ready-made plant-based condensed milk is the more predictable adaptation. Reducing 400 ml coconut milk with 200 g sugar produces a different mixture and variable yield; non-sugar sweeteners do not reproduce sugar’s bulk automatically.
- Cream cheese: plant-based cream cheese is one possibility. A blend of 400 g silken tofu, 3 tbsp lemon juice and 2 tbsp coconut oil is an alternative filling idea, not an equivalent tested cheesecake base or a guarantee that it will set.
Egg alternatives
- Whipped egg whites: aquafaba is chickpea cooking liquid. The mousse variation above starts with 120 ml; conversion by spoonfuls varies with the liquid and recipe, so do not treat it as an exact egg-white equivalent.
- Eggs in cooked recipes: apple purée or a flaxseed-and-water mixture can suit some bakes, but they do not automatically replace eggs in custards or puddings. Use a tested egg-free recipe for those preparations.
Reducing added sugar
- Sugar substitutes: follow the product’s replacement guidance and check suitability for cooking. Different sweeteners have different strengths and cannot all be substituted one-for-one.
- Sweetener blends: use the manufacturer’s quantities rather than a universal percentage. Removing sugar can change volume, setting and texture.
- Caramel alternatives: check the label of products described as having no added sugar. A paste made from 1 cup pitted dates and 2–3 tbsp water offers a different flavour but still contains sugar and is not a sugar-free dulce de leche substitute.
Setting and thickening
- Gelatine alternatives: agar and vegetarian gelling products need their own quantities and preparation methods. Follow the packet and a suitable recipe rather than assuming one teaspoon replaces a sachet.
- Starches: cornflour, rice flour and tapioca starch have different thickening properties. Use the specified ingredient or test a suitable adaptation instead of replacing equal amounts automatically.
- Other stabilisers: hydrated chia or xanthan gum changes texture and appearance. A small pinch is not a reliable universal way to set mousse; follow a recipe designed for the ingredient.
Adaptation notes by dessert
- Christmas pavê: try suitable plant-based condensed milk, 300–350 g coconut cream and a plant drink, with biscuits and chocolate that meet the intended dietary requirements. Wholemeal biscuits alone do not make it dairy-free.
- Chocolate and berry mousse: a vegan version needs dairy-free chocolate and condensed milk, a whipping plant cream, aquafaba and a vegetarian setting method. Replacing only the egg whites leaves dairy and gelatine in the dessert.
- Vanilla pudding: use a complete plant-based pudding recipe. The correct starch and setting-agent amounts depend on the liquid volume and cannot be specified from the idea alone.
- No-bake cheesecake: select a recipe designed for plant-based cream cheese or another filling. Cornflour requires cooking and cannot simply be stirred raw into a cold cheesecake as a substitute for condensed milk.
- Chilled lime dessert: plant-based condensed milk and suitable biscuits need a compatible filling recipe. Lime zest adds flavour but does not replace the structural role of sugar.
- Passion fruit pavê: dairy-free chocolate and a suitable plant cream can make a ganache variation. Adapt the passion fruit filling with a tested setting method rather than an assumed one-for-one agar substitution.
- Dulce de leche and walnut pavê: check the ingredients of any alternative caramel spread. Date paste with cocoa creates a different filling and still contains sugar; toasted walnuts add contrast where suitable.
Testing adaptations
- Taste gradually: check freshly made, safe-to-taste cream before assembly and add sweetener according to its instructions.
- Check texture: plant creams can set differently. Extra chilling alone will not correct a mixture that lacks the right structure.
- Check yield: substitutions may change the volume. Test a small batch and choose a dish that fits the actual mixture.
- Describe accurately: only call a dessert vegan, lactose-free or sugar-free when every ingredient supports the claim. Give allergen information separately; dietary labels do not guarantee allergy safety.
Assembly and festive presentation
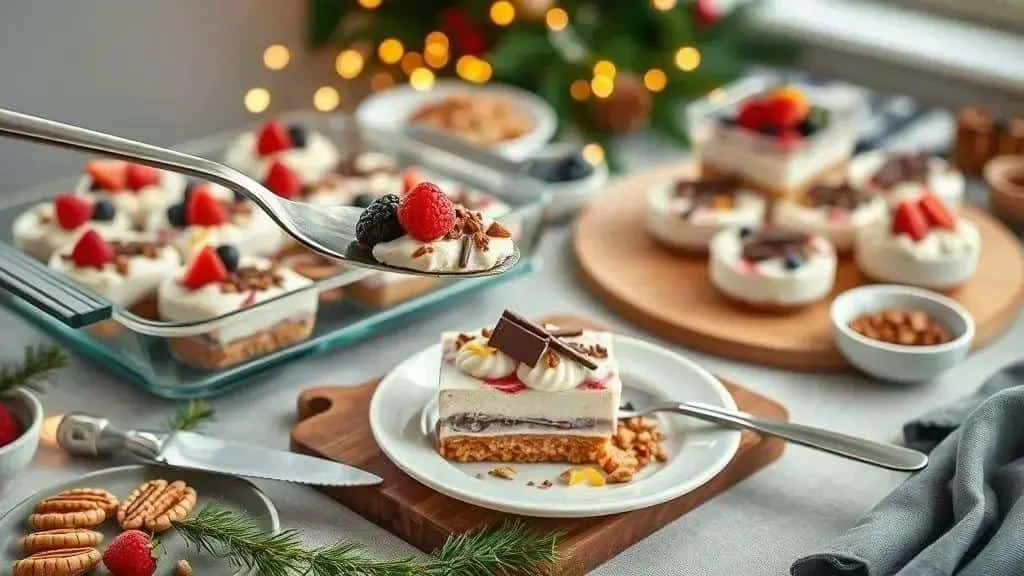
Neat layers and simple decoration can make a sharing dessert the centrepiece of the table. Use colour, texture and height without making it difficult to serve.
Visual details
- Colour: contrast berries, passion fruit or lime with cream and biscuits.
- Texture: combine cream with suitable nuts, biscuit crumbs or fresh fruit.
- Layers: a clear dish shows them well; use stable stands if varying the height of dishes on the table.
- Glossy finishes: ganache or an appropriate fruit sauce gives a smooth finish.
Assembly steps
- Prepare first: have cooled creams, sauces and ready-to-eat fruit available, along with clean utensils and serving plates.
- Even base: for pavê, a thin cream layer helps hold the biscuits in place.
- Regular layers: level each layer with a spatula, following the recipe’s order and quantities.
- Finish: add a suitable topping, such as ganache or whipped cream, then arrange reserved chocolate, nuts or fruit neatly.
- Chill: allow the recipe’s setting time before serving, keeping within its overall storage limit.
Presentation at the table
- Dishes and stands: stable wooden or stone-effect bases can provide contrast; transparent dishes show the layers.
- Lighting: gentle side light or soft frontal light highlights texture without harsh shadows.
- Table decorations: coordinated napkins and Christmas ornaments add atmosphere. Keep pine branches, glitter and non-food decorations away from the food.
- Labels: place accurate dietary and allergen information beside the dish, without labels touching the dessert.
Serving tips
- Score portions: use a clean knife warmed in water and dried to mark portions on a firm dessert.
- Broad spatula: use one to lift slices without breaking the layers; spoon softer desserts instead.
- Keep cold: serve small quantities and replenish from the fridge, using suitable cold-holding arrangements when needed.
- Even portions: consistent sizes help with presentation and avoiding waste.
Small finishing touches
- Citrus zest: washed lemon, lime or orange zest adds aroma and colour.
- Fresh herbs: clean edible mint or basil can complement fruit flavours.
- Crunch: lightly toasted nuts add texture where suitable for guests’ allergies.
- Fruit glaze: a small amount of suitable diluted jam can add shine; allow it to cool before applying.
Storage, transport and keeping desserts cold
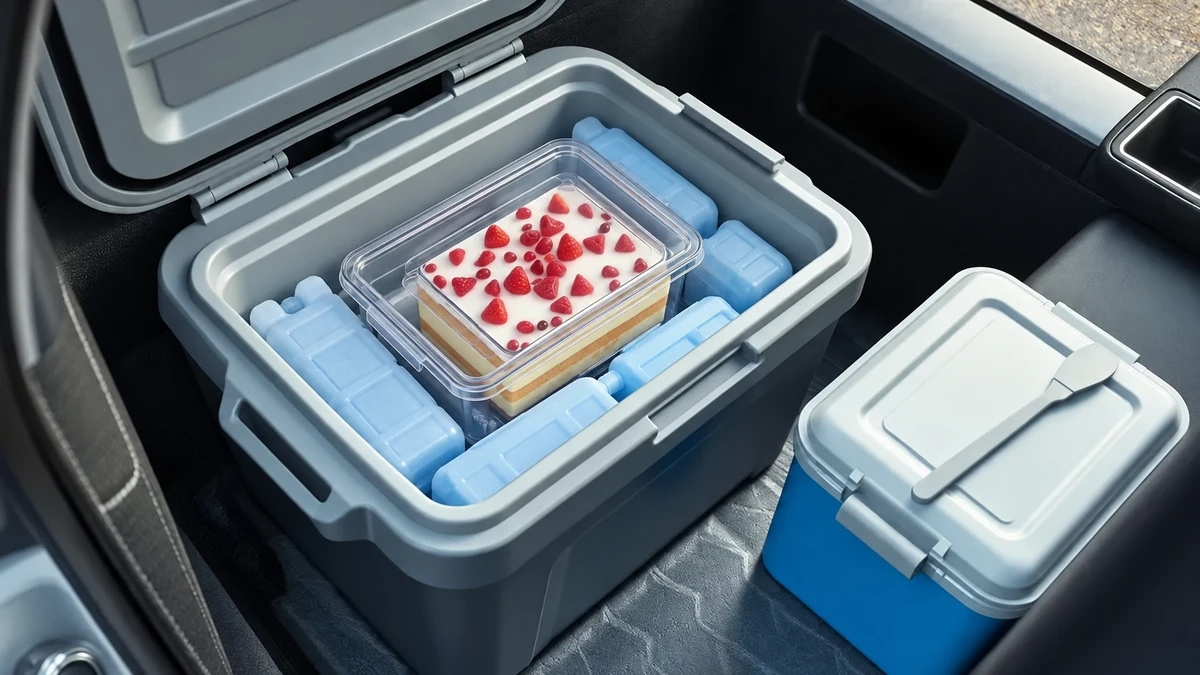
Plan chilling and transport alongside the recipe so the dessert reaches the table cold, intact and within its safe storage period.
Temperatures and times
- Fridge: keep at 0–5°C. Use these homemade cream desserts within 48 hours or the shortest ingredient limit, whichever is sooner.
- Freezer: check both the recipe and container for suitability. If freezing, one month is a cautious quality target rather than a universal guarantee; texture may change. Defrost in the fridge and use within 24 hours.
- Unchilled serving time: keep it brief. FDA buffet guidance says to discard perishables left at room temperature for more than 2 hours, or more than 1 hour above about 32°C. Proper cold holding is different from simply standing on the table.
Covering the dessert
- Covered dish: use a suitable lid or food wrap to protect from contamination and odours.
- Protect decoration: leave space between the topping and lid. Suitable baking paper may protect a firm surface, but can stick to soft cream.
- Cooling cooked mixtures: divide into shallow containers to cool promptly and refrigerate within 1–2 hours. Do not leave a large warm dish out indefinitely waiting for it to become completely cold.
Transport
- Chill first: transport only after the dessert has set and chilled throughout; this may take 4–6 hours or longer according to the recipe.
- Use a cool box: surround the covered dish with frozen ice packs without letting condensation drip onto the topping.
- Position securely: keep the cool box level on a stable vehicle surface, protected from sunlight and heat.
- Limit movement: secure the dish with a non-slip base or clean padding so it cannot slide or tip.
- Check conditions: for a longer trip, use a thermometer and adequate ice packs to maintain cold storage, not just a visual check of the dish.
Keeping it cold during service
- Chilled serving dish: assemble and chill the dessert in its serving dish where possible; avoid transferring a set layered dessert unnecessarily.
- Ice bath for a buffet: a suitable outer tray of ice can help keep the dish cold. Prevent meltwater from entering the food and check temperature rather than assuming the setup stays cold indefinitely.
- Ice packs: place packs safely around or beneath a suitable dish and replenish them as needed.
- Serving tools: briefly warm and dry a clean knife for neat slices, and use a clean broad spatula for lifting.
If the dessert warms up
- Do not rely on re-chilling: return a briefly exposed dessert promptly to the fridge only if its time and temperature history remain safe. Refrigeration cannot undo unsafe storage; discard if limits were exceeded or the history is uncertain.
- Appearance: replace wilted decoration only on a dessert that is otherwise safely stored. Fresh fruit on top does not make an unsafe dessert safe.
Final food-safety checks
- Clean containers: use clean, covered containers throughout transport.
- Temperature and history: check cold storage with a food thermometer, aiming for 0–5°C. A cold reading now does not prove the dessert was handled safely earlier.
- Allergens: identify milk, eggs, nuts, gluten-containing biscuits and any other relevant allergens, and prevent cross-contact.
Ready for the festive table
A sharing dessert can make Christmas service simpler. Choose a complete recipe, plan the portions and chilling space, and test any major adaptation before the occasion.
Thank you for reading! Follow our social channels for more festive recipes and presentation ideas.
Visit the I Love Christmas blog and share your dessert photographs if you would like to show your festive table.
FAQs: chilled Christmas sharing desserts
Which dish size should I choose?
As a rough guide, a 20 × 20 cm dish may serve 8–10, a 23 × 33 cm dish 12–15, and a 30 × 40 cm dish 20 or more. Actual yield depends on depth, the recipe and serving size; check capacity before assembling.
How far ahead can I prepare a chilled dessert?
Many recipes benefit from 4–24 hours of chilling. Follow the specific setting time and keep within the total storage limit: for these homemade cream desserts, use within 48 hours at 0–5°C, or a shorter ingredient limit.
How can I transport it without damaging the layers?
Chill it thoroughly, cover it and use a cool box with frozen ice packs. Secure the dish on a level surface, protect it from heat and refrigerate promptly at the destination.
Can I make vegan, lactose-free or reduced-sugar versions?
Suitable plant-based milk, cream, condensed milk and egg alternatives can be used in adaptations, but the setting method needs testing. Replace dairy, eggs and gelatine for a vegan version, and check all other ingredients. Date paste and honey still contain sugar; lactose-free dairy still contains milk protein.
How do I serve neat portions?
For a firm dessert, mark portions with a clean knife warmed in water and dried, then lift with a broad spatula. Spoon softer desserts. Add delicate decoration near serving time and keep the remaining dessert cold.
Sources and Further Reading
- Food Standards Agency: chilling and storage
- Dr. Oetker: leaf gelatine instructions
- Dr. Oetker: Vege-Gel instructions and limitations
- FDA: chilled buffet food and pasteurised eggs