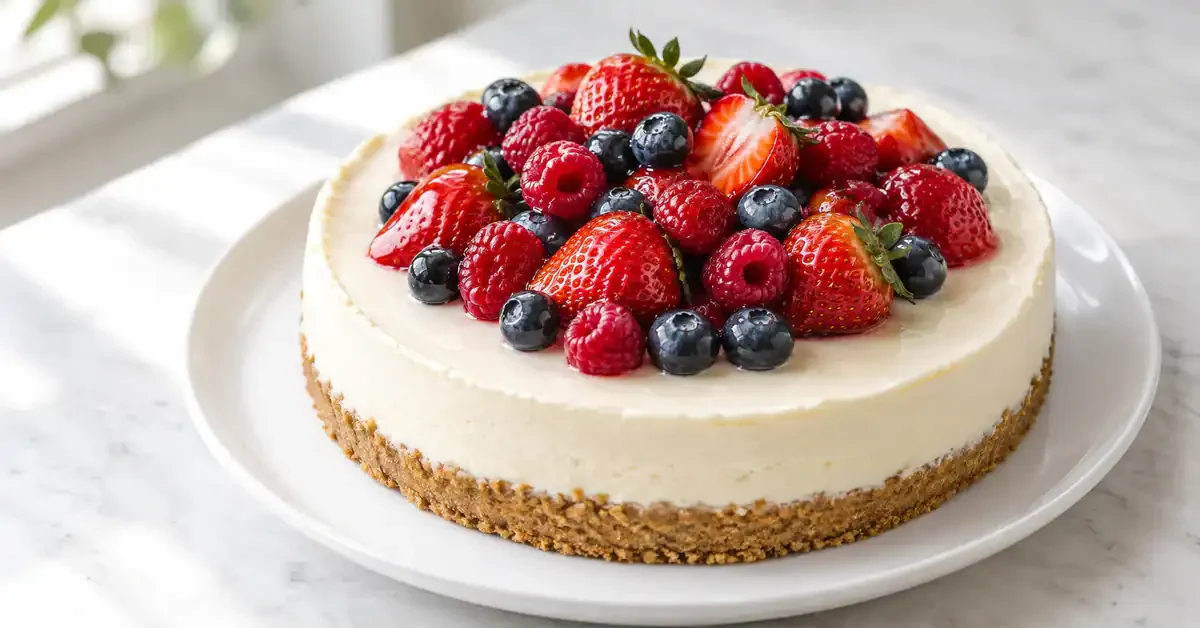
This no-bake berry cheesecake combines a pressed biscuit base with a cream cheese filling and a cooked berry topping. Chill the base and filling properly, and cool the fruit sauce before adding it.
A no-bake berry cheesecake is a useful make-ahead dessert with a crisp biscuit layer and a creamy centre. The steps below cover the base, filling and topping separately so you can allow enough chilling time between stages.
The images illustrate this recipe and its preparation; the appearance of your finished dish may vary.
No-bake biscuit base
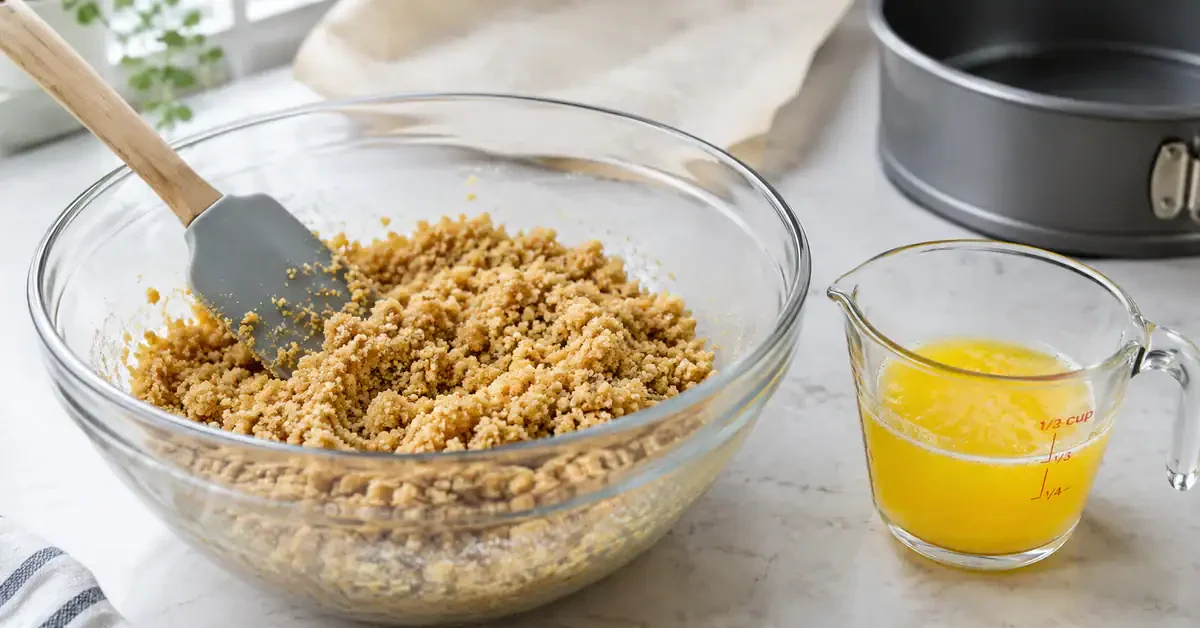
Base ingredients
- 180 g digestive biscuits, finely crushed
- 70 g butter, melted
Preparing the base
- Melt the butter: warm gently in a small saucepan or microwave until melted, taking care not to scorch it.
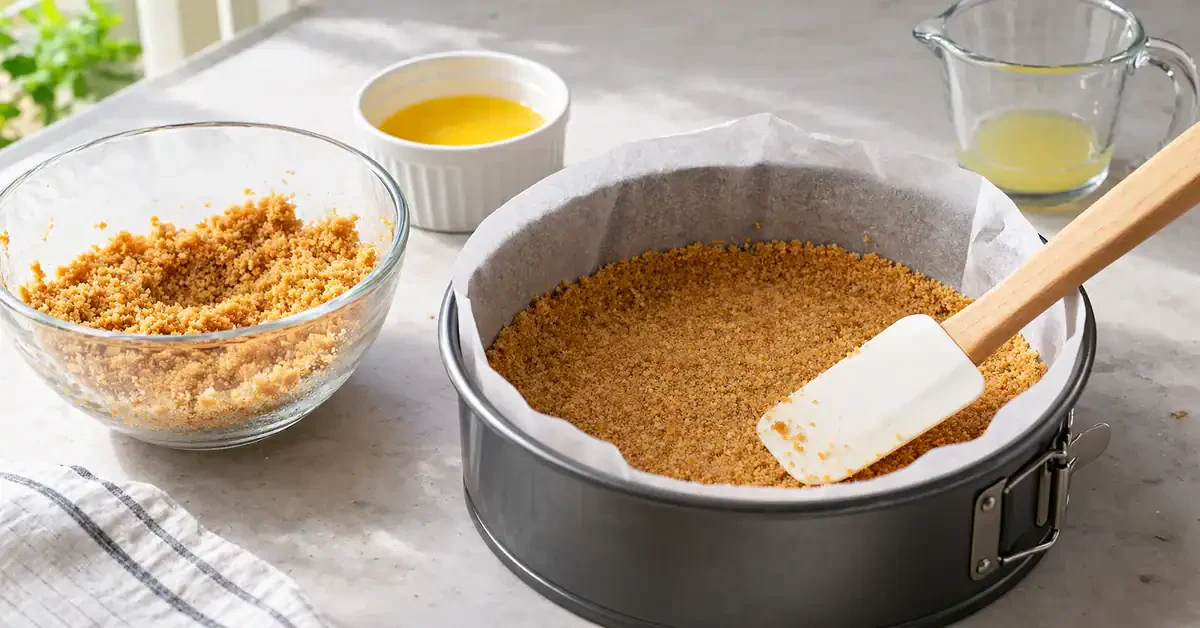
- Mix: combine the biscuit crumbs and melted butter until evenly moistened and able to hold together when pressed.
- Line the tin: press the mixture evenly into the base of a 24 cm springform tin using the back of a spoon.
- Chill: refrigerate for at least 30 minutes before adding the filling.
Cream cheese filling
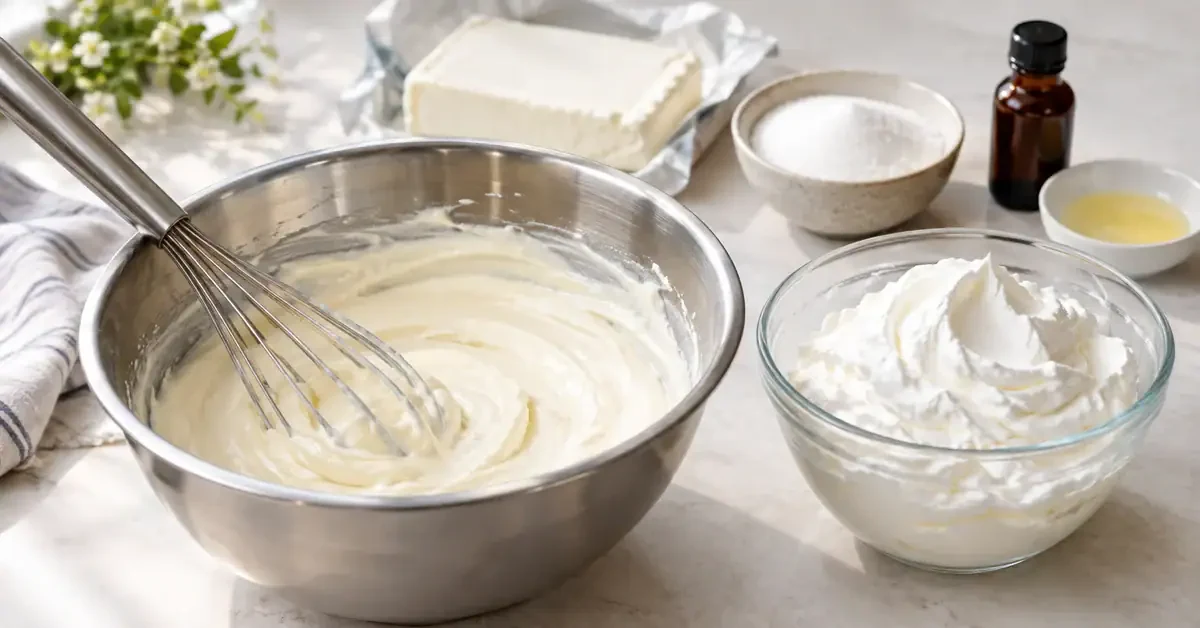
Filling ingredients
- 500 g cream cheese, softened enough to beat smoothly
- 100 g sugar
- 1 teaspoon vanilla flavouring
- 20 ml lemon juice
- 200 ml fresh whipping cream, chilled
- 8 g unflavoured powdered gelatine, optional, prepared with 60 ml water according to the packet directions
Preparing the filling
- Beat the cheese and sugar: beat on medium speed for about 2–3 minutes until smooth, then mix in the vanilla and lemon juice.
- Fold in the cream: in a separate bowl, whip the cold cream to soft peaks. Fold into the cream cheese mixture gently, lifting from underneath to preserve the air.
- Optional gelatine: follow the packet’s preparation instructions using the measured 60 ml water. Where cold blooming is required, allow it to swell first, then warm gently to dissolve without boiling. Stir a little filling into the dissolved gelatine before combining with the rest, so it distributes evenly rather than setting in strands. Do not add it hot enough to melt the whipped cream. Powdered gelatine products vary; use the instructions for yours. Source: Dr. Oetker: guidance on gelatine
- Fill the tin: spread over the chilled biscuit base, smooth with a spatula and refrigerate for around 4 hours, or until set. A version without gelatine may remain softer and need longer chilling; do not promise the same firmness from both versions.
Assembly and refrigeration
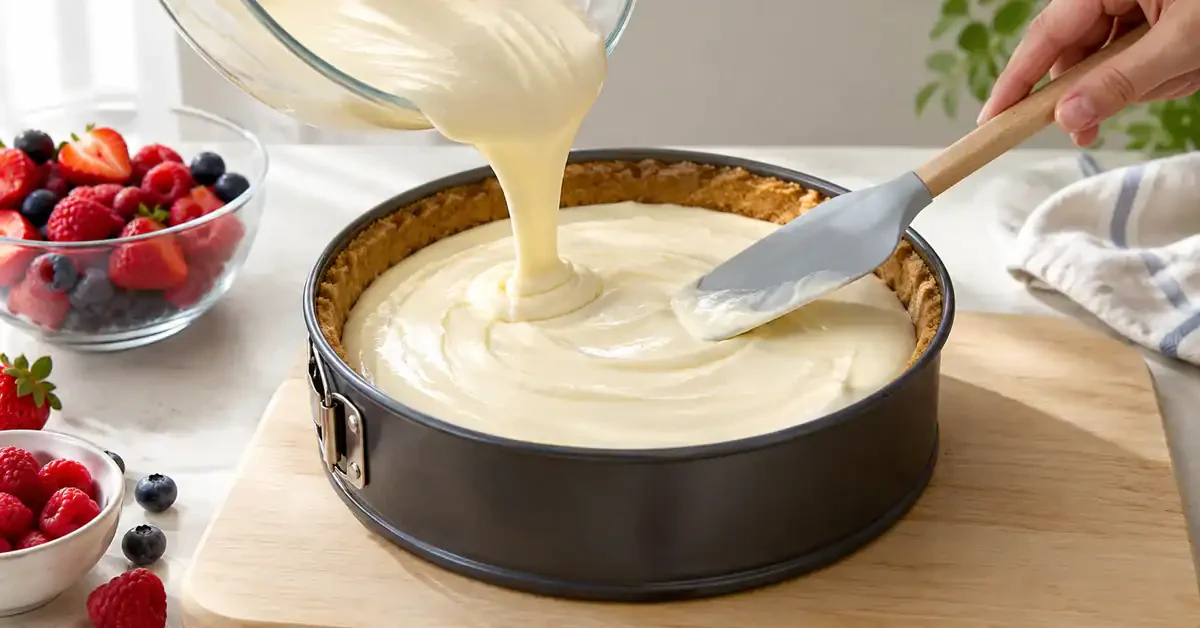
Putting the layers together
- Spread and level: distribute the filling evenly over the base in the 24 cm springform tin. Smooth the surface gently with a spatula.
- Keep the ring on while chilling: release the springform ring only once the filling is firm enough to hold its shape. If it remains soft, serve from the tin or dish rather than forcing it to unmould.
- Cover: protect the surface with a suitable cover and leave undisturbed in the fridge. Avoid pressing cling film into the cream if you want a smooth finish.
Chilling time and texture
- Refrigeration: allow approximately 4 hours, checking that the filling has set before serving. Keep the fridge at about 4°C. The filling’s temperature and ingredients can affect the time needed.
- Signs it is ready: the filling should support a slice without running or releasing pools of liquid. A smooth surface is desirable, but a few air bubbles do not determine whether it has set.
Berry topping
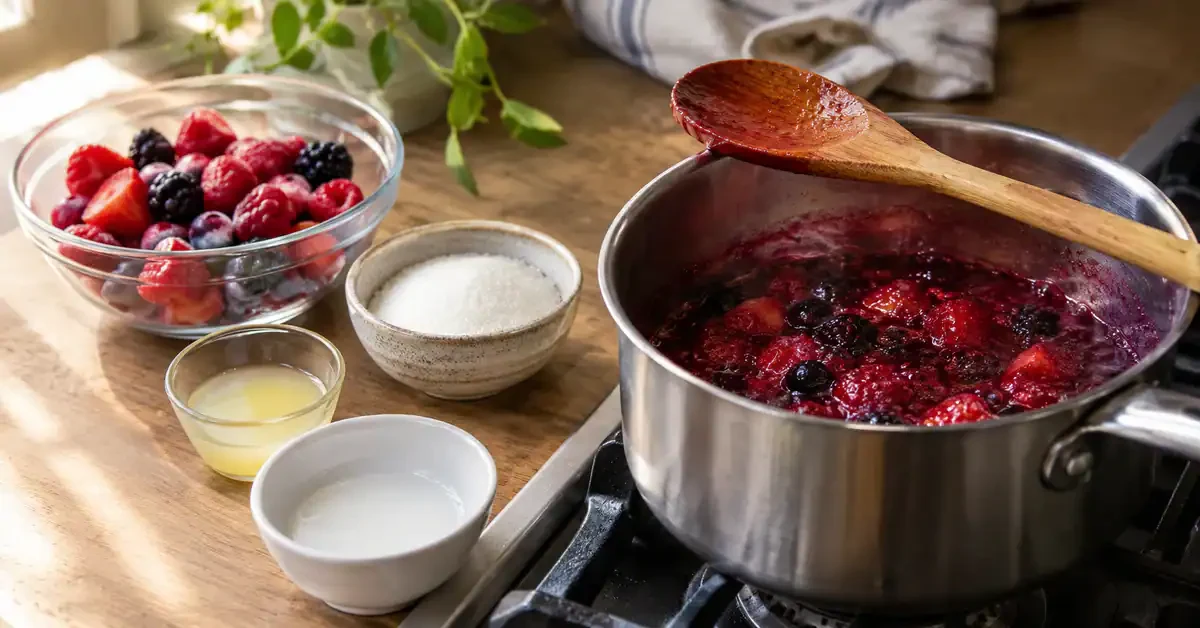
Topping ingredients
- 200 g mixed berries, fresh or frozen; wash fresh berries and follow any cooking instructions on frozen packs
- 2 tablespoons sugar
- 1 tablespoon lemon juice
- 1 teaspoon cornflour, optional, mixed with 1 tablespoon cold water
Preparing the topping
- Combine: put the berries, sugar and lemon juice in a small saucepan and stir together.
- Cook until thickened: heat gently, stirring occasionally, until the berries release their juices and the sauce reduces enough to coat a spoon, approximately 5–8 minutes. For frozen berries, also follow the pack’s required cooking directions; a texture check alone does not replace them.
- Add cornflour if needed: stir in the prepared cornflour mixture, if using, and cook for another 1–2 minutes until lightly thickened.
- Cool before using: remove from the heat and cool promptly, then refrigerate until cold. Spread the cold sauce over the set cheesecake. A warm topping can soften the filling, so do not pour it over the whole chilled cake while hot.
Helpful checks and adjustments
These pointers explain how to judge the base and filling, avoid common assembly problems and distinguish simple flavour variations from substitutions that may affect setting.
Checking the set
- The filling should look stable when the tin is moved gently. Check at the edge with a clean utensil rather than repeatedly pressing a finger into the centre.
- A slice should hold its shape without liquid running from the filling. Four hours is a starting estimate; keep it refrigerated at about 4°C until ready.
- If the centre still moves loosely, allow more chilling time and leave the ring in place. Refrigeration cannot always compensate for a formulation that is too wet or gelatine that has not been prepared correctly.
Common mistakes and how to avoid them
- A crumbly base often needs more even mixing and firmer pressing before the filling is added. Combine the butter thoroughly with the crumbs, press evenly, then chill.
- For a lumpy filling, beat the cream cheese and sugar smooth before folding in the whipped cream. If needed, sieve that cheese mixture first rather than sieving the completed aerated filling.
- Whip the cream to soft peaks and fold gently. If using gelatine, dissolve it fully and distribute it evenly; do not add boiling gelatine or overbeat the cream in an attempt to force a firmer result.
- If the melted butter smells burnt, replace it before mixing the base. A surface skin on the filling is a different issue: keep the cheesecake covered rather than remaking the biscuit base to solve it.
Possible substitutions
- Lime juice can offer a different citrus flavour. Orange juice is usually less acidic and should not be assumed to give the same flavour or setting behaviour at the same volume.
- For a lactose-free version, suitable cream cheese and cream would be needed, but also check the biscuits, butter and toppings. Lactose-free dairy products are not necessarily suitable for someone with a milk allergy, and substitutes can change the texture.
- Another biscuit can change the base’s fat content and how well it binds. The suggested 180 g biscuit quantity is a starting point for a variation, not a guarantee that every almond or butter biscuit behaves like a digestive.
- You can use another cooked fruit sauce in place of berries, provided it is cooled before topping. Its thickness and sweetness may differ.
Variations
- For a sharper flavour, the original variation suggests another 5–10 ml lemon juice. Extra juice also adds liquid, so try it cautiously in a separate batch rather than assuming it has no effect on firmness.
- For a light filling, stop whipping at soft peaks and fold carefully. Whipping for longer can overwhip the cream; it does not automatically make the cheesecake creamier.
- A little finely grated lemon zest in the biscuit base is an optional way to add citrus aroma.
- Try a topping made mainly from blueberries, strawberries or raspberries, cooked into a sauce and cooled fully before use.
Serving and storage
- Serve chilled, either from the tin or with the ring removed shortly before serving if the filling is firm enough.
- Keep covered in the fridge. Refrigerate promptly after serving, within 2 hours, and use within 48 hours or sooner if an ingredient requires it, following Food Standards Agency guidance for leftovers. Source: Food Standards Agency: cooking and storing leftovers
- For neater slices, use a clean, slightly warmed knife and wipe the blade between cuts. Support each portion with a broad server.
Ready to serve
Check that the filling is set before releasing the ring. If it is still loose, keep it refrigerated with the ring on; if it never becomes firm enough to slice, serve it as a softer dessert rather than claiming a successful unmoulded cheesecake.
A different cooled berry sauce is an easy change for another occasion. Blueberries, strawberries or raspberries each offer their own flavour while keeping the same layered dessert format.
No-bake berry cheesecake: frequently asked questions
How do I know the filling is ready?
It should support a slice without flowing or releasing liquid. Check after about 4 hours in the fridge, allowing longer if needed. A version without gelatine can be softer, so do not release the ring until it holds its shape.
What if the biscuit base is crumbly?
Before adding the filling, check that the melted butter is evenly mixed through the crumbs. Press firmly into the tin and refrigerate. Trying to compact it after the filling has been added will damage the layers.
Which substitutions can I make?
Lime changes the citrus flavour; orange juice is not an equivalent source of acidity. Lactose-free adaptations require checking every ingredient, including the base. Different dairy or biscuit products can alter the set. A different cooked, cooled fruit sauce is a straightforward topping variation.
Which utensils help with assembly and serving?
A 24 cm springform tin, mixer and spatula help prepare and level the filling. Keep the ring on during chilling and use a clean knife and broad server for portions.
How do I serve and store it?
Serve cold with the cooled fruit topping. Keep covered and refrigerated, returning leftovers promptly and using them within 48 hours or the shortest ingredient storage period. Wipe the knife between slices for a cleaner finish.