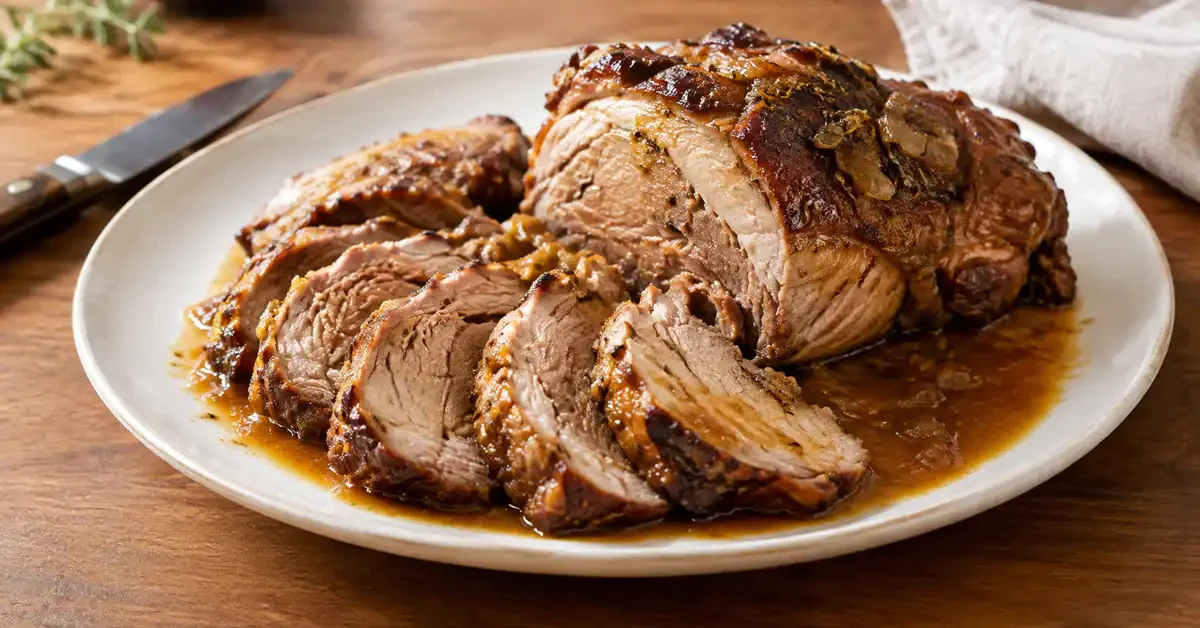
Pressure cooker pork leg is a practical Christmas main course: brown the meat, soften the aromatics and cook under pressure, then reduce the cooking liquid into a flavourful sauce. The size of the joint and your cooker determine the cooking time, so check tenderness and temperature before serving.
Pressure cooker pork leg offers a festive main course with garlic, herbs and a savoury sauce. It is a useful alternative to an oven-roasted joint when you want to keep the oven free for other dishes.
The images illustrate this recipe and its preparation; the appearance of your finished dish may vary.
The method below takes you through browning the pork, adding the aromatics and liquids, and reducing the sauce at the end. Read your pressure cooker’s instructions before starting: its minimum liquid requirement, maximum fill level and release procedure take precedence over a general recipe.
Ingredients
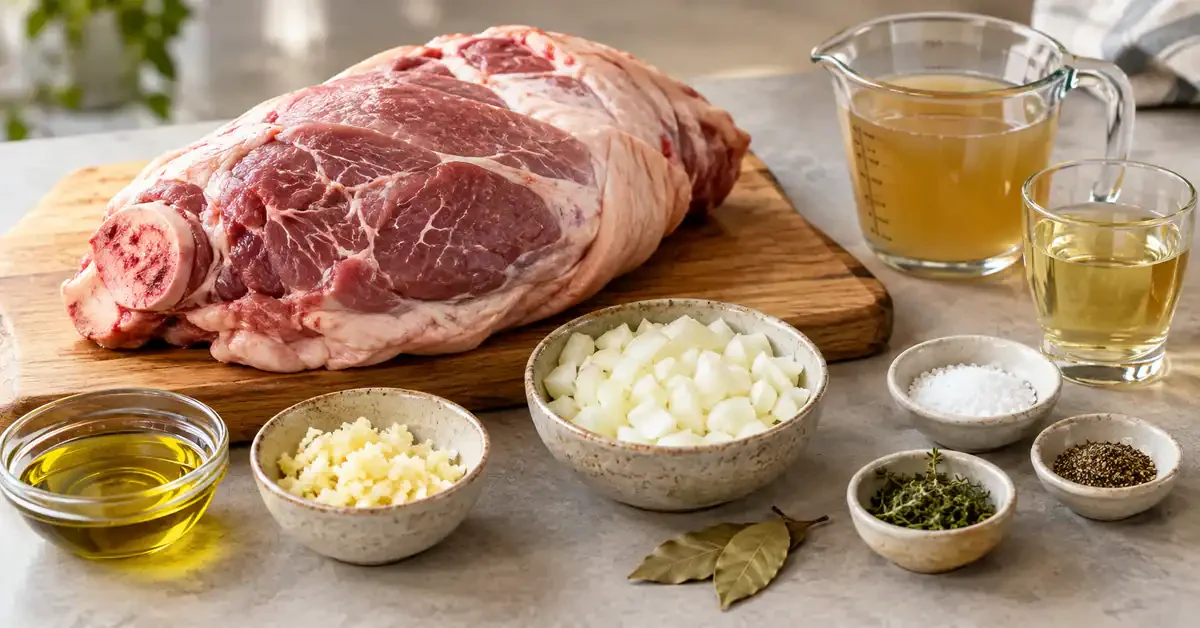
- 1.5 kg bone-in pork leg, as a joint or large pieces, fully thawed
- 2 tablespoons olive oil
- 4 cloves garlic, chopped
- 1 medium onion, chopped
- 1 teaspoon salt, or less if using salty stock
- ½ teaspoon freshly ground black pepper
- 2 bay leaves
- 1 teaspoon chopped fresh thyme, optional
- 1 cup water or beef stock, plus any extra required to meet your cooker’s minimum liquid level
- ½ cup dry white wine, or the same volume of water or stock if omitting wine
Method
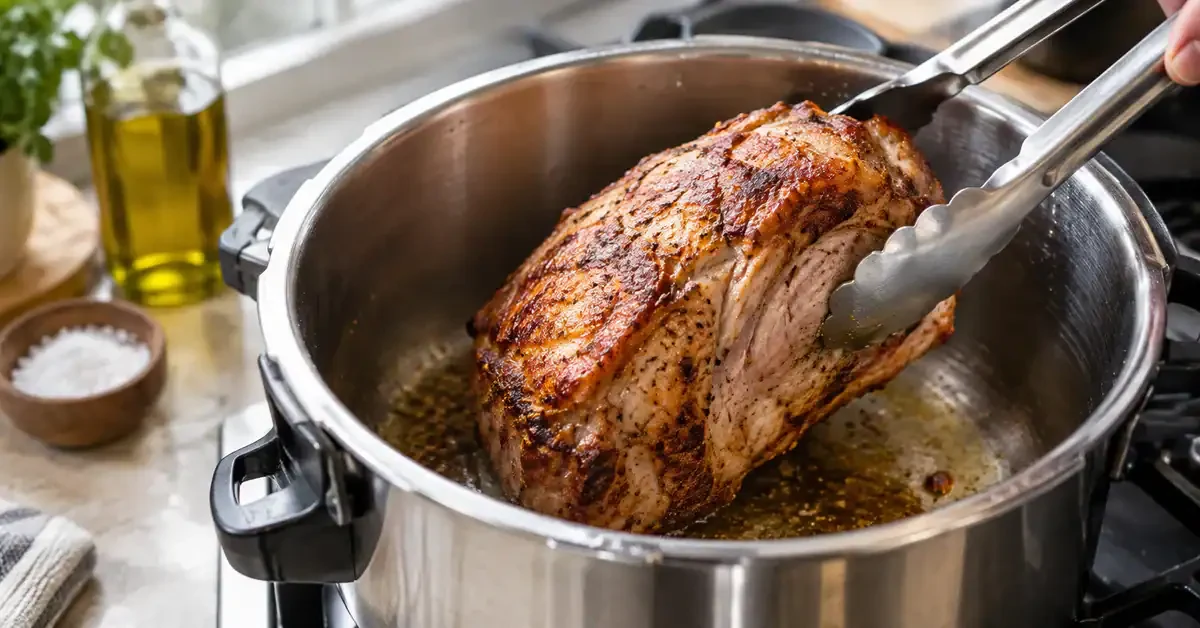
- Brown the pork: with the lid off, heat 2 tablespoons of olive oil in a suitable pressure cooker over a medium-high heat. Brown the meat on all sides, allowing approximately 8–10 minutes. Turn with tongs. Browning develops flavour; it does not seal juices inside the meat.
- Soften the aromatics: lift the meat out. Add the onion to the pan and cook for around 3–4 minutes until softened and lightly coloured, adding the garlic towards the end so it does not burn. Lower the heat if the base is catching.
- Add the liquids and seasonings: pour in 1 cup of water or stock and ½ cup of wine, or an equal volume of water or stock instead of wine. Loosen the browned residue from the base, then return the pork. Add 2 bay leaves, the optional 1 teaspoon of thyme, up to 1 teaspoon of salt and ½ teaspoon of black pepper. Check that the liquid meets your manufacturer’s minimum and that the contents stay below its fill limit; add more water if required.
- Cook under pressure: close and operate the cooker according to its instructions. Once it reaches cooking pressure, maintain that pressure and allow approximately 45–60 minutes as a guide, adjusting for the cooker and size of the meat. Switch off and allow a natural pressure release. This may take 10–15 minutes or longer: elapsed time alone does not mean the lid is safe to open. Wait until pressure has fully released and the indicator confirms it is safe; never force the lid.
- Reduce the sauce: once all pressure has released, open as directed and check the pork is cooked through and tender. Lift it out and loosely cover. Remove the bay leaves. Simmer the liquid uncovered over a medium-high heat for about 10–15 minutes, or until lightly thickened. Spoon the sauce over the rested meat, or briefly return the meat to the sauce before serving.
Checking doneness
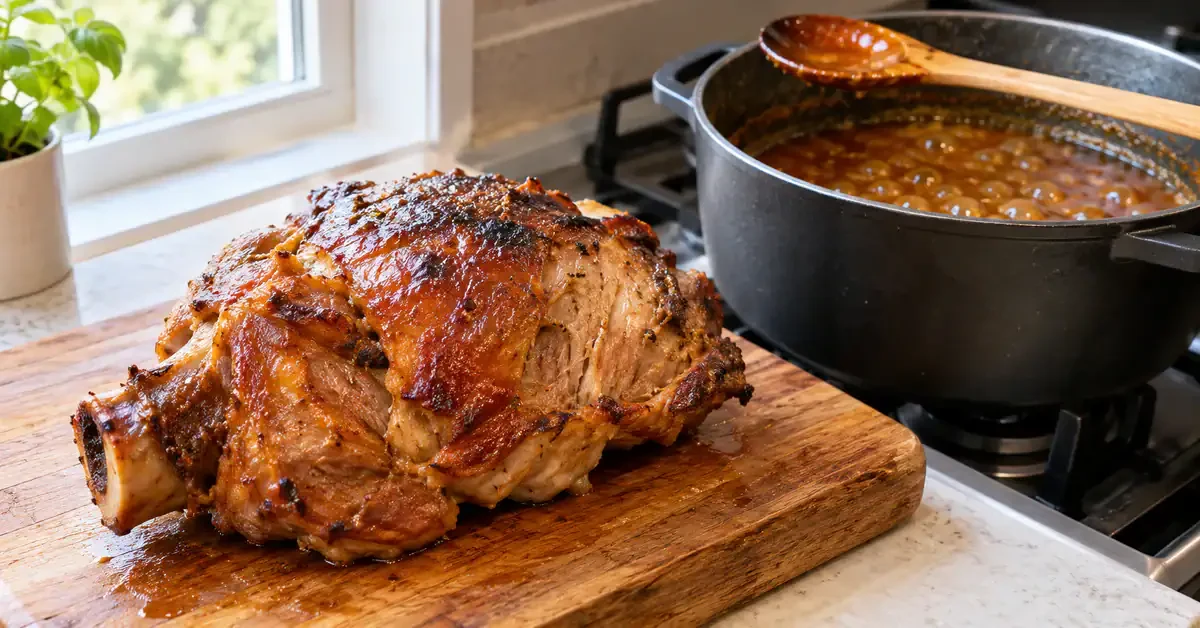
Check both the meat and the sauce before serving. A tender texture is important, but it does not replace a temperature check.
How to check the pork
- Insert a clean food thermometer into the thickest part, avoiding the bone. A Food Standards Agency time-and-temperature combination is 75°C for 30 seconds, or 70°C for 2 minutes. Check more than one spot in a large joint. If the pork has not reached a safe temperature or remains tough, continue cooking, following the cooker’s instructions and maintaining sufficient liquid. Source: Food Standards Agency: cooking food and storing leftovers
- Pressing the surface with a finger is not a reliable safety test. The meat should be steaming hot throughout with no uncooked pink flesh; use a thermometer for a more reliable assessment, especially close to the bone. Tenderness and safe cooking temperature are separate checks.
Checking the sauce
- With the meat removed and the cooker open, simmer the remaining liquid, stirring occasionally to loosen browned residue from the base. Do not stir burnt residue into the sauce.
- Reduce until the sauce lightly coats the back of a spoon. Taste as it reduces, since salt becomes more concentrated.
- If it becomes too thick or intense, stir in a little hot water at a time until the consistency suits you.
Common mistakes and how to avoid them
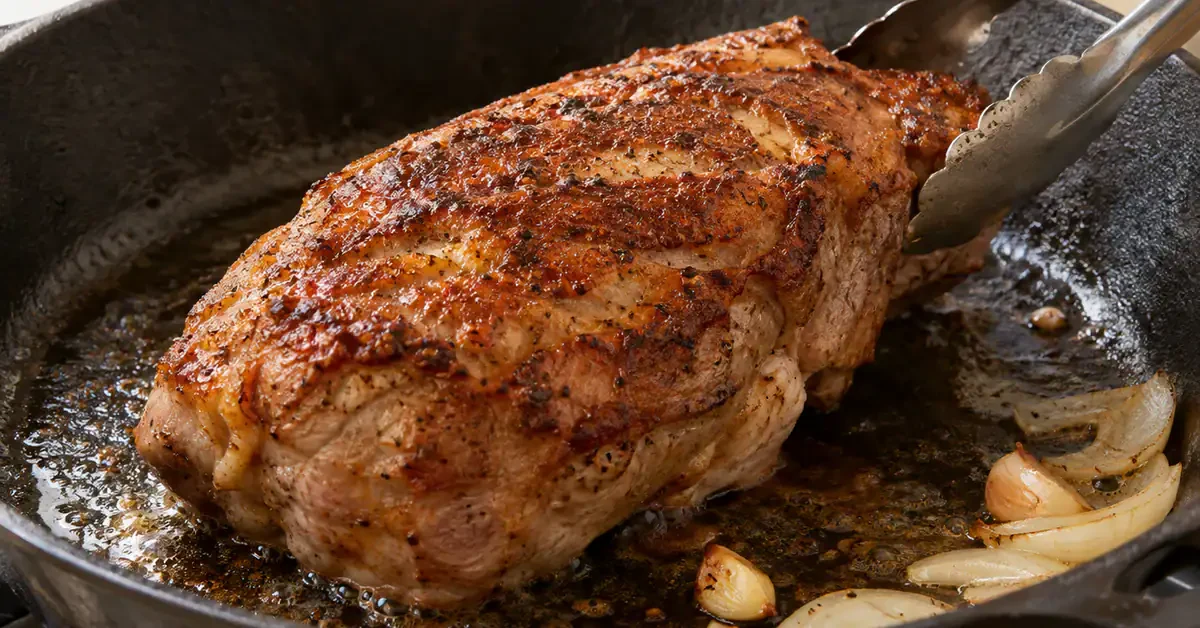
Attention to browning, pressure release and the final sauce helps make the pork tender and the flavour balanced.
- Poor browning: give the meat enough contact with the hot pan to develop a brown surface before turning it with tongs. Avoid crowding the pan if cooking pieces. Browning adds flavour rather than creating a moisture-proof seal; adjust the heat if the surface starts to burn.
- Burnt aromatics: soften and lightly colour the onion, then add the garlic towards the end. Garlic can burn quickly in a hot pan. Add the liquid and loosen the browned base before pressure cooking, rather than leaving a dry layer stuck underneath.
- Relying on a fixed cooking time: the suggested 45–60 minutes is an estimate, not a guarantee. A whole joint and large pieces may cook differently, as do different cookers. Check the meat after a complete pressure release and cook further if necessary, with sufficient liquid.
- Opening before pressure has fully released: follow the natural release and opening instructions for your model, rather than opening simply because 10–15 minutes have passed. Manufacturer guidance, such as Tefal’s, requires the pressure indicator to be fully down before opening. Never force the lid or improvise a release method. Source: Tefal: pressure cooker operating guidance
- A watery or over-reduced sauce: simmer uncovered after removing the meat until the liquid lightly coats a spoon. If it becomes too thick or salty, add a little hot water and stir. A gentle, controlled reduction is easier to judge than a fierce boil.
- Slicing immediately: rest the cooked meat for around 10 minutes, loosely covered, before carving. You can reduce the sauce during this time.
Substitutions and variations
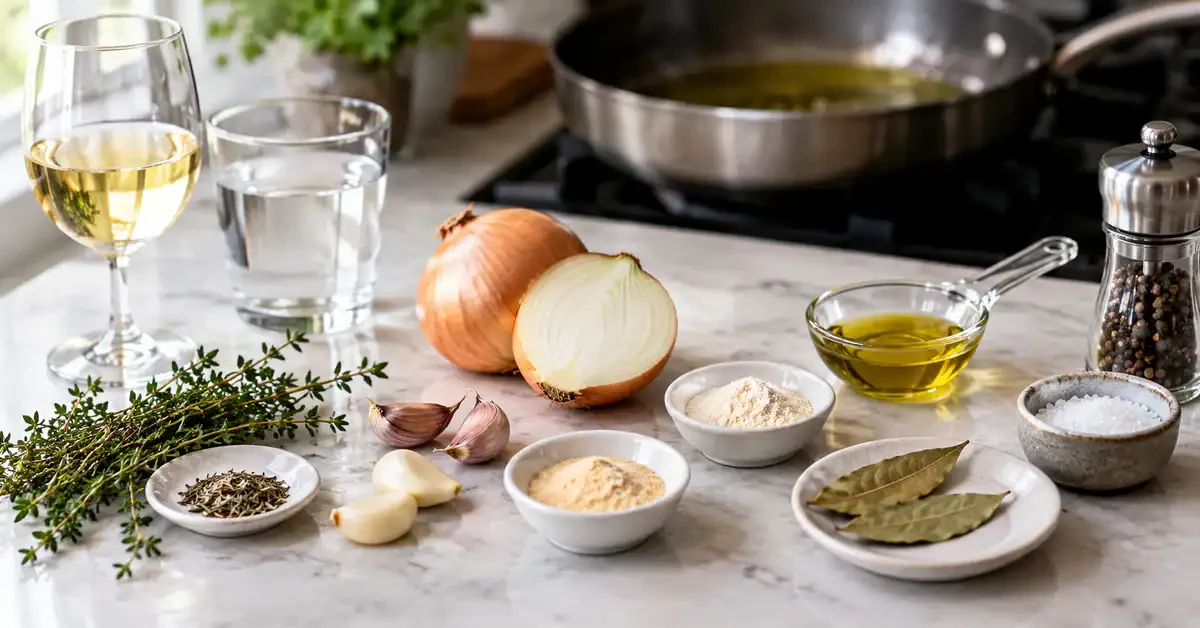
These alternatives change the flavour without changing the basic browning and pressure-cooking method. Always retain sufficient cooking liquid for your particular appliance.
Ingredient substitutions
- White wine, ½ cup: replace with the same volume of water or stock. This keeps the recipe’s starting liquid at 1½ cups, before any extra required by your cooker. The sauce will taste different, so adjust its reduction and seasoning at the end.
- Fresh thyme, 1 teaspoon: try ½ teaspoon dried thyme instead. Other flavour variations are ¼–½ teaspoon dried rosemary or ¼ teaspoon dried sage. Dried herbs vary in strength, so use less if you prefer a milder result.
- Garlic, 4 cloves: approximately 1 teaspoon garlic powder is a possible alternative, but strength varies by brand. Add it with the liquids rather than frying it like fresh garlic, and use less for a gentler flavour.
- One medium onion: around 1 teaspoon onion powder can provide onion flavour if fresh onion is unavailable, but it will not reproduce its texture or sweetness. Add the powder with the liquids; it cannot be softened or browned in the same way as chopped onion.
- Olive oil, 2 tablespoons: use the same quantity of a neutral vegetable oil if preferred. The flavour will be slightly different, but it serves the same purpose in the browning stage.
- Two bay leaves: leave them out if unavailable. An optional ¼–½ teaspoon dried thyme adds a different herbal note, but take account of any thyme already being used rather than automatically doubling up.
- Salt and pepper: reduce added salt if the stock is already salty, and taste again after reducing the sauce. White pepper can replace black pepper for a different flavour.
Flavour variations
- More herbs: adjust the thyme to taste and add ¼–½ teaspoon dried rosemary for a more pronounced herbal flavour. Use dried herbs sparingly, as they can quickly dominate the sauce.
- A wine-free sauce: use water or stock for the full 1½ cups of starting liquid, adding more if the cooker requires it. Reduce the sauce uncovered at the end, allowing about 10–15 minutes as a guide, and taste before adding salt.
- A little heat: add ⅛–¼ teaspoon cayenne pepper, or a little extra freshly ground black pepper, with the seasonings. Start at the lower end if you prefer a mild result.
Serving and storage
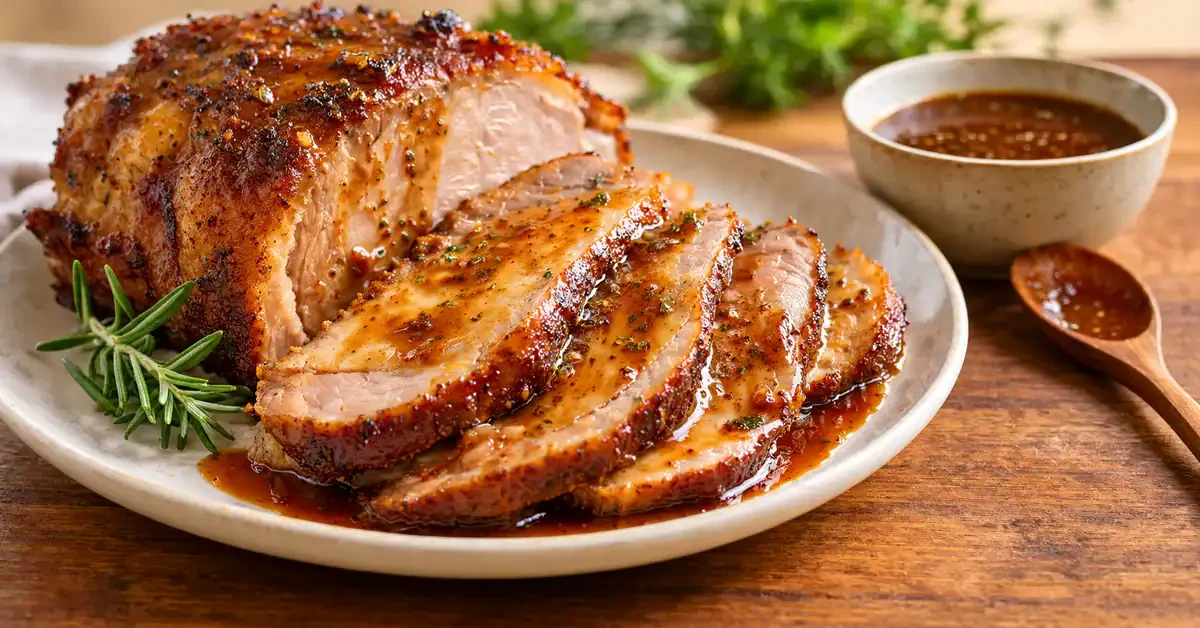
Serve the pork with its reduced sauce and straightforward Christmas accompaniments. The sauce brings the meat and side dishes together without needing an elaborate presentation.
Presentation ideas
- Arrange slices on individual plates or a serving platter, with some sauce underneath and more spooned over the top.
- Pair with mashed potatoes, rice or roast vegetables to build a complete main course.
- Offer extra sauce at the table and finish with freshly ground black pepper if you like.
Storing and reheating leftovers
- Cool leftovers promptly, divide into suitable covered containers and refrigerate within 2 hours. Follow Food Standards Agency guidance: eat refrigerated leftovers within 48 hours or freeze them.
- Reheat with a little water, stock or sauce, turning or stirring as needed, until the meat is steaming hot throughout. Slice thick portions if this helps them heat evenly.
- If the sauce has thickened too much, add hot water a little at a time so the meat stays moist while reheating.
- Avoid a prolonged, vigorous boil that dries out the pork, but do not stop reheating while the centre is merely warm. Reheat only once and make sure the whole portion is steaming hot.
Ready to serve
Rest the freshly cooked pork for around 10 minutes, loosely covered, before slicing. Use that time to finish the sauce and prepare the accompaniments.
Serve the slices with the reduced sauce, mashed potatoes, rice or roast vegetables. Add a little more sauce and freshly ground black pepper at the table if desired.
Pressure Cooker Pork Leg: Frequently Asked Questions
How do I know the pork is cooked?
Check the thickest part with a clean food thermometer, avoiding the bone. It should reach a safe time-and-temperature combination, such as 75°C for 30 seconds or 70°C for 2 minutes, and also be tender enough to serve. Finger pressure alone cannot confirm safety. Rest the cooked meat for around 10 minutes before slicing.
Why use tongs when browning the meat?
Tongs make it easier to turn the pork and brown its surface evenly without repeatedly piercing it. Browning creates flavour; it does not form a seal that traps all the juices inside.
Can I make it without white wine?
Yes. Replace the ½ cup wine with the same volume of water or stock, giving 1½ cups starting liquid. Add more if needed to meet your cooker’s minimum liquid requirement. Reduce and season the sauce to taste at the end.
What can I use instead of fresh thyme?
Try ½ teaspoon dried thyme, ¼–½ teaspoon dried rosemary or ¼ teaspoon dried sage. Each gives a different flavour, and dried herbs vary in strength, so adjust to taste.
How can I reheat the leftovers without drying them out?
Reheat with a little water, stock or sauce, turning or stirring to heat evenly until steaming hot throughout. Add more water gradually if the sauce is too thick. Reheat only once, and follow the cooling and storage guidance above.