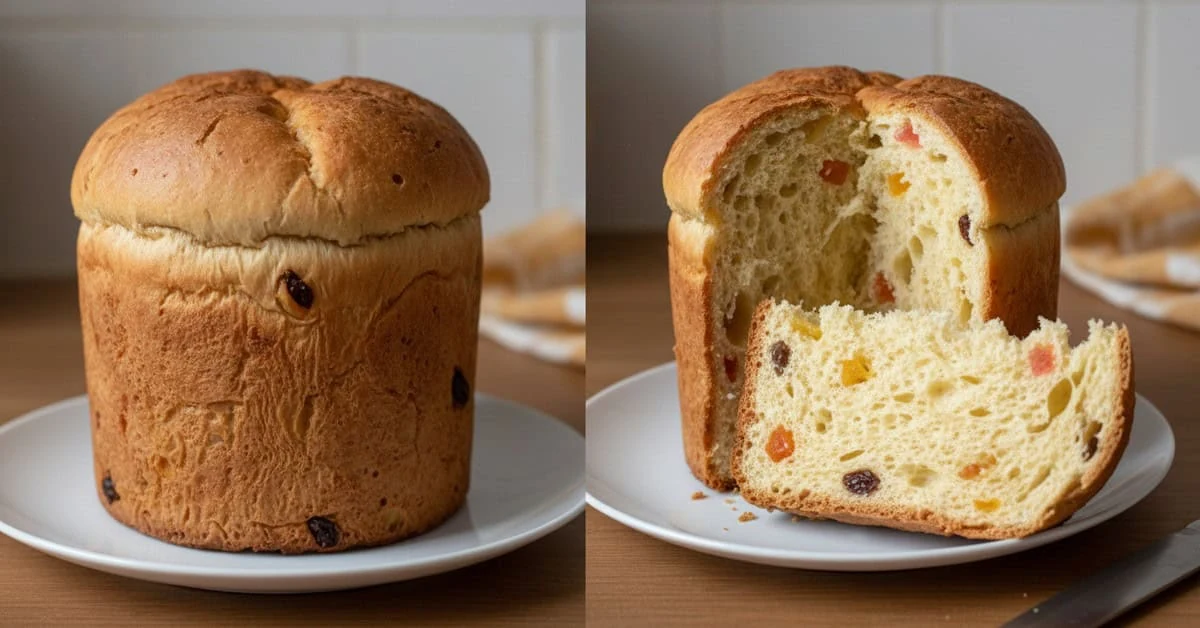
Homemade panettone is a rich, yeasted Christmas bread with flour, eggs, butter and milk, studded with raisins and candied citrus. This home-style version uses commercial yeast. Develop the dough before adding fruit, judge rising by its appearance as well as the clock, and cool fully before wrapping.
Homemade panettone takes patience, particularly when mixing butter into the dough and waiting for it to rise. The steps below explain the ingredients, proofing and filling options without assuming that every flour, oven or kitchen behaves identically.
Ingredients for homemade panettone
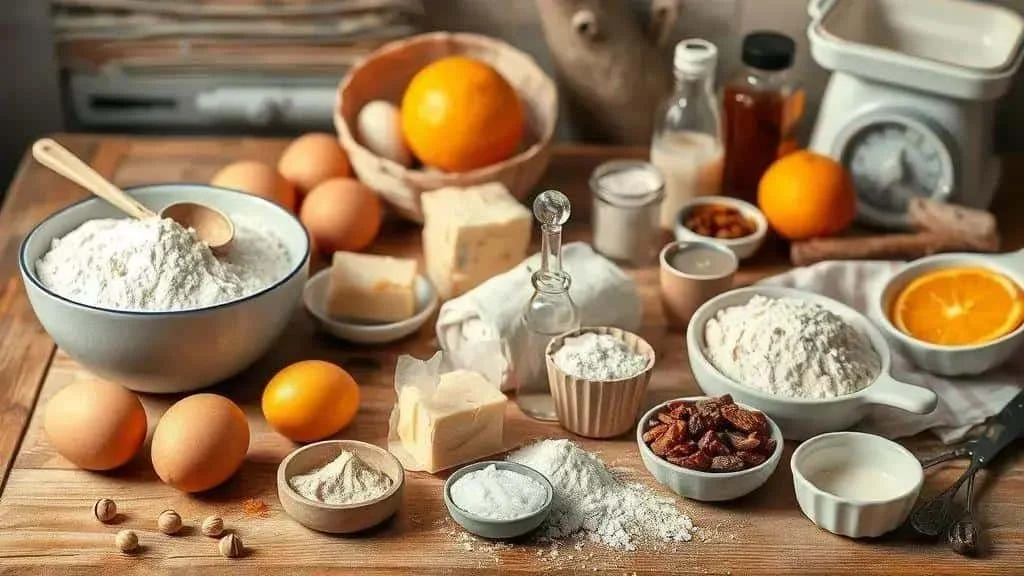
For this homemade panettone, measure the ingredients before starting and have suitable tall baking moulds ready:
- 500 g strong white bread flour – choose flour suitable for enriched yeast dough. Italian ‘00’ describes milling fineness rather than guaranteeing the strength needed here.
- 150 g granulated sugar in total – take the teaspoon used with the yeast from this amount. Light brown sugar changes flavour and moisture; use the main version first if unfamiliar with the dough.
- 3 large eggs – use the stated size rather than automatically replacing them with four smaller eggs, which may change the liquid balance.
- 150 g unsalted butter – softened but not melted. If using salted butter, reduce the added salt to account for it.
- 125 ml milk in total – 50 ml for the yeast mixture and the remaining 75 ml for the dough. Use milk only lukewarm, following your yeast packet’s temperature guidance.
- 30 g fresh yeast or 10 g active dried yeast – check the manufacturer’s conversion and activation instructions. Easy-blend yeast may be mixed directly with flour instead.
- 1 tsp salt – mix into the flour, away from the concentrated yeast mixture.
- 1 tbsp vanilla extract – or the seeds from one vanilla pod.
- Finely grated zest of 1 orange – avoid the bitter white pith.
- 200 g candied citrus peel – orange and lemon peel, chopped into small pieces.
- 150 g raisins – dried cranberries or chocolate chips are possible variations, with a different result.
- 1 tbsp orange juice or rum, optional – to moisten and flavour the raisins. This small quantity is not enough to submerge all the fruit. Choose juice for an alcohol-free version.
- 1 tbsp honey, optional – for flavour. An optional egg wash needs one additional yolk, and optional butter for the top is additional to the measured dough butter; both finishes may be omitted.
Ingredient notes
- Yeast: activate active dried yeast only as directed on its packet, using part of the measured milk and sugar. Do not add extra milk unintentionally.
- Fruit: toss the raisins with the optional tablespoon of juice or rum and leave for 15–30 minutes. Drain any excess; the candied peel can be added separately without soaking.
- Butter and eggs: softened butter incorporates more easily than cold lumps or melted butter. Take eggs out when preparing the dough; do not leave perishable ingredients warming for hours.
- Weighing: scales make quantities more repeatable than cups, although flour absorption and egg size still affect the dough.
- Avoiding dairy: suitable plant-based milk and a baking block can be tried, with a different result. Check all ingredients and remember that this dough still contains eggs and optional honey, so those changes alone do not make it vegan.
How to make homemade panettone
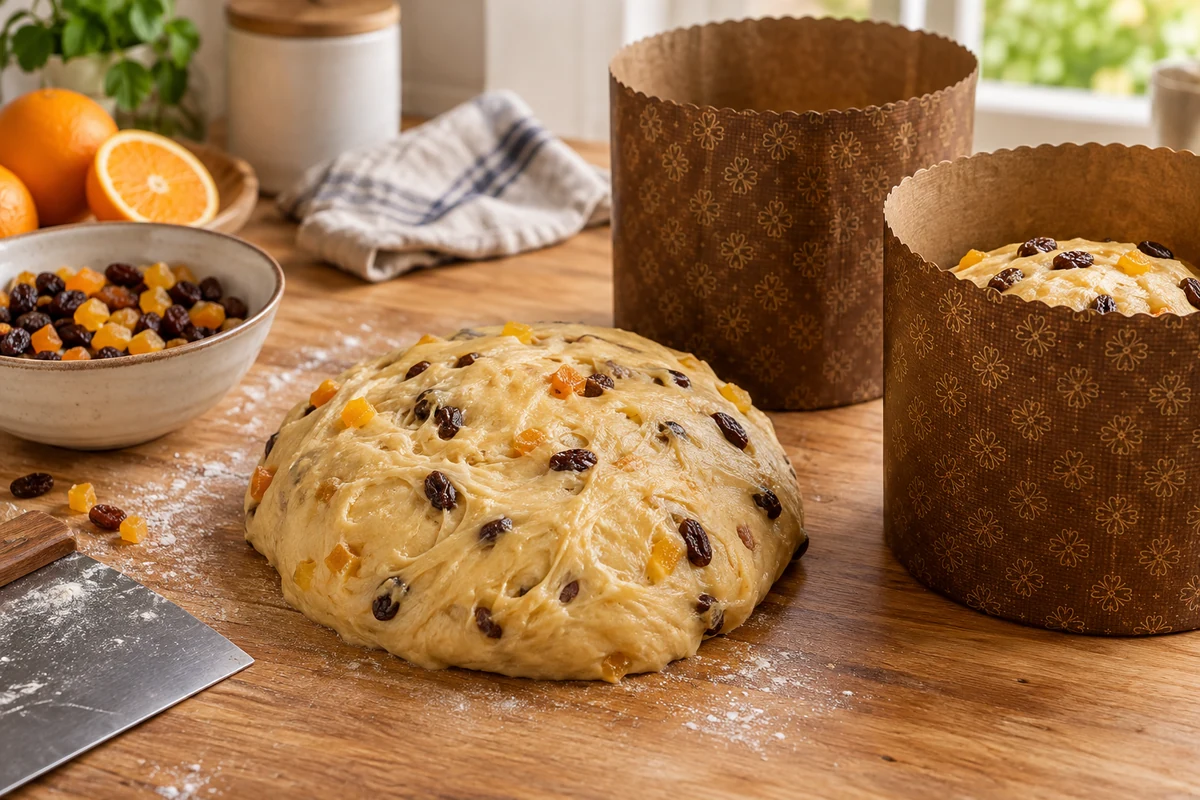
Follow the stages below for homemade panettone, allowing extra time if the dough is slow to develop or rise.
- Prepare the yeast: use 50 ml of the measured milk, lukewarm according to the yeast packet, with 1 tsp taken from the measured sugar. Add the fresh or active dried yeast as directed. Allow about 8–10 minutes if activation is required; easy-blend yeast may need a different method.
- Prepare the fruit: toss 150 g raisins with the optional 1 tbsp juice or rum and leave for 15–30 minutes, draining any excess. Have 200 g chopped candied peel ready separately.
- Combine the ingredients: mix 500 g flour, the remaining sugar and 1 tsp salt. Separately combine 3 eggs, the remaining 75 ml milk, vanilla, orange zest and optional honey, then add the prepared yeast mixture. The total milk remains 125 ml.
- Form the dough: mix wet and dry ingredients into a sticky dough. Begin kneading by hand or with a suitable dough hook, following the mixer’s limits for heavy dough.
- Work in the butter gradually: add the 150 g softened butter in small portions, allowing each to incorporate. Continue until smooth, elastic and still slightly tacky. This may take 10–15 minutes or longer, depending on the method. A small piece should stretch into a thin membrane before tearing; avoid adding lots of flour just to remove stickiness.
- First rise: place in a lightly greased bowl and cover. Leave in a gently warm place, roughly 26–28°C, until visibly expanded to about twice its size. Allow around 1½–2 hours as a starting guide, longer if needed; avoid heat that melts the butter.
- Add the fruit: gently ease the dough down, then fold in the drained raisins and candied peel until evenly distributed.
- Shape and prove: weigh and divide the dough to suit your moulds’ recommended dough capacities. Shape with the seam underneath. Do not pack all the dough into one undersized mould. Cover and prove until puffy and near the rim, allowing roughly 60–90 minutes or longer according to the dough; do not wait for it to overflow.
- Prepare to bake: preheat to 180°C conventional/160°C fan. If wanted, brush with an additional beaten egg yolk. A shallow cross and a small additional knob of butter on top are optional; omit them rather than taking butter back out of the dough.
- Bake: smaller loaves may need around 35–45 minutes, while larger ones take longer. Loosely shield with foil if browning too quickly. Check the centre is baked, without gummy raw dough; a clean skewer and a food probe reading around 90–96°C are useful together. Keep the probe away from fruit or chocolate pockets.
- Cool carefully: if using paper moulds designed for suspended cooling, prepare a stable support and suitable skewers before baking, then follow the mould instructions to suspend the loaf upside down. Do not improvise an unstable stack of tins. Otherwise cool on a rack as appropriate for your mould, accepting that the texture and shape may differ. Allow several hours until completely cool.
- Wrap once cold: store plain, unfilled panettone airtight in a cool, dry place and aim to eat within a few days, freezing surplus promptly. Homemade bread has no verified commercial shelf life. Filled versions need separate storage according to their filling.
Practical tips
- Ingredient temperature: butter should be soft enough to incorporate but not oily or melted. Avoid overheating the dough during prolonged mixing.
- Measure carefully: especially milk, flour and the sugar reserved for the yeast. Small differences can affect this enriched dough.
- Cool kitchens: allow more rising time in a gently warm, draught-free place. If using a switched-off oven as a proving space, monitor its temperature and remove the dough before preheating.
- Chocolate variation: add chocolate after the first rise and do not soak it. Let any over-warm dough cool slightly so the chips do not melt into it.
- Avoid unnecessary oven opening: let the loaf establish its shape during the first part of baking, while still responding if the top is browning too quickly.
Proofing times and temperatures
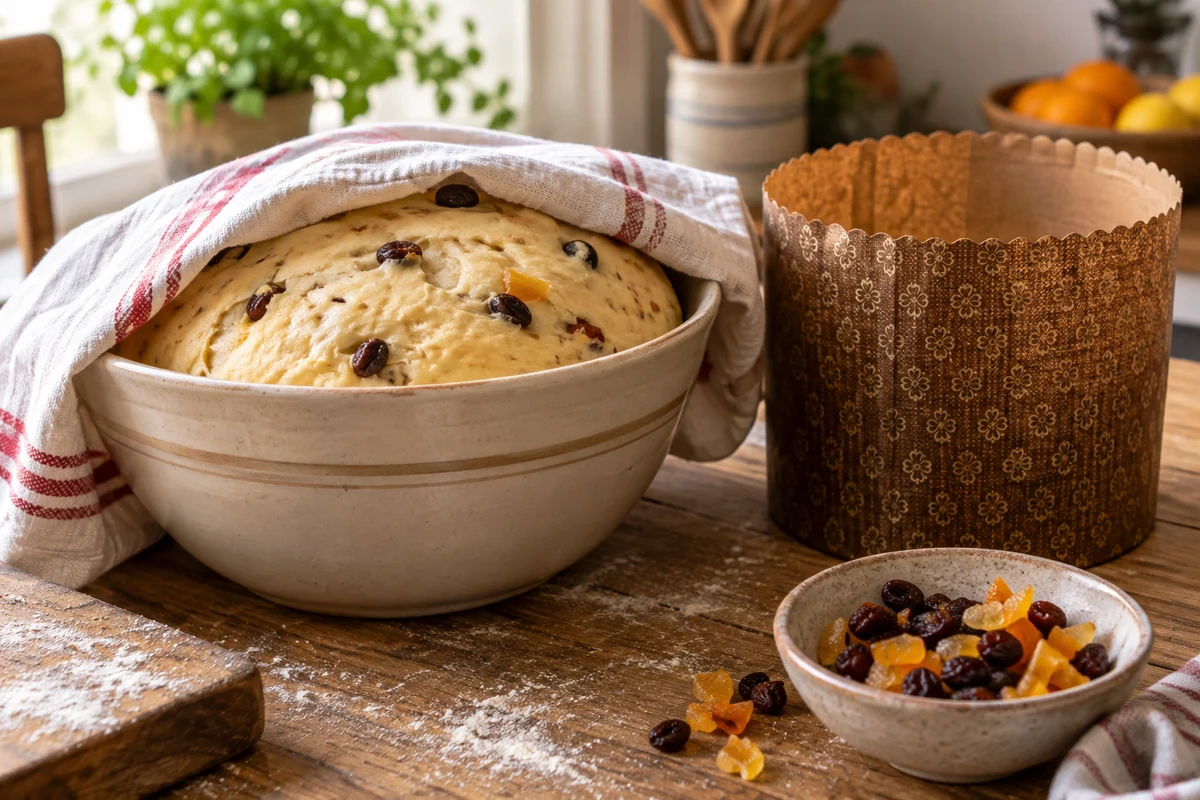
For soft homemade panettone, watch the dough itself as well as the clock. A rich dough can rise slowly, and more heat is not always the answer.
Useful timing guides
- Yeast activation: follow the packet. The original recipe’s lukewarm 35–38°C liquid may suit some yeast products, but others specify a different temperature or direct mixing.
- First rise: allow about 1½–2 hours in gentle warmth, roughly 26–28°C, checking for substantial expansion rather than stopping at a fixed time.
- Final proof: roughly 60–90 minutes is a guide. Keep the dough gently warm, not hot, and look for a puffy loaf approaching the mould’s rim without collapsing or overflowing.
- Overnight dough: use a method specifically designed for refrigerated fermentation. Do not automatically add a 12–24 hour cold stage to this relatively high-yeast, same-day formula without adjusting the recipe.
Reading the dough
- Gentle touch test: a light indentation that slowly springs back can indicate readiness. Use it alongside visible expansion rather than as the only test.
- Over-proofing: very slack dough that no longer holds its shape may have risen too far and can collapse in the oven.
- Under-proofing: dough that is still tight and scarcely expanded can produce a heavy crumb. Give it enough time before baking.
Adjusting to your kitchen
- Cold conditions: choose a gently warm, draught-free place and allow extra time. A switched-off oven can be used only if its temperature is suitable and monitored.
- Hot conditions: check the dough earlier and move it somewhere cooler if the butter starts to soften excessively. Do not rely on the full suggested proofing time if it is ready sooner.
Useful dough checks
- Yeast quantity: the listed 30 g fresh or 10 g active dried yeast belongs to this home-style method, subject to packet conversions. A long, cold fermentation needs its own proportions.
- Flour absorption: flour and egg sizes vary. Begin with the measured ingredients, work the dough properly and make only small adjustments if genuinely necessary.
- Windowpane test: stretch a small piece gently; a thin membrane indicates useful gluten development. A short rest can make the dough easier to assess.
- Home proving space: monitor the temperature of any enclosed space. Even an oven light can make some ovens too warm for butter-rich dough.
Common proofing mistakes
- Opening the oven repeatedly: avoid unnecessary disturbance during the initial rise in the oven, typically the first 20 minutes for larger loaves.
- Old yeast: check the date and storage instructions. Activate it where directed; inactive yeast will not be fixed by a hotter proving space.
- Too much bench flour: extra flour makes the loaf drier. Use a scraper and patient kneading rather than repeatedly burying sticky dough in flour.
These checks help you adapt the process to your kitchen. They cannot make every flour or oven identical, but they give you better cues than timing alone.
Panettone flavour variations and fillings
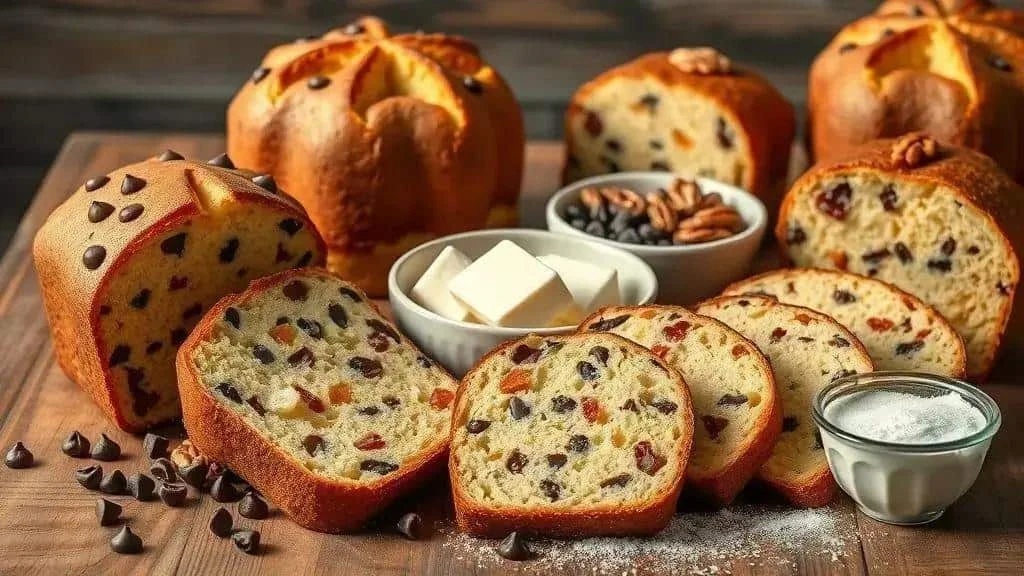
Vary homemade panettone one change at a time. Added fillings, vegan ingredients and gluten-free flour affect structure and storage as well as flavour.
Chocolate-chip panettone
For a chocolate variation, replace the raisins with chips. You can keep the candied peel for chocolate-orange flavour or omit it for a less fruit-filled loaf.
- 150 g dark chocolate chips – in place of the raisins, not in addition to every filling. Milk chocolate gives a sweeter version.
- Chocolate dough needs a separate adjustment – adding 50 g cocoa without balancing the flour and liquid can dry the dough. Keep this simple variation to chocolate chips, or use a tested cocoa-panettone recipe.
- Fold in the chips after the first rise, distributing gently through dough that is not too warm.
- Bake and check using the main method. Test a section of crumb rather than a melted chocolate pocket when assessing doneness.
Panettone with dulce de leche
A creamy filling is best added after baking and cooling, with storage then based on the filling rather than the plain loaf.
- Up to 300 g thick dulce de leche – use only as much as the loaf can hold comfortably, following its storage instructions.
- No extra butter is necessary – thick dulce de leche can be spread directly. Adding 50 g butter changes the filling without being needed for assembly.
- Avoid a large wet centre before baking: a heavy pocket of filling changes the rise and cooking time. For this method, bake the loaf plain and fill once completely cool.
- Fill after baking: carefully cut the cooled loaf horizontally, spread a moderate layer of dulce de leche and reassemble. Follow the filling’s refrigeration instructions and use promptly; this is not the same shelf-stable loaf as plain panettone.
Fruit-and-nut panettone
Nuts add crunch alongside the fruit. Keep the additions manageable rather than combining all variations into one overloaded dough.
- 200 g candied citrus peel – the same amount as the main recipe, not an extra 200 g.
- 100 g chopped walnuts, almonds or hazelnuts – add alongside the main fruit, or replace part of the raisins for a less heavily filled loaf. Make guests aware of the nuts.
- Moisten the raisins if wanted: use the main recipe’s optional tablespoon of juice or rum for 15–30 minutes, draining excess. Candied peel does not need submerging.
- Distribute gently: fold fruit and nuts through after the first rise, avoiding aggressive kneading at this stage.
Planning a vegan version
A vegan enriched loaf needs a recipe designed without eggs and dairy. Simply swapping several ingredients in this formula does not guarantee the same rise or airy crumb.
- Plant-based baking fat – a suitable baking block behaves more like butter than a low-fat spread, but choose the quantity specified by a tested vegan recipe.
- Plant-based milk – do not automatically increase this recipe’s 125 ml to 300 ml. Removing eggs changes the liquid balance and needs a complete formulation.
- Ground flaxseed and water – can bind some baked goods, but a mixture of 3 tbsp flaxseed and 9 tbsp water is not a proven equivalent to the eggs in this panettone.
- Check all ingredients: a vegan version also needs to omit honey and egg wash, and use suitable chocolate, fruit and fillings.
- Follow a complete vegan method: use its mixing, proofing and baking guidance. Expect a different texture rather than treating substitutions as interchangeable.
Planning a gluten-free version
Gluten-free panettone needs a suitable flour blend and a recipe designed around it. The windowpane test and wheat-dough kneading instructions do not transfer directly.
- Choose a tested gluten-free formula – replacing 500 g wheat flour with an arbitrary rice-flour-and-starch blend is not enough to establish the structure.
- Check binders already in the blend – do not add a teaspoon of xanthan gum automatically if the mix already contains it or specifies another amount.
- Use the specified hydration – adding a fixed extra 50–80 ml liquid will not suit every gluten-free flour blend.
- Mix as directed by the gluten-free recipe and check all additions are suitable, including yeast, flavourings and toppings.
- Judge the rise appropriately and prevent contact with wheat flour and utensils used for it when preparing food for someone who must avoid gluten.
Tips for additions and variations
- Dry additions first: drain soaked fruit well. If lightly dusting fruit with flour, take a little from the recipe’s measured flour rather than adding large unmeasured amounts.
- Spread additions evenly: fold gently so each slice has some fruit or chocolate without tearing the dough excessively.
- Make one change at a time: wet fillings and major ingredient substitutions affect cooking. Use a tested method for substantial adaptations rather than changing sugar, flour and liquid together.
Storage and common mistakes
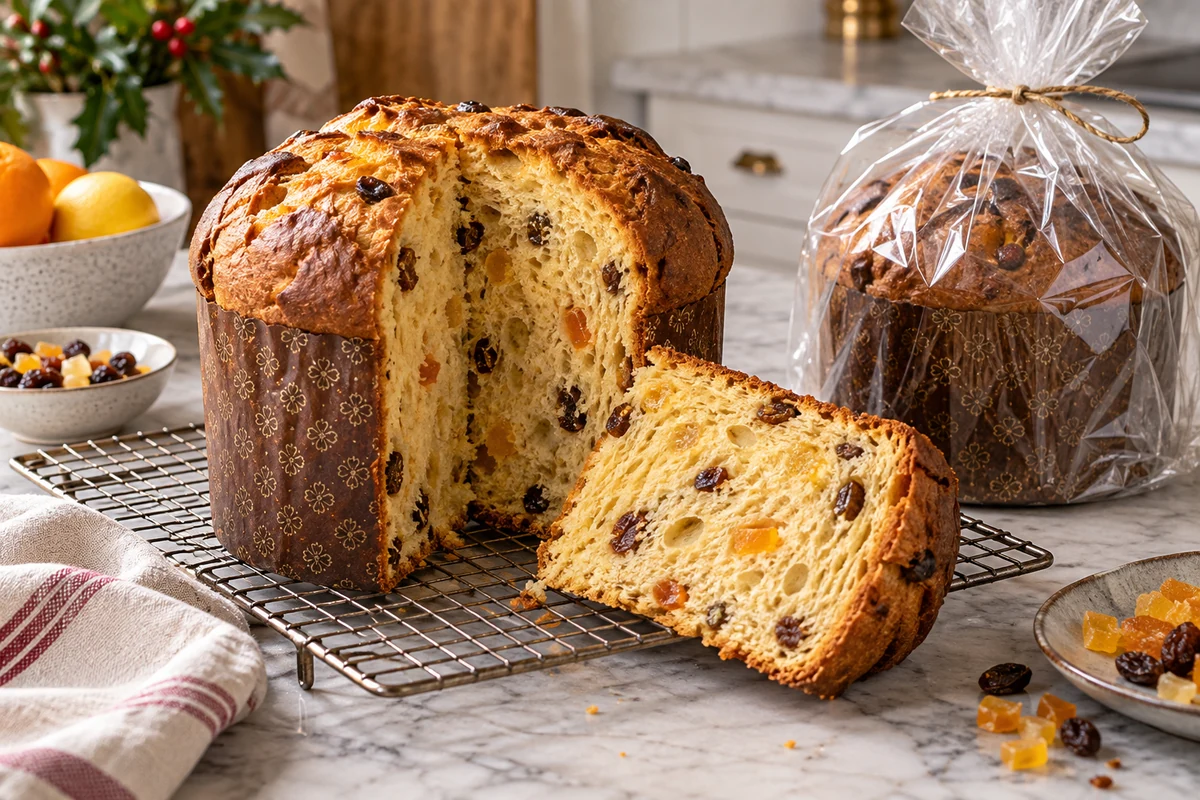
Store homemade panettone according to whether it is plain or has a perishable filling. Cool the baked bread completely before sealing it.
Wrapping the loaf
- Wait until completely cold: a tall loaf may take several hours. Check the centre has cooled rather than relying only on the outside or a fixed four-hour wait.
- Use airtight food-safe packaging: a bag or container helps reduce drying once the unfilled loaf is cold.
- Protect the surface: baking parchment inside a food-safe bag can be useful, but it does not make a warm loaf safe to seal or prevent all condensation.
- Freeze surplus portions: wrap well to reduce freezer burn. Vacuum packing can crush the crumb and does not give an untested loaf a guaranteed longer shelf life.
Practical storage guidance
- Plain, unfilled loaf: keep airtight in a cool, dry place and aim to eat within a few days. Freeze portions promptly if you will not use them soon; home baking conditions do not support a universal seven-day guarantee.
- Filled loaf: follow the most perishable ingredient’s instructions. Cream or custard fillings need refrigeration at 5°C or below and prompt use; do not keep a filled loaf for an assumed 10–14 days.
- Freezer: plain slices can be frozen well wrapped, aiming for use within about three months for quality. Check ingredient instructions, particularly for filled versions, and label the date.
Quality and spoilage checks
- Collapsed loaf: collapse can follow underbaking, over-proofing or weak dough; it is not simply a sign of lost moisture. Do not use a raw, gummy centre as if it were fully baked bread.
- Unusual smell: an unexpected sour or spoiled smell is a reason to discard it. Smell alone cannot prove food is safe.
- Mould: discard the entire affected loaf, including apparently clean parts. Do not try to make mouldy bread safe by toasting.
Mistakes to avoid
- Wrapping while warm: trapped moisture encourages condensation and deterioration.
- Squeezing the loaf: tight wrapping or vacuum pressure can compress its delicate crumb.
- Uncovered refrigeration: bread dries out and can absorb odours. Refrigeration may still be necessary for fillings; protect it and use promptly.
- Overbaking: a dry crumb cannot be fully restored by reheating, so check the loaf rather than leaving it in the oven unnecessarily.
Using bread that is dry but still sound
- Warm individual slices: a brief microwave warm-up in a suitable covered dish can soften plain bread temporarily. Start with a few seconds and check; microwave power varies.
- Toast gently: a sound but slightly dry slice can be lightly toasted and served promptly. Warming does not extend its storage life.
- Use in another recipe: suitable leftover panettone can become bread pudding, French toast or sweet toast. Use only bread that is properly stored, fully baked and free of spoilage.
Final storage habits
- Write down dates: label when the loaf was baked or frozen and use older suitable portions first.
- Protect cut surfaces: rewrap the cooled loaf after slicing to limit drying.
- Keep handling clean: use clean hands, utensils and surfaces when slicing and wrapping.
Enjoy your Christmas baking
With patient mixing and proofing, homemade panettone can become a fragrant addition to your festive table. Watch the dough, keep the ingredient totals consistent and give the baked loaf time to cool.
Choose variations carefully, store them according to their ingredients and use sound leftovers in another recipe if you wish.
Thank you for baking along. Share your results and visit the I Love Christmas blog for more festive recipes and ideas.
FAQ: homemade panettone
How long should panettone dough rise?
For this commercial-yeast version, allow about 1½–2 hours for the first rise and 60–90 minutes for the second as starting guides. The dough may take longer. Use gentle warmth, around 26–28°C, and watch its expansion. Follow the yeast packet for activation rather than applying one rule to every product.
How can I reduce the risk of the loaf collapsing?
Develop the dough properly, avoid over-proofing, use moulds with enough capacity and bake the centre fully. Avoid repeated early oven opening. Cool according to your mould’s instructions, using a stable suspended setup only where appropriate.
Can I replace butter with margarine or oil?
A suitable plant-based baking block may be tried, with a different result. Low-fat spreads and liquid oil are not direct equivalents. Replacing butter alone does not make the recipe vegan because it also contains eggs, milk and optional honey.
How should I prepare the fruit?
Toss the 150 g raisins with the optional 1 tbsp juice or rum for 15–30 minutes, then drain excess. That quantity moistens rather than submerges them. Add the 200 g candied peel separately and fold the fruit through after the first rise.
How should I store homemade panettone?
Cool completely before wrapping. Keep plain, unfilled bread airtight in a cool, dry place and aim to eat within a few days, freezing surplus promptly. Filled versions follow the filling’s storage instructions. Do not assume commercial shelf life or a 10–14 day fridge life for a homemade filled loaf.
Sources and Further Reading
- Food Standards Agency: chilling, freezing and defrosting safely
- King Arthur Baking: an alternative panettone recipe and baking guidance
- King Arthur Baking: refrigerating bread dough