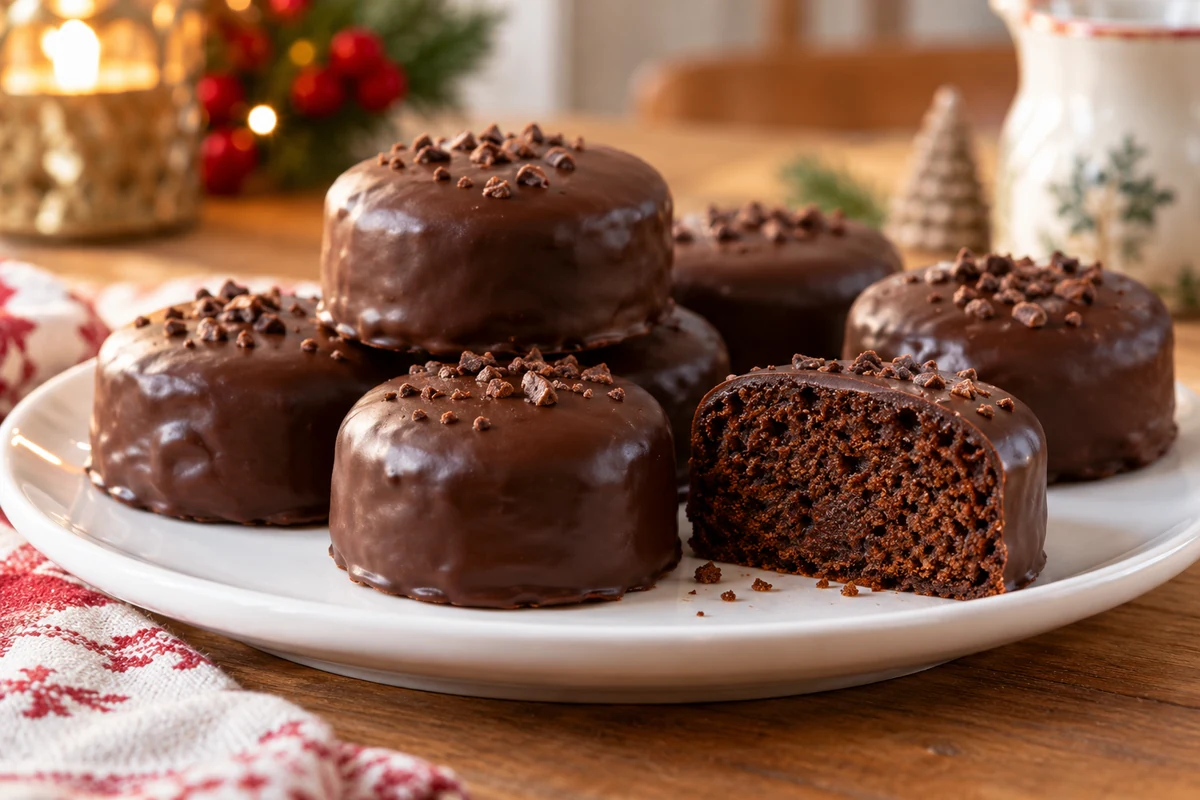
These Brazilian honey cakes, known as pão de mel, combine cocoa, honey and warming spices beneath a chocolate coating. Follow the measured ingredients and baking method, then choose a simple chocolate topping or a dulce de leche filling. Dietary variations need their own tested formulations; they are not guaranteed by swapping one ingredient.
A batch of Brazilian honey cakes fills the kitchen with the scent of cinnamon, cloves and cocoa. Despite the name pão de mel, meaning honey bread, this version is a small, soft cake. A chocolate coating makes it a lovely treat to serve with coffee or package as a festive gift.
Ingredients for Brazilian honey cakes
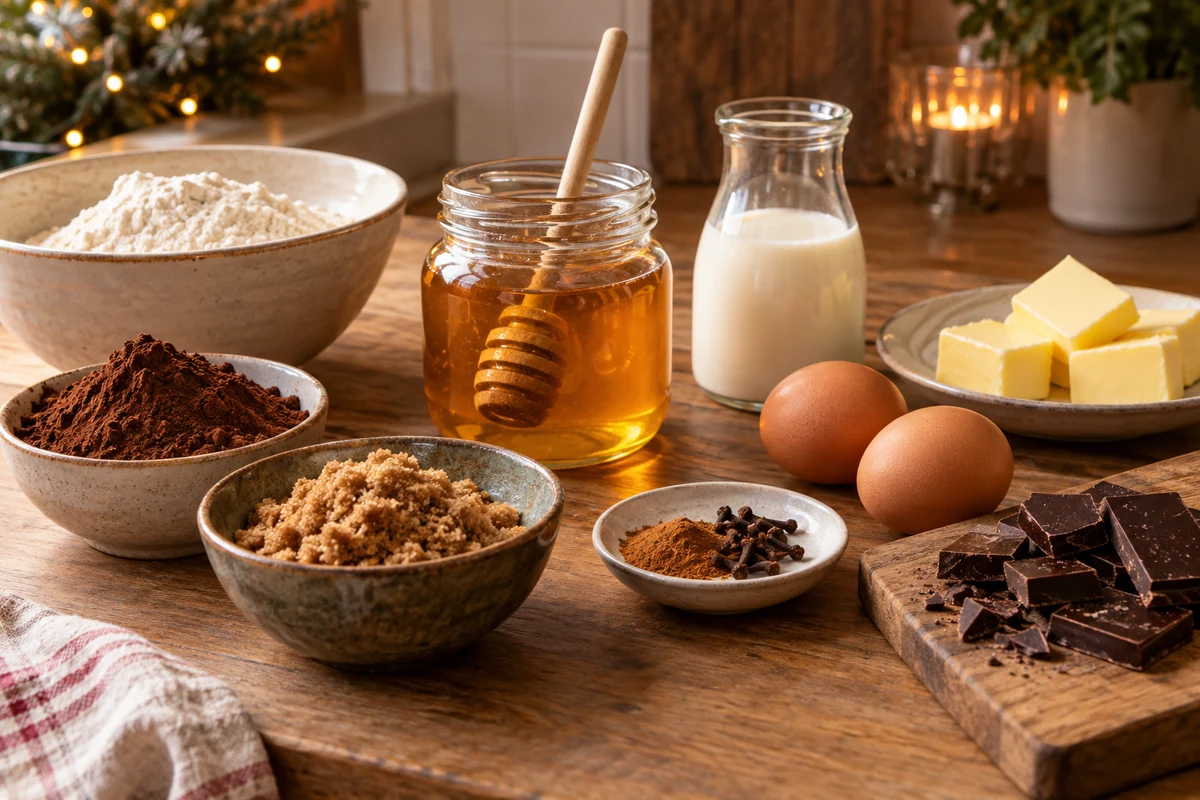
For these Brazilian honey cakes, weigh the ingredients rather than switching between different cup sizes. The yield depends on the size of your moulds:
- 240 g plain flour, sifted. A gluten-free version needs a suitable tested recipe rather than an automatic weight-for-weight swap.
- 200 g soft brown sugar, for a caramel-like flavour.
- 160 g honey, which gives the cakes their characteristic flavour and moisture.
- 120 ml whole milk, plus a small extra splash only if needed to loosen the batter.
- 115 g unsalted butter, softened rather than melted.
- 2 large eggs, added one at a time. Apple purée and ground flaxseed do not behave identically to eggs in this batter.
- 35 g unsweetened cocoa powder, not sweetened drinking-chocolate powder.
- 1 level tsp bicarbonate of soda.
- 1 level tsp baking powder.
- 1 tsp ground cinnamon.
- ½ tsp ground cloves, or a little less if you prefer a gentler spice flavour.
- ¼ tsp freshly grated nutmeg – keep the amount modest so it does not dominate.
- 1 tsp instant coffee, optional – dissolve in a little of the measured milk.
- A pinch of salt.
- 200 g dark chocolate for a top coating – allow about 400 g, or more as needed, if fully dipping every cake. Follow the chocolate’s tempering instructions for a firm shell; adding oil or butter is not a substitute for tempering.
Measurements and substitutions
Batter texture: it should fall slowly from a spoon. Add only a small splash of milk if needed and bake promptly after mixing the raising agents. Vegan baking: honey, milk, butter, eggs and the coating all need consideration; use a recipe developed for those replacements. Changing sweeteners: syrups differ in water content and flavour, so test changes in a small baked batch. Do not taste raw cake batter.
How to make Brazilian honey cakes
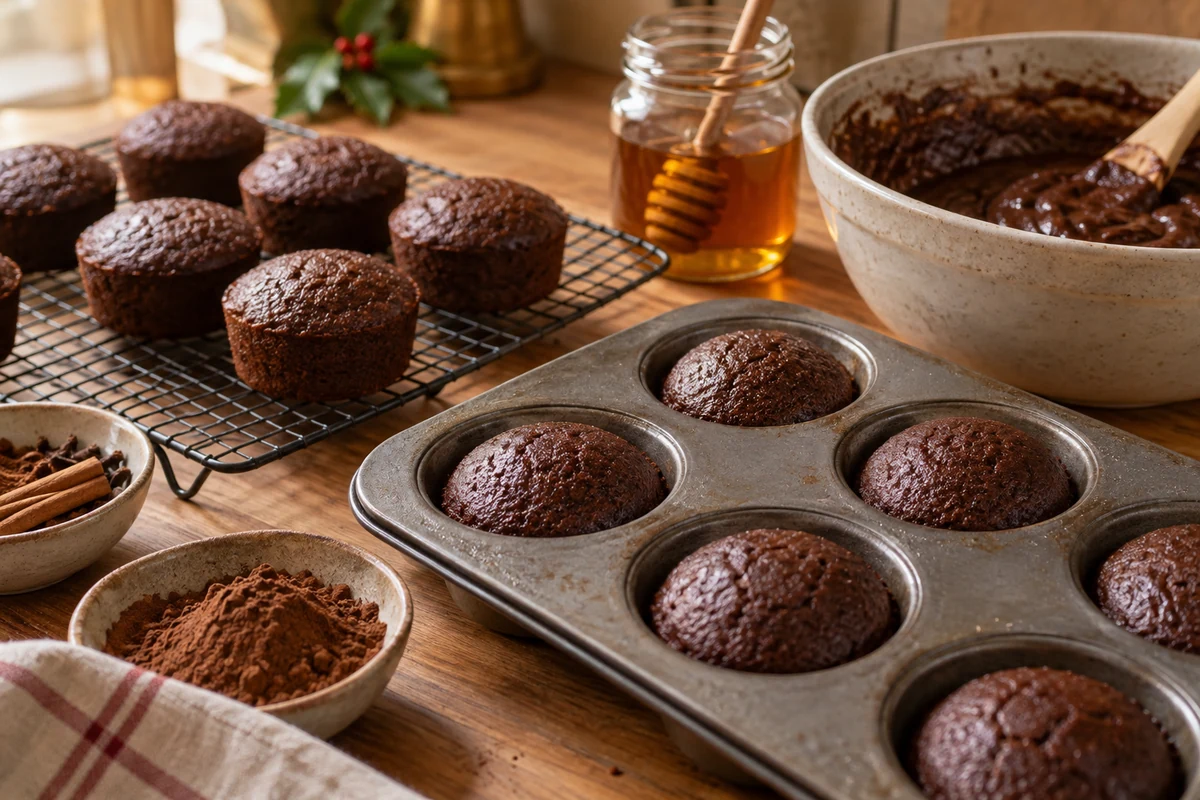
Follow these steps for Brazilian honey cakes, preparing the tin before mixing so the batter can go straight into the oven.
- Heat the oven: preheat to 180°C conventional or 160°C fan, with a shelf in the centre.
- Combine the dry ingredients: sift the flour, cocoa, bicarbonate of soda, baking powder, cinnamon, cloves and nutmeg into a bowl. Add the salt and mix evenly.
- Cream the butter and sugar: beat the softened butter with the brown sugar for 2–3 minutes, until lighter and creamy.
- Add eggs and honey: beat in the eggs one at a time, then mix in the honey.
- Add milk and flour mixture: fold in the dry ingredients in stages, alternating with the milk and optional dissolved coffee. Mix just until no dry flour remains.
- Check the consistency: the batter should drop slowly from the spoon. If unusually stiff, fold in 1–2 tbsp extra milk, a little at a time.
- Bake without a long rest: once the raising agents meet the wet ingredients, divide the batter into the prepared tin promptly. A 20–30 minute wait is not needed for softness and may reduce the rise.
- Fill the moulds: use greased small cake moulds or a suitable lined muffin tin. Fill each about two-thirds full and keep the portions similar in size.
- Bake: small shallow moulds may take 12–18 minutes; deeper muffin-sized portions may need 20–25 minutes or longer. Check the centre with a skewer: it should have a few cooked crumbs, not wet batter. Use doneness, not time alone.
- Cool: leave in the tin for about five minutes, then move to a wire rack. Cool completely before filling or coating.
- Prepare the chocolate: melt gently in a dry bowl over barely simmering water, without letting the bowl touch the water, or use short microwave bursts and stir between them. Temper according to the product instructions if you want a firm, glossy shell.
- Coat the cakes: spoon chocolate over the tops, or use a dipping fork to coat each cake completely if you have prepared the larger amount. Let excess chocolate drain off and place on baking parchment.
- Decorate and set: add suitable sprinkles or chopped nuts before the coating sets. Leave in a cool, dry place. Keep any allergen information with gift packs.
- Store appropriately: keep plain, chocolate-coated cakes in an airtight container in a cool place and enjoy within 3–4 days for quality. Cakes with cream-based filling or ganache should be refrigerated at 5°C or below and used within 48 hours, or sooner if the filling requires it.
Practical tips
Avoid overmixing: stop once the batter is combined. For filled cakes: split only after cooling and add a thin layer of dulce de leche or thick jam. For a vegan version: use a separately developed formula, including a replacement for honey as well as the eggs and dairy, rather than stacking untested substitutions.
Honey cake variations
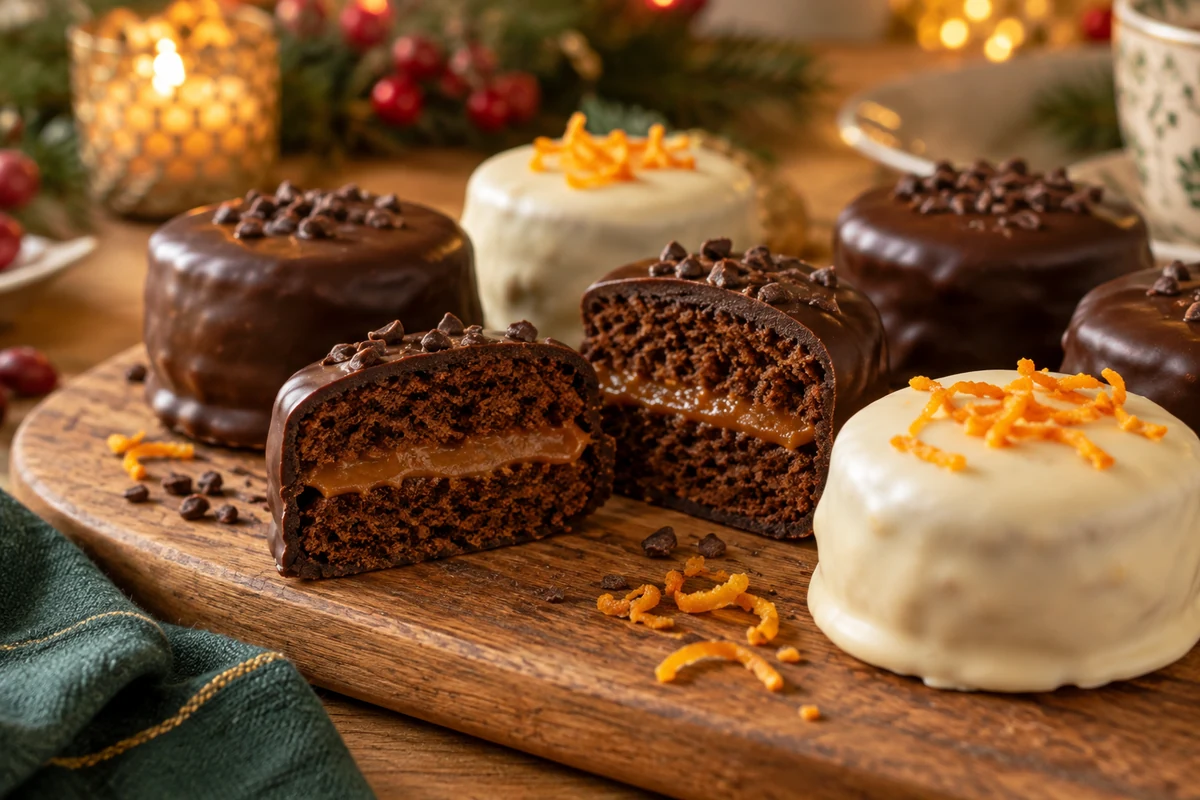
Once you have made the basic Brazilian honey cakes, try one finishing variation at a time. Changing a filling is simpler than changing the structure of the batter.
Filled with dulce de leche
A thin caramel filling adds another layer of sweetness. Choose a firm, ready-to-use dulce de leche and follow its storage instructions after opening.
- Up to 300 g firm dulce de leche – the amount needed depends on cake size. A thick jam is another option.
- Baked, completely cooled honey cakes, ready to split.
- Cut carefully: use a small serrated knife to divide each cake horizontally.
- Add a thin filling: start with a teaspoon for a small cake and increase only if there is enough room. Keep the filling away from the edge.
- Reassemble and coat: bring the halves together gently, dip or spoon over chocolate, then leave on parchment to set. Refrigerate perishable filled cakes promptly.
White chocolate and citrus zest
White chocolate makes a sweeter coating, with citrus zest adding aroma rather than acidity to the cake itself.
- 200 g white chocolate for the tops – allow more for full dipping. Do not add oil merely to imitate tempering.
- Finely grated zest of 1 washed orange, or lemon zest if preferred, avoiding white pith.
- Melt gently: white chocolate scorches easily. Use low heat and follow its own tempering temperatures, which differ from dark chocolate.
- Finish: coat the cakes and add a little zest before the chocolate sets.
Planning a vegan or dairy-free version
Vegan and dairy-free are different requirements. A vegan cake needs alternatives to honey and eggs as well as dairy; simply replacing butter and choosing dark chocolate is not enough.
- Plant-based baking fat: choose a product intended for baking in a recipe that specifies it, since spreads have different water contents.
- Egg replacement: apple purée changes moisture and structure. Do not treat an arbitrary half-cup as a guaranteed replacement for two eggs.
- Vegan chocolate: check the ingredients and allergen information rather than assuming all dark chocolate is dairy-free.
- Choose a complete formula: use a tested vegan spiced-cake recipe with suitable syrup and plant drink, then borrow the coating and presentation ideas here.
- Check the result: make a small batch first and use the baking and storage guidance appropriate to that recipe.
Gluten-free baking considerations
A gluten-free cake needs a blend designed for its structure and moisture. The following ingredients have different roles; they are not a complete replacement recipe on their own.
- Rice flour can form part of a blend but may give a gritty or fragile result by itself.
- Cornflour lightens a blend but does not provide the same structure as wheat flour.
- Ground almonds add fat and flavour and introduce a nut allergen; they are not equivalent to a starch-based flour.
Binders and labels: use the xanthan-gum quantity specified by a tested recipe or flour manufacturer, accounting for any already in the blend. Check all other ingredients and avoid cross-contact when catering for coeliac disease.
Coffee and optional rum for adults
Coffee deepens the cocoa flavour. Rum is optional and should be clearly identified for anyone avoiding alcohol.
- 1 tsp instant coffee – use the optional amount already listed, dissolved in some of the measured milk, rather than adding it twice.
- 1 tbsp dark rum, optional – for an adult-only version. Check any rum flavouring before calling it alcohol-free.
- Add the coffee: mix the dissolved coffee into the batter with the milk.
- Use rum sparingly: replace 1 tbsp of the milk with rum, or lightly brush a separate adult serving after baking. Baking does not guarantee that all alcohol disappears.
Mini cakes for parties
Small cakes are easy to portion and wrap. A mini muffin tin works well, though the finished shape will differ from a shallow pão de mel mould.
- Small portions of the basic batter – fill each prepared cavity about two-thirds full.
- Sprinkles, chopped nuts or desiccated coconut – optional decorations, with allergens clearly identified.
- Check earlier: start checking mini cakes after about 10 minutes; they may take 10–14 minutes, depending on size and oven.
- Decorate individually: cool, coat and let set before putting into paper cases or food-safe wrapping.
More flavour ideas
Choose a contrasting filling: a little hazelnut spread or thick red-fruit jam works with dark chocolate; label nuts where used. Test a few cakes first before changing the whole batch, and follow the storage needs of the most perishable ingredient.
Getting the chocolate coating right
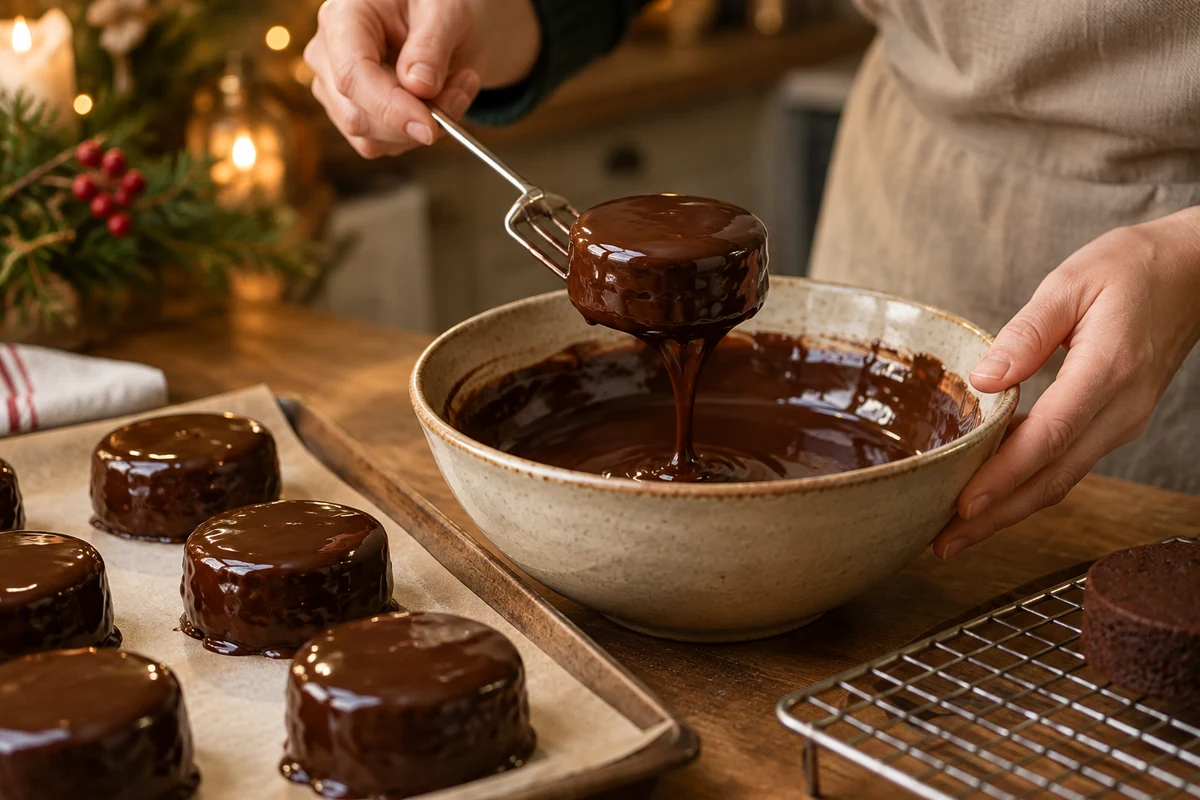
These practical coating tips help distinguish a crisp chocolate shell from a softer ganache finish. They are different coatings with different storage requirements.
Choose suitable chocolate: dark chocolate around 50–70% cocoa balances the sweet cake. Milk or white chocolate gives a sweeter result and needs different tempering temperatures.
Gloss and firmness: temper real chocolate for a firm shell. Oil softens the coating and does not produce the same result. A compound coating can be used according to its manufacturer’s directions if you prefer not to temper.
Keep equipment dry: water or steam getting into melted chocolate can make it seize. Dry the bowl and utensils and keep simmering water below the bowl.
A softer ganache topping, about 200 g
- 120 g dark chocolate, finely chopped.
- 80 ml double cream. Plant-based alternatives behave differently, so use a ganache formula written for the product if needed.
- No added oil is necessary – chocolate and cream make the ganache; this will remain softer than tempered chocolate.
- Warm the cream: heat until steaming and small bubbles appear around the edge.
- Pour over the chocolate: leave for about a minute to soften, using a heatproof bowl.
- Stir gently: work from the centre outwards until smooth and glossy, without beating in lots of air.
- Let it thicken slightly: cool until it coats a spoon but still flows. If too firm, warm briefly and gently; a specific temperature is less useful than the actual consistency.
- Spoon over the tops: use this quantity for a soft topping, not necessarily a full dip for every cake. Refrigerate the finished cakes and use within 48 hours.
Tempering and application
Tempering dark chocolate: follow the curve on your product. A typical dark-chocolate process melts around 45–50°C, cools to about 27°C, then gently returns to a working temperature of 31–32°C. Use a thermometer; this guidance does not apply unchanged to milk or white chocolate.
Control the thickness: let excess chocolate drain from a dipped cake. For ganache, allow a little cooling for a thicker top layer rather than adding more fat.
Fill before coating: cakes must be completely cool before splitting. Use a thin filling so the halves stay together during coating.
Finishing and storage
Decorate before setting: add sprinkles, chopped nuts or zest. For a marbled effect, drizzle a little contrasting chocolate over the top and draw through it lightly with a clean skewer.
Let the coating set: a cool, dry room is best for tempered chocolate. Brief refrigeration may help in a warm kitchen, but condensation can spoil the finish. Perishable filled or ganache-coated cakes still need proper refrigeration.
Store by filling type: plain chocolate-coated cakes keep best for 3–4 days in a cool airtight container. Cream-based versions belong in the fridge at 5°C or below and should be eaten within 48 hours.
Pão de mel in Brazilian baking
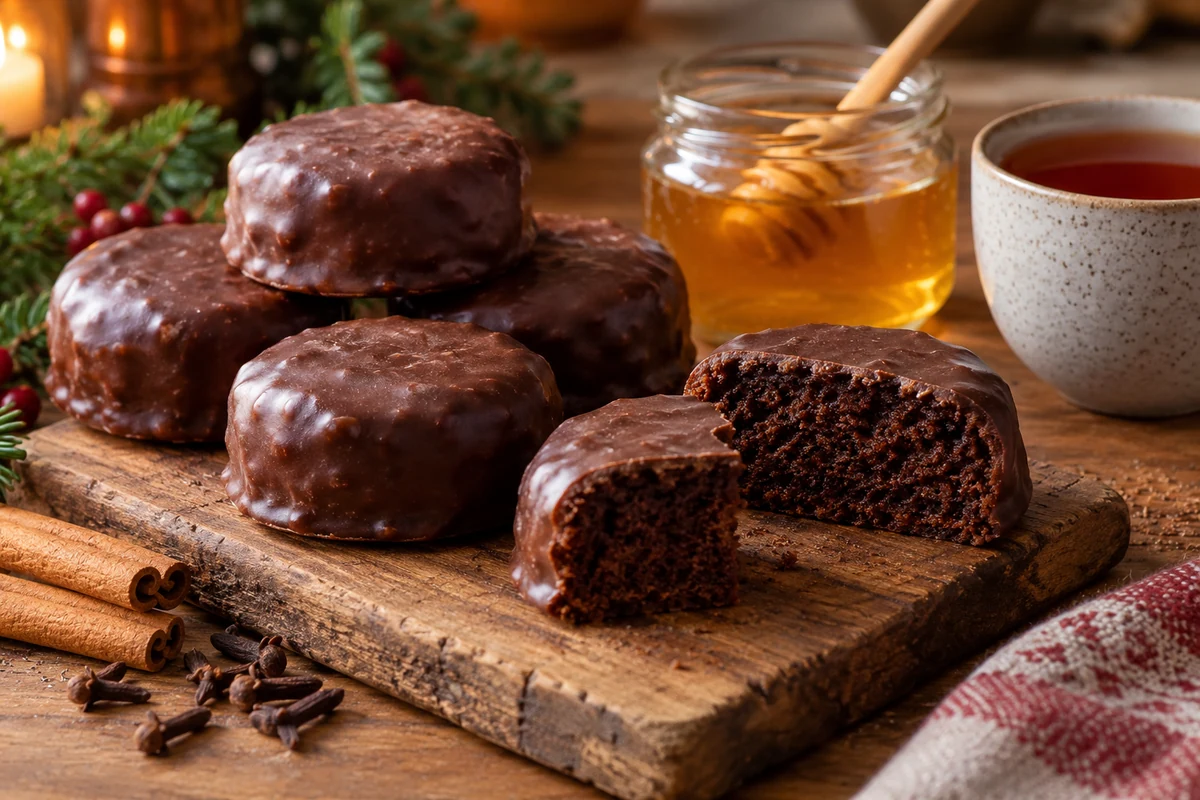
Brazilian pão de mel belongs to the wider family of honey-and-spice bakes. Its name describes the honey flavour, but recipes vary in texture, coating and filling. This article does not establish a single historical origin for the modern chocolate-covered version.
European bakes such as German Lebkuchen share honey and spices, but that resemblance alone does not prove a direct route from one particular recipe to another.
A Brazilian-style sweet
The version here focuses on the combination familiar from Brazilian confectionery: spiced cocoa cake, honey and chocolate, with an optional caramel filling. Keeping the Brazilian name helps distinguish it from a British gingerbread biscuit.
Changing presentation: cakes can be made as small rounds, squares or mini portions. Coating and wrapping turn the same basic bake into a different-looking gift.
A few useful details
- The name: pão de mel literally means honey bread. Honey does not make a finished cake safe to keep indefinitely.
- The spices: cinnamon, cloves and nutmeg give this recipe its warm aroma.
- For celebrations: individual portions can be wrapped as party favours or small Christmas gifts.
- Mini versions: smaller cakes need less baking time and make portioning easier.
Fillings and adaptations
Dulce de leche, a firm chocolate filling or thick jam each gives a different result. None is essential to the basic cake, and their storage requirements should guide how the finished cakes are kept.
Dietary versions: gluten-free or vegan bakes can use the same spice combination, but need recipes developed for their alternative ingredients.
Making cakes to share or sell
Neat, consistent portions and suitable food-safe packaging matter more than elaborate decoration. List the ingredients, including the coating and filling, and identify allergens accurately.
Costing a batch: include ingredients, chocolate, packaging, time and any required food-business arrangements. Profit is not guaranteed merely because the cakes are small or homemade.
Serving suggestions
Serve with espresso, black tea or another warm drink. A small portion suits a rich chocolate-coated cake. For guests avoiding alcohol, keep rum variations separate and clearly labelled.
Brazilian honey cakes bring honey, cocoa and spice together in a soft bake. Weigh the ingredients, avoid overmixing and check the centre before taking the cakes out of the oven.
Try a different filling or finish on a few cakes first. For special dietary requirements, choose a suitable complete recipe rather than assuming several substitutions will leave the result unchanged.
Share your finished cakes and favourite combinations with us, whether you make simple chocolate tops or individually wrapped gifts.
Thank you for baking along. Find more seasonal recipes on the I Love Christmas blog.
Brazilian honey cakes: frequently asked questions
What oven temperature and baking time should I use?
Preheat to 180°C conventional or 160°C fan. Small shallow cakes may need 12–18 minutes, while deeper portions can take 20–25 minutes or longer. A skewer in the centre should come out with cooked crumbs, not raw batter.
How should I store the cakes?
Keep plain chocolate-coated cakes airtight in a cool place and enjoy within 3–4 days for quality. Cream-based fillings or ganache require refrigeration at 5°C or below and use within 48 hours, or sooner if an ingredient requires it.
Can I make them gluten-free or vegan?
Use a tested recipe developed for those requirements. Gluten-free blends need suitable structure and liquid balance. A vegan version must replace honey, eggs and dairy and use suitable chocolate; apple purée and margarine alone do not make this recipe vegan.
How do I get a smooth, glossy chocolate shell?
Use suitable chocolate and follow its tempering instructions, keeping all equipment dry. Adding oil or butter softens chocolate and is not equivalent to tempering. A ganache topping is another option, but it is softer and needs refrigeration.
How do I avoid dry cakes?
Measure accurately, mix only until combined and avoid overbaking. Bake promptly after mixing rather than resting the batter for half an hour. Add a little milk only if the batter is unusually stiff.
Can I freeze the cakes or the raw batter?
For a more predictable result, freeze baked, cooled, unfilled cakes without coating, well wrapped, for up to three months for quality. Defrost covered in the fridge and use within 24 hours of full thawing, then coat. Freezing the raw batter may affect the raising agents and is not the preferred method here.
Sources and Further Reading
- Callebaut: chocolate tempering methods
- Food Standards Agency: handling flour safely
- Food Standards Agency: chilling, freezing and defrosting