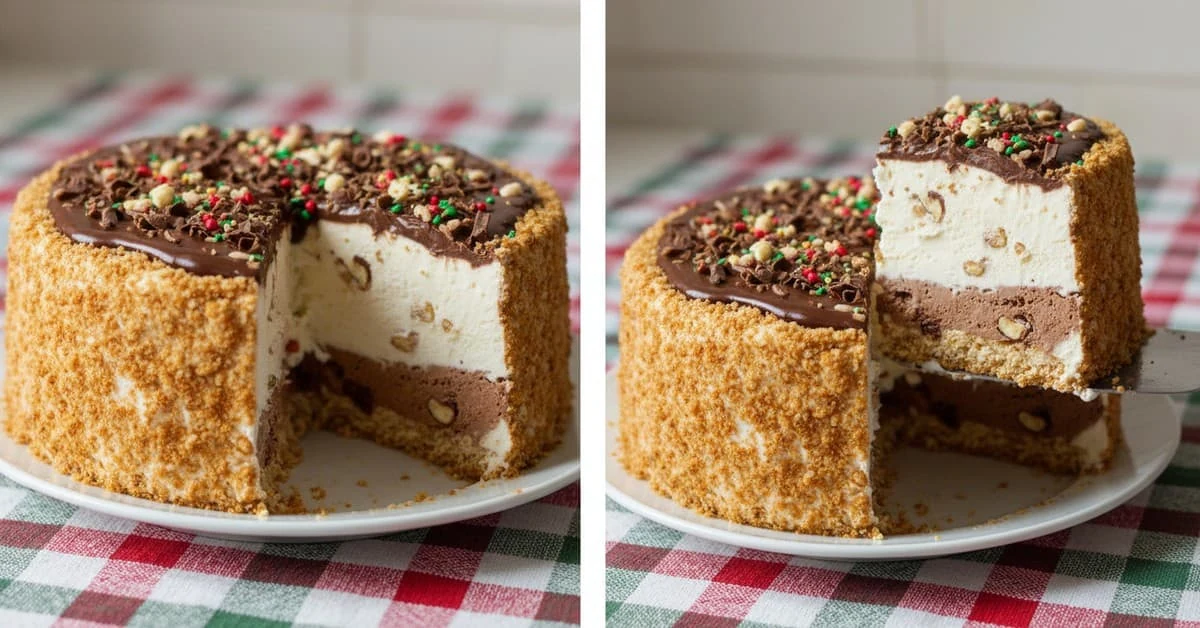
Christmas ice cream cake combines layers of ice cream with a sponge or biscuit base and fillings such as fruit compote. Chocolate ganache and festive decorations finish the dessert. It can be assembled ahead and kept frozen, with carefully chosen ingredients for vegan or gluten-free variations.
A Christmas ice cream cake makes a refreshing alternative to a rich Christmas pudding. Layers of ice cream, fruit and chocolate bring colour to the table, and most of the work can be done in advance.
Christmas ice cream cake ingredients
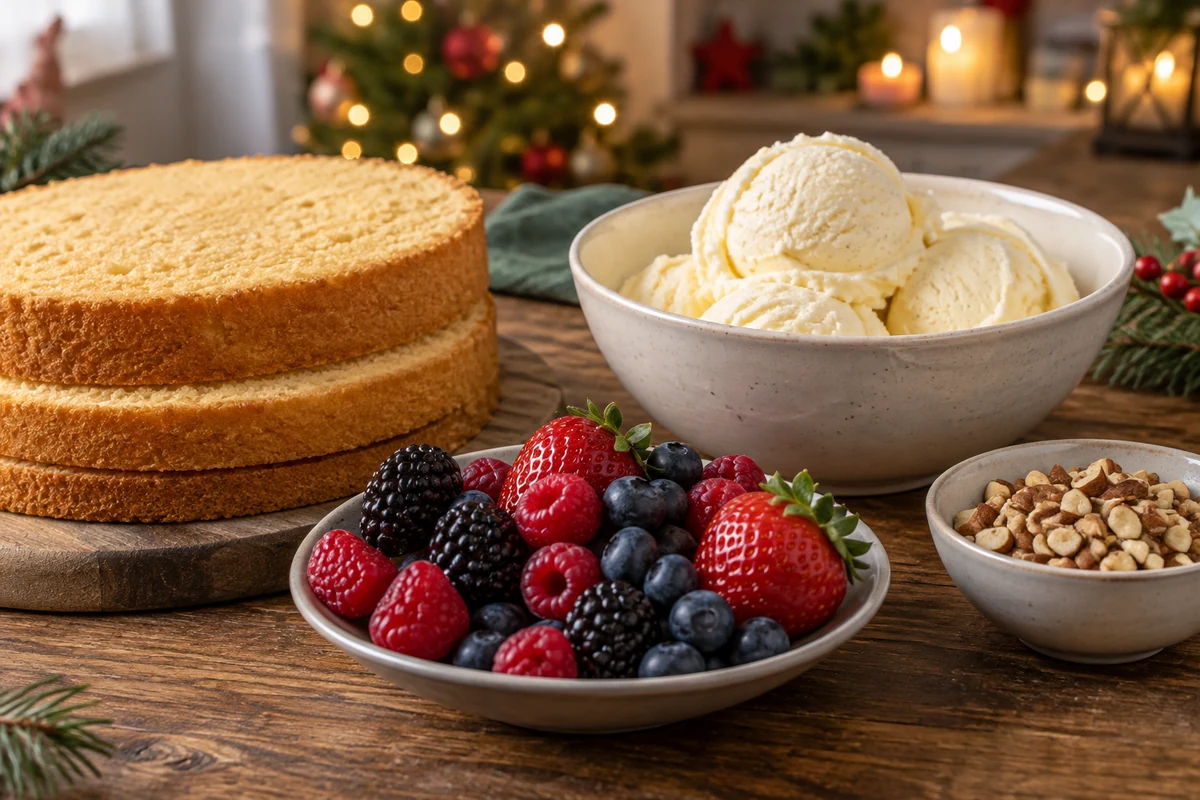
For a Christmas ice cream cake, gather the ingredients below. Choose either the sponge base or the biscuit base, rather than using both.
- 1 fully cooled genoise sponge disc, 22–24 cm across, bought or homemade. Alternatively, use 200 g crushed biscuits mixed with 80 g melted butter.
- 1.5–2 litres ice cream, divided between two flavours, such as vanilla and summer berries. Choose ice creams that hold their shape when frozen; simply freezing Greek yoghurt will give a different, often harder texture.
- 200 ml whipping cream: use 100 ml for the ganache and, if wanted, whip the remaining 100 ml as an optional serving accompaniment. A suitable plant-based cream can be used for a dairy-free version.
- Sweetened condensed milk, optional: a standard tin contains 395 g, but only a small drizzle is needed when serving. There is no need to add a whole tin to the cake; omit it if the ice cream is sweet enough.
- 200 g berries, such as strawberries, raspberries or blueberries. For the optional compote, also allow 2 tablespoons sugar and 1 tablespoon lemon juice. Follow any cooking instructions on frozen fruit packaging.
- 100 g dark chocolate for the ganache. Milk chocolate gives a sweeter finish. Any chocolate shavings used to decorate are additional to this quantity.
- 50 g chopped nuts in total, optional, such as walnuts, almonds, pistachios or hazelnuts, for a crunchy layer or decoration.
- 2 tablespoons cocoa powder, optional, for the chocolate variation. Drinking chocolate is sweeter and will not give the same flavour.
- Up to 2 tablespoons rum or orange liqueur in total, optional, for an adult version. Alcohol can soften the set. Omit it for children, or use a little alcohol-free vanilla flavouring instead.
- Extra decorations: fresh berries, mint leaves, chocolate shavings and Christmas decorations specifically labelled as edible.
Quick substitution tips
A similar gelato can replace the ice cream, and a suitable plant-based cream can replace dairy cream. Use thoroughly cooled, well-drained compote rather than a watery fruit sauce. Taste the components before adding optional sweet toppings.
How to make Christmas ice cream cake
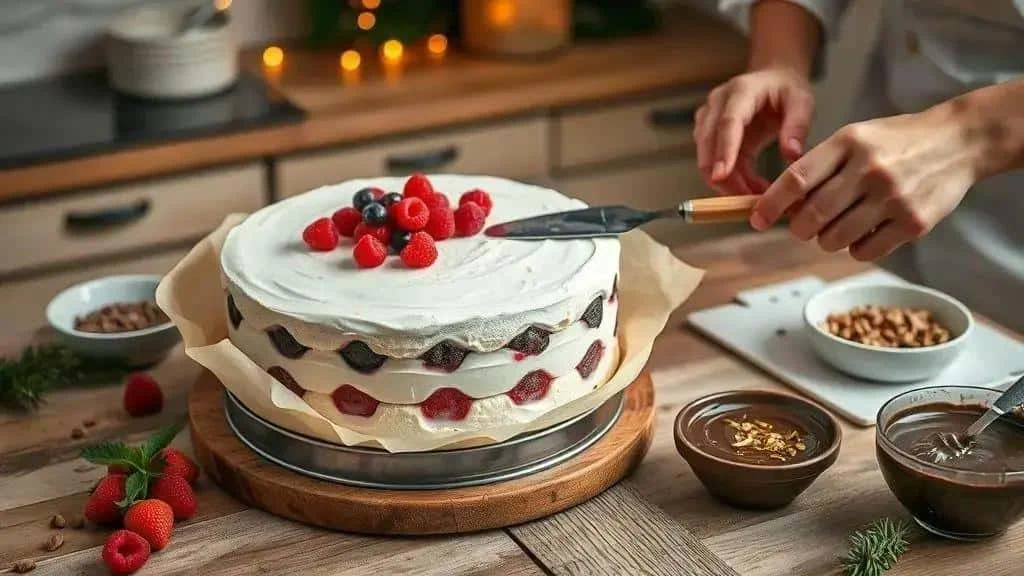
Make the Christmas ice cream cake in stages so each layer has time to become firm. Check that the tin is deep enough for the chosen quantity of ice cream and that it fits in your freezer.
- Line the tin: use a 22–24 cm springform tin or adjustable cake ring. Line the base with baking parchment and the sides with food-safe cling film suitable for freezer use, leaving an overhang to help release the cake.
- Add the base: place the cooled sponge disc in the tin. Alternatively, press 200 g crushed biscuits mixed with 80 g melted butter into the base and freeze for about 15 minutes until firm.
- Soften the first flavour: take only the ice cream needed for the first layer out of the freezer. Allow just enough time to make it spreadable, often around 5–10 minutes, checking sooner in a warm room. It should remain very cold and must not melt; follow the product’s handling instructions.
- Build the first layer: spread half the total ice cream, for example the vanilla flavour, evenly over the base. Smooth with a chilled spatula and gently settle it into any gaps. Freeze for roughly 1½–2 hours, or until firm.
- Make the optional compote: cook 200 g berries with 2 tablespoons sugar and 1 tablespoon lemon juice for around 5–8 minutes, until reduced, following any required cooking directions on the fruit packaging. Transfer to a shallow container, cool promptly and refrigerate within two hours. Chill completely before layering; drain off excess liquid.
- Add the compote: spread a thin layer of cold compote over the frozen first layer, leaving a little space around the edge for the next layer of ice cream to seal it in.
- Add the second flavour: briefly soften the remaining ice cream without melting it, spread it over the compote and smooth the top. Freeze for 2–4 hours or until solid; overnight is a useful option for a deeper cake.
- Make the ganache: heat 100 ml of the cream until just below boiling and pour it over 100 g chopped dark chocolate. Leave for a minute, then stir until smooth. Let it cool to room temperature while remaining fluid enough to spread.
- Coat the cake: release the fully frozen cake from its tin and remove the lining. Place it on a rack over a tray and pour the cooled ganache into the centre, guiding a little towards the edges for a drip effect. Work quickly; warm ganache would melt the ice cream.
- Decorate: add chocolate shavings, chopped nuts and edible festive decorations, then return the still-frozen cake to the freezer to set the coating. Add fresh berries and mint close to serving for a fresher texture rather than freezing them solid.
- Release and slice carefully: if the ring is difficult to remove before coating, briefly wrap its outside with a warm cloth and check frequently until it releases. Before serving, allow only enough time for the cake to become sliceable, usually a few minutes; do not let it melt.
- Store and transport frozen: keep the cake at -18°C until needed. For a short journey, use suitable insulated packaging and frozen packs only if they can keep it frozen throughout. Longer journeys require transport designed for frozen food. Do not refreeze melted ice cream.
Ganache and the remaining layers
Christmas ice cream cake variations
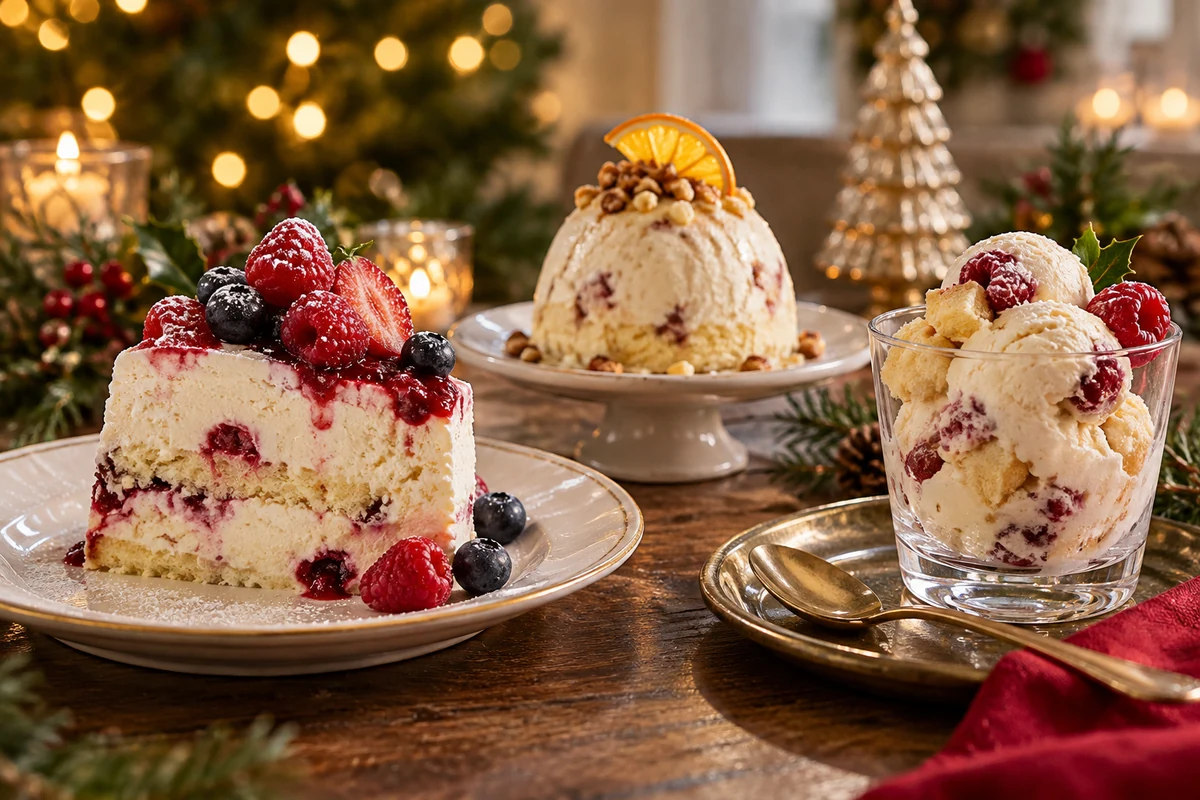
Adapt your Christmas ice cream cake to different tastes and dietary needs with the ideas below. Check every component, including the base and decorations, rather than changing only the ice cream.
Vegan and dairy-free version
Use 1.5–2 litres of vegan ice cream, such as coconut- or cashew-based ice cream, and a suitable plant-based cream for the ganache and optional accompaniment. Choose dairy-free chocolate, a vegan sponge or biscuits, and a vegan fat for the biscuit base. Any optional condensed-milk drizzle must also be plant-based. Lactose-free dairy ingredients are not suitable for a milk allergy.
Gluten-free version
Make the base with 200 g certified gluten-free biscuits and 80 g melted butter, or use a suitable gluten-free sponge. Check the ice cream, chocolate and decorations too. Ground almonds alone are not a direct replacement for biscuit crumbs in this base; use a tested almond-base recipe if preferred.
A less sweet version
Compare ice cream labels and choose flavours with less sugar if that suits your taste. Omit the optional condensed-milk drizzle and use unsweetened berries or a less sweet compote. Gelato is not automatically lower in sugar, and frozen Greek yoghurt will not behave like ice cream without a suitable recipe.
Intense chocolate version
For a stronger chocolate flavour, gently fold up to 2 tablespoons cocoa powder into the chocolate ice cream while it is just spreadable, without allowing it to melt. As an alternative to the standard ganache, use 150 g dark chocolate with 120 ml cream, reserving the other 80 ml of the listed cream for an optional accompaniment. Finish with extra chocolate shavings if wanted.
Individual portions and festive decoration
Layer the dessert in small freezer-safe moulds or cups, allowing roughly 150–200 ml ice cream per portion. The total makes around 8–10 generous portions, depending on the amount used and the containers. Divide the optional 50 g nuts between the portions rather than adding that amount to each one, and decorate with fruit and edible festive sprinkles.
Pairing flavours and textures
Try vanilla with berries, chocolate with orange, or coffee with caramel. Use the optional nuts or a little extra crushed biscuit for crunch between layers. For adults, keep any liqueur to a maximum of 2 tablespoons for the whole cake, not per layer; it can make the ice cream softer and is entirely optional.
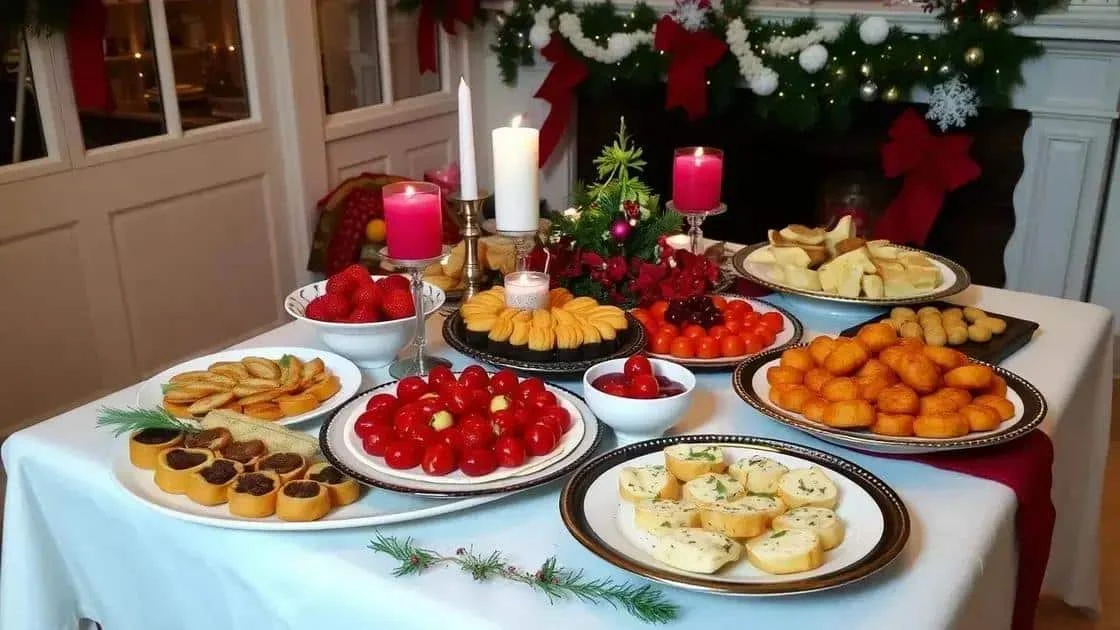
Assembly and Christmas table decoration
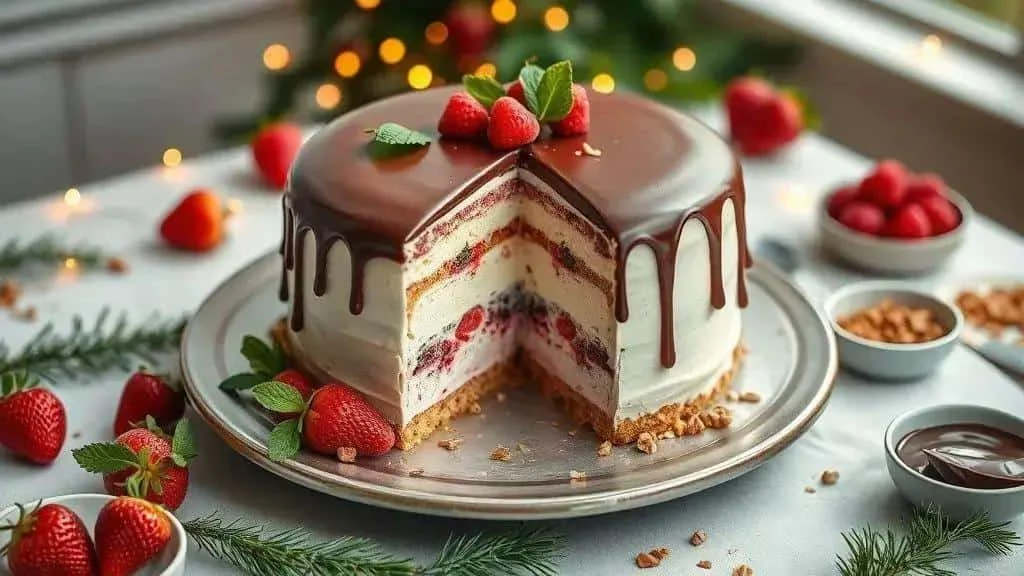
- Start with a cold base: keep the sponge or biscuit base in the lined tin while assembling the layers. Chill the final serving plate separately, and transfer the cake only once it is frozen and ready to release.
- Work with a solidly frozen cake: release and decorate it only when the ice cream is firm. This helps the layers stay neat and slows melting while you work.
- Create contrasting layers: combine colours such as vanilla, berry compote and chocolate. Smooth each ice cream layer with a chilled spatula and freeze between stages until firm; allow around 1–2 hours or longer as needed.
- Use cooled ganache: it should be at room temperature and still fluid, not warm. Pour into the centre and gently guide it towards the edges for controlled drips.
- Add contrasting textures: a little chopped nut or crushed biscuit between creamy layers brings crunch to each slice. Avoid making the crunchy layer so thick that the cake separates when cut.
- Set the coating: return the still-frozen cake to the freezer for about 20–30 minutes after coating and adding freezer-friendly decorations. This is not a way to make melted ice cream safe to refreeze; fresh berries can be added just before serving.
- Choose festive colours: strawberries, raspberries and mint provide Christmas reds and greens without needing a heavy coating of icing.
- Choose edible decorations: use chocolate curls, chopped nuts and cake decorations explicitly labelled as edible. Select toppings suitable for the ages and dietary needs of your guests.
- Make individual desserts: small freezer-safe cups or moulds simplify serving and avoid cutting a large cake. Keep them frozen until shortly before they are needed.
- Transport and present carefully: keep the cake level in packaging that maintains it frozen throughout the journey. At serving time, let it soften only enough to slice; the time needed varies with the ice cream and room temperature.
Decoration ideas
- Classic: sliced strawberries, whole raspberries, mint leaves and chocolate shavings.
- Elegant: glossy ganache, dark chocolate curls and toasted chopped nuts.
- Playful: colourful Christmas sprinkles and small meringues, chosen to suit the guests’ ages and dietary requirements.
- Minimal: a few berries, a light dusting of cocoa and a mint leaf on each slice.
- Festive sparkle: small touches of gold powder labelled as edible and edible sugar pine cones. Craft glitter and real pine cones are not suitable food decorations.
Finishing touches and practical tips
Use the right tool temperature: chilled spatulas help with assembly, while a knife briefly warmed in hot water and dried helps with slicing. Wipe the blade between cuts.
Limit watery fillings: excess liquid forms icy patches. Reduce and drain compote well, and chill it fully before using.
Plan the decoration: prepare the cake ahead, but add delicate fresh fruit and mint shortly before serving for the best appearance.
Serving, storage and transport tips
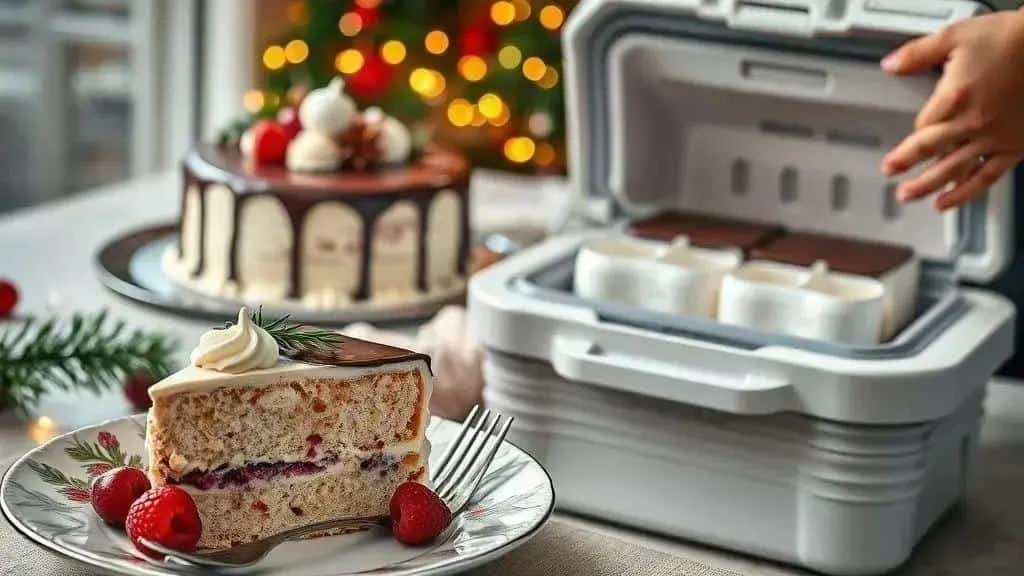
These serving, storage and transport tips help you keep your Christmas ice cream cake frozen until it is ready to serve.
Serving
- Before serving: allow only a few minutes for the cake to become sliceable, checking frequently. Start checking within about 5 minutes, or sooner in a warm room, and serve before it melts.
- Slice neatly: warm the knife in hot water, dry it and cut firmly. Clean the blade between slices.
- Portions: a 22–24 cm cake can provide roughly 12–14 portions, depending on its height and how generously you cut it. Portion size is a guide rather than a fixed yield.
- Accompaniments: offer fresh fruit, the optional whipped cream or a little sauce separately. Add any warm sauce only to individual portions just before eating, as it will melt the ice cream.
Storage
- Freezer temperature: store at -18°C and avoid repeated temperature changes, which encourage ice crystals.
- Packaging: protect the cake with freezer-safe food wrap and a rigid container or cake box. Cover exposed surfaces to reduce freezer burn without crushing the decorations.
- Storage time: aim to use the cake within a month for quality, or sooner if any ingredient’s storage instructions require it. Keep it continuously frozen and do not refreeze melted ice cream.
- Separate portions: wrap and return any unused portions promptly while they are still frozen, using baking parchment between pieces if needed. This does not apply to slices that have thawed or melted.
Transport
- Freeze thoroughly first: start with a solidly frozen cake and keep the journey as short as possible.
- Use suitable insulation: place frozen packs around a rigid, insulated container without pressing them against delicate decorations. An ordinary cool box is not automatically cold enough for frozen food; the cake must stay frozen throughout.
- Keep it stable: use a rigid cake board and secure the box so it cannot slide or tip. Keep packing materials away from the food.
- Avoid heat: keep the package out of direct sunlight and away from hot areas of the vehicle. For a longer journey, arrange suitable frozen-food transport rather than relying on a cool car or improvised dry ice handling.
- On arrival: check that the cake has remained frozen and put it straight into a freezer. Freezing it again does not remedy unsafe storage or make melted ice cream suitable for refreezing.
Plan backwards: schedule the layers, freezing time, transport and final decoration around the serving time. Leave enough time for each layer to become firm rather than rushing the assembly.
Conclusion
A Christmas ice cream cake is a colourful festive dessert that can be prepared ahead. Choose complementary flavours, freeze each layer properly and keep the finishing touches simple for a neat, refreshing centrepiece.
Thank you for reading. Follow our social channels for more recipes, photographs and Christmas ideas, and visit the I Love Christmas blog for more festive inspiration. Enjoy your celebration!
Christmas ice cream cake: frequently asked questions
How long before serving should I take the cake out of the freezer?
Allow just enough time to make it sliceable, often a few minutes. Check within about 5 minutes, or sooner in a warm room, and serve before the ice cream melts. The exact time depends on the recipe, cake size and temperature.
Can I make Christmas ice cream cake ahead?
Yes. Assemble and freeze it thoroughly, then protect it with freezer-safe wrap and a rigid container. Aim to use it within a month for quality, following any shorter ingredient storage instructions. Add delicate fresh decorations near serving time.
How can I transport it without melting?
Transport it solidly frozen, level and well protected, using packaging capable of keeping it frozen for the whole journey. Insulation and frozen packs may suit a short trip, but longer journeys need proper frozen-food transport. Do not refreeze melted ice cream.
Which substitutions work for lactose intolerance?
Choose suitable dairy-free ice cream and plant-based cream, and check the base, chocolate and any condensed-milk drizzle too. Lactose-free dairy products may suit lactose intolerance but are not suitable for a milk allergy; fully dairy-free ingredients are needed in that case.
Can I add alcohol for an adult version?
Yes, but keep it optional and use no more than 2 tablespoons of rum or liqueur for the whole cake. Alcohol can soften the set and remains in this uncooked dessert. Omit it for children, or use a little alcohol-free vanilla flavouring instead.