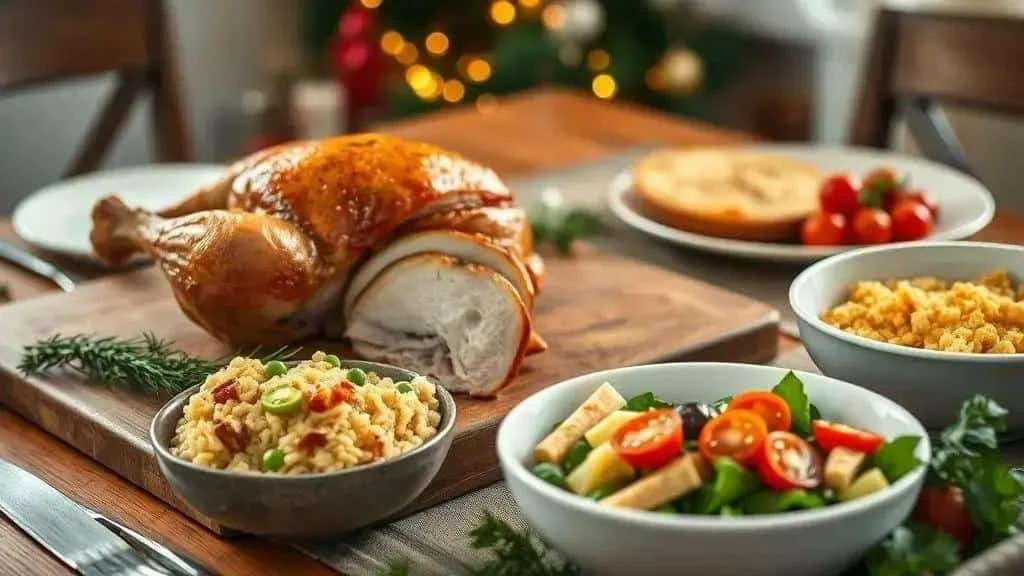
A budget-friendly Christmas dinner can include roast poultry, creamy rice, farofa, vegetables and a simple dessert. This guide introduces ten Brazilian-inspired ideas, followed by detailed poultry, rice and farofa methods, variations, a shopping outline and a preparation schedule to help you plan a manageable celebration.
A budget-friendly Christmas dinner can still feel generous and special. These ten ideas focus on familiar ingredients and practical preparation, with clear distinctions between quick sides and roasts that need more time.
Why Choose a Simpler Christmas Dinner?
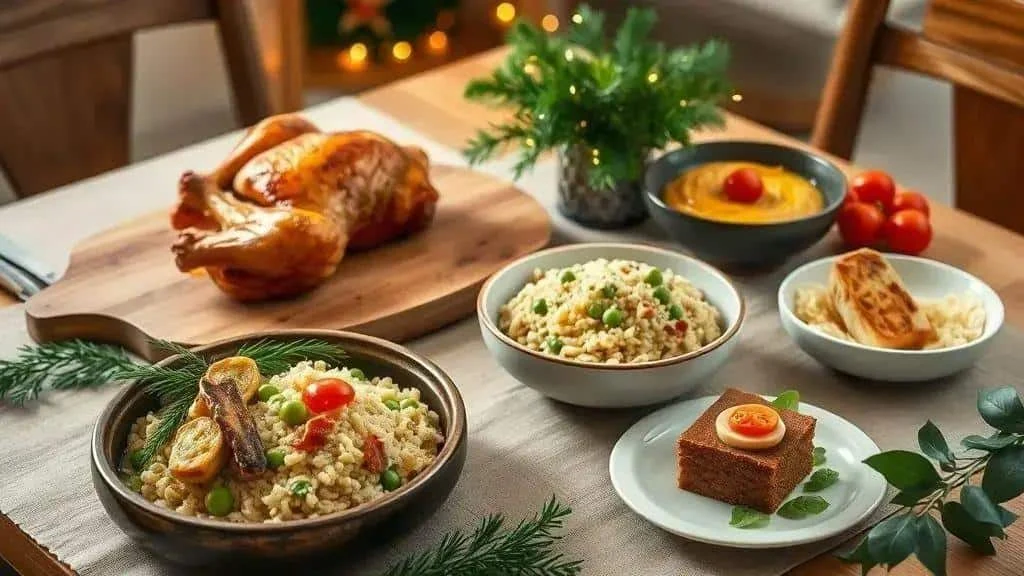
A smaller menu can mean less rushing, less waste and more time with your guests. Choose a few dishes you enjoy rather than an ambitious spread that strains your budget or kitchen space.
Practical Benefits
- Manageable costs: compare the price per edible portion of chicken, pork and turkey rather than assuming one is always cheapest.
- More time together: simple sides and advance preparation leave time for setting the table and enjoying company.
- Less pressure: a shorter menu reduces last-minute jobs and the risk of making too much food.
- Useful leftovers: safely chilled leftovers can become another meal within their storage limits. Reusing them does not reset those limits.
- Less waste: buy amounts you can use and reuse suitable containers. Environmental impact depends on the food and its production, not only how local it is.
A Simple but Welcoming Meal
- Plan the menu and shopping list first to avoid buying extra ingredients on impulse.
- Choose some dishes that can be fully cooked and safely chilled ahead, such as farofa. Rice needs rapid cooling and a shorter refrigerated storage period than most other leftovers.
- Use versatile ingredients across recipes, such as onions, garlic, herbs and milk, while keeping raw and ready-to-eat preparation separate.
- Use simple decorations such as LED lights and paper ornaments. Keep foliage away from food and all decorations clear of heat sources.
- Share suitable tasks with family members, from setting the table to washing salad ingredients.
With realistic planning, a budget-friendly Christmas dinner can feel warm and welcoming without an elaborate menu or unnecessary expense.
Shopping Outline and Preparation Schedule
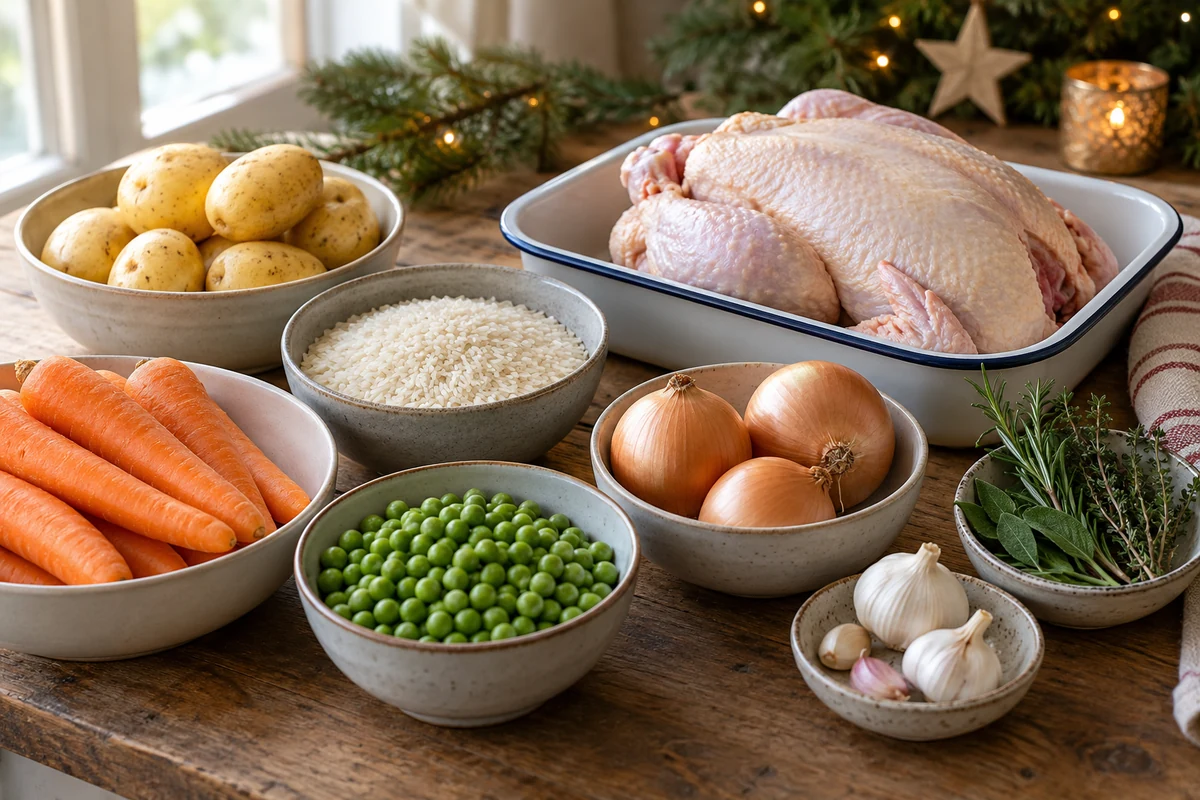
- 1 whole chicken, 2–2.5 kg, or another main such as a 1.2–1.5 kg pork loin joint. Compare prices and use cooking instructions for the cut you choose; they are not interchangeable by time.
- A 1 kg bag of long-grain rice as a shopping option; cook only the quantity needed for your chosen recipe.
- About 200 g bacon, optional, or a suitable smoked sausage. The detailed rice and farofa recipes each use 150 g, so buy more if making both unchanged.
- 300–400 g frozen peas, prepared according to the pack.
- 500 g prepared farofa, or 300 g Brazilian cassava meal suitable for farofa plus the seasonings below. These give different yields and textures.
- 1 kg potatoes or properly prepared cassava as an optional side. Cassava requires appropriate peeling and thorough cooking; it is not eaten raw.
- 6 eggs, adjusting the amount for the farofa or dessert you choose.
- 200 g butter or suitable spread, checking the combined quantities in your selected recipes.
- 1 litre milk for rice and desserts, as required.
- 1 tin sweetened condensed milk if making a dessert that uses it.
- 2 tomatoes, 1 lettuce and 1 cucumber for a simple fresh salad.
- 4 onions and 1 bulb garlic as basic seasonings.
- Olive oil, salt, black pepper, fresh herbs and lemon, plus any recipe-specific ingredients. This is a planning outline, not a complete combined list for all ten ideas.
A Practical Schedule
- Two days before, or earlier if thawing requires it: finalise the menu, buy dry goods and check thawing instructions. A large bird may need longer than 24–48 hours in the fridge.
- The evening before: prepare a suitable chilled dessert and farofa if helpful. Cool cooked food promptly, refrigerate at 5°C or below and label it.
- On the day: calculate the roast’s start time backwards from serving, including resting time. Cook rice close to the meal rather than leaving it lukewarm in a water bath for hours.
- Two to three hours before: prepare salad ingredients and refrigerate them separately from dressing. Plan final heating so hot dishes are ready together.
- The final half-hour: check the roast is fully cooked, rest it as appropriate, finish sides and dress the salad just before serving.
Practical Tips
- Group the shopping list: arrange produce, chilled foods, bakery items and dry goods together to save time.
- Choose versatile ingredients that suit several dishes, such as onions, garlic and herbs.
- Compare unit prices on larger packs, but buy them only if you will use the contents and can store them properly.
- Use suitable dishes that can go from preparation to serving, checking oven and temperature-shock guidance.
- Delegate simple jobs such as setting out dishes or preparing salad, with clean equipment and clear instructions.
Ten Christmas Dinner Ideas and Approximate Timings
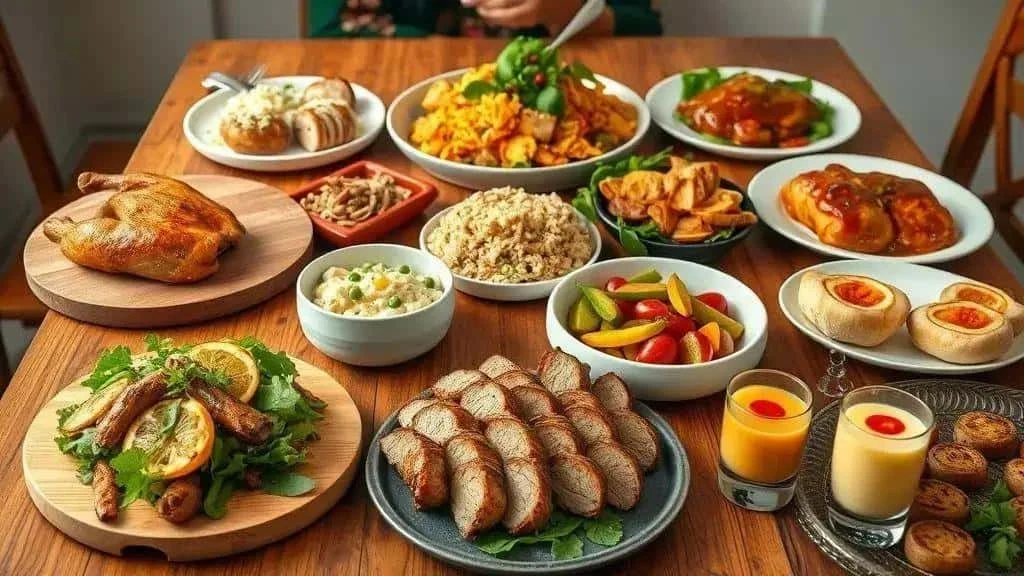
Roast Boneless Chicken
Timing: allow roughly 50–60 minutes for suitable portions, but follow the cut’s instructions and check doneness | Serves: about 6 generously
Idea: seasoned boneless chicken breast or thigh pieces roasted in a single layer. A thick rolled joint requires a different cooking schedule.
- 2 kg boneless chicken, breast or thigh portions
- 3 tbsp butter, or a suitable oil-based seasoning
- 4 garlic cloves, chopped, or 1 tsp garlic powder
- Juice of 1 lemon for seasoning
- Salt and black pepper, to taste
- Dried thyme or rosemary, optional. Use a suitable roasting recipe and confirm the thickest pieces reach 75°C for 30 seconds or 70°C for two minutes.
Creamy Rice with Bacon and Peas
Timing: about 25–35 minutes, depending on the rice | Serves: about 6 as a generous side
Idea: creamy long-grain rice with bacon and peas. The detailed method and fuller ingredient list appear below.
- 2 cups long-grain rice, using a 240 ml measuring cup
- 150 g diced bacon, or a suitable smoked sausage cooked as directed; omit meat for a simpler butter-based version
- 300 g frozen peas
- Up to 1 litre water or chicken stock, adjusting to the rice pack and allowing for milk added later
- 240 ml milk for creaminess
- Salt and pepper, to taste
Simple Festive Farofa
Timing: about 20 minutes with eggs already cooked | Serves: around 8 as a side
Idea: prepared Brazilian farofa enriched with onion and hard-boiled egg. A more substantial bacon variation follows below.
- 500 g prepared farofa, or 300 g suitable cassava meal, toasted according to its pack; the two options give different yields
- 2 tbsp butter, with a little more only if the plain cassava meal needs it
- 1 medium onion, chopped
- 2 hard-boiled eggs, chopped
- Salt, pepper and chopped parsley or spring onion, to taste
Crunchy Salad with Citrus Dressing
Timing: 10–15 minutes | Serves: 6
Idea: a fresh salad to contrast with richer dishes. Combine the washed vegetables and add the citrus and oil dressing just before serving.
- 1 lettuce, washed, dried and torn
- 1 cucumber, sliced
- 200 g cherry tomatoes
- 1 red onion, thinly sliced
- Juice of 1 orange or lemon, added gradually to taste
- 3 tbsp olive oil; optional mustard or a little honey can alter the dressing. Check mustard allergies and do not give honey to babies under one year.
Glazed Pork Loin Joint
Timing: follow the joint’s pack or a suitable roast-pork recipe; 50–70 minutes is not reliable for every 1.5 kg joint | Serves: about 6–8 with sides
Idea: a small pork loin joint with a sweet-savoury glaze added near the end of roasting. Check it is fully cooked before resting.
- 1.2–1.5 kg pork loin joint
- 4 tbsp honey or jam, or a brown-sugar and orange-juice glaze; honey is unsuitable for babies under one year
- 2 tbsp soy sauce, optional; check soy and wheat allergens and use less added salt
- Salt and pepper, as needed
- 1 garlic clove, crushed
Roast Potato Wedges with Herbs
Timing: about 35–50 minutes, depending on wedge size and oven temperature | Serves: 6
Idea: coat evenly sized wedges with oil and herbs and roast in a single layer until golden outside and tender inside, turning as needed.
- 1.5 kg potatoes, washed and cut into wedges
- 3 tbsp olive oil
- 1 tsp rosemary or oregano
- Salt and pepper, to taste
Griddled Vegetables with Olive Oil and Garlic
Timing: about 20 minutes, longer if cooking in batches | Serves: 6
Idea: brush vegetables with the oil and garlic mixture and griddle until tender, turning as needed. Roasting is another option with a different cooking time.
- 1 medium aubergine, sliced
- 2 courgettes, sliced
- 1 red pepper, cut into strips
- 3 tbsp olive oil
- 2 garlic cloves, chopped; keep the heat controlled so garlic does not burn
Oven-Baked Rabanada
Timing: roughly 30 minutes, depending on bread thickness | Serves: up to 8 if using eight suitable slices
Idea: a baked version of Brazilian cinnamon French toast. Use a complete baked-rabanada method and cook the egg-soaked centres through, not just until the surfaces brown.
- 8 slices of day-old bread, about 2 cm thick. A single small Brazilian bread roll will not provide eight full portions.
- 2 eggs, beaten
- 240 ml milk, or a suitable plant-based drink
- 1 tsp cinnamon and sugar for coating
Quick Passion Fruit Cream
Timing: about 10 minutes mixing, plus several hours chilling | Serves: around 6
Idea: a Brazilian-style condensed-milk and passion fruit dessert. Blend the ingredients using a suitable recipe and chill; the set depends on the cream and juice, so serve in glasses if soft.
- 1 tin sweetened condensed milk, about 395 g
- 1 tin Brazilian creme de leite, about 300 g, prepared as directed. UK cream products have different fat contents and may not set identically.
- Up to 240 ml concentrated passion fruit juice, added according to the recipe and the product’s strength rather than diluted drinking juice
- Pulp of 1 passion fruit, optional, for decoration
Tomato and Cheese Bruschetta
Timing: about 15 minutes | Makes: around 10 small appetisers
Idea: top toasted bread with tomato and cheese, then grill until the cheese melts. Finish with basil and a little olive oil.
- 1 baguette or Italian-style loaf, sliced and toasted
- 200 g chopped tomatoes, drained of excess juice
- 150 g grated mozzarella, or another suitable cheese; check vegetarian suitability if relevant
- Basil leaves and olive oil to finish
Boneless Roast Turkey: Ingredients
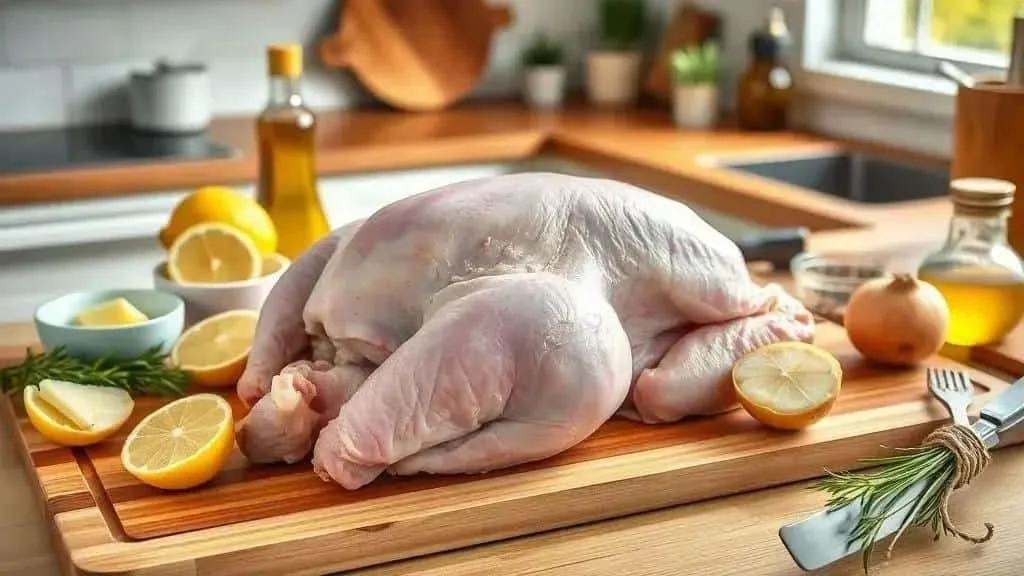
For this boneless roast turkey, gather the following. It is an alternative to the chicken idea above, not a promise of a whole 3 kg joint cooked in under an hour.
- 2.5–3 kg boneless turkey joint, prepared and tied by a butcher if needed. Boneless chicken is an alternative, using cooking guidance for its own shape and weight.
- 100 g softened butter, or an oil-based seasoning using about 80 ml olive oil instead
- 4 garlic cloves, chopped, or 1 tsp garlic powder
- Juice of 2 lemons, or 4 tbsp cider vinegar for a different seasoning
- 2 tbsp olive oil for the outside and roasting tin; reduce this if using the oil-based alternative above
- 1 tbsp sweet paprika; annatto powder or a little cumin gives a different flavour
- 1 tsp ground black pepper, or to taste
- Up to 2 tsp salt, to taste; use less with salted stock or a pre-seasoned joint
- 1 tsp dried herbs, such as rosemary, thyme or oregano; fresh herbs are another option
- 1 medium onion, quartered, to roast alongside the joint
- 100 ml chicken stock or water for the roasting tin; make stock cubes up to their packet instructions
- 2 tbsp honey or apricot jam, optional, for a sweet glaze; do not serve honey to babies under one
Notes and Simple Substitutions
- Marinating: season with the measured lemon juice, garlic and salt, reserving any ingredients needed later. Cover and refrigerate for 1–2 hours or overnight, within the meat’s use-by date.
- Budget alternative: use chicken or a smaller pork loin joint, following cooking guidance for that cut and weight.
- Without butter: use the oil-based alternative with a little of the measured lemon juice and paprika.
- Stock: use prepared stock, water or a stock cube diluted according to its packet. Avoid making a small amount excessively salty.
How to Cook the Boneless Roast Turkey
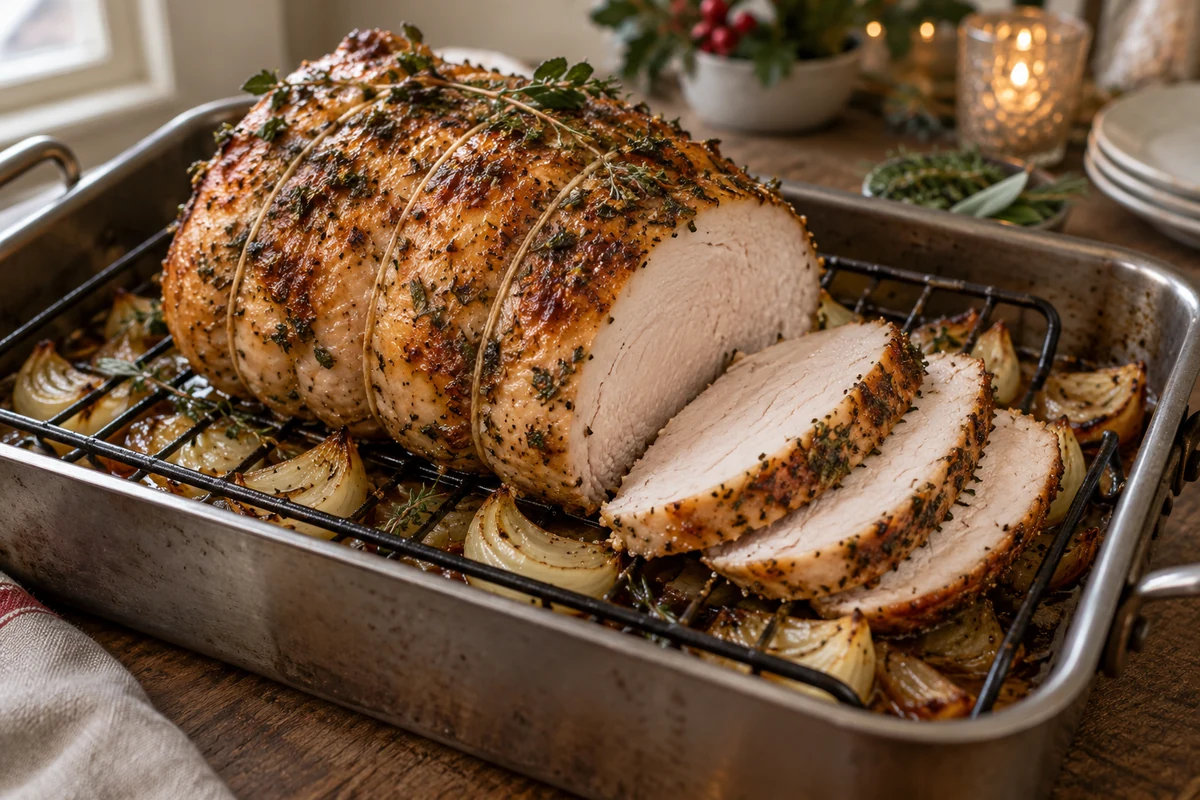
- Preheat the oven: follow the joint’s packaging or butcher’s cooking instructions. If using the two-stage method below, start at 200°C, or 180°C fan, with the shelf in the centre.
- Dry the surface: if needed, pat with kitchen paper and discard it immediately. Do not wash raw poultry. Clean hands, utensils and surfaces afterwards.
- Loosen the skin, if present: carefully make space for herb butter without tearing it. For a skinless joint, season the surface instead.
- Make the herb butter: mix 100 g softened butter with the 4 chopped garlic cloves, 1 tsp dried herbs and the juice of 1 lemon. If already used in a marinade, do not add those ingredients twice.
- Spread the butter: put some beneath the skin where possible and spread the rest over the joint.
- Season and prepare the tin: add salt, pepper and the measured 1 tbsp paprika. Put the quartered onion in the tin with the remaining lemon juice and olive oil. A boneless rolled joint has no cavity to fill.
- Check the tying: retain suitable cooking string, or ask the butcher to tie the joint evenly. Remove any packaging that is not oven-safe.
- Begin roasting: place the joint on a rack over the onion and 100 ml stock or water. If compatible with its instructions, start at 200°C/180°C fan for 20–30 minutes to colour the surface.
- Continue cooking: reduce to 180°C, or 160°C fan, if using this method. Follow the joint’s own cooking guidance and check its centre with a thermometer. A 2.5–3 kg joint cannot reliably be promised ready in 50–60 minutes.
- Check the tin: add a little hot water if the juices are drying out. Baste occasionally if wanted, avoiding frequent opening of the oven.
- Check the centre: probe the thickest part and more than one spot. It must reach 75°C for 30 seconds, or an equivalent safe time and temperature such as 70°C for 2 minutes.
- Optional glaze: near the end, brush with 2 tbsp honey or apricot jam loosened with a little water. Watch closely to prevent burning, and still check the meat’s final temperature.
- Rest before carving: once fully cooked, cover loosely with foil and rest for 10–15 minutes before slicing.
Practical Tips and Variations
- Fan ovens: use the fan setting specified in the joint’s instructions. Check doneness rather than cutting the cooking time by an arbitrary percentage.
- Chicken alternative: use suitable instructions for a boneless chicken joint; its size and shape determine the cooking time.
- Browning first: pan-searing can add colour, but does not make the centre safe or replace sufficient oven cooking.
- Digital thermometer: a clean probe helps you check that the centre is cooked without relying on surface colour.
- Cooking ahead: fully cook the meat, cool and refrigerate within 1–2 hours, and use within 48 hours. Reheat only once until steaming hot throughout, adding stock if needed.
- Raw poultry: keep it refrigerated until preparation and separate from ready-to-eat food. Clean anything that has touched it; do not leave it out while preparing other dishes.
Boneless Turkey Variations for an Easier Dinner
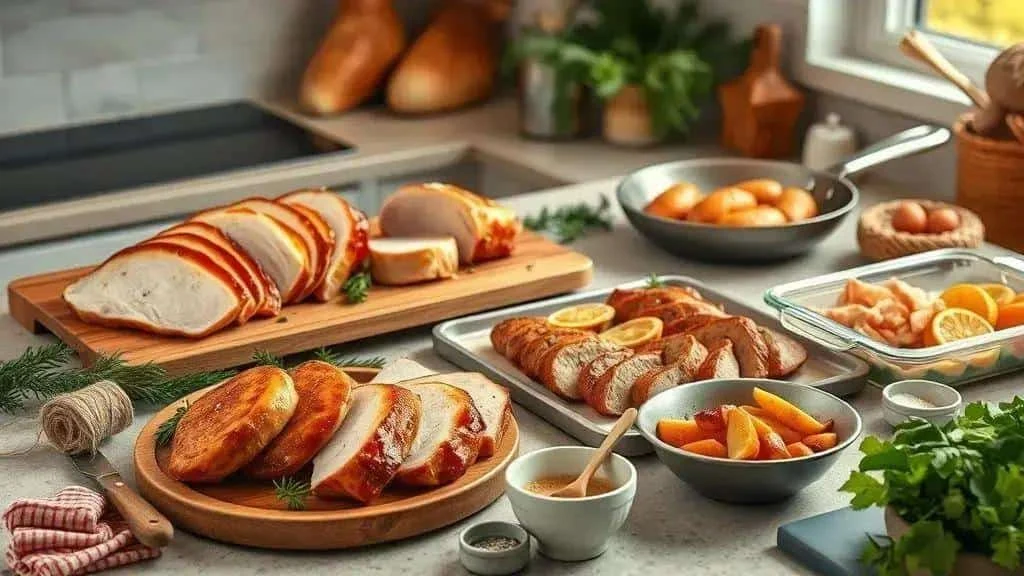
Choose a boneless turkey option to suit your time, budget and guests. Different cuts need their own cooking instructions.
Budget-Friendly Alternatives
- Boneless chicken: compare prices with turkey; a smaller joint may be cheaper and cook sooner.
- Small pork loin joint: another option where suitable for your guests. Check the price per portion and cook it thoroughly.
- Prepared turkey breast: read the label carefully. Raw joints need full cooking; ready-cooked products have different serving or reheating instructions.
Options When Time Is Short
- Two-stage roasting: a hotter start can brown the surface, followed by gentler cooking. It is not a guarantee of a shorter safe cooking time.
- Pan-searing then roasting: use this for colour where appropriate, and complete cooking without interruption.
- Smaller portions: turkey steaks cooked in a frying pan can suit a quicker meal. Check that the thickest part is safely cooked.
Easy Seasonings and Accompaniments
- Herb butter: butter, garlic and herbs beneath the skin add flavour with little preparation.
- Sweet glaze: brush honey or jam loosened with a little orange juice or water over the meat towards the end. Do not serve honey to babies under one.
- Bread stuffing: bread, cooked onion and herbs make a useful accompaniment. Cook stuffing separately using a complete recipe rather than packing it inside the joint.
Serving Ideas That Save Time
- Carve before serving: arrange slices on a platter just before taking them to the table.
- Tacos or sandwiches: use safely chilled leftovers the next day, within 48 hours of cooking.
- Simple sauces: a ready-made gravy or a suitable butter and herb sauce adds flavour with little work. Check allergens on the label.
Portions and Planning
- Planning guide: allow roughly 250–300 g raw boneless meat per adult for a generous meal, adjusting for appetites and side dishes.
- Compare value: smaller joints or discounted boneless cuts may reduce the overall cost. Compare edible portions, not just the ticket price.
Preparing Ahead
- Marinate overnight: keep the covered meat in the fridge, within its use-by date, to reduce preparation on the day.
- Cook fully before storing: never partly roast poultry, refrigerate it and finish it later. If cooking ahead, cook it completely, cool promptly and reheat once until steaming hot throughout.
- Storage: divide cooked meat into shallow containers, refrigerate within 1–2 hours at 5°C or below, and use within 48 hours or freeze.
Other Substitutions
- Without butter: use olive oil and herbs. This changes the ingredients but is not automatically a lower-calorie option.
- Limited oven space: choose a smaller joint that fits safely or use a tested recipe for turkey portions. Do not assume a large rolled joint will cook safely in a covered frying pan.
- Vegan main course: choose a plant-based roast with its own complete recipe or cooking instructions, rather than treating it as a direct turkey substitute.
Simple Finishing Touches
- Fresh herbs: a little chopped parsley or thyme adds colour and aroma.
- Neat slices: carve after resting and fan the slices across a platter.
Creamy Rice with Bacon and Peas: Ingredients
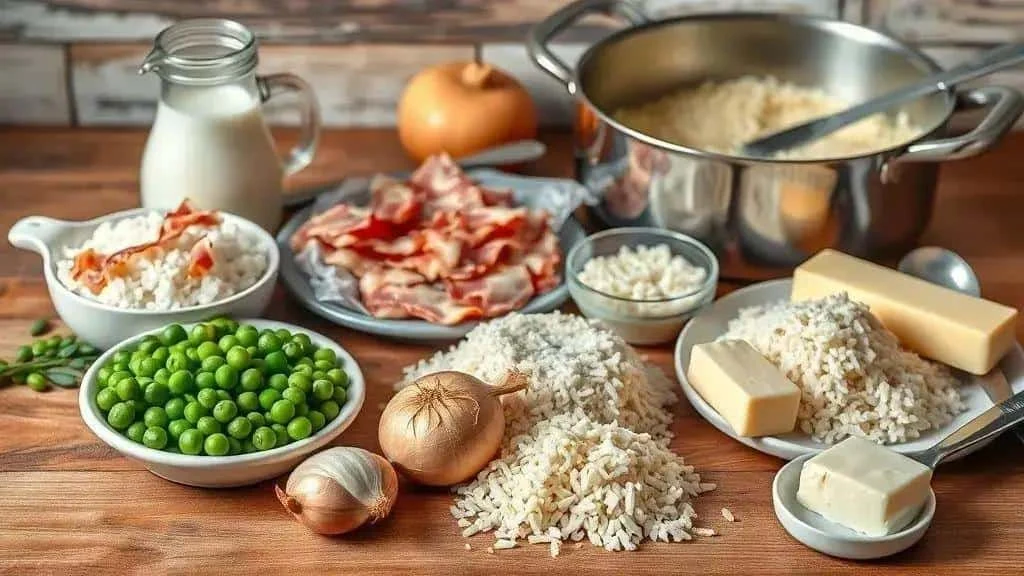
Gather the following for creamy rice with bacon and peas:
- 2 cups long-grain rice, measured with a 240 ml cup; rinse if directed on the packet. Parboiled rice needs its own liquid and cooking guidance.
- 150 g diced bacon; alternatively use cooked calabresa-style sausage or omit the meat
- 1 medium onion, chopped; red onion is also suitable
- 2 garlic cloves, chopped, or 1 tsp garlic powder
- Up to 1 litre hot chicken stock; use the rice packet’s liquid guidance, allowing for the milk added later. You may not need all the stock.
- 1 cup milk, 240 ml, or 200 ml cream for a richer alternative
- ½ cup Brazilian requeijão or cream cheese, optional; this adds body and is not the same as an equal volume of pouring cream
- 300 g frozen peas, cooked as directed on the packet; drain canned peas if using them instead
- Up to 2 tbsp butter or olive oil for cooking the onion, using less if there is enough rendered bacon fat
- Salt and black pepper to taste, with an optional small pinch of nutmeg
- Chopped parsley or spring onion to finish
- 50 g grated Parmesan, optional; choose a vegetarian alternative where required
Preparation Notes
- Hot stock: keep the stock hot when adding it during cooking.
- Texture: adjust the milk or cream cheese gradually rather than adding too much liquid at once.
- Peas: allow their full packet cooking time. Simply warming frozen peas briefly is not always sufficient.
- Bacon fat: use a little of the rendered fat for the onion, reducing the extra butter or oil.
- Vegetarian option: replace chicken stock with vegetable stock, bacon with sautéed mushrooms and Parmesan with a vegetarian cheese.
How to Make the Creamy Rice
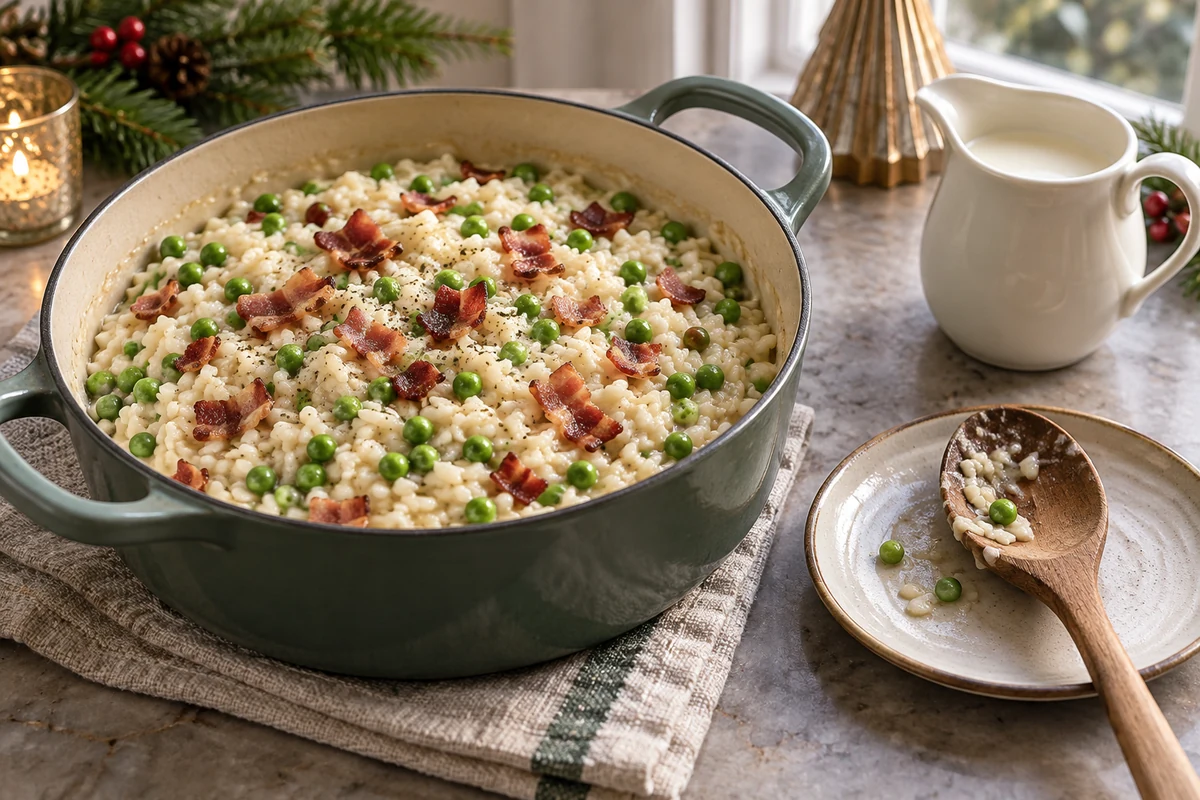
- Heat the pan: use medium heat and only as much of the measured butter or oil as needed, allowing for the bacon fat.
- Cook the bacon: fry the 150 g diced bacon until cooked and browned. Remove and reserve, leaving a little fat in the pan.
- Cook the aromatics: soften the chopped onion, then add the garlic briefly, without letting it burn.
- Add the rice: stir in the 2 cups of drained rice for 1–2 minutes to coat the grains.
- Add hot stock: use the amount appropriate to the rice, reserving some of the packet’s total liquid allowance for the milk. Bring to the boil.
- Simmer: cover and lower the heat. Cook until the rice is nearly tender, following its packet timing, then continue immediately with the next steps.
- Add the creamy ingredients: stir in 240 ml milk, or the 200 ml cream alternative, and the optional ½ cup requeijão or cream cheese. Finish cooking gently.
- Cook the peas: add the 300 g peas with enough time for their packet instructions, or cook separately and stir them in hot.
- Season: once the rice and peas are cooked, adjust salt and pepper. Stir in the optional 50 g grated cheese.
- Finish: return the cooked bacon to the pan and heat through. Add the chopped herbs, turn off the heat and rest, covered, for 3–5 minutes before serving.
Tips and Substitutions
- Without bacon: use butter or oil for the onion and add sautéed mushrooms if desired.
- Different creamy ingredients: use a suitable lighter cream or unsweetened plant drink, adjusting gradually. These vary in texture and nutritional content.
- Parboiled rice: follow its own packet cooking time and liquid ratio rather than automatically reducing either.
- Pressure cooker: use a recipe and liquid quantities approved for your appliance. Do not transfer this milk-based saucepan method directly to pressure cooking.
- Creaminess: add small amounts of warm milk or cream cheese as needed; use less for a firmer dish.
- Leftover rice: cool as quickly as possible, ideally within an hour, refrigerate and use within 24 hours. Reheat only once until steaming hot throughout, adding a little milk if needed.
- Avoid waste: refrigerate any unused clean stock promptly for another meal, following its storage instructions. Do not hold partially cooked rice for later.
Creamy Rice Variations for Different Budgets and Diets
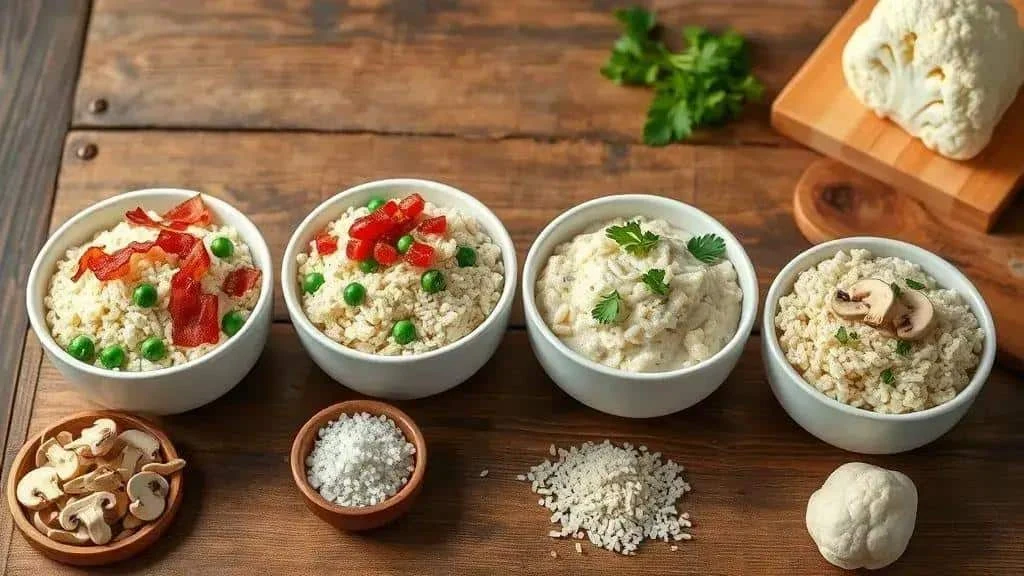
These creamy rice variations change flavour and texture. Check labels and cooking instructions when adapting the ingredients.
Vegetarian Version
- Replace the bacon with 200 g sautéed mushrooms or 100 g diced smoked tofu.
- Use vegetable stock instead of chicken stock.
- For savoury flavour, add ½ cup plant-based cheese or 2 tbsp nutritional yeast. Check the cheese’s ingredients and texture.
Dairy-Free Version
- Replace the milk and requeijão with 240 ml unsweetened plant drink and 3 tbsp suitable plant-based cream, adjusting the liquid as needed.
- Use dairy-free spread or olive oil instead of butter.
- Omit the Parmesan or use a dairy-free alternative. Check all products for relevant allergens, including soya or nuts.
Cauliflower Alternative
- For a different, lower-rice dish, use grated cauliflower. One medium head will not necessarily provide the same number of servings as the rice recipe.
- Sauté the cauliflower until tender, then add up to ½ cup cream or plant-based cream gradually. Omit the rice recipe’s litre of stock and milk; cauliflower releases its own moisture.
- Add a small amount of fully cooked peas or some wilted spinach.
Using Less Fat
- Use 1 tbsp olive oil and drain excess bacon fat before combining the ingredients.
- Plain low-fat yoghurt can replace some cream cheese; stir it in towards the end and avoid boiling, which can cause splitting.
- Reduce the grated cheese or choose a suitable lower-fat version.
Budget Version
- Buy whichever suitable rice offers good value. Safely stored shredded cooked meat can replace bacon, within its original storage window.
- Instead of requeijão, a slurry of 1 tbsp cornflour in 100–150 ml milk can thicken the dish. Cook the starch mixture through according to its instructions; do not just stir raw cornflour into finished rice.
- Compare frozen pea prices and use a smaller amount if needed.
Portions and Texture
- Looser rice: add warm milk gradually, up to ¼–½ cup, or a little cream cheese, and heat through.
- Firmer rice: reduce optional finishing liquid gradually and rest briefly, without compromising the liquid needed to cook the grains.
- Serving guide: around 120–150 g cooked rice per person can work as one of several side dishes; adjust for appetites.
Making the Most of Leftovers
- Use safely chilled chicken or pork within 48 hours. Cooked rice has a shorter limit: cool promptly, ideally within an hour, refrigerate and use within 24 hours. Reheat only once.
- Choose serving dishes that can go straight to the table to save washing-up.
- Freeze rice promptly after rapid cooling in small portions. Defrost in the fridge, use within 24 hours of defrosting and reheat only once until steaming hot throughout.
Simple Festive Farofa: Ingredients
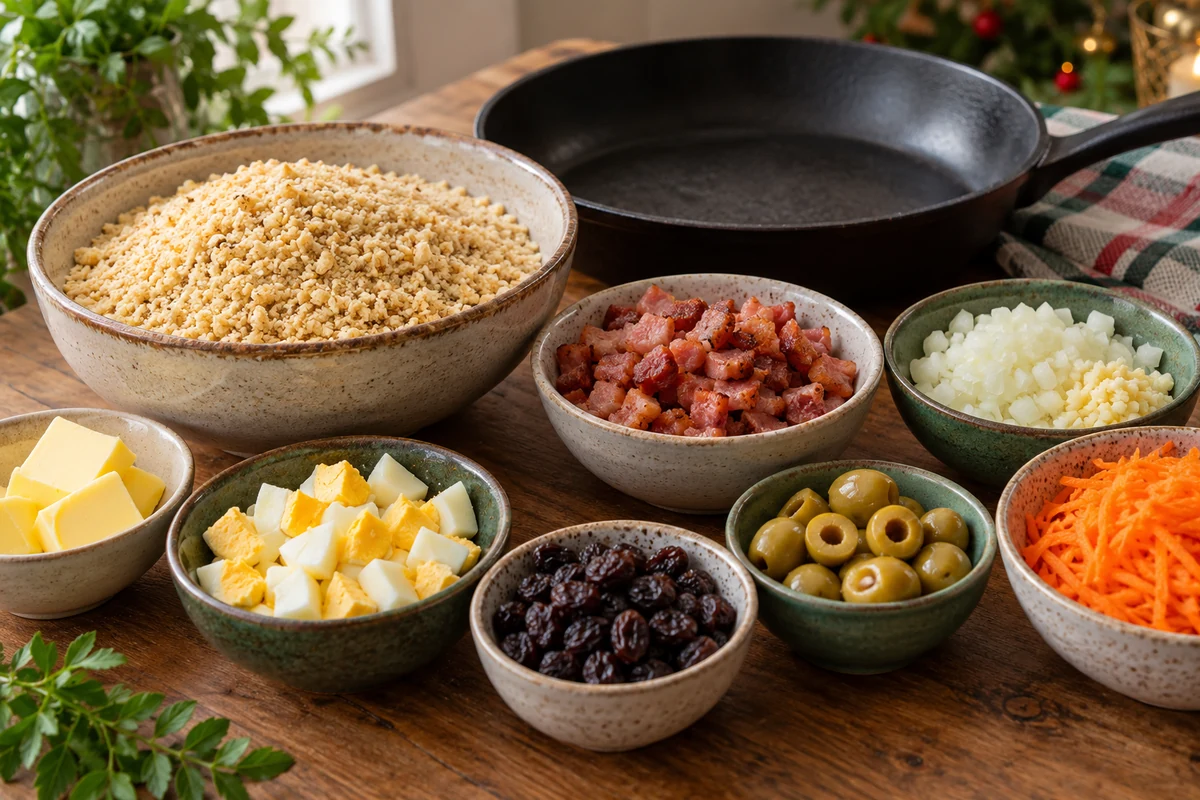
- 500 g prepared farofa, or 300 g Brazilian farinha de mandioca, a coarse cassava meal, using the 2 tbsp butter listed below. Do not substitute tapioca starch.
- 2 tbsp butter for cooking, or olive oil as an alternative; this is the same butter allowance referred to above
- 150 g diced bacon, or calabresa-style sausage cooked according to its instructions; use an extra onion for a meat-free version
- 1 medium onion, chopped
- 2 garlic cloves, chopped, or 1 tsp garlic powder
- 2 hard-boiled eggs, chopped; 150 g browned firm tofu is an alternative, with other animal ingredients also replaced for a vegan dish
- ½ cup raisins, optional; soak for 10 minutes in warm water and drain well, or use chopped dried apricots
- ½ cup chopped olives, optional
- 1 small carrot, grated, optional
- Salt and black pepper to taste
- Chopped parsley and spring onion to finish
- 1 extra tbsp butter, optional, to finish
Notes and Substitutions
- Starting with cassava meal: use a commercially prepared food-grade product and toast it in the pan as directed on its packet. Ready-made farofa may only need heating.
- Without bacon: use sautéed mushrooms or extra browned onion.
- Saving money: compare unit prices for cassava meal and raisins. Carrot and eggs can make the mixture go further.
- Texture: add cooked eggs towards the end and fresh herbs just before serving.
- Storage: cool and refrigerate within 1–2 hours at 5°C or below. Use within 48 hours and reheat only once until steaming hot throughout.
How to Make the Festive Farofa
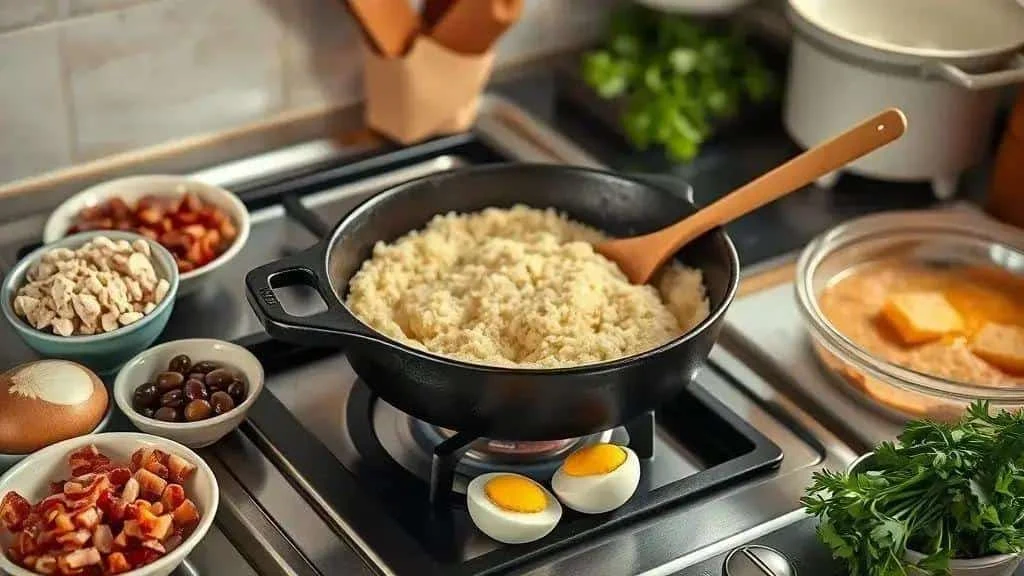
- Heat the frying pan: melt the 2 tbsp butter over medium heat, or use the oil alternative, reducing it if the bacon releases enough fat.
- Cook the bacon: add the 150 g diced bacon and cook until browned and cooked through. Spoon off excess fat if needed.
- Cook the onion and garlic: soften the chopped onion, then add the garlic briefly without burning it.
- Add vegetables: stir in the optional grated carrot and chopped olives and cook until the carrot is tender.
- Add the cassava base: stir in 500 g prepared farofa or 300 g cassava meal gradually. Heat or toast as appropriate to the product, stirring to prevent scorching.
- Season: add salt and pepper carefully, especially with seasoned farofa. Stir in the well-drained raisins if using.
- Add the eggs: gently fold in the 2 chopped hard-boiled eggs and heat through.
- Finish with herbs: stir in the chopped parsley and spring onion.
- Adjust the texture: if too dry, add the optional extra tablespoon of butter or a small splash of hot stock, then heat through.
- Serve: transfer to a warm serving dish and take to the table promptly.
Quick Tips
- Extra crunch: toast the cassava meal a little longer, stirring continuously and watching closely.
- Make it go further: add more cooked carrot or hard-boiled egg to suit the number of guests.
- Meat-free version: use cooked mushrooms or well-browned onion instead of bacon.
- Leftovers: refrigerate promptly and use within 48 hours. Reheat only once until steaming hot throughout; a little butter can restore the texture.
Farofa Variations for Using Leftovers
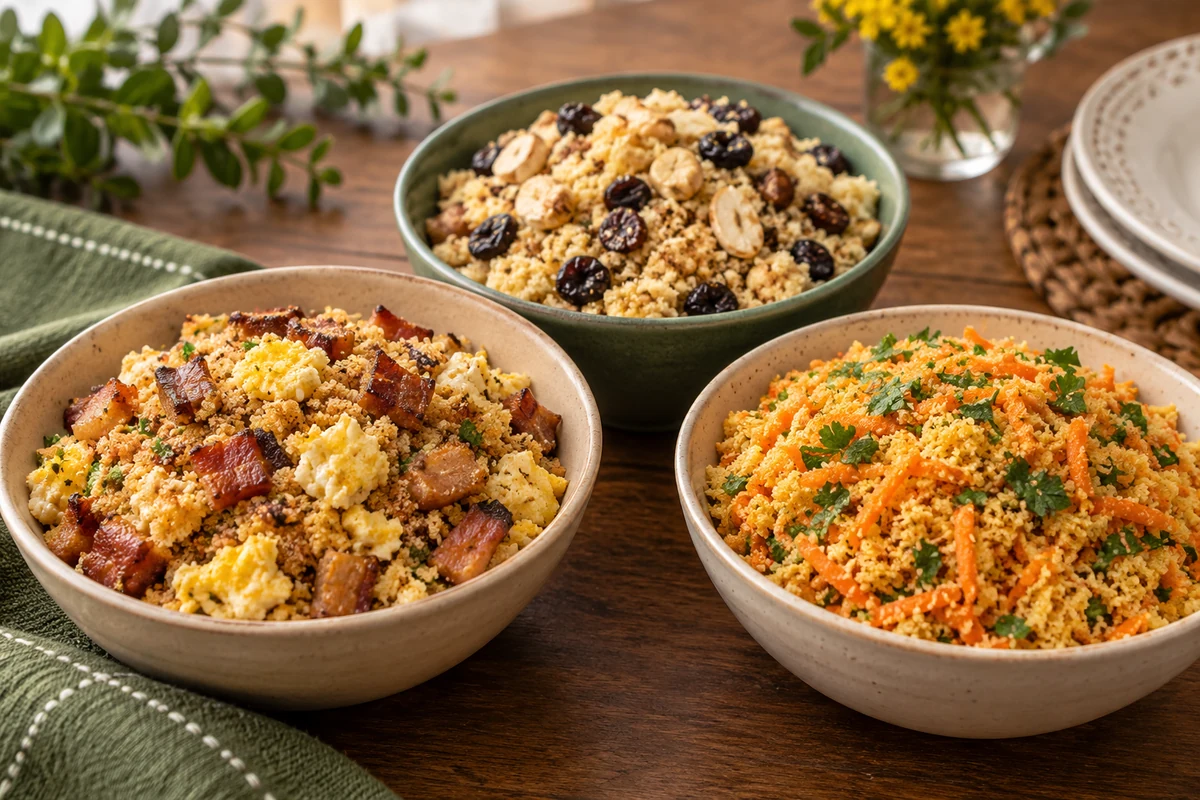
Farofa can turn safely stored leftovers into a new side dish. Adding them does not restart their storage time.
Farofa with Cooked Rice and Meat
- 1 cup cooked rice adds bulk. Use only rice cooled promptly, refrigerated and still within 24 hours of cooking.
- 1 cup shredded cooked chicken or pork adds flavour; use within its original 48-hour chilled storage window.
- Soften ½ chopped onion and 1 garlic clove in 1 tbsp oil. Add the rice, meat and farofa, heating until steaming hot throughout. This counts as their single reheating.
Farofa with Roasted Vegetables
- 2 cups cooked roasted vegetables, such as potato, carrot or squash, cut small, add colour and variety.
- Use up to 2 tbsp olive oil and herbs to taste. Heat the vegetables through and keep within their original storage time.
Farofa with Toasted Bread
- 2 cups day-old bread cubes can replace some of the cassava meal. Use sound, mould-free bread and toast it in the pan.
- For a softer version, add 1 beaten egg and cook it fully, stirring, before serving. Do not leave raw egg coating the mixture.
Sweet and Savoury Dried Fruit Farofa
- ½ cup raisins or chopped dried apricots adds sweetness. Soak if desired and drain well.
- Add up to ¼ cup chopped walnuts or other nuts if suitable for your guests; check allergies.
Farofa with Vegetable Stalks and Trimmings
- Use only sound, edible trimmings, such as washed carrot peel and finely chopped kale stalks. Cook until tender before adding to the farofa.
- Not every peel or stalk is edible. Avoid green or sprouting potato peel and any spoiled trimmings; use only ingredients you know are suitable.
Budget Vegan Farofa
- 300 g cassava meal can be cooked with 3 tbsp olive oil, onion and seasonings, then combined with browned tofu or cooked lentils.
- Use vegetable stock if needed and omit bacon, eggs and dairy butter. Check prepared farofa for animal ingredients and allergens.
Using Leftovers Economically
- Small additions: add leftovers gradually, heat thoroughly and taste before adding salt.
- Extra vegetables: cooked grated carrot or finely chopped kale adds volume alongside the cassava meal.
- Use less added fat: a little rendered bacon fat from the same cooking session can replace some oil or butter.
- Storage limits: follow the shortest remaining storage time of any ingredient. Rice mixtures should be used within 24 hours of the rice’s original cooking and reheated only once.
- Plan ahead: set aside portions of freshly cooked meat or vegetables promptly, cool and chill them safely for the next meal.
Serving a Festive Meal on a Budget
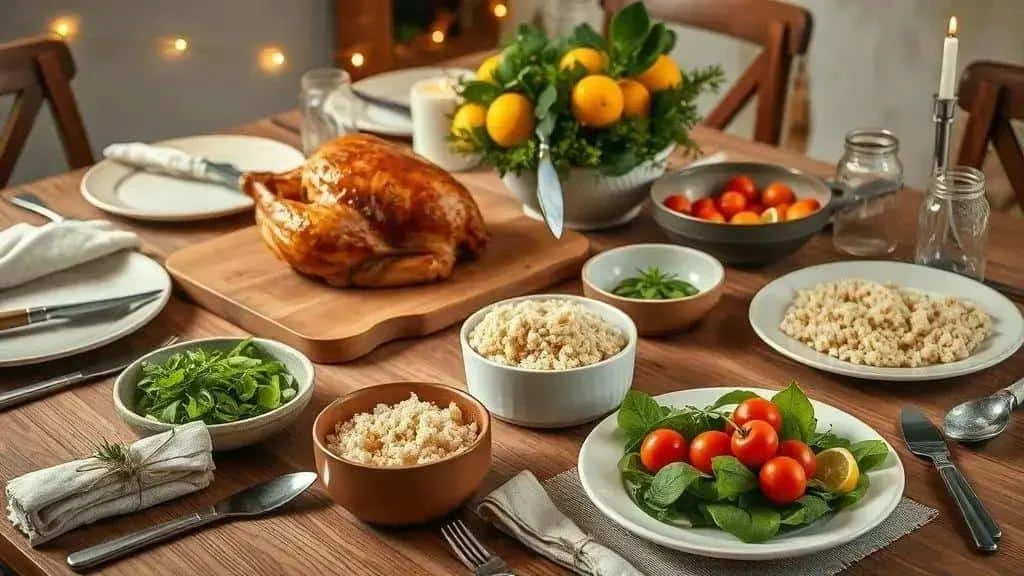
A little care with presentation and spending can make a simple meal feel special. Choose practical serving dishes and portions that suit your guests.
Tableware and Arrangement
- Neutral plates: white or earthy colours let the food stand out.
- Different textures: a clean serving board or rustic tray can provide a focal point without new tableware.
- Shared platters: a few large dishes save washing-up and make a welcoming table.
Practical Portions
- Plan quantities: around 250–300 g raw boneless meat per adult is a generous starting point. A smaller cooked serving may suit a meal with several sides; raw and cooked weights are not interchangeable.
- Arrange neatly: fan out meat slices and use serving spoons for rice, farofa and sauces.
- Avoid overfilling: modest first servings with seconds available can reduce waste.
Simple Presentation Ideas
- Colour: balance golden roast dishes with green salad and cherry tomatoes.
- Height: a stable cake stand or small serving stand can lift a dessert above the table.
- Finishing touches: add chopped herbs or lemon zest where they suit the dish.
Affordable Decorations
- Warm lights: battery lights, suitable greenery and seasonal fruit can make a simple centrepiece. Keep non-edible decorations away from food.
- Napkins: tie with ribbon or add a sprig of a suitable culinary herb.
- Reuse containers: clean jars and mismatched tableware can look charming. Use battery candles rather than flames in ordinary jars.
Serving Without a Rush
- Temperature: keep cold dishes refrigerated until serving. If holding food hot, it should remain at 63°C or above; a low oven setting alone does not confirm the food’s temperature.
- Order of service: offer starters while the fully cooked roast rests.
- Share tasks: ask someone to refill dishes or serve drinks.
Making the Meal Go Further
- Use leftovers safely: chilled cooked meat can become sandwiches or fillings within 48 hours. Reheat only once if serving hot.
- Cook sensible extras: allow a little flexibility without making large amounts of rice or other food that cannot be cooled promptly.
Quick Presentation Details
- Lighting: soft daylight or warm lamps make food look inviting.
- Useful labels: identify dishes and relevant ingredients for guests, without claiming they are allergen-free unless you can be certain.
- Clean edges: wipe serving-dish rims before taking them to the table.
Conclusion
A practical Christmas dinner leaves more time for family, conversation and enjoying the meal. A manageable menu and realistic cooking schedule help keep both cost and stress down.
Thank you for reading. Follow our social channels for more ideas and visit I Love Christmas for recipes and inspiration for a simple Christmas dinner.
Have a lovely festive season, and share your own serving ideas and experiences with us.
Simple Christmas Dinner: Frequently Asked Questions
How can I plan an affordable Christmas menu?
Plan ahead, choose recipes that share ingredients, and balance a main course with sides and salad. Select dishes you can prepare ahead and store safely.
How much food should I buy per person?
Around 250–300 g raw boneless meat per adult is a generous starting point, adjusted for appetite and accompaniments. Plan modest portions of each side rather than treating raw and cooked weights as equivalent.
What can I prepare the day before?
Farofa, suitable chilled desserts and sturdy salad components can be prepared ahead. Marinate raw meat in the fridge; if cooking poultry ahead, cook it fully, cool promptly and reheat once rather than partially cooking it.
How can I save money without losing flavour?
Compare meat cuts and seasonal vegetables, use safely stored leftovers and rely on herbs and simple seasonings. Choose substitutions that work with the recipe’s method.
What should I do with Christmas dinner leftovers?
Cool and refrigerate promptly. Use most cooked leftovers within 48 hours; rice should be cooled quickly, ideally within an hour, and used within 24 hours. Reheat only once until steaming hot throughout.
Sources and Further Reading
- Food Standards Agency: cooking food safely
- Food Standards Agency: chilling food safely
- Food Standards Agency: safe catering guidance, including rice
- Food Standards Scotland: turkey cooking guide