These Christmas farofa ideas explore eight flavours of the Brazilian toasted cassava side dish. Find detailed bacon and fruit-and-nut recipes, vegan and gluten-free variations, and advice on texture, serving, storage and gift packaging.
Christmas farofa recipes can bring a crunchy finishing touch to a Brazilian festive meal. This guide combines familiar flavours with variations, preparation steps and tips to help you choose a version for your table.
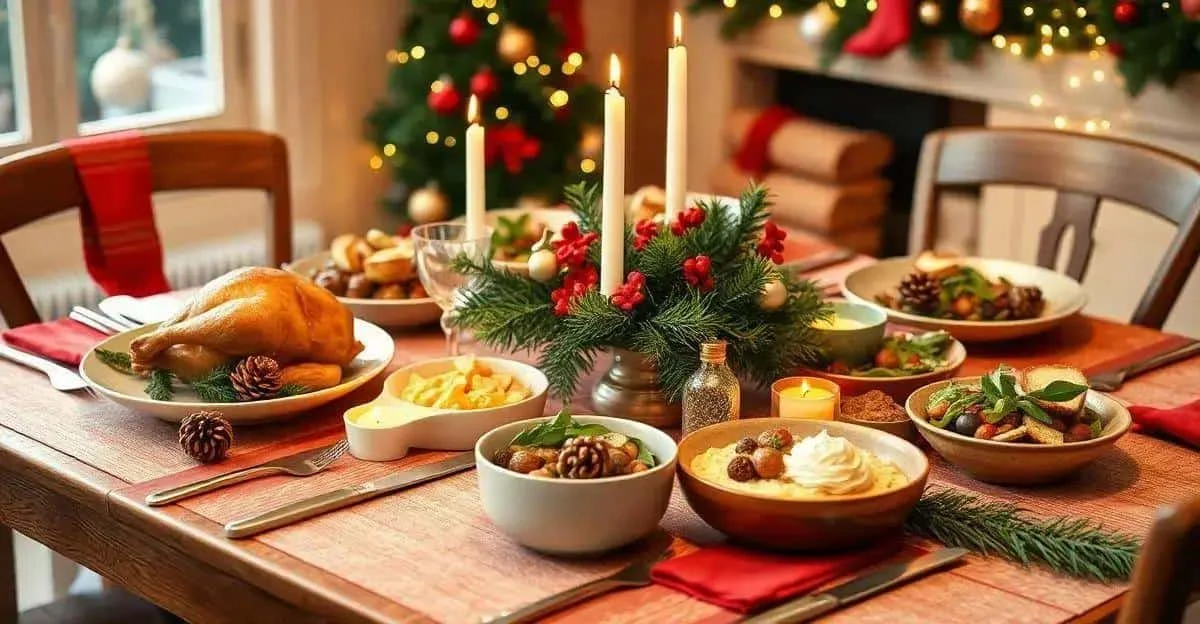
Why farofa belongs on a Brazilian Christmas table
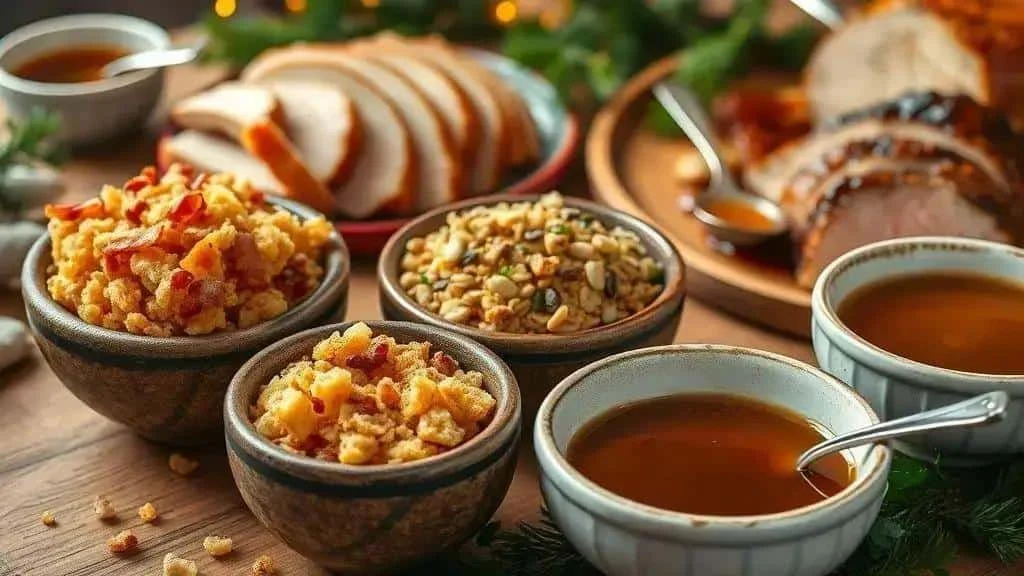
Farofa is a Brazilian side dish made by toasting cassava flour with fat and seasonings. Its crumbly texture contrasts with tender meat and creamy sides, while soaking up some of their sauce. Family recipes vary widely.
What it adds to the meal
Farofa provides a contrast to softer dishes and carries the flavours of onions, herbs and other additions. A small spoonful can bring together the savoury and sweet elements of a festive plate.
- Crunch: a contrast to tender or creamy foods.
- Flavour: bacon, onions or herbs give the crumbs character.
- Variety: versions can feature vegetables, dried fruit or nuts, with suitable changes for a vegan meal.
- Preparation ahead: components can be prepared in advance, but cooked farofa needs appropriate chilling rather than being assumed shelf-stable.
- Serving a group: simple ingredients can make a generous side dish; the cost depends on the additions and local prices.
Pairing farofa with the rest of dinner
Try it beside roast turkey, pork loin or a creamy rice dish. Dried fruit provides a sweet contrast to savoury meat; an optional touch of honey changes the flavour but makes a version unsuitable for vegans and children under one.
Serve farofa separately so guests can choose their portion. A traditional version, one with fruit and a vegan option give variety without needing to prepare all eight ideas at once.
Family traditions and personal touches
Many Brazilian families have their own farofa recipe. Small changes, such as different nuts, herbs or regional ingredients, give each version a distinctive character.
Try it as a finishing touch: farofa should complement the meal, adding texture and flavour without overwhelming the other dishes.
How to choose between the eight farofa ideas
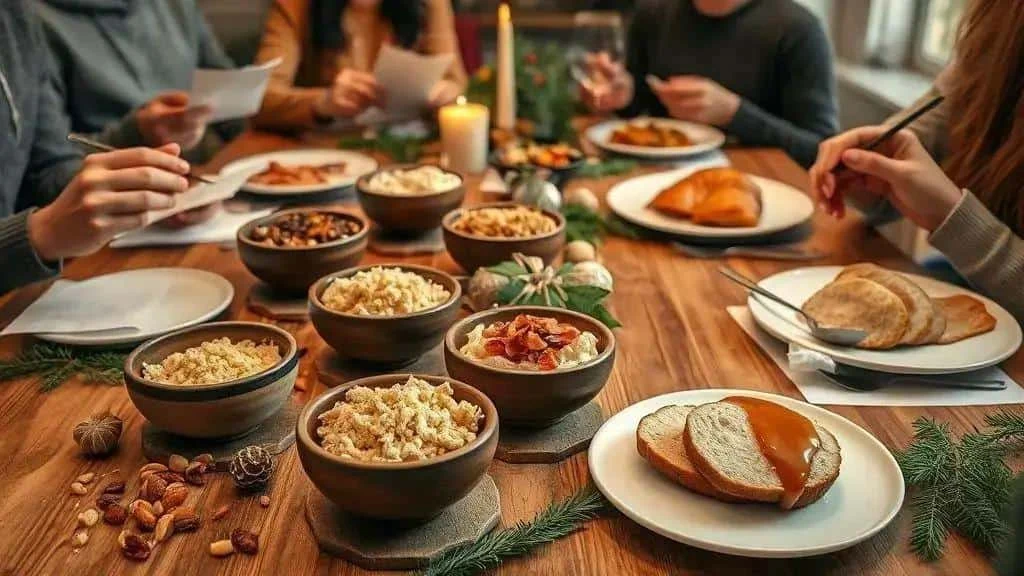
Choosing a Christmas farofa is a matter of taste, texture and how it fits your menu. The eight ideas here are not a verified ranking or the results of documented blind tastings. The following criteria can help you compare small batches at home.
What to look for
- Flavour: balance salt, fat and seasoning, whether the main note comes from bacon, herbs or dried fruit.
- Texture: aim for evenly toasted crumbs rather than greasy or soggy patches.
- Suitability: consider the other dishes and any dietary needs, checking all ingredients rather than relying on a recipe’s name.
- Practicality: choose ingredients and preparation stages that fit your kitchen and schedule.
- Appearance: contrasting herbs, vegetables and toasted crumbs can make the bowl inviting.
- Value: compare the finished yield and ingredient costs for your guest numbers.
A simple tasting you can do at home
- Choose: pick a couple of familiar versions and one new combination to compare.
- Keep portions comparable: make small batches and serve similar amounts at the same temperature.
- Taste without labels, if useful: this can make it easier to focus on flavour rather than expectations. Still disclose allergens to everyone tasting.
- Make notes: write down impressions of flavour, crunch, aroma and appearance.
- Discuss preferences: compare what people enjoyed and which changes might suit the planned meal.
- Repeat only if needed: make a small adjusted batch before committing to a large quantity.
Setting your own priorities
- Flavour: decide which seasoning and sweet-savoury balance you enjoy most.
- Texture: check whether the crumbs stay distinct and the additions are evenly distributed.
- Versatility: consider how well the farofa goes with the main course.
- Practicality: give extra weight to a recipe you can manage comfortably on the day.
- Appearance and cost: look for a balance that works for your table and budget, rather than treating arbitrary scores as evidence of quality.
Practical comparison tips
- Prepare small portions and serve them in similar bowls, keeping allergen information available.
- Note crunch, aroma and saltiness while the impressions are fresh.
- Taste a little alongside the main dish and sauce to check how they work together.
- Adjust the fat gradually for a less rich texture, or add a small amount of dried fruit for sweetness.
- If you like scoring, use your own simple scale for each criterion. It is a guide to personal preference, not an objective ranking.
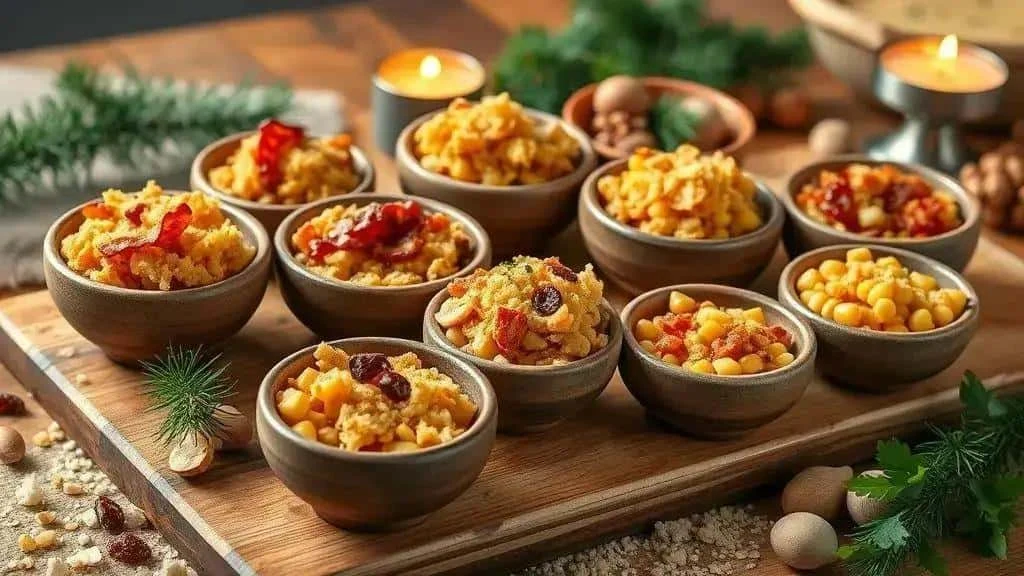
Eight Christmas farofa ideas, with flavour notes and tips
-
Traditional bacon farofa
Toasted cassava flour, browned bacon and softened onion make a savoury, richly flavoured version. A detailed recipe follows below.
Flavour note: bacon richness balanced by the crumbly toasted flour.
Tip: cook the bacon thoroughly and drain excess fat before adding the flour, so the mixture does not become greasy.
-
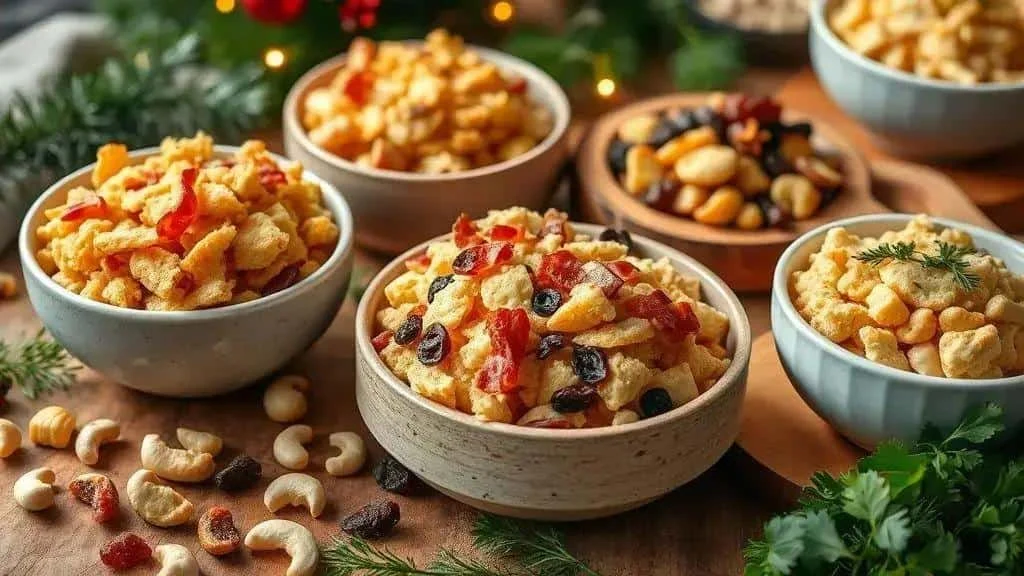
Dried fruit and nut farofa
Raisins, chopped dried apricots and nuts such as walnuts, Brazil nuts or cashews bring sweetness and texture. A detailed version appears later in this guide.
Flavour note: sweet dried fruit against savoury crumbs and crunchy nuts.
Tip: lightly toast the nuts. Dried cranberries give a different flavour from raisins, although many are sweetened, so check the packet.
-
Vegan herb and vegetable farofa
Cassava flour, onion, garlic, grated carrot, parsley, chives and olive oil make a colourful option without animal ingredients. Check any prepared seasonings too.
Flavour note: fresh herbs and sweet vegetables.
Tip: add toasted sunflower or pumpkin seeds for crunch. Seeds are not automatically suitable for everyone with allergies.
-
Farofa with fried plantain
Toasted flour, fried plantain, onion and black pepper combine sweet, soft pieces with crumbly grains.
Flavour note: a sweet-savoury contrast that works well beside a roast.
Tip: fry thick plantain slices until cooked through, drain and fold in near serving so they keep their shape.
-
Cornmeal and cheese farofa
Brazilian flaked maize flour suitable for farofa, butter, onion and grated firm cheese make another variation. Queijo coalho and Minas cheese are Brazilian options; a firm cheese available locally will give its own flavour. UK cornflour, a starch, is not a substitute for this maize flour.
Flavour note: a buttery aroma and savoury cheese.
Tip: grate a firm cheese just before using. Omitting cheese alone does not remove dairy because butter remains; for a dairy-free version use oil and suitable nutritional yeast, checking labels. Lactose-free and milk-allergy-safe are not the same thing.
-
Leek and butter farofa
Leeks softened in butter, toasted cassava flour and herbs make a gently flavoured accompaniment to roast poultry or other mains.
Flavour note: sweet, mild leek with a buttery finish.
Tip: wash sliced leeks carefully and cook over a low heat until tender, without burning them.
-
Maize farofa with caramelised bacon
A maize-flour version with a little brown sugar on the bacon gives another sweet-savoury option. Choose maize flour intended for this style of cooking; fine fubá behaves differently from coarse flakes and needs attention to its cooking instructions.
Flavour note: caramelised bacon against toasted maize crumbs.
Tip: cook the bacon thoroughly first, then add a little sugar over moderate heat, watching closely so it does not burn. Drain excess fat before mixing.
-
Rustic Brazil nut and herb farofa
Chopped Brazil nuts, browned onion and fresh herbs give a coarser texture and a pronounced nut flavour.
Flavour note: toasted nuts and fresh herbs.
Tip: chop and lightly toast the nuts, then add a little lemon zest if you like. Large nut pieces are not suitable for young children; adapt the texture for guests who need it.
General serving tips
- Offer a choice: one traditional and one vegan version may be enough to suit different preferences.
- Keep bowls separate: let guests add their own portion, with a different spoon for each version.
- Storage: these recipes contain cooked additions such as onion, bacon or herbs. Cool promptly and refrigerate at 0–5°C within 1–2 hours, then use within 48 hours or an earlier ingredient limit. A dry appearance does not make them shelf-stable.
- Pairings: sweeter farofa suits roasts, while a savoury version can contrast with creamy rice or turkey gravy.
Ingredients for traditional bacon farofa
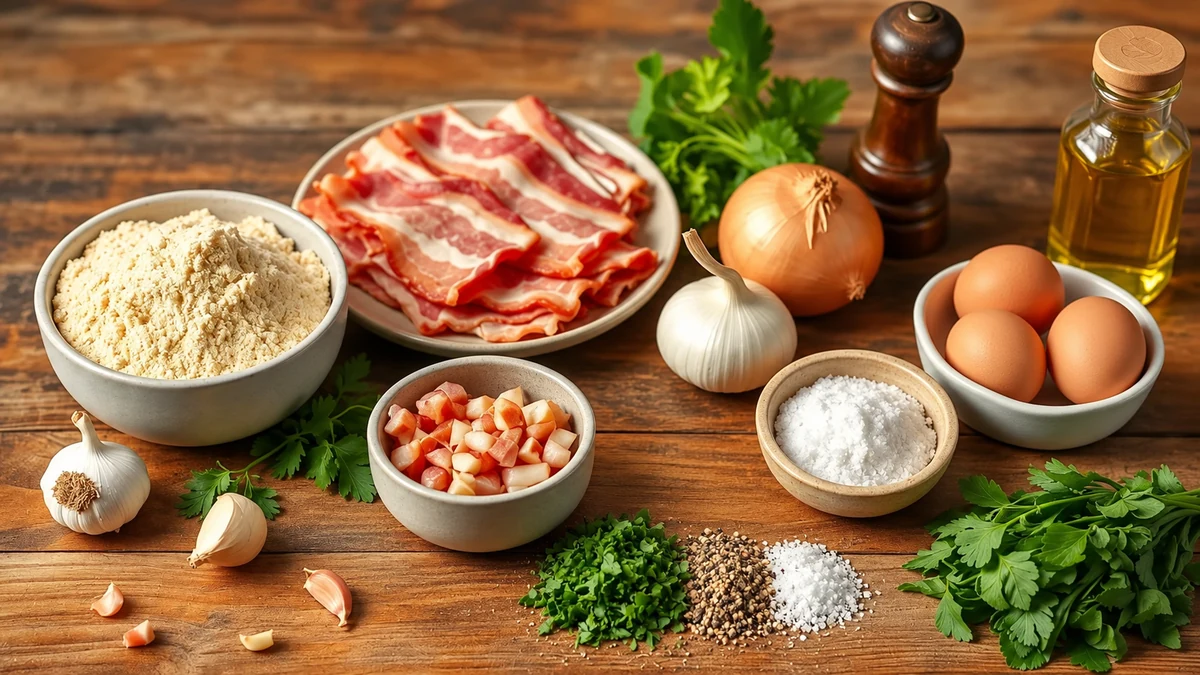
For traditional bacon farofa, gather the ingredients below. Cup measures are retained from the original recipe because the flour’s grind changes its weight; use a consistent measuring cup and add flour gradually to judge the texture. Use food-grade toasted Brazilian farinha de mandioca, not tapioca starch or unprocessed cassava.
- 2 cups toasted cassava flour – fine or coarse according to preference; suitable Brazilian flaked maize flour gives a different texture.
- 200 g bacon – diced; leaner or smoked bacon will change the fat level and flavour.
- 1 medium onion – finely chopped.
- 2 garlic cloves – chopped, or 1 tsp garlic granules if preferred.
- Up to 3 tbsp butter or vegetable oil – add gradually alongside the reserved bacon fat; an optional extra tablespoon can loosen an unusually dry batch.
- 2 eggs, optional – for a softer texture. To make a vegan variation, omit the bacon, use oil and replace the eggs with well-drained crumbled tofu if desired.
- ½ cup chopped parsley and chives – the Brazilian herb mixture known as cheiro-verde.
- Salt, to taste – add cautiously because bacon is already salty.
- Black pepper, to taste – freshly ground if available.
- 1 tbsp brown sugar, optional – for a sweeter finish; it does not remove salt from the dish.
- A little extra cooking oil, only if needed – bacon usually releases enough fat to start cooking.
Quick preparation tips
- Check the flour: use commercially prepared cassava flour suitable for farofa. Follow its instructions if it needs cooking; brief dry-toasting is not a method for making raw cassava safe.
- Crisp bacon: cook thoroughly, then drain on kitchen paper to remove excess grease.
- Taste at the end: adjust the salt only after the bacon and any other salty ingredients have been added and the eggs are fully cooked.
How to make traditional bacon farofa
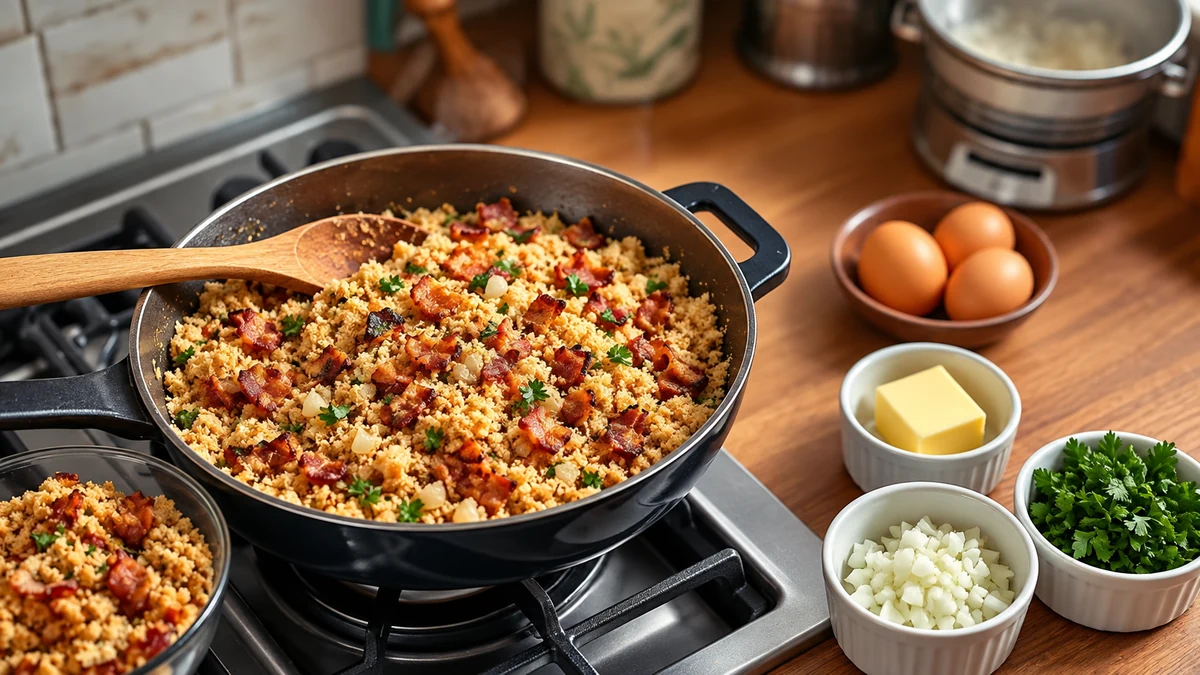
Have everything ready before starting the traditional bacon farofa. A wide pan makes it easier to toast the flour evenly.
- Prepare: dice the 200 g bacon, chop the onion and 2 garlic cloves, measure 2 cups toasted cassava flour and ½ cup chopped herbs, and crack the optional eggs into a separate bowl.
- Cook the bacon: fry over medium heat, normally without added oil, until thoroughly cooked and crisp. Around 6–8 minutes may be enough for small pieces, but follow the product instructions and adjust for their size.
- Drain: lift the bacon onto kitchen paper, leaving only 1–2 tbsp of its fat in the pan.
- Soften the onion and garlic: add some of the measured butter or oil as needed, rather than all of it automatically. Cook the onion for about 3–4 minutes until softened, then add the garlic for 30–60 seconds without burning it.
- Add the optional eggs: push the onion mixture aside, add the eggs to the clear part of the pan and scramble until fully set. Mix with the onion; keep the cooked bacon reserved for the finishing stage.
- Add the flour: lower the heat and stir it in gradually. Toast for about 4–6 minutes, stirring continuously, until the crumbs have the texture you want, following any additional cooking directions on the flour packet.
- Adjust: if dry, add a little of the remaining measured fat first, then the optional extra tablespoon only if needed. If damp, stir gently over low heat to evaporate moisture; extra toasting will not remove excessive oil.
- Season: return the bacon, add the ½ cup herbs and pepper, then taste before adding salt. Stir in the optional tablespoon of brown sugar if you want a sweeter finish.
- Finish: stir over the heat for another 1–2 minutes, then let stand for 3–5 minutes before serving.
- Serve and store: serve promptly, warm or freshly cooled. Divide leftovers into shallow containers, cool promptly and refrigerate within 1–2 hours. Keep at 0–5°C and use within 48 hours, or sooner if ingredient instructions require it; do not leave bacon farofa in the cupboard.
Ingredients for dried fruit and nut farofa
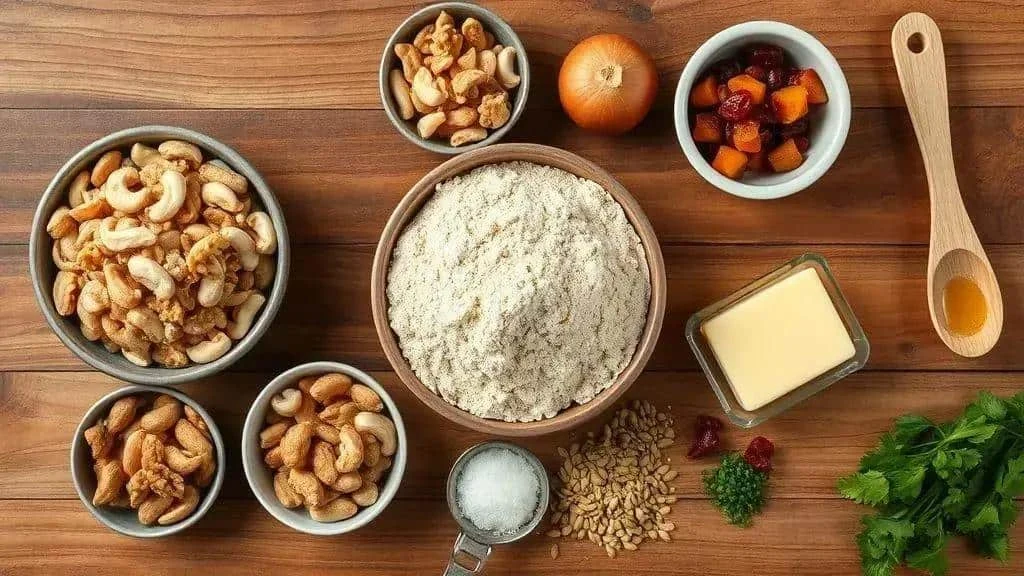
Gather the ingredients for dried fruit and nut farofa. The original gives around 6–8 side portions, but the final yield depends on your cup measure and additions; weigh the finished batch if portion planning matters.
- 2 cups toasted cassava flour – use commercial farinha de mandioca suitable for farofa; flaked Brazilian maize flour gives a different texture.
- 1 cup chopped mixed nuts – Brazil nuts, cashews and walnuts, or almonds or pecans if preferred.
- ¾ cup chopped dried fruit – raisins, apricots or cranberries. If very hard, soak in warm water for 10 minutes, then drain and pat dry.
- 4 tbsp butter – or olive oil or coconut oil for a vegan version. Keep a little additional fat available only if the finished texture needs it.
- 1 medium onion – finely chopped, or 2 spring onions for a milder version.
- 2 garlic cloves – chopped, or 1 tsp garlic granules.
- 1 tbsp brown sugar, optional – or a little maple syrup. Honey is another flavour option but is not vegan or suitable for children under one; syrups also add moisture.
- ½ cup chopped parsley and chives – or parsley alone.
- Salt and black pepper, to taste – check the balance once the fruit and nuts are mixed in.
- ¼ cup toasted seeds, optional – sunflower or pumpkin seeds for added crunch.
Tips and substitutions
- Soak only when needed: 10 minutes in warm water can soften hard dried fruit. Drain thoroughly and pat dry so it does not wet the flour.
- Toast the nuts: brief toasting can bring out their flavour; watch closely and stop before they burn.
- Adjust sweetness: taste the dried fruit before adding sugar. Sweetened cranberries or naturally sweet raisins may make extra sugar unnecessary.
- Vegan option: replace butter with oil, avoid honey and check all packaged ingredients.
- Storage: cooked onion, fresh herbs and any soaked fruit mean this is not a cupboard-stable mixture. Cool promptly, refrigerate at 0–5°C and use within 48 hours or an earlier ingredient limit.
How to make dried fruit and nut farofa
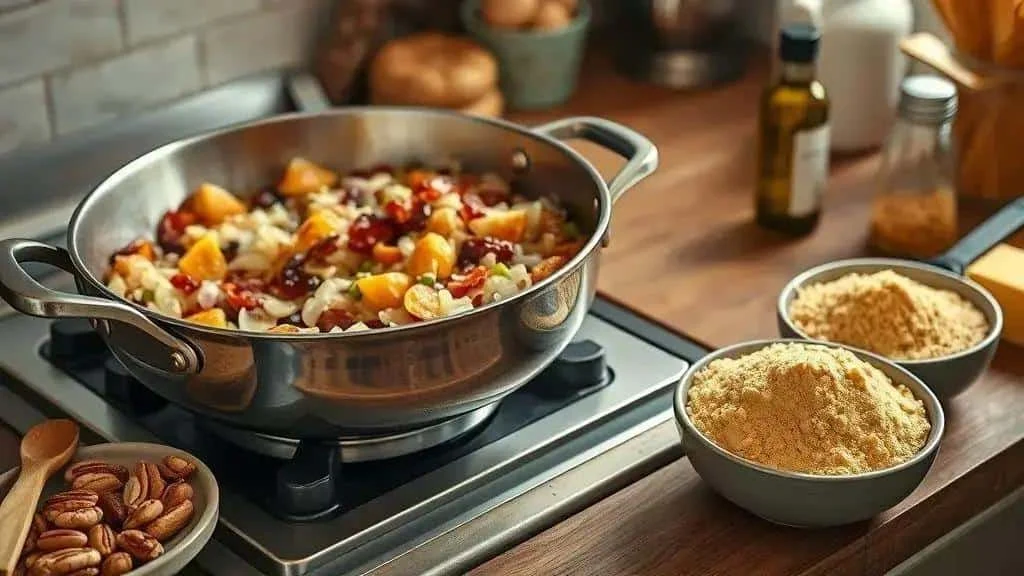
- Measure: have the 2 cups toasted cassava flour, 1 cup chopped nuts and ¾ cup dried fruit ready in separate bowls.
- Soften the fruit if needed: soak for 10 minutes in warm water, drain well and pat dry. It should be softened, not dripping.
- Toast the nuts: stir in a wide pan over medium heat for about 3–5 minutes until fragrant and lightly coloured. Transfer to a plate.
- Cook the onion and garlic: add the 4 tbsp butter or oil to the pan and soften the chopped onion for about 3–4 minutes. Add the garlic for another 30–40 seconds, avoiding burning.
- Warm the fruit: stir it gently into the pan for about 1 minute, coating it in the fat.
- Add the flour gradually: reduce the heat and stir in the 2 cups toasted cassava flour. Cook for about 4–6 minutes, stirring to distribute the fat and moisture, and follow the packet’s cooking requirements.
- Adjust the texture: if needed, add extra butter or oil a little at a time, up to 1–2 tbsp. Stir a damp mixture over low heat to dry it slightly; avoid adding fat automatically.
- Add nuts and herbs: fold in the toasted nuts and ½ cup chopped parsley and chives. Add the optional toasted seeds now too.
- Season: adjust salt and pepper and add the optional brown sugar only if you want more sweetness. Taste after mixing.
- Rest and store: let stand for 3–5 minutes before serving. Cool leftovers promptly in shallow containers, refrigerate within 1–2 hours and use within 48 hours, following any shorter ingredient limit.
Practical finishing tips
- Fruit choice: raisins can replace cranberries for a different balance of sweetness and acidity; check whether your dried fruit has added sugar.
- Vegan version: use olive or coconut oil instead of butter and omit honey.
- Extra crunch: fold in the optional ¼ cup toasted sunflower or pumpkin seeds.
- Serving: offer the farofa in its own bowl so guests can choose their portion.
Farofa variations: vegan, gluten-free and festive additions
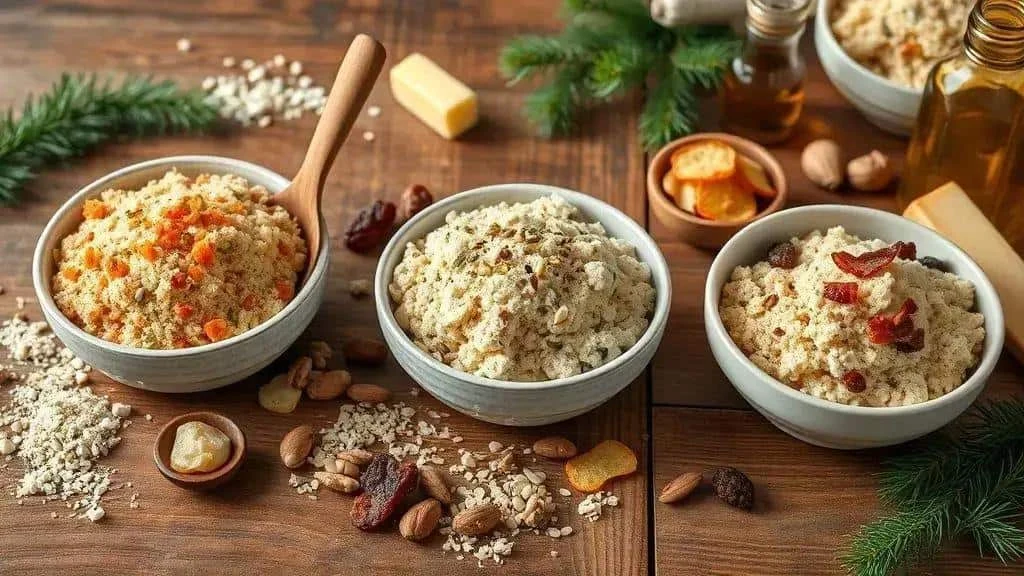
These practical variations offer ways to adapt farofa for different preferences and dietary needs. Check every ingredient and preparation surface when catering for an allergy or coeliac disease.
Vegan variation
- 2 cups toasted Brazilian cassava flour (farinha de mandioca) — use a product intended for farofa and follow its cooking instructions.
- ½ cup chopped onion — to soften in the olive oil.
- 2 garlic cloves — chopped or crushed.
- 1 medium carrot, grated — for colour and a little moisture.
- ¼ cup toasted sunflower or pumpkin seeds — for crunch.
- 3 tablespoons olive oil — instead of butter.
- ½ cup chopped parsley and chives — the herb mixture used here for Brazilian cheiro-verde.
- Salt and black pepper to taste.
- Heat the olive oil over a medium heat and cook the onion until softened and translucent.
- Add the garlic and grated carrot and cook for 1–2 minutes, stirring and avoiding browned garlic.
- Stir in the toasted seeds and warm them briefly.
- Add the cassava flour gradually, stirring to distribute the oil and moisture. Toast gently, following the packet’s preparation requirements.
- Finish with the parsley and chives, season with salt and pepper, and take the pan off the heat.
Gluten-free variation
- 2 cups toasted Brazilian cassava flour — choose a product labelled gluten-free. Cassava itself contains no gluten, but processing and handling can introduce it.
- 150 g diced bacon, optional; check the label for suitability.
- 1 medium onion, chopped.
- Up to 2 tablespoons butter, or vegetable oil for a dairy-free version; reduce this if using retained bacon fat.
- ½ cup chopped nuts, such as cashews or walnuts.
- Salt and black pepper to taste.
- Fry the bacon, if using, over a medium heat until thoroughly cooked and crisp. Drain on kitchen paper and set aside.
- In the same pan, keep a little bacon fat, or use the butter or oil, to soften the onion. Avoid adding the full amount of butter on top of a large pool of rendered fat.
- Add the nuts and toast gently for 2–3 minutes, watching closely.
- Stir in the cassava flour gradually and toast to a crumbly texture, following its packet instructions.
- Return the cooked bacon, if using, to the pan. Season carefully with salt and pepper. Check all additions and avoid gluten cross-contact during preparation.
Festive additions and combinations
- Dried fruit: raisins, chopped apricots or cranberries add sweetness. If soaking is needed, drain and pat dry before adding.
- Nuts: chopped Brazil nuts, walnuts or pecans add a firmer bite. Choose a preparation suitable for your guests’ ages and dietary needs.
- Fried plantain: add cooked slices at the end for a sweet and savoury contrast.
- Grated cheese: Parmesan or Brazilian coalho cheese gives a richer finish. Omit cheese for a vegan version; use cheese labelled vegetarian when that is required.
- Fresh finishing flavours: try lemon zest, thyme, parsley or chives.
- A different texture: Brazilian flaked maize flour can replace some cassava flour. Fine maize meal (fubá) behaves differently and needs suitable cooking; neither is the same as UK cornflour starch.
Quick tips
- Taste before adding salt: bacon and cheese already contribute salt. Only taste once ingredients requiring cooking are fully cooked.
- Offer additions separately: this lets guests adjust their portion, but it does not by itself make a dish safe for someone with an allergy.
- Storage: cool prepared farofa promptly and refrigerate within 1–2 hours at 0–5°C. Eat within 48 hours, or sooner if an ingredient requires it. These recipes are not established as safe for storage at room temperature for days.
Practical tips for crisp, fragrant farofa
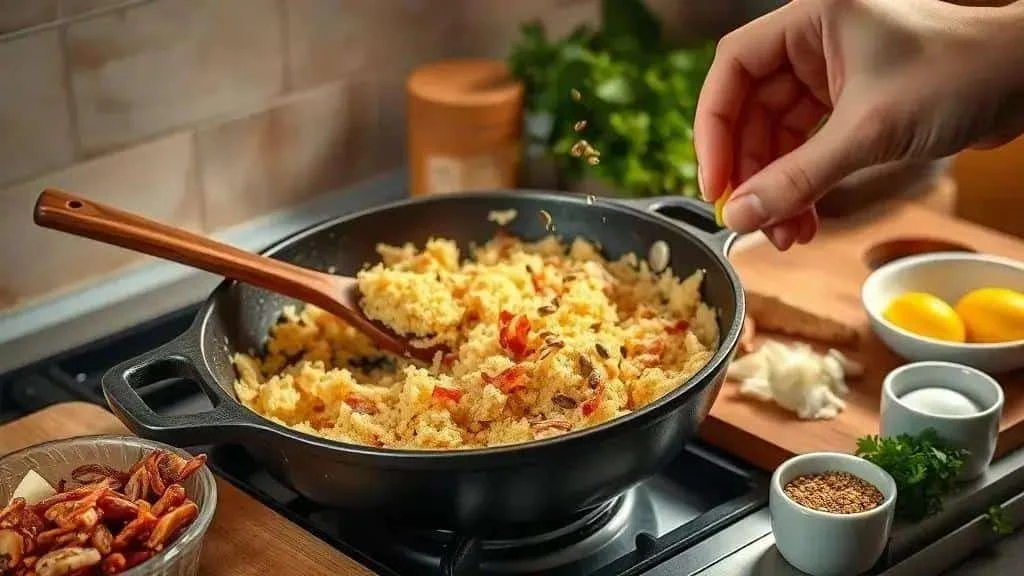
A few preparation choices can help balance the flour, fat and additions for a crumbly farofa with plenty of flavour.
Getting the texture right
- Toast the flour gently: commercially prepared farinha intended for farofa can be warmed in a dry frying pan for roughly 2–4 minutes, watching for burning. Follow its packet instructions; this is not a method for making raw cassava safe.
- Control the fat: retain only 1–2 tablespoons of bacon fat when using the traditional recipe, and add any further fat gradually. Too much makes the mixture greasy.
- Add toasted crunchy ingredients near the end: nuts and seeds keep more of their bite when they are not cooked in a moist mixture for too long.
- Try a maize variation: replacing up to a quarter of the cassava flour with Brazilian flaked maize flour changes the texture. Fine fubá is not an identical substitute; follow its cooking requirements rather than assuming a quick toast is sufficient.
Aroma and flavour
- Soften the aromatics gently: cook the onion over a gentle heat and add garlic later so it does not burn.
- Add a sweet finish to bacon: once the bacon is fully cooked, a small pinch of brown sugar can give caramelised notes. Stir briefly and watch carefully because sugar burns easily.
- Finish with fresh aromatics: stir in parsley, chives and lemon zest after taking the pan off the heat.
- Use finishing fat sparingly: a small drizzle of extra virgin olive oil or a little butter can add aroma, but taste the mixture first to avoid greasiness.
Balancing moisture
- Eggs and moist additions: add fully cooked egg or well-drained, cooked crumbled tofu in moderation. Mix in gradually so the farofa remains crumbly.
- Drain before mixing: pat soaked dried fruit dry with kitchen paper so it does not add excess water.
- Rest briefly before serving: leave the freshly cooked farofa for 3–5 minutes to settle, then serve promptly.
Practical preparation tips
- Use a wide pan: it makes the mixture easier to stir and toast evenly.
- Keep stirring: move the mixture around the pan to reduce scorching.
- Season in stages: make the final salt and pepper adjustment after fully cooked bacon or cheese has been added.
- For an oven-crisped finish: spread freshly cooked farofa on a baking tray and try 5–8 minutes at 180°C, or 160°C fan, stirring halfway and checking closely. This brief drying step is not a reliable reheating time for chilled leftovers.
Storage and reheating
- Refrigerate prepared farofa: cool it in shallow portions and put it in the fridge within 1–2 hours. Keep at 0–5°C and use within 48 hours or the shortest ingredient storage limit. A dry appearance does not prove that it is shelf-stable.
- Reheat thoroughly: stir in a frying pan until steaming hot throughout, not merely warm at the edges. Reheat only once; the time depends on the amount and starting temperature.
- Manage condensation without skipping refrigeration: cool in shallow portions promptly, then cover and chill. Do not leave cooked farofa out overnight to preserve its texture.
Finishing touches
- Citrus zest: lemon or orange zest gives a fresh contrast to richer ingredients.
- Contrasting textures: serve banana crisps or toasted seeds separately for guests who want extra crunch.
- Presentation: use small serving bowls with separate spoons so guests can build their own plate.
Pairing and serving farofa with Christmas dishes
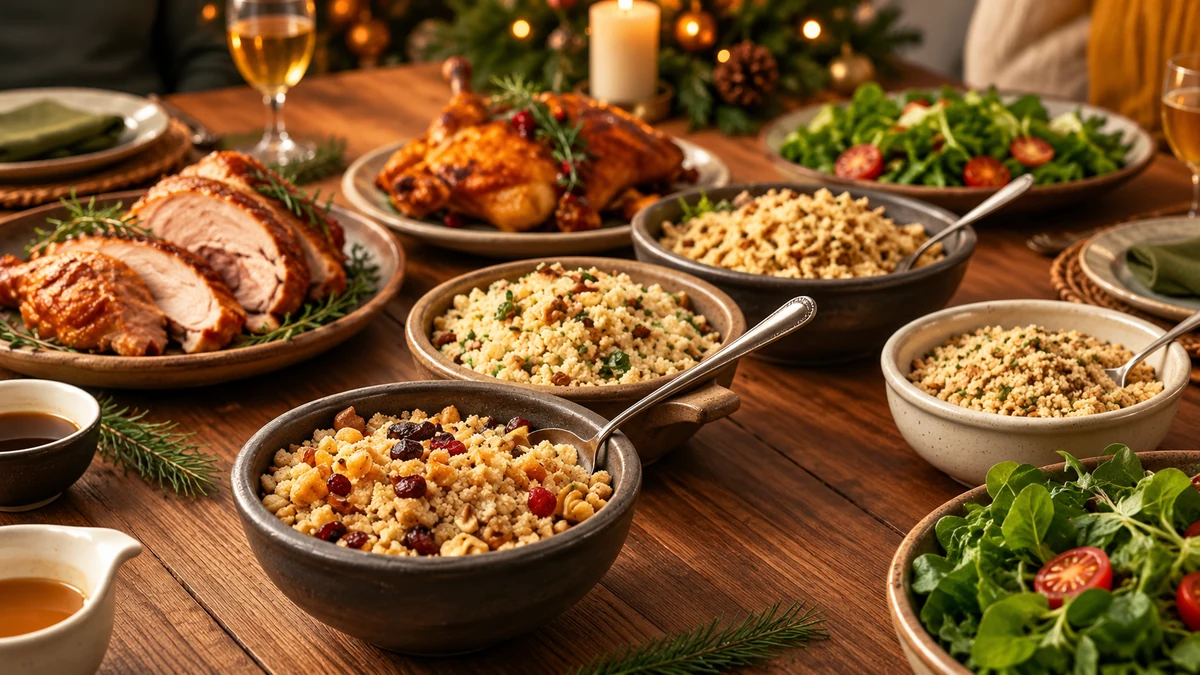
Choose farofa to complement the other dishes on the table. Consider the balance of sweet and savoury flavours, the textures and your guests’ dietary needs.
Pairings by main dish
- Turkey and other poultry: dried fruit and nut farofa brings a sweet contrast to roast turkey.
- Roast pork: a traditional bacon or leek farofa works alongside tender meat and rich roasting juices.
- Saucy dishes, rice or turkey gravy: a drier, crisp farofa provides a contrast to moist accompaniments.
- Vegan dishes: herb and vegetable farofa can accompany salads, roasted vegetables and grain-based dishes.
- Sweet and savoury combinations: plantain farofa, or a version with a little brown sugar, suits dishes already containing fruit.
Portions and quantities
- Planning guide: allow roughly 50–80 g of prepared farofa per person as a side, adjusting for appetites and the rest of the menu. Spoonfuls vary too much to provide an exact weight conversion.
- For a buffet: for 8–10 people, that guide suggests about 400–800 g in total. If offering two or three varieties, divide the total between them rather than preparing that much of each.
Presentation and serving arrangements
- Separate bowls: give each version its own serving bowl and spoon to reduce unwanted mixing.
- Clear labels: identify ingredients and allergens. Only describe a version as vegan or gluten-free after checking every ingredient and how it was prepared.
- Temperature: serve freshly cooked farofa promptly. Keep chilled reserves refrigerated until needed, or use suitable hot-holding equipment; do not leave a large bowl at room temperature throughout a long party.
- Avoid steam: keep the serving bowl away from steaming pans to help maintain its crumbly texture.
Pairing with side dishes
- Rice with raisins: a savoury or bacon farofa offers a contrasting flavour.
- Green salads: vegetable farofa adds a different texture alongside crisp leaves.
- Gravy and sauces: serve farofa separately so guests can mix a little into the sauce on their own plate.
- Drinks: adults who drink alcohol might choose a light white or sparkling wine with a sweeter farofa, or a light red with a savoury version. Water and alcohol-free drinks are equally suitable choices.
During the meal
- Replenish small portions: replace the serving bowl with a fresh small batch rather than repeatedly topping up food that has been standing out. Keep reserves at a safe temperature.
- Catering for allergies: putting nuts in a separate bowl does not prevent all cross-contact. Check ingredient labels, use separate clean preparation and serving equipment, and discuss the guest’s requirements before cooking.
- Individual portions: small food-safe pots or ceramic dishes can make serving easier at a larger gathering.
Final practical tips
- Try the pairing: taste a little farofa with the fully cooked main dish before making the final seasoning adjustment.
- Offer a contrast: a sweeter version, a savoury version and a vegetable-based vegan option provide a range of flavours.
- Finish simply: fresh herbs, citrus zest or chopped nuts can add colour. Keep allergens clear and do not add an unannounced nut garnish to a separate alternative.
Buying ingredients and planning farofa gift packs
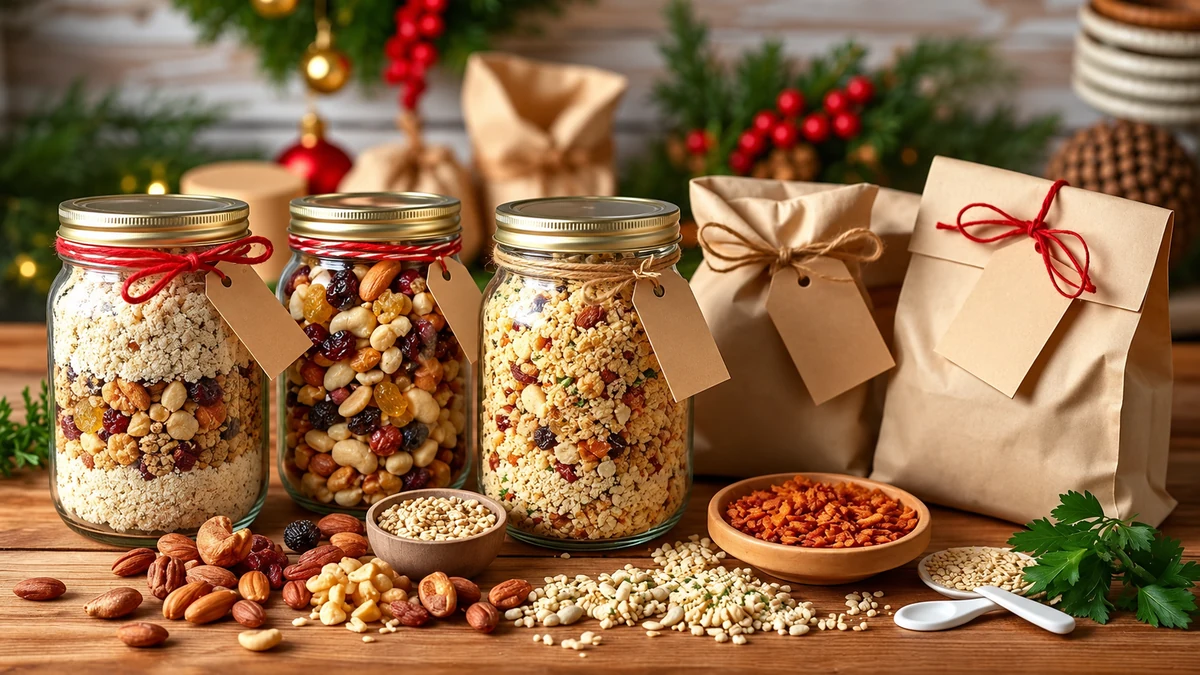
Compare availability, quality and total cost when buying ingredients or planning a farofa gift pack. If you intend to sell prepared food, check the food-business requirements that apply where you operate before taking orders.
Where to find ingredients
- Supermarkets and wholesalers: compare unit prices for oil, sugar, nuts and seeds. Brazilian cassava flour may be easier to find at a specialist shop than in a general UK supermarket.
- Produce shops and markets: look for fresh onions, garlic and herbs, and dried fruit in good condition.
- Brazilian and specialist food shops: these may stock farinha de mandioca, Brazilian maize flour and labelled gluten-free alternatives. Check the exact product rather than relying on a translated name.
- Local producers and co-operatives: compare their ingredients and ask about provenance. Only make origin claims that the supplier can substantiate.
- Online shops: these can help with specialist ingredients, food-safe jars, insulated packaging and labels. Include delivery costs in comparisons.
Gift packs: choosing and assembling a range
- Choose a theme: consider a tasting selection, a savoury barbecue accompaniment, a fruit-and-nut festive version or a vegan selection.
- Choose food-safe packaging: jars or suitable lined food bags can work for the appropriate product. Weigh a trial fill if planning 200–400 g packs; jar volume and food weight are not interchangeable.
- Include clear instructions: provide serving suggestions, storage requirements and a justified use-by period. Packaging does not make a cooked recipe safe to store unrefrigerated.
- Add a festive finish: attach a ribbon or gift tag outside the sealed food container, keeping decorations away from the food.
- Make trial packs: compare individual, family and gift sizes before deciding on a range.
Costs and yield
- Build up the cost first: include ingredients, packaging, labour and relevant overheads. A percentage added to cost is a markup, not the same as a profit margin on the selling price.
- Illustrative Brazilian example: R$6 for ingredients, R$3 for packaging and R$2 for labour total R$11 for a 300 g pack. A 50–80% markup on that subtotal gives R$16.50–R$19.80, before any omitted costs or taxes. These are example figures, not current prices, a UK price recommendation or a profit guarantee.
- Combined gifts: a hamper might include farofa and another suitable product, such as jam or chilli sauce. Check the storage requirements and costs of every item.
Preparing food gifts for sale
- Shelf life and storage: do not claim that homemade farofa keeps for 7–15 days merely because it looks dry. The prepared recipes here should be cooled promptly, refrigerated and eaten within 48 hours or a shorter applicable limit. Commercial shelf-life claims require a suitable, validated process.
- Clear product information: provide the ingredients, required allergen information, storage instructions and appropriate date information. Check the rules for your type of sale, including food sold online or prepacked, before choosing a label format.
- Hygienic preparation: use clean equipment and suitable food-contact packaging, control temperatures and prevent cross-contact. A sealed jar does not sterilise the contents.
- Taste trials: small trials can help refine seasoning and texture. They do not establish microbiological safety or validate a shelf life.
Possible sales channels
- Christmas fairs and markets: ask organisers about food-seller requirements, facilities and expected demand before booking.
- Online shops and social media: use accurate photographs, clear descriptions and the required food and allergen information, with suitable delivery arrangements.
- Local partnerships: discuss a small trial with a bakery, restaurant or specialist shop, including storage, labelling and responsibilities.
- Event orders: personalised gift packs may suit gatherings, provided you can prepare and deliver the quantity safely.
Packing and delivery
- Protect the containers: use suitable sealed food packaging and outer cushioning to prevent breakage. Keep decorative packing material out of direct contact with the food.
- Maintain the cold chain: chilled prepared farofa needs a delivery method that keeps it safely chilled. Express delivery alone does not ensure this. Use ambient postal delivery only for a product whose shelf stability and packaging have been properly established.
- Give the recipient useful information: include storage and use-by instructions, delivery tracking where appropriate, and a contact route for questions.
Making a gift pack distinctive
- Tell a truthful product story: explain the recipe’s background and ingredient origins where these are known, without inventing family traditions or provenance.
- Personalise the presentation: offer a message on the gift card or a clearly specified flavour combination.
- Offer samples carefully: small tastings can gather feedback, but still need hygienic handling, temperature control and clear allergen information.
Farofa can bring a welcome crumbly contrast to a Christmas meal, with versions ranging from savoury bacon to fruit, nuts and vegetables.
Choose a recipe that suits your menu, adjust the seasoning and use the preparation tips to balance texture and flavour.
Thank you for reading. Follow our social pages for more recipe ideas and share the variations you enjoy making.
Visit the I Love Christmas blog for more festive recipes, homemade gift ideas and Christmas meal inspiration.
Christmas farofa: frequently asked questions
How should I store cooked farofa, and how long does it keep?
Cool prepared farofa promptly in shallow portions and refrigerate within 1–2 hours at 0–5°C. Use within 48 hours, or sooner if an ingredient requires it. These recipes have not been established as shelf-stable; a dry texture does not justify storing cooked onion, bacon or egg mixtures at room temperature for days.
Can I make farofa ahead for Christmas dinner?
Yes, provided you cool it promptly, refrigerate it and serve it within 48 hours of preparation or a shorter applicable limit. Add freshly prepared crunchy toppings near serving time. Reheat chilled farofa only once, until steaming hot throughout; adding toppings does not restart its storage time.
How can I stop farofa becoming soggy or greasy?
Add fat gradually, drain the cooked bacon and pat soaked fruit dry. Stir over a gentle heat and add toasted nuts near the end. Toasting can drive off some moisture, but it does not remove excess oil, so control the amount from the start.
How do I make farofa vegan or gluten-free?
For vegan farofa, omit bacon and other meat, use oil instead of butter, and omit eggs or replace them with suitable cooked tofu or vegetables. Avoid cheese and honey too. For gluten-free farofa, choose labelled gluten-free cassava flour, check every addition and prevent gluten cross-contact during preparation.
How many people will a batch of farofa serve?
As a side dish, allow roughly 50–80 g per person, depending on appetites and the rest of the meal. A batch weighing 1 kg would therefore provide about 12–20 portions. Weigh the finished batch rather than assuming that every recipe here yields 1 kg.
Can I sell farofa as a food gift?
Only after putting the relevant food-business, hygiene, allergen, labelling and safe delivery arrangements in place. Use suitable food packaging and a justified shelf life. The cooked recipes here require prompt chilling and short refrigerated storage; neither a sealed jar nor a dry appearance makes them safe for ordinary unrefrigerated posting.
Sources and Further Reading
- Food Standards Agency: chilling, freezing and defrosting
- Food Standards Agency: cooking and reheating
- GOV.UK: food business registration
- Food Standards Agency: allergen guidance