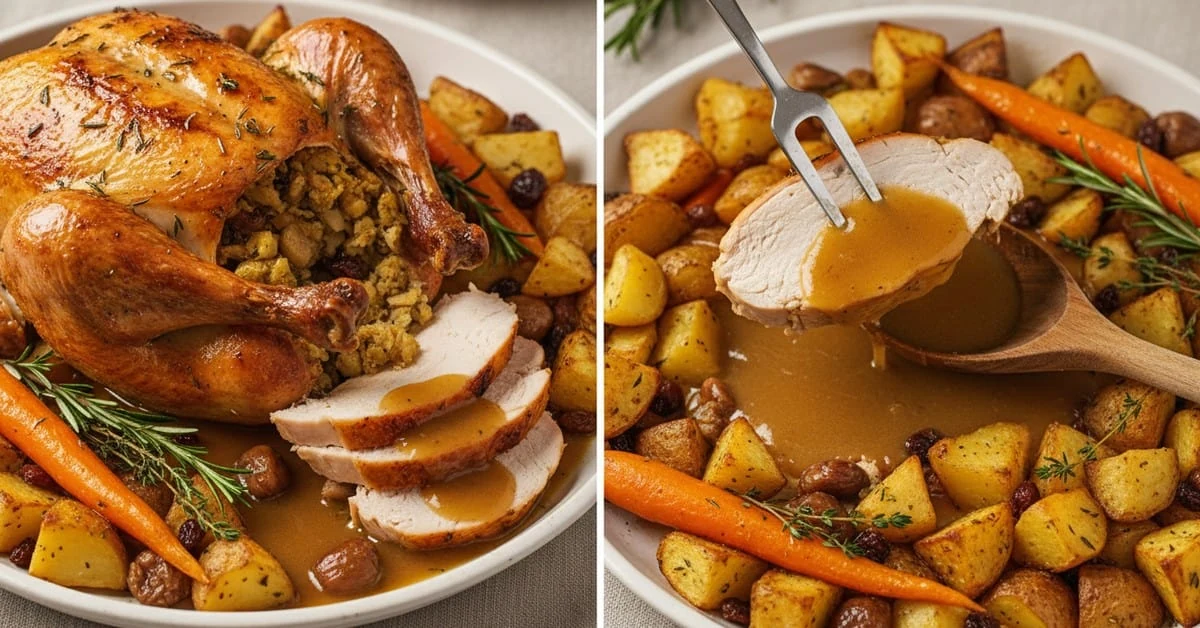
Christmas butter biscuits use butter, sugar, egg yolks and flour for a tender, crumbly texture. Bake until set and lightly golden at the edges, then decorate with icing, chocolate or a dusting of icing sugar. Once cool, pack them in an airtight container for serving or giving as Christmas gifts.
Christmas butter biscuits bring a comforting homemade touch to a festive table. This recipe covers the dough, useful baking tips and simple ways to decorate and package the finished biscuits.
Ingredients for Christmas butter biscuits
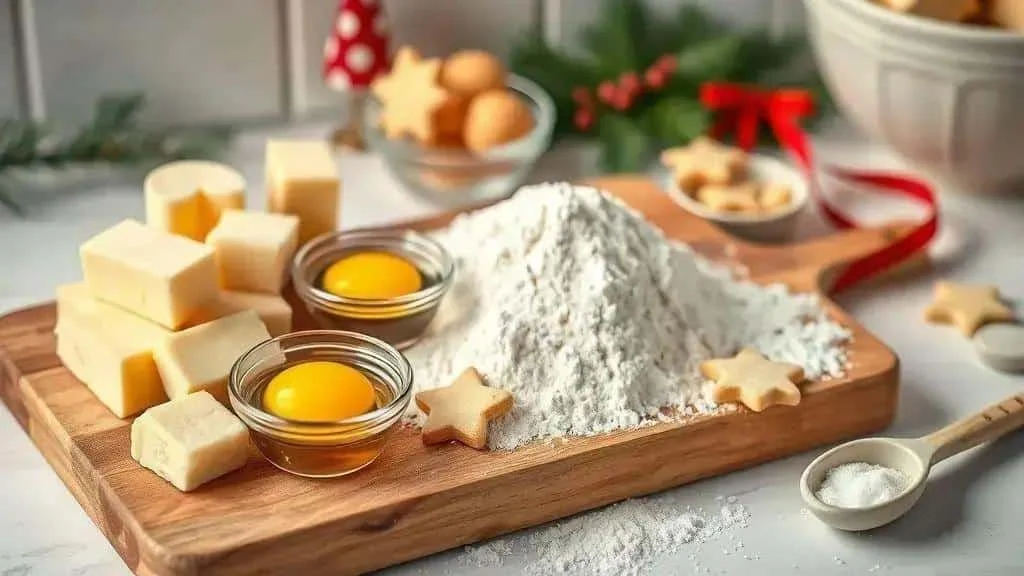
To make these Christmas butter biscuits, gather the following ingredients:
Main ingredients
- 300 g unsalted butter, softened but not melted. If using salted butter, omit the additional salt.
- 200 g icing sugar, sifted. Caster sugar produces a different, less fine texture.
- 2 medium egg yolks, for richness and binding. A whole egg changes the liquid balance and is not a direct equivalent.
- 1 teaspoon vanilla extract, or 1 teaspoon finely grated lemon or orange zest for a different flavour.
- Approximately 400 g plain flour, added gradually until the dough comes together.
- 50 g cornflour, for a more delicate crumb. If replacing it with plain flour, use 50 g plain flour in its place, making approximately 450 g plain flour in total; the texture will differ.
- ¼ teaspoon salt, omitted if using salted butter.
- Optional: ½ teaspoon ground cinnamon for a festive flavour, or 30 g cocoa powder replacing 30 g of the plain flour for chocolate biscuits.
- Optional decorations: extra icing sugar, royal icing made with pasteurised egg white or a suitable ready-made mix, and colourful sprinkles.
Use softened butter and measure accurately for an even dough. A vegan version needs both a firm plant-based butter alternative and a suitable egg replacement; one tablespoon of aquafaba is not a reliable direct substitute for these two yolks. Use a tested vegan biscuit formula for predictable results.
How to make Christmas butter biscuits
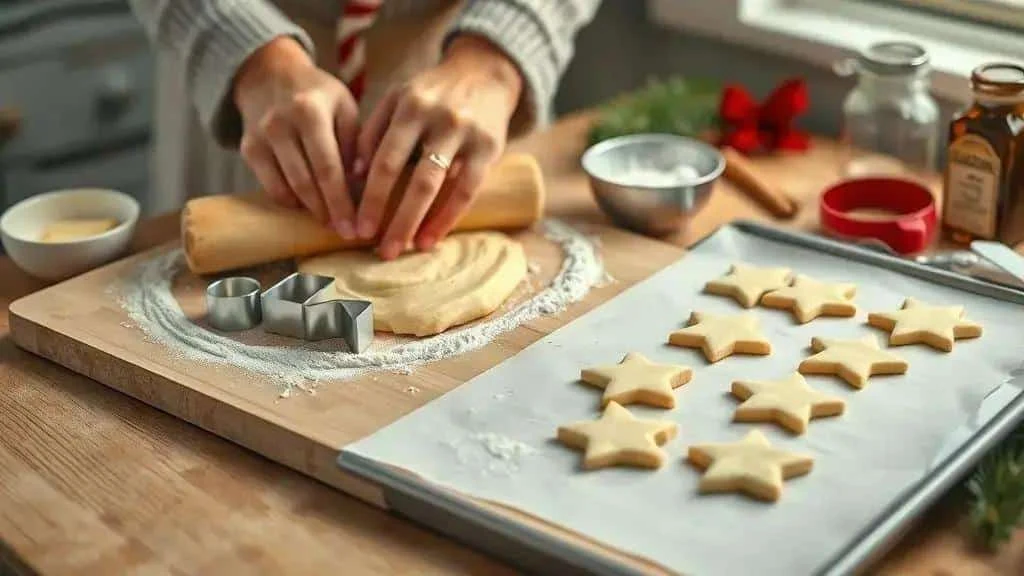
- Preheat the oven: set it to 180°C conventional or 160°C fan, and position a shelf in the middle. Oven performance varies, so watch the first tray carefully.
- Cream the butter and sugar: beat the 300 g softened butter with the 200 g icing sugar until pale and creamy.
- Add the yolks and flavouring: mix in the 2 yolks one at a time, then add the teaspoon of vanilla extract.
- Add the dry ingredients: sift the plain flour, cornflour and salt together. Gradually mix them into the butter mixture until you have a soft, even dough. Avoid kneading or overworking it.
- Chill the dough: shape into a disc, wrap and refrigerate for 30–60 minutes, until firm enough to roll and cut.
- Roll and cut: lightly flour the worktop and roll the dough to around 3–4 mm thick. Cut into stars, hearts or other shapes and place on a baking-paper-lined tray, leaving 2–3 cm between biscuits.
- Bake carefully: allow approximately 10–12 minutes, checking smaller biscuits from 8 minutes. The edges should be lightly golden and the centres baked through; size, thickness and your oven affect the timing.
- Let them firm up: leave the biscuits on the tray for a few minutes, until sturdy enough to lift, then transfer gently to a wire rack to cool completely.
- Decorate when cold: dust with icing sugar, dip in chocolate or use royal icing. For homemade royal icing, use pasteurised egg white with icing sugar, following the product’s recommended proportions; a few drops of lemon juice do not make raw egg safe.
- Store or freeze: keep plain, completely cooled biscuits airtight in a cool, dry place for about 5 days for best quality. Freeze wrapped dough for up to 1 month, or plain baked biscuits for up to 2 months. Perishable fillings and toppings need their own shorter, refrigerated storage.
Quick tips
- If the dough is sticky, chill it first. Only then add a little flour, a tablespoon at a time if necessary, since too much can make the biscuits dry.
- For a more tender biscuit, roll to around 4 mm and avoid overbrowning, while still baking the centre fully.
- Unsalted butter gives you control over seasoning; omit the added salt when using salted butter.
- Try citrus zest instead of vanilla, or add ½ teaspoon cinnamon for a spiced version.
Christmas butter biscuit variations

These variations give Christmas butter biscuits different flavours and finishes while keeping the same basic preparation method.
Chocolate butter biscuits
For a cocoa-flavoured version:
- Use 30 g cocoa powder in place of 30 g of the plain flour.
- Optional: fold in 50 g small chocolate chips before rolling and cutting.
- Tip: roll slightly thicker, around 4–5 mm, for a more tender texture, adjusting the baking time so the centres cook through.
Lemon or orange zest
Citrus gives a fragrant alternative to the vanilla version:
- For a stronger citrus flavour, use up to 1 tablespoon finely grated zest in the dough, avoiding the bitter white pith.
- An optional teaspoon of citrus juice adds a little sharpness, but also changes the dough’s moisture; add cautiously.
- Alternative flavouring: leave out the vanilla to let the zest stand out.
Christmas spices
For a warmly spiced festive batch:
- Add ½ teaspoon ground cinnamon, ¼ teaspoon ground nutmeg and ⅛ teaspoon ground cloves to the flour.
- Optional: replace 30 g of the icing sugar with 30 g soft brown sugar for a hint of caramel flavour and a slightly different texture.
- Tip: these spices pair well with lemon icing or a light dusting of icing sugar.
Filled sandwich biscuits
Pair the cooled biscuits with a small amount of filling for a more indulgent gift or dessert:
- Jam: use around 1 teaspoon per sandwich; raspberry or apricot work well. Follow the jam’s storage instructions once opened.
- Dulce de leche: spread on roughly 1 teaspoon and press the biscuits together gently. Follow the filling’s refrigeration instructions.
- Quick ganache: heat 60 ml whipping cream and pour over 100 g chopped chocolate. Stir until smooth, then cool until spreadable. Refrigerate ganache-filled biscuits at 5°C or below and use within 48 hours of making the filling.
Vegan and gluten-free adaptations
These changes need a suitable recipe balance; they are not guaranteed like-for-like swaps:
- A firm plant-based baking block can replace the 300 g butter in an appropriately adapted recipe. Avoid soft spreads with a high water content.
- An appropriate egg replacement must also replace the yolks. Aquafaba behaves differently from yolk, so use the quantity and method from a tested vegan recipe rather than assuming one tablespoon will work.
- Gluten-free flour: use a blend intended for biscuits with its manufacturer’s guidance, or a tested gluten-free version. Rice flour and cornflour alone do not necessarily provide the same binding or texture. Check all ingredients for the required gluten-free suitability.
- Tip: gluten-free dough may benefit from additional resting time, but chilling cannot make up for an unsuitable flour or binder ratio.
Adapting the variations
- Dough texture: if added moisture makes the dough soft, refrigerate for 20–30 minutes before assessing whether it needs a little more flour.
- Thickness: aim for an even 3–5 mm, depending on the finish you want. Thinner biscuits tend to be crisper; thicker ones need longer to bake through.
- Baking time: check each variation rather than assuming it will bake at exactly the same speed. Cocoa makes browning harder to see, so also check that the surface and centre are set.
- Presentation: dust with icing sugar, add colourful icing or sandwich with an appropriate filling before packing.
Baking and storing the biscuits
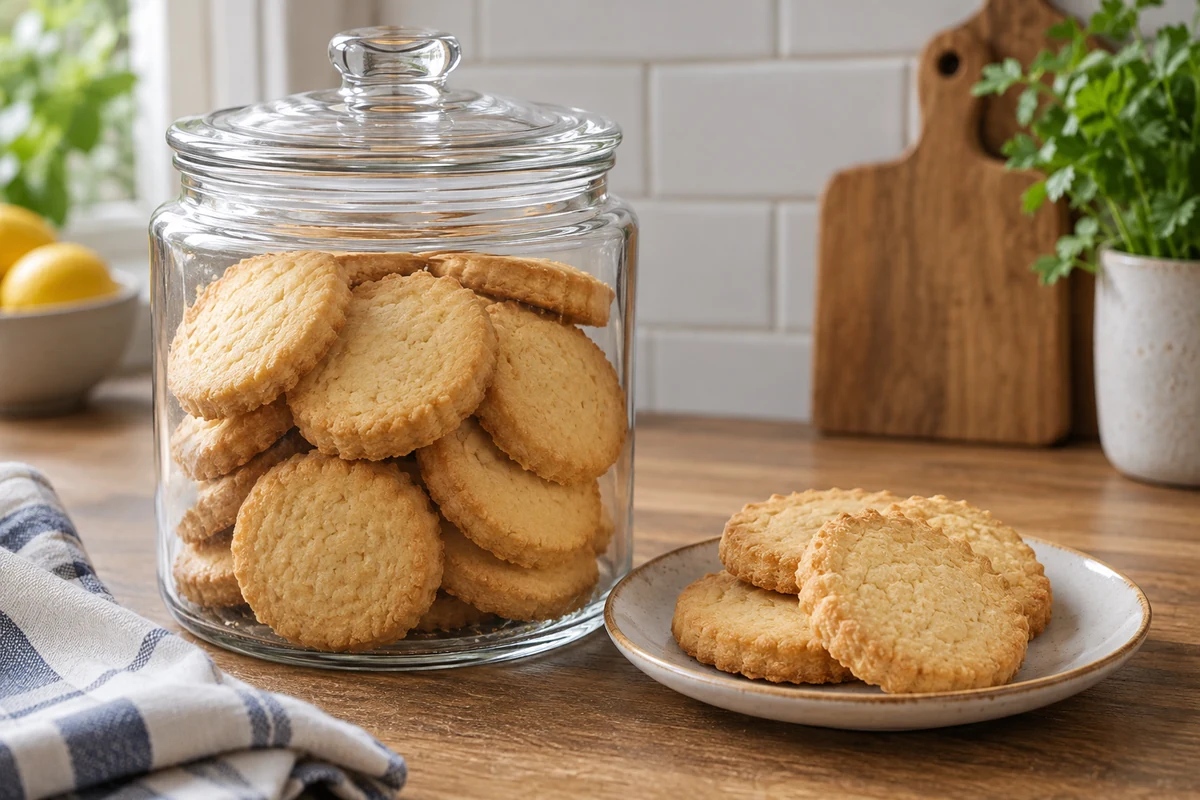
- Preheat fully: use 180°C conventional or 160°C fan and let the oven reach temperature before the tray goes in.
- Use the middle shelf: place the tray centrally for even exposure to the heat.
- Line the tray: use baking paper or a suitable silicone mat to reduce sticking and protect the bases.
- Leave space: keep 2–3 cm between biscuits so they have room to spread slightly.
- Check doneness: look for lightly golden edges and a baked, set centre. Around 8–12 minutes is a guide for small biscuits, not a fixed time for every shape and thickness.
- Cool in two stages: allow the biscuits to become firm enough to handle on the tray, then move to a wire rack until completely cold.
- Rotate if needed: if your oven bakes unevenly, turn the tray partway through or swap tray positions carefully.
- Adjust the texture: a 3–4 mm biscuit tends to have a more tender bite than a very thin one. Biscuits rolled to 2–3 mm may crisp sooner, so check early rather than automatically giving them extra time.
- Avoid overworking: mix only until the flour is incorporated to preserve the crumbly texture.
Storage tips
- Cool completely before packing. Warm biscuits create condensation in a closed container and lose their texture.
- Use an airtight container: keep plain biscuits in a cool, dry place for around 5 days for best quality, separating layers with baking paper. This does not apply to perishable fillings.
- Avoid damp conditions: store away from the hob, sink and other sources of heat or moisture.
- Let decorations set: allow icing or chocolate to dry before stacking, and follow the topping’s own storage guidance.
- Freeze the dough: shape it into a disc, wrap well and freeze for up to 1 month for best quality. Defrost in the fridge, then use within 24 hours.
- Freeze plain baked biscuits: separate them with baking paper in a sealed freezer container and use within 2 months for best quality. Thaw the plain biscuits in their packaging; perishable filled versions need refrigerated thawing instead.
- Refresh plain biscuits: a brief spell in a 150°C conventional oven, around 4–6 minutes, may restore crispness. Watch closely and cool again. Do not use this to rescue spoiled biscuits or heat delicate icing and fillings.
Useful checks
- Use an oven thermometer if your oven’s temperature seems unreliable.
- Weigh ingredients accurately for a more consistent dough.
- Date the packaging when freezing so you know when the dough or biscuits were prepared.
- Reduce condensation: let plain frozen biscuits thaw in their closed packaging before opening it.
Christmas biscuit decorating and gift ideas

Turn Christmas butter biscuits into a thoughtful gift with a simple finish and packaging that protects both their shape and flavour.
Simple decorating techniques
- Royal icing: use pasteurised egg white or a suitable royal-icing mix according to its instructions. Adjust to a thicker consistency for outlines and a thinner one for filling shapes. Lemon juice adds flavour but does not pasteurise raw egg.
- A snowy dusting: sift icing sugar over fully cooled biscuits for a simple winter finish.
- Chocolate dipping: melt dark or white chocolate, dip half of each biscuit and let it set on baking paper.
- Sprinkles: add them while the icing or chocolate is still wet so they stay in place.
- Zest and spices: add fine citrus zest or a light dusting of cinnamon for extra fragrance.
Presentation and packaging ideas
- Food-safe clear bags with ribbon: pack a few biscuits together and tie with ribbon. Keep any decorative foliage outside the sealed food packaging.
- Windowed kraft boxes: line with food-safe paper, arrange the biscuits neatly and add a personalised label.
- Airtight jars: layer the biscuits with baking paper and decorate the outside with checked fabric and a gift tag.
- Decorative tins: useful for transport, with baking paper between layers to protect the decoration.
- Rustic outer wrapping: cotton or hessian can decorate a gift, but keep the biscuits inside a separate, food-safe airtight package.
Putting a biscuit gift together
- Choose the biscuits: select intact ones with fully set decorations.
- Line the container: use baking paper or another lining suitable for direct contact with food.
- Arrange carefully: use a single layer where practical, or separate stacked biscuits with paper.
- Add decoration outside: attach a gift tag, ribbon or decorative cinnamon stick to the outer packaging, keeping non-food decorations away from the biscuits.
- Seal the food package: close it securely before adding string, ribbon or an optional wax seal to an outer label.
- Include storage information: add the preparation date and instructions appropriate to the actual icing or filling used.
Labels, finishing touches and storage
- Personalised labels: include the recipient’s name, ingredients and relevant allergens, including wheat, milk and egg in the basic recipe, plus any in decorations or fillings.
- Handmade details: a stamped kraft label or small bow gives the gift a personal finish.
- Storage guidance: suggest eating plain biscuits within about 5 days of baking for best quality, keeping them airtight. Use shorter refrigerated guidance for perishable fillings and do not restart the storage period when the gift is packed.
- Mixed selections: combine citrus, chocolate and spiced versions, clearly identifying their ingredients and any different storage needs.
Christmas butter biscuits are a cheerful addition to festive baking. A few flavour variations and simple decorations let you create a selection without changing the whole method.
Thank you for following the recipe. Follow our social channels for more Christmas ideas and baking inspiration, and share your own biscuit creations if you wish.
Visit the I Love Christmas blog for more recipes, homemade gifts and festive ideas.
Christmas butter biscuits: frequently asked questions
How can I make the biscuits more tender?
Roll evenly to around 3–4 mm, use the cornflour in the recipe and work the dough as little as possible after adding flour. Avoid excessive browning, but make sure the centres are fully baked.
Can I freeze the dough or baked biscuits?
Yes. Freeze a well-wrapped disc of dough for up to 1 month for best quality, thaw in the fridge and use within 24 hours. Plain baked biscuits can be frozen for up to 2 months, separated with baking paper.
How do I make a vegan version?
Both the butter and egg yolks need replacing, and decorations must also be vegan. Use a tested vegan biscuit recipe with a firm plant-based baking block and a suitable binder; a tablespoon of aquafaba is not a dependable direct replacement for two yolks.
How do I stop the biscuits breaking when I move them?
Chill the dough before cutting and lift the shapes with a thin spatula. After baking, let them firm up on the tray for a few minutes before transferring carefully to a rack.
How can I decorate them without icing?
Dust cold biscuits with icing sugar or dip them halfway into melted chocolate. Add suitable sprinkles while the chocolate is still wet, or use a light dusting of cinnamon.
How long do the biscuits keep?
Plain biscuits keep well for about 5 days in a cool, dry place in an airtight container, or up to 2 months frozen for best quality. Fillings and toppings can shorten this: refrigerate homemade ganache-filled biscuits and use within 48 hours of making the ganache.
Sources and Further Reading
- Food Standards Agency: chilling food safely
- Food Standards Agency: cooking your food
- Food business registration
- Food Standards Agency: allergen guidance for food businesses