Homemade Brazilian-style sausages combine minced pork, fat and seasoning in fresh sausage casings. Roast or barbecue them until thoroughly cooked, using a thermometer to check the centre. Keeping the ingredients cold during preparation and storing them promptly helps produce a well-textured, flavourful sausage. This is a fresh sausage recipe, not a cured or fermented product.
Homemade Brazilian-style sausages bring a garlicky, savoury flavour to a Christmas gathering or barbecue. Here is how to season and fill fresh linguiça, then cook it with a browned casing and a juicy centre.
Ingredients for homemade Brazilian-style sausages
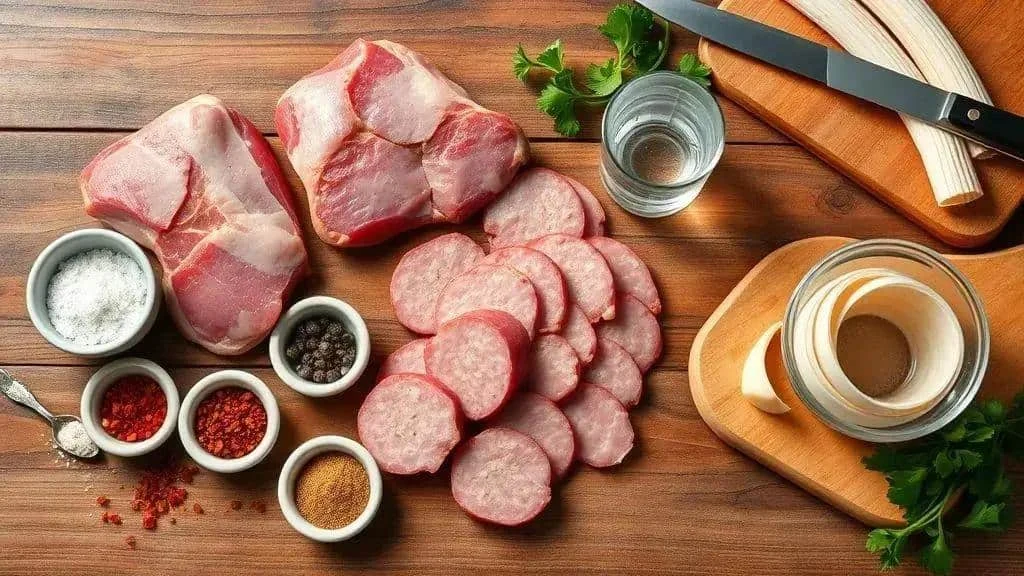
To make homemade Brazilian-style sausages, start with good-quality fresh ingredients and clean equipment. The quantities below produce approximately 1.5 kg of uncooked sausage mixture, depending on the aromatics and any substitutions.
Ingredients for homemade Brazilian-style sausages
- 1 kg pork shoulder, cut into cubes for mincing; pork leg can replace it, although the result may be leaner.
- 300 g pork back fat or fatty pork belly. Belly contains meat as well as fat, so the finished texture will differ from a batch made with back fat. Bacon is not a like-for-like replacement because it also changes the salt level and flavour.
- 26 g ordinary salt, equivalent to 2% of the 1.3 kg combined meat and fat. Weigh it rather than measuring coarse crystals by volume. This seasons fresh sausage; it does not preserve it or make it safe to cure.
- 4 garlic cloves, finely chopped, or approximately 1 tablespoon garlic paste; 1 teaspoon garlic powder gives a different, milder profile.
- 1 tablespoon smoked paprika; use sweet paprika for a non-smoky version. If using food-grade liquid smoke instead, follow its label because concentrations vary.
- 1 teaspoon freshly ground black pepper, or white pepper if preferred.
- 1 teaspoon chilli flakes, optional; use less for a milder sausage.
- 1 teaspoon ground coriander, or freshly ground coriander seeds.
- ½ teaspoon ground cumin, optional.
- A pinch of nutmeg; use sparingly so it does not dominate.
- 1 teaspoon sugar or dextrose, optional, to balance flavour and encourage browning. It is not included to ferment the sausage. A teaspoon of honey can be used instead.
- 2 tablespoons dry white wine or cider vinegar; alternatively, use 1 tablespoon lemon juice diluted with 1 tablespoon water. These alternatives give different levels of acidity.
- 100 ml ice-cold water, to help keep the mixture cold and evenly mixed.
- Approximately 2–3 metres natural hog casing, prepared according to its supplier’s instructions. The amount required depends on diameter. Suitable collagen casings are another option; without casings, shape the mixture into patties instead.
- 2 tablespoons chopped fresh parsley, optional, or finely chopped spring onions.
Seasoning check: fry a small sample until fully cooked before tasting and adjusting the mixture. Never taste raw sausage meat.
How to make and roast fresh linguiça
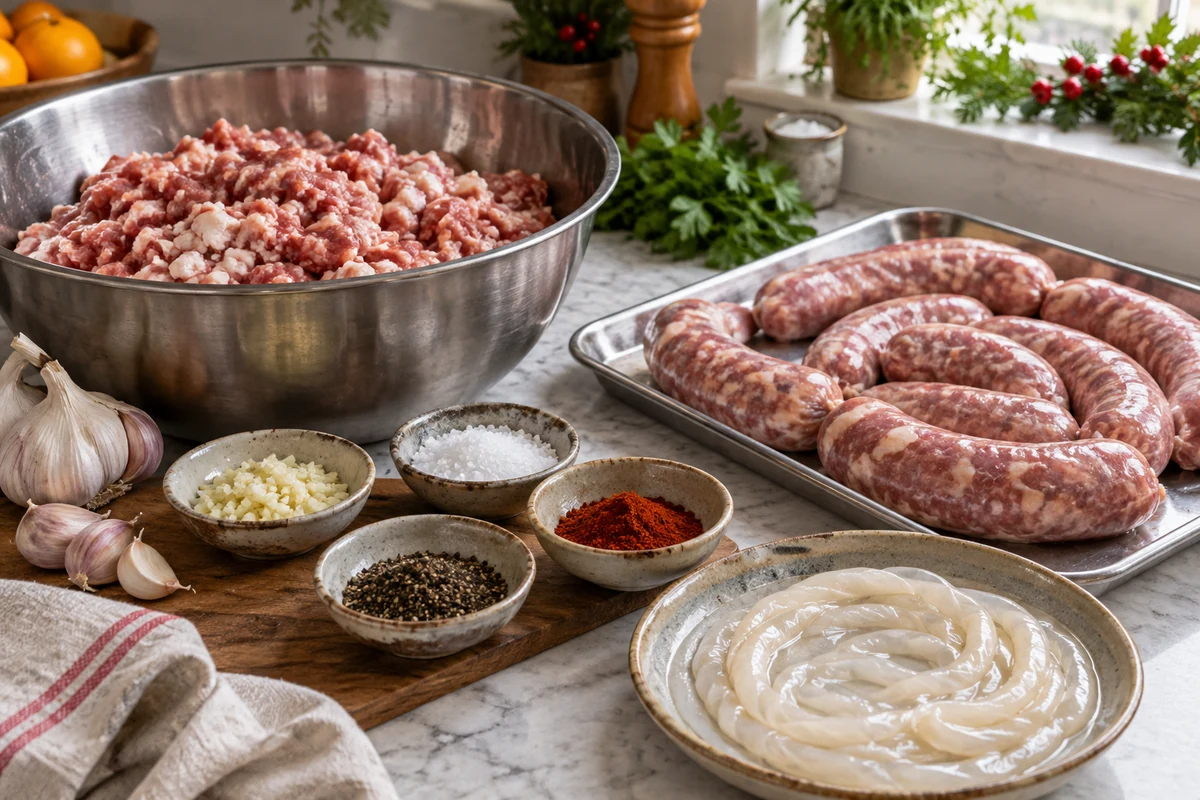
- Keep the meat cold: cut the chilled shoulder and fat into 2–3 cm cubes using clean equipment. A brief 15–20 minutes in the freezer can firm them for mincing; they should remain workable rather than freeze solid. Chill the mincer parts too, if the manufacturer allows it.
- Prepare the casings: soak and rinse natural hog casings exactly as directed by the supplier. Preparation differs between salted natural and collagen casings; do not assume they all need a warm vinegar soak.
- Mince the meat and fat: use an 8–10 mm plate for a coarse texture. For a finer sausage, mince a second time through a smaller plate, keeping the mixture and equipment cold.
- Combine the seasoning: mix the 26 g salt, garlic, smoked paprika, black pepper, optional chilli flakes, ground coriander, optional cumin, nutmeg and optional sugar. Add the 2 tablespoons wine or vinegar and the 100 ml ice-cold water. Include the optional chopped parsley or spring onions.
- Mix with the minced meat: work the seasoning into the meat and fat until the mixture becomes evenly combined and tacky, usually after several minutes. Use clean hands or suitable equipment following its instructions. Keep the mixture cold throughout; pause and refrigerate if it starts to warm or the fat smears.
- Cook a seasoning sample: shape about a tablespoon of mixture into a thin patty and fry until fully cooked. Taste, then adjust the remaining raw mixture if necessary, keeping it refrigerated while you test.
- Set up the sausage stuffer: load the chilled mixture into a clean stuffer. Slide the prepared casing onto the nozzle, leaving enough free casing at the end to tie. Follow the equipment manufacturer’s filling instructions.
- Fill and form links: fill steadily without packing the casing too tightly. Twist into links roughly 12–15 cm long, leaving enough slack for twisting and expansion. If necessary, release an obvious air pocket with a clean sausage pricker; avoid repeatedly puncturing the casing.
- Tie and arrange: secure the ends with food-safe butcher’s string if needed. Place on a clean tray and cover for refrigeration, or arrange with space between the links when ready to cook.
- Chill briefly if preparing ahead: the sausages can rest covered in the fridge for the flavours to settle, but this is not curing. Keep at 5°C or below and cook or freeze within 24 hours of mincing, always within the earliest ingredient use-by date. Do not add a further 24-hour rest to meat that has already been stored for that period.
- Roast in the oven: preheat to 180°C conventional or 160°C fan. Arrange the sausages on a roasting tray or rack over a tray. Cook for approximately 25–35 minutes, turning halfway, then check the core temperature. Larger links may need longer. An optional 2–3 minutes under the grill can brown the casing; watch closely.
- Cook on a barbecue: use controlled medium heat with a cooler zone available. Turn regularly, moving the sausages away from flare-ups. Cooking time varies with thickness and heat, so use the core-temperature check rather than a fixed 10–15-minute promise.
- Check and rest: probe the centre of the thickest links. Reach at least 75°C for 30 seconds, or 70°C for 2 minutes. Fresh minced-meat sausages must be cooked throughout. Rest for about 5 minutes, then serve.
- Finishing and storing: if casings split, reduce excessive heat and check whether the next batch needs looser filling; brushing with liquid cannot repair a split. Freeze raw sausages promptly or freeze fully cooked sausages after rapid cooling. Label portions and aim to use within about 3 months for best quality.
Sausage variations: meats and seasonings
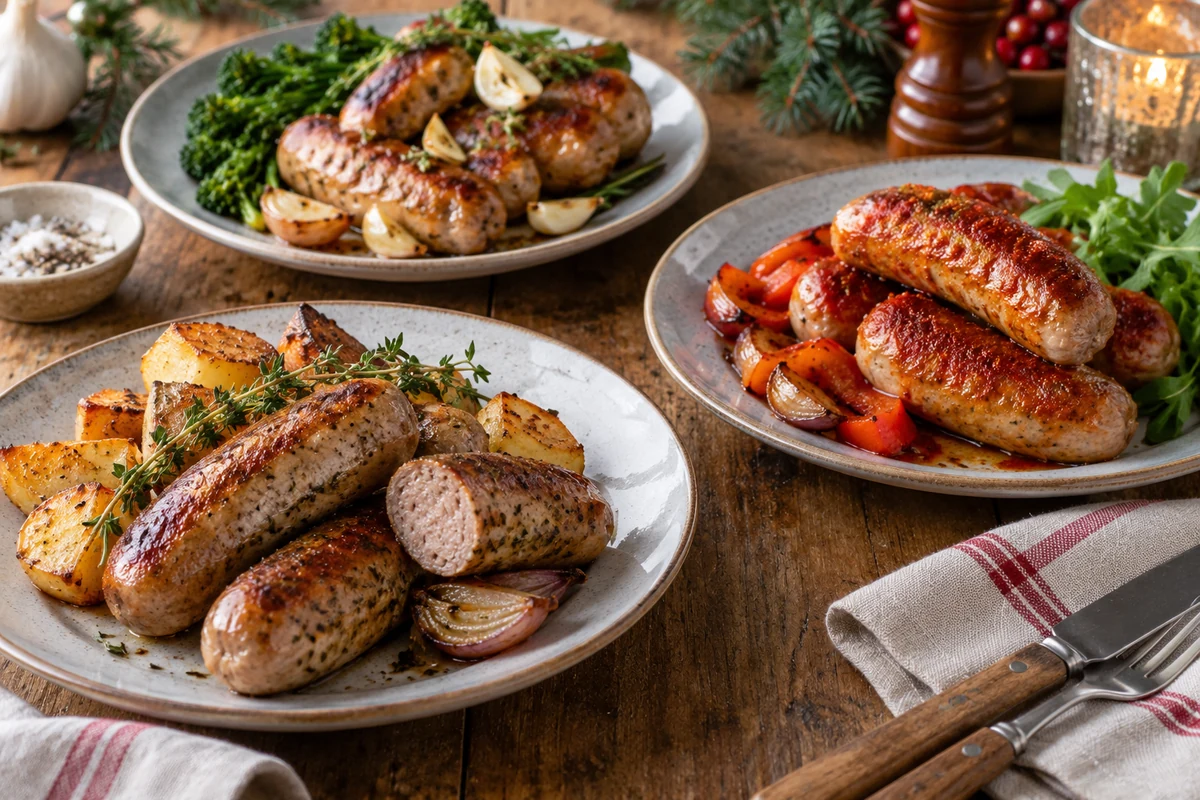
The ideas below offer different flavour profiles for homemade Brazilian-style sausages. Meat combinations are shown per 1 kg of meat-and-fat mixture. They are starting points for small trial batches, not claims of recipes tested in this kitchen.
Meat combinations
- Pork: 700 g shoulder with 300 g back fat produces a rich mixture. Shoulder already contains fat, so the final fat content depends on the cut.
- Beef: 700 g lean beef with 300 g suitable beef or pork fat gives a different texture and flavour. The finished sausage is not a low-fat product simply because the meat portion is lean.
- Chicken: 800 g boneless chicken thigh with 200 g pork fat offers another option. It contains pork and is not automatically lighter in calories. Keep preparation cold and cook the centre thoroughly.
- Lamb: 700 g lamb leg with 300 g pork fat pairs well with cumin and mint, but is unsuitable for anyone avoiding pork.
- Plant-based patties: try 600 g finely chopped mushrooms, cooked to remove excess moisture, with 300 g hydrated and well-drained textured soya protein. Add chickpea flour gradually, up to approximately 100 g, as needed to bind. Cool the mushrooms before mixing and cook the patties thoroughly. This mixture behaves differently from sausage meat; use plant-based casings only if a tested recipe supports filling them.
Seasoning ideas per 1 kg of meat and fat
- Salt: 20 g is 2% of a 1 kg meat-and-fat mixture. Weigh carefully and test a fully cooked sample. Ordinary salt at this level does not turn fresh sausages into preserved or cured food.
- Garlic: approximately 3 chopped cloves, or garlic paste to taste; check whether a prepared paste already contains salt.
- Black pepper: approximately 1 teaspoon, freshly ground.
- Sweet paprika: up to 1 tablespoon for colour and flavour; choose this or the smoked option below according to the flavour you want.
- Smoked paprika: start with 1 teaspoon and adjust a cooked sample. If replacing it with food-grade liquid smoke, follow the product instructions rather than assuming a universal number of drops.
- Chilli flakes: approximately ½–1 teaspoon, depending on their strength and your taste.
- Ground cumin or coriander: start with ½ teaspoon for an earthy or citrusy note.
- Sugar or dextrose: an optional ½ teaspoon can balance the seasoning; a little honey is another option. These fresh sausages must not be left to ferment.
- White wine or cider vinegar: 1–2 tablespoons add flavour and moisture. They are not preservatives in this recipe.
Flavour combinations to try
- Brazilian-style: garlic, salt, black pepper and parsley.
- Smoky: smoked paprika, black pepper and dried onion, with food-grade liquid smoke only if needed and used according to its label.
- Chilli and citrus: chilli flakes, cumin, oregano and finely grated lemon zest.
- Herby: thyme, rosemary and parsley, particularly with lamb or chicken.
- Sweet and spicy: a little honey, cayenne pepper and a small pinch of nutmeg. Watch carefully when browning because honey catches easily.
Adjusting the technique
- Texture: mince twice for a finer sausage and mix until tacky, keeping everything cold so the fat stays distinct rather than smearing.
- Moisture and binding: approximately 50–100 ml ice-cold water per kg is a useful starting range, adjusted for the other liquids. Plant-based mixtures need their own binding and cooking adjustments; make a small test patty first.
- Fresh, not cured: do not add curing salts or nitrite to this recipe. Curing and fermentation require a separate validated method, precise formulations and suitable controls. A longer fridge rest does not provide those safeguards.
Serving and drink ideas
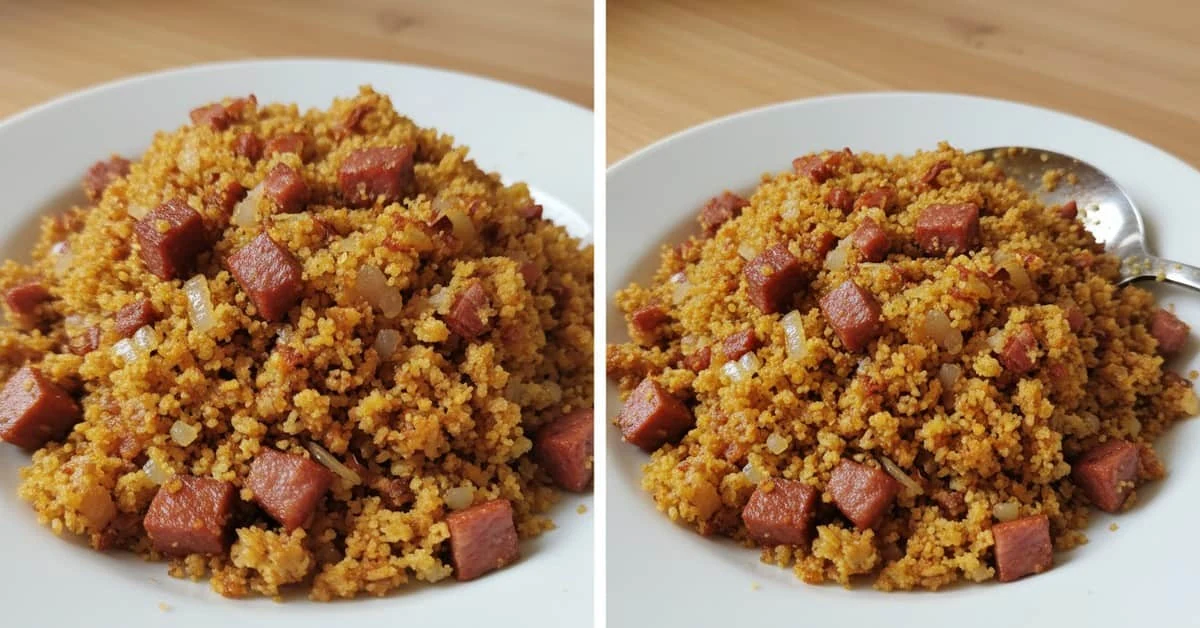
- Accompaniments: crusty bread, mustard, Brazilian-style chopped onion and tomato vinaigrette, and farofa.
- Drinks: sparkling water or an alcohol-free beer works well. Adults who drink alcohol may prefer lager with smoky sausages or a young red wine with a beef version.
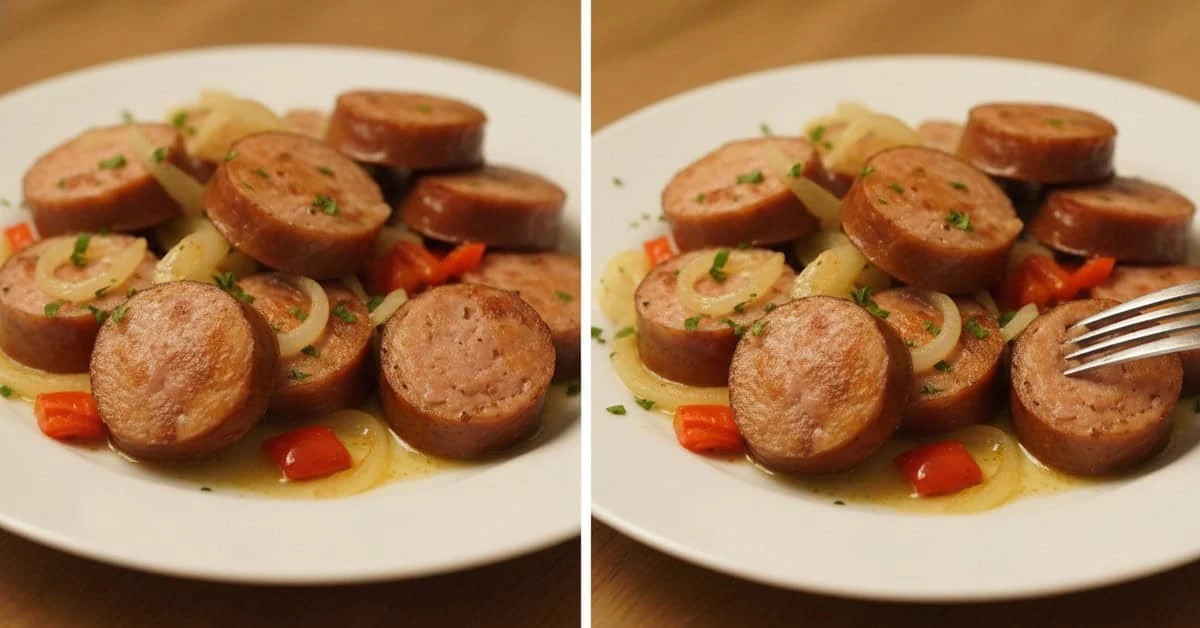
- Presentation: cut the cooked sausages diagonally and serve with fresh herbs and caramelised onions.
Small-batch testing: fully cook a small patty to check salt and chilli before filling all the casings.
Cooking methods: oven, barbecue and wood embers
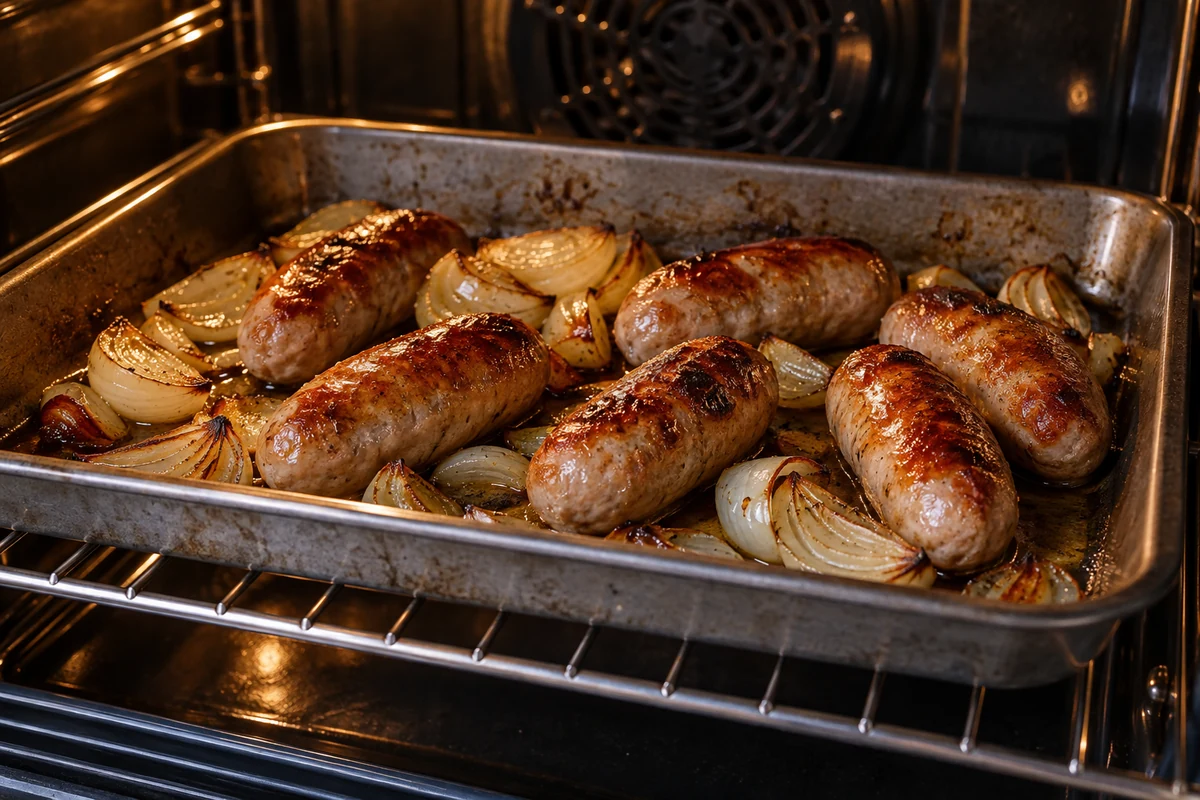
Choose a method for your homemade Brazilian-style sausages that suits the equipment available. Whatever the heat source, the centre must reach a safe temperature and holding time.
Oven
- Preheat: set the oven to 180°C conventional or 160°C fan. Fan ovens generally use a lower setting for the same recipe, not a higher one.
- Use a rack and tray: a rack over a roasting tray allows air to circulate and catches fat. A plain roasting tray also works if the sausages are turned regularly.
- Timing and colour: allow approximately 25–35 minutes as a starting guide, turning halfway. Thickness and oven performance vary, so check the centre before serving.
- Brown the casing: if desired, finish under the grill for 2–3 minutes, watching continuously to prevent burning.
- Check the centre: reach at least 75°C for 30 seconds, or 70°C for 2 minutes. Rest briefly after the sausages are fully cooked.
Charcoal or gas barbecue
- Prepare the barbecue: follow the manufacturer’s lighting instructions and clean the cooking grate. Use charcoal and gas barbecues outdoors only, in a suitable open location.
- Create two heat zones: use a hotter area for browning and a cooler area for cooking the sausages through without scorching.
- Brown gently: turn the sausages over controlled direct heat until lightly coloured. Do not leave them over flames or assume browning seals in juices.
- Finish over indirect heat: move to the cooler zone and turn regularly until the centre is fully cooked. The time depends on link thickness and the barbecue; use a thermometer rather than a fixed short finishing time.
- Manage flare-ups: move sausages away from flames caused by dripping fat. Use a suitable drip tray if the barbecue design permits it.
- Check doneness: insert a clean probe into the centre of the thickest links and confirm 75°C for 30 seconds or 70°C for 2 minutes. Avoid repeated puncturing with a fork.
Cooking over wood embers
- Prepare suitable embers: where outdoor fires are permitted, use appropriate cooking wood and let flames settle into a controlled bed of embers. Never use treated or painted wood.
- Use stable equipment: position a suitable cooking grate securely above the embers, with enough distance to avoid scorching. A universal distance does not suit every fire or piece of equipment.
- Turn and monitor: cook over steady, moderate heat, turning regularly and moving away from hot spots. Check the centre with a thermometer; an estimated 20–30 minutes is not a guarantee of doneness.
- Keep smoke controlled: a small amount of suitable oak or apple smoking wood can add flavour. Excess smoke or burning fat can make the sausages bitter.
- Handle the fire safely: use long utensils and heat-resistant gloves, keep children away and follow local fire restrictions. Do not bring lit or smouldering charcoal indoors.
Practical cooking adjustments
- Avoid unnecessary holes: turn sausages with tongs rather than piercing repeatedly with a fork. A small probe hole for a temperature check is worthwhile.
- Optional finish: a light brush of butter near the end can add gloss, but avoid dripping fat into flames. Extra liquid cannot reverse dryness caused by overcooking.
- Taste only cooked meat: check the seasoning of a fully cooked sample and record adjustments for the next batch.
- Rest briefly: let the sausages stand for about 5 minutes after cooking, then slice and serve while hot.
- Freeze suitable portions: freeze promptly while raw, or after fully cooking and cooling quickly. Do not partly cook sausages for freezing and finishing later. Airtight portions used within about 3 months retain better quality.
Storage, food safety and presentation
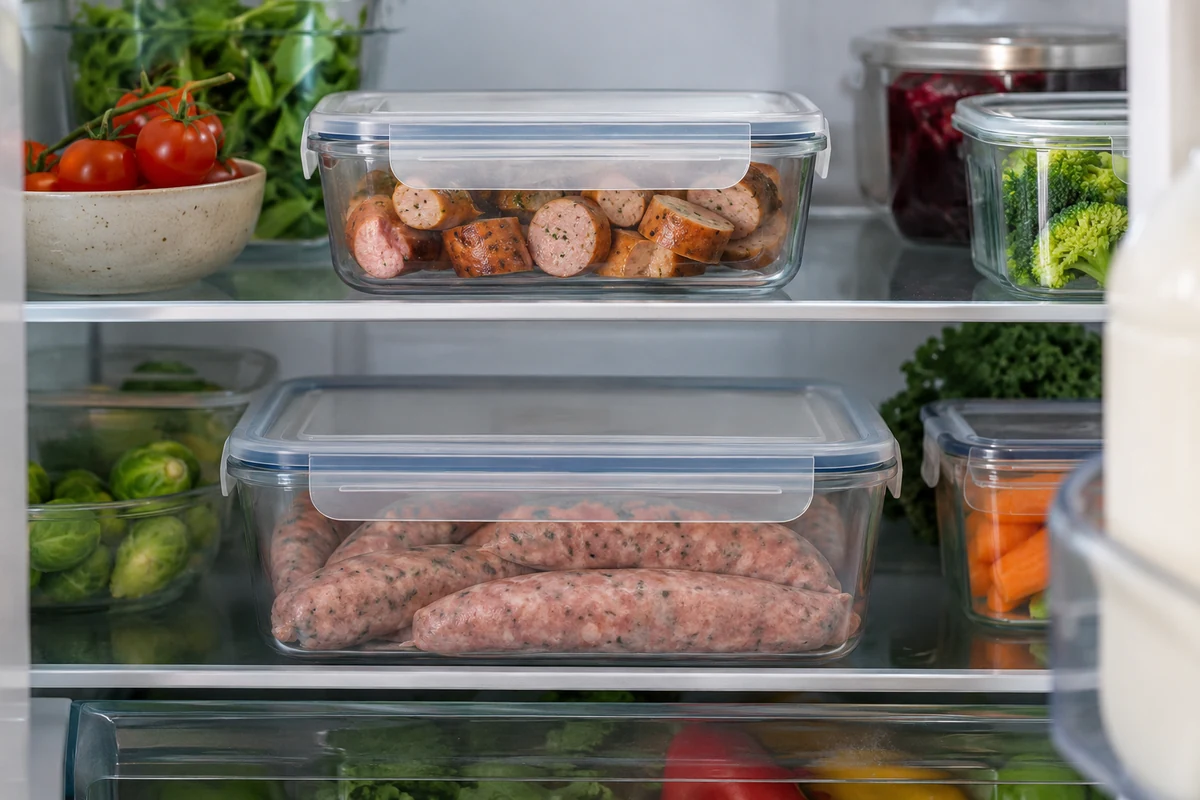
These practical storage and serving tips help keep fresh sausages in good condition before and after cooking.
Storage
- Refrigerate cooked leftovers promptly: divide into shallow portions, cool quickly and refrigerate within 2 hours. Keep at 5°C or below and eat within 48 hours, or freeze once cooled.
- Package for freezing: use suitable airtight containers or freezer bags, label with the date and whether the sausages are raw or cooked, and aim to use within about 3 months for quality. Vacuum packing is not required and does not make the food shelf-stable.
- Raw homemade sausages: keep covered on the bottom fridge shelf at 5°C or below. For this home method, cook or freeze within 24 hours of mincing and before the earliest ingredient use-by date, rather than extending storage with a curing rest.
- Defrost safely: thaw in the fridge in a container that catches drips. The time varies with portion size; use within 24 hours of complete defrosting. Do not thaw on the worktop.
- Refreezing: once raw sausages have thawed, cook thoroughly before freezing again, cooling them promptly first. Portioning before freezing helps avoid unnecessary thawing and reheating.
Food safety
- Core temperature: cook fresh sausages throughout to at least 75°C for 30 seconds or 70°C for 2 minutes, checking the centre with a clean digital thermometer.
- Clean handling: wash hands and clean and disinfect equipment after contact with raw meat. Keep raw sausages separate from foods ready to eat.
- Use a probe thoughtfully: avoid unnecessary holes, but always make the temperature checks needed for safe cooking. Clean the probe between raw and cooked food checks.
- Cool leftovers quickly: refrigerate shallow portions within 2 hours; do not leave a large tray standing out until completely cold.
- Curing products: this recipe uses ordinary salt and produces fresh sausages. Do not improvise with nitrite, curing salts, room-temperature drying or fermentation; those require a separate validated process.
Presentation and serving
- Brief rest: allow about 5 minutes after cooking before slicing and serving.
- Slicing: cut diagonally into slices approximately 1 cm thick, or thinner rounds for a sharing platter. Use a clean board reserved for cooked food.
- Portion planning: approximately 150–200 g raw sausage per adult can suit a main meal, or 80–120 g for a snack with other food. Adjust for appetites and accompaniments.
- Accompaniments: mustard, crusty bread, chopped onion vinaigrette, caramelised onions and farofa complement the seasoning.
- At the table: arrange slices on a clean serving board or platter with herbs and small bowls of sauce. Put out manageable amounts and keep the rest safely hot or chilled as appropriate.
- Reheating: cover to limit drying and heat until steaming hot throughout, checking the centre and reheating only once. A fixed 8–10 minutes or a brief warm-water bath is not a reliable safety check.
Quick reminder: label portions, keep preparation cold and clean, check cooking temperatures and cool leftovers promptly.
Making homemade Brazilian-style sausages gives you control over the seasoning and texture, whether you roast them for Christmas or cook them at an outdoor barbecue.
Try small seasoning adjustments and taste a fully cooked sample before filling the whole batch. Keep notes so you can repeat the combinations you enjoy.
Share your finished sausages and serving ideas with the community on social media.
For more recipes and seasonal inspiration, visit I Love Christmas and explore the other festive dishes on the blog.
Come back for more ideas for cooking, sharing and celebrating around the Christmas table.
Homemade Brazilian-style sausages: frequently asked questions
What core temperature should fresh sausages reach?
Cook the centre to at least 75°C for 30 seconds or 70°C for 2 minutes. Check the thickest links with a clean food thermometer, then rest briefly before serving. Fresh minced-meat sausages must be cooked throughout.
Can I freeze the raw sausages?
Yes. Freeze promptly in labelled airtight portions, within the ingredients’ use-by dates, and aim to use within about 3 months for best quality. Defrost in the fridge and use within 24 hours of complete defrosting.
How can I check the seasoning before filling the casings?
Shape a small portion into a thin patty and fry it until fully cooked. Taste and adjust the remaining mixture, keeping that mixture refrigerated while you test. Never taste raw sausage meat.
How do I brown the casing without splitting it?
Avoid overfilling the casing and use controlled heat. Roast at 180°C conventional or 160°C fan, turning halfway, then briefly finish under the grill if needed. On a barbecue, keep away from flare-ups and check the core temperature rather than relying on colour.
Can I make chicken or plant-based versions?
Chicken can be combined with suitable fat and cooked thoroughly; the suggested chicken-and-pork-fat variation still contains pork. Mushroom and soya mixtures work better as trial patties unless a tested recipe supports stuffing them. Use plant-based casings and ingredients for a vegan version.
How should I store and reheat cooked leftovers?
Cool quickly and refrigerate within 2 hours in shallow covered portions. Eat within 48 hours or freeze once cooled. Reheat only once until steaming hot throughout; covering while heating helps reduce drying.
Sources and Further Reading
- Food Standards Agency: cooking and reheating food safely
- Food Standards Agency: chilling, freezing and defrosting food safely
- Food Standards Agency: cooking and reheating safely, including rice