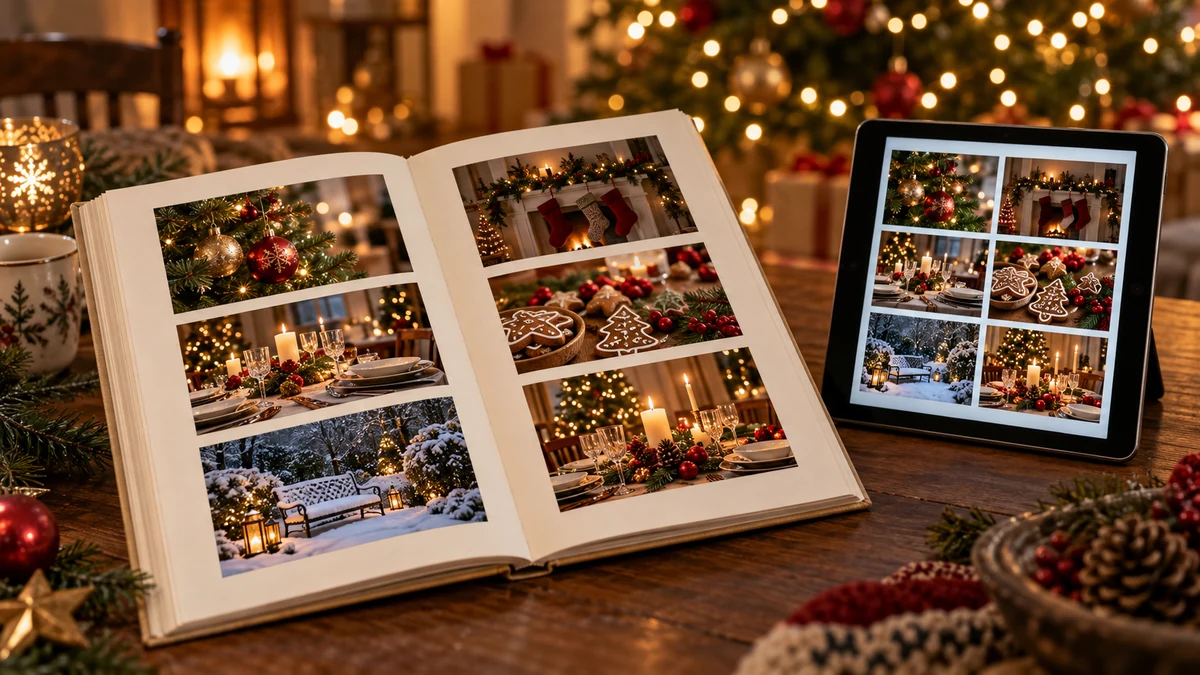
A Christmas memory album brings photographs, notes and family stories together in a collection you can revisit. Choose a digital, printed or combined format, then select, organise and caption your favourite moments. Thoughtful materials, backups and sharing settings help you look after the finished album.
A Christmas memory album is a lovely way to keep family photographs, feelings and stories together. Would you like practical ideas for making one on paper or digitally, and involving everyone in the tradition? Follow these steps to give each page a personal touch.
Illustrations in this article are conceptual images, not documentary photographs or evidence of a particular historical event, destination, venue or access route.
Why make a Christmas and New Year memory album?
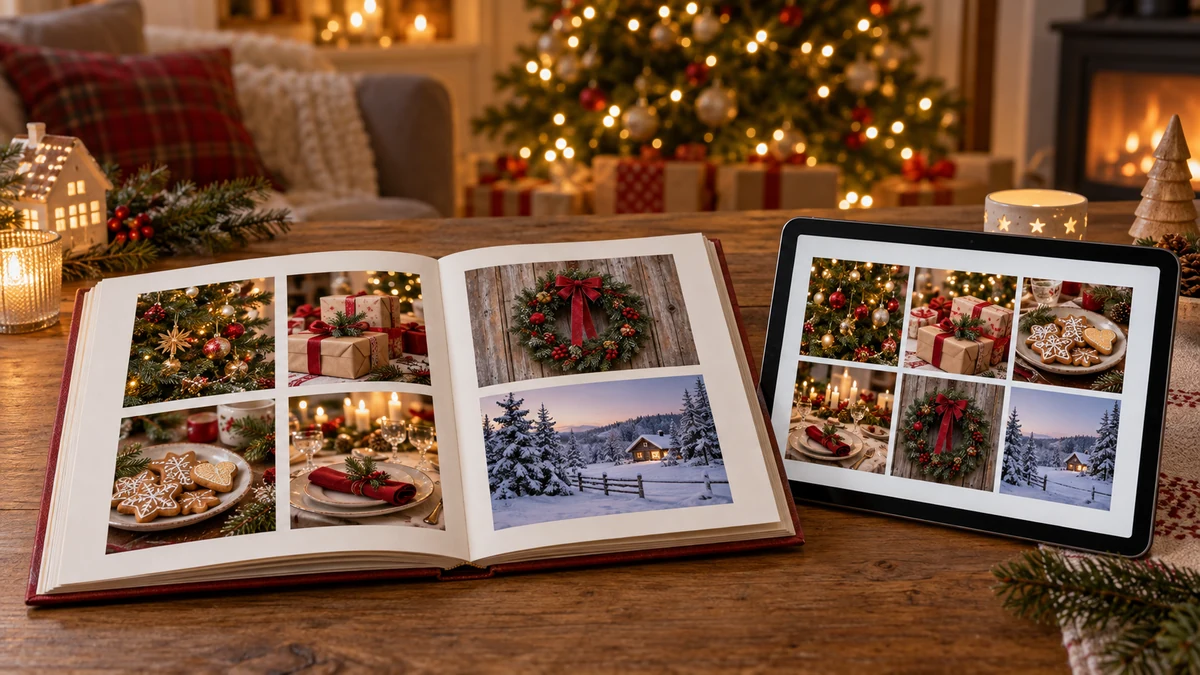
A Christmas memory album gathers photographs, notes and moments that might otherwise be forgotten. It turns separate snapshots into a family story.
Practical reasons
- Organisation: bring photographs and videos together so they are easier to find by year, person or occasion.
- Preservation: keep pictures from disappearing into a phone’s camera roll; printed copies and independent digital backups offer different ways to protect them.
- Easy browsing: turning album pages can feel more immediate than searching through scattered files.
Personal benefits
- Connections between generations: an album gives grandparents, parents and children a reason to share stories and traditions.
- Remembering details: short captions can record things that the photograph alone cannot explain.
- Appreciating everyday moments: small gestures and special meals become part of the family record.
Sharing memories and affection
- A family ritual: making the album can become an annual activity that everyone looks forward to.
- A meaningful gift: a personalised album gives relatives or friends something thoughtful to revisit.
- A source of comfort: familiar photographs may be comforting when you miss someone. Let each person decide which memories they feel ready to revisit.
Choosing digital, printed or both
- Digital: convenient to edit and share with relatives who live far away.
- Printed: offers the pleasure of holding a book and turning real pages.
- Combined: keep the full collection digitally and print your favourite pages.
Quick ways to begin
- Select photographs from the last two years and write short captions explaining the moments.
- Include more than photographs: tickets, Christmas dinner recipes, notes and children’s drawings all have a place. Use copies of fragile or valuable originals.
- Add an index by year to make the collection easy to browse later.
Choosing a format: digital, printed or a combination
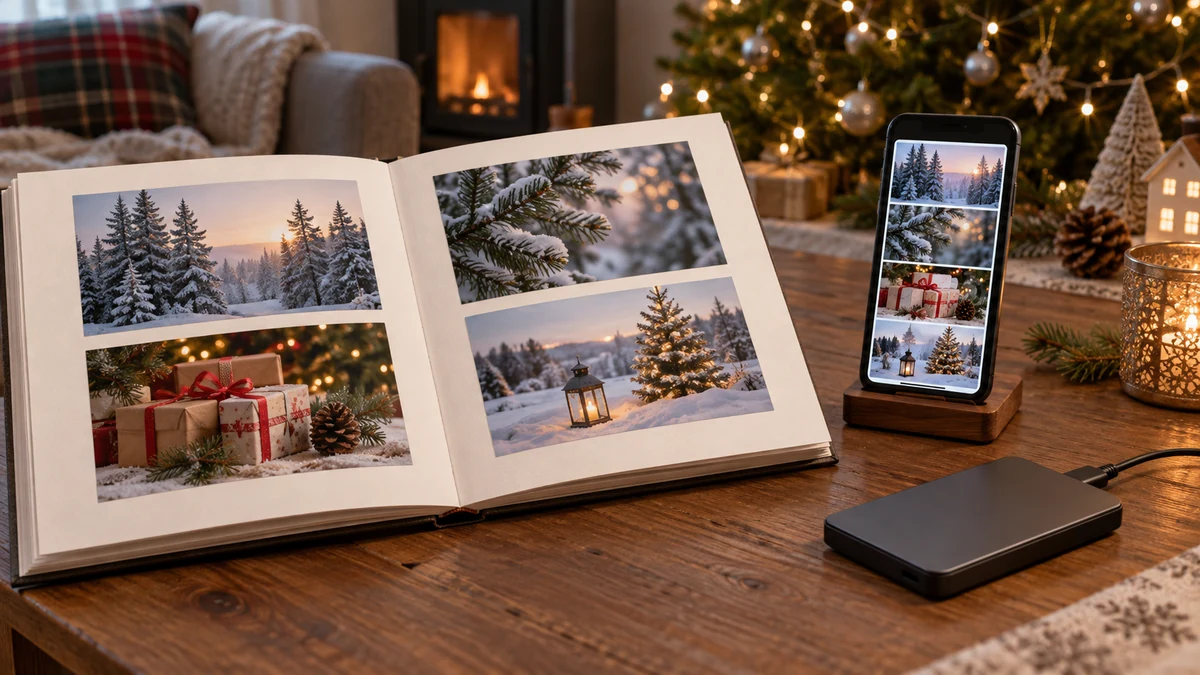
Choosing a format starts with your purpose, audience and budget. Each option offers a different way to enjoy and share the memories.
Advantages of a digital album
- Quick sharing: invite distant relatives through a service with suitable access controls rather than posting a family album publicly by default.
- Easy editing: reorganise and update pages without reprinting them.
- Storage and backup: cloud storage can provide an off-site copy, but synchronisation alone is not a substitute for an independent backup.
- Multimedia: where supported, include video, audio and searchable captions.
Advantages of a printed album
- A tactile experience: the paper, cover and physical pages become part of the keepsake.
- A memorable present: a well-made album can be enjoyed for years when stored carefully.
- No device required: you can look through it without an internet connection or a particular app.
- A personal display piece: keep it on a shelf or bring it out for family visits, away from damaging light and spills.
Why combine the two?
- A fuller collection: retain the complete digital archive alongside selected printed pages.
- A practical example: print an annual highlights book and keep the original files in your organised digital archive.
- Extra features: a QR code on a printed page can link to a video or digital album, provided its destination remains available and access is appropriately restricted.
A suggested workflow
- Select: choose original image files where possible, keeping the highest-resolution versions.
- Organise: make folders by year and name files with the date and occasion.
- Edit gently: adjust brightness and cropping on copies, keeping the originals unchanged.
- Export: choose suitable pixel dimensions and file size for screens. For print, follow the printer’s requirements for resolution at the final size and colour profile; simply changing a DPI label does not add detail.
Useful types of tools
- Simple or low-cost options: a photo organiser, basic page-layout app or document editor may be enough for a shared album or PDF. Check current storage and export limits.
- More specialised options: compare photo editors, book-design software and print-on-demand services according to the features you actually need.
- Local printing: a local photo lab or printer can discuss paper, binding and finishes; ask for a quote and sample rather than assuming it will be cheaper.
Technical care and preservation
- Print resolution: around 300 pixels per inch at the intended print size is a useful target, subject to the printer’s specification. Keep high-quality image files rather than repeatedly saving compressed copies. Source: Blurb: image resolution for printing
- Backup: keep independent copies in more than one place, such as an external drive and a cloud backup, and check that you can restore them.
- Privacy: review who can view and contribute before sharing. A link that is not publicly listed may still be accessible to anyone who receives it. Source: Google Photos: shared album controls
- Printed-album storage: choose photograph-safe sleeves or mounting materials and keep the book away from direct sunlight, damp and heat.
Affordable, personal touches
- Select thoughtfully: choose meaningful moments rather than filling pages with near-identical photographs.
- Keep the design consistent: use a simple colour palette and one or two readable typefaces.
- Budget-friendly materials: a plain album, fabric cover or ribbon can look special. Check material suitability before placing anything directly against photographs.
- Involve the family: ask for short captions, Christmas recipes or children’s drawings to personalise the pages.
Essential materials and tools for a printed album
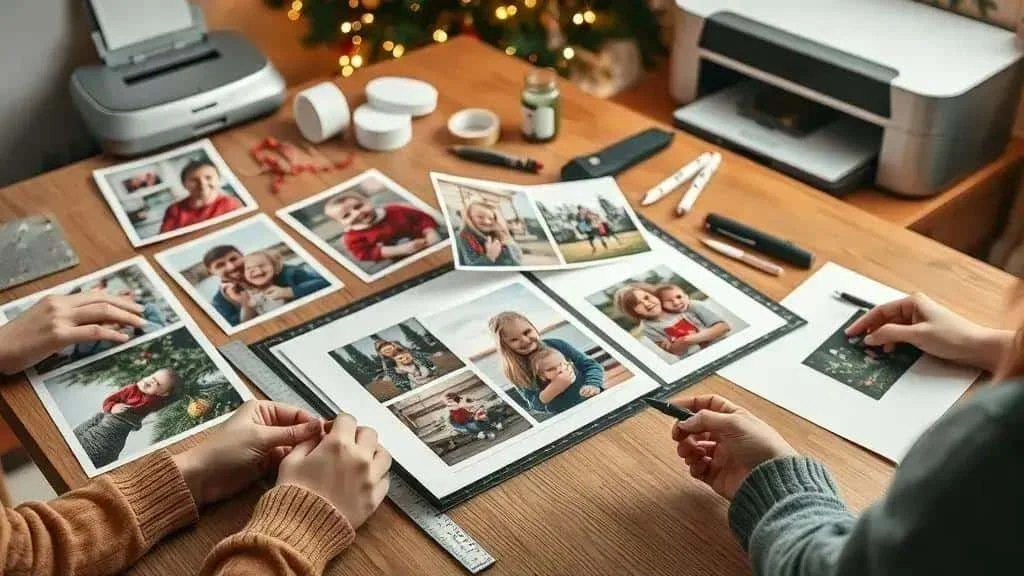
Good materials and suitable tools make assembly easier and help protect the finished album. The quantities below are planning examples: check the capacity of your chosen binding and the requirements of your printer before buying supplies.
Essential materials
- Photo paper or suitable album pages – start with roughly 20–50 sheets if that fits your design. Photo papers around 200–300gsm or lighter 160–200gsm page stock may suit some projects; check printer compatibility and photograph-safe materials rather than weight alone.
- Cover board – one or two sheets of 300–350gsm card, a ready-made fabric cover or approximately 2–3mm book board can be options. Match the cover to the binding and use suitable conservation materials for valuable originals.
- Printed photographs – prepare files at the resolution requested for the final size. Common choices include 10 × 15cm and 13 × 18cm prints, or the nearest size offered by your lab.
- Protective sleeves – for example, a pack of 20 photograph-safe polypropylene or polyester sleeves. Avoid PVC and unidentified plastics. Source: National Archives: storing family papers and photographs
- Mounting supplies – prefer photograph-safe corners or pockets for originals. Use suitable adhesives only on decorative copies or page elements; an ‘acid-free’ label alone does not make every glue safe for photographs.
Cutting and finishing tools
- Craft knife and metal ruler – useful for straight cuts, with spare blades kept safely away from children. Cut away from your body and leave knife work to an adult.
- Cutting mat – around 30 × 45cm is a practical starting size for many home projects.
- Bone folder – use it to crease paper neatly. A smooth plastic tool may substitute for simple folds; test first and avoid pressing directly on original photographs.
- Corner punch – optional for rounding decorative page corners or duplicate prints.
- Hole punch and rings or binding coil – choose the capacity after stacking a sample of your finished pages. Paper thickness, sleeves and decorations all add bulk.
Preservation and storage supplies
- Photo corners – choose photograph-safe products that hold prints without adhesive touching the image. A pack of 100 corners mounts about 25 photographs if each uses four.
- Protective covers – protect the book from handling, but do not rely on a cover or UV claim to make prolonged sunlight harmless.
- Storage boxes – a suitable archival box can help keep dust and light away. Choose a stable, dry indoor location rather than relying on a sachet to solve a damp storage problem.
- Caption-writing pens – use a suitable permanent pen on separate caption paper, test for smudging and let it dry. Avoid writing directly on the face of a photograph.
Scanning and printing equipment
- Flatbed scanner – 300ppi may be sufficient for a same-size copy, while 600ppi or more can be useful for enlargement, depending on the original and the scanner. Keep a master scan before editing.
- Photo printer – compare compatible inks and papers, or use a photo lab. Print longevity depends on the complete printing system and storage, not just the type of ink.
- Computer and image editor – basic crop and colour tools are enough for many albums. Save edited copies separately from your originals.
Creative accessories
- Washi tape and decorative ribbon – use sparingly on page decorations, keeping uncertain adhesives away from photographs.
- Labels and tags – use separate card for dates and captions, and attach it without covering important image details.
- Small embellishments – buttons, tiny pegs, ribbon and pressed leaves can decorate a scrapbook of copies, but keep bulky or unstable objects away from valuable originals.
- Stamps and ink pads – stamp separate decorative paper, test the ink and allow it to dry fully before assembly.
Buying supplies, quantities and savings
- Compare multipacks: calculate the price per sheet and buy only what you will use.
- Plan the photograph count: two to six photographs per page would mean 80–240 photographs across 40 pages. Use fewer where you want a large image or longer story.
- Test before printing everything: make two or three proof pages to check colour, size and margins.
- Economical alternatives: choose simple photograph-safe pages and reserve more expensive finishes for the cover. Do not assume ordinary kraft paper is suitable for storing original photographs. Source: National Archives: photographic preservation
Good assembly habits
- Arrange by date or theme before fixing anything in place, so you can adjust the sequence easily.
- Write short captions with the date, place and people shown. Handwritten notes on separate paper add a personal touch.
- Protect finished pages with appropriate sleeves if needed, avoid overfilling the binding and store the album somewhere dry and away from light.
Organising the content: dates, themes and personal captions
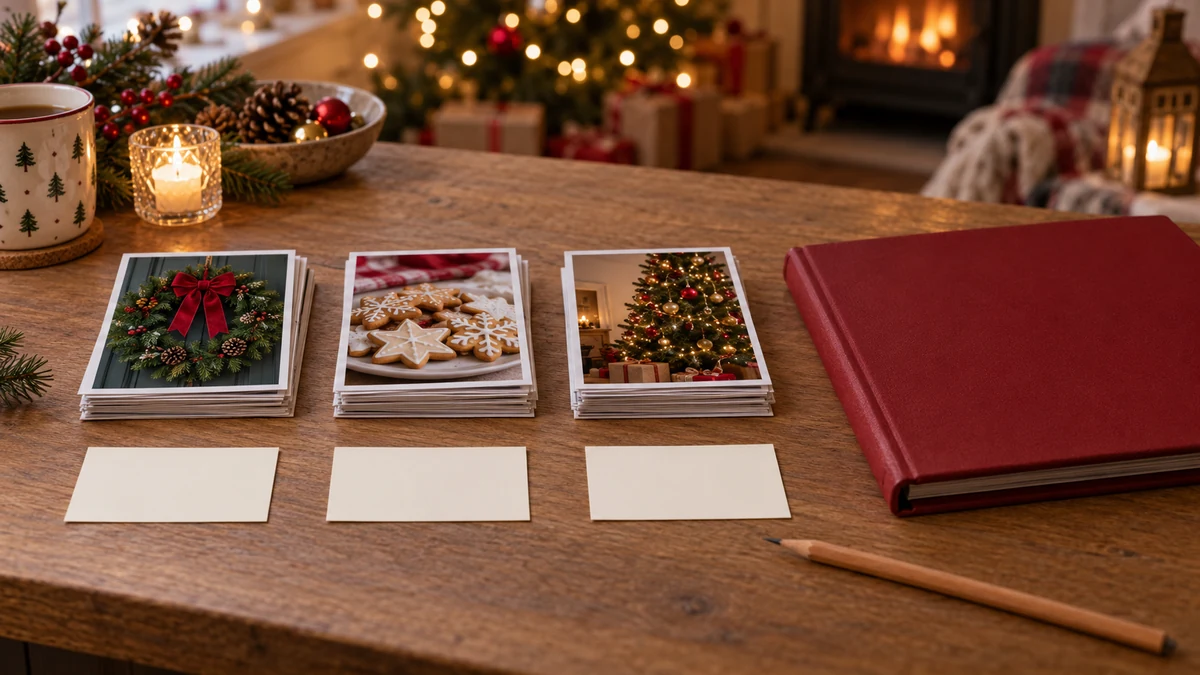
Good organisation helps you find a memory and follow its story. Think about the sequence, the themes and what each caption adds to the picture.
A practical chronological structure
- By year: add dividers or opening pages with the year and, where useful, the month or date.
- By occasion within each year: separate Christmas dinner, presents, outings and preparations into manageable sections.
- A timeline: create a page showing the main moments of Christmas and New Year.
Organising by theme
- Useful themes: food, decorations, family, children, recipes, messages and before-and-after pictures.
- Theme-based layouts: use a recurring background colour or frame style for each section while keeping the book coherent.
- Choosing photographs: try three to six key images per theme: one main picture and others showing details.
Writing personal captions
- A simple formula: date + people + feeling or detail. For example: ’24 December 2024 — Maria and the first biscuits we baked together.’ Use your own genuine memories.
- A useful length: around 10–25 words often works well, though an important story may need more space.
- Caption templates: ‘Date — Person or people: moment, feeling or short quotation‘, or ‘Who — What happened — Why it mattered‘.
Making the album easy to navigate
- Contents page: list the years and themes, adding working links in a digital version where supported.
- Labels and colours: use words alongside colour coding, such as green for decorations and red for Christmas dinner, so meaning does not depend on colour alone.
- Digital details: add dates, descriptions and tags where the album software supports searching them.
Editing for consistency
- A consistent look: choose two typefaces and one simple palette for the whole album.
- Caption tone: combine warmth with useful detail and give longer stories their own space.
- Consistent names: decide how to label people and places so that the meaning will still be clear years later.
Sample pages and short texts
- Year-opening page: ‘2024 — Christmas and New Year Memories’, with one main photograph and three short captions.
- Christmas dinner page: a picture of the table, plus notes about the date, a special dish and who shared the recipe.
- Children’s page: a sequence of preparations, reactions and play, with a line of text for each photograph.
Keeping up the habit
- Set aside 30 minutes each month: choose and caption photographs while the details are still fresh.
- Invite contributions: ask relatives for captions or short memories that can become album notes.
- Make backups: retain independent copies of the digital files as well as any printed highlights.
Digital album design: templates, apps and practical tips

A pleasant digital album needs clear pages, a sensible reading order and consistent styling. Give the main photograph room to stand out and leave space for short captions.
Design principles
- Grid and alignment: a consistent two- or three-column layout can work on larger screens; use a simpler arrangement on a phone.
- White space: leave margins and gaps between elements so photographs do not compete with one another.
- Visual hierarchy: make the principal image larger and place its caption clearly beneath it.
Choosing templates and apps
- Ready-made templates: look for useful page variations, such as a cover, contents page, gallery and single-image feature. Check how the result looks on different screens.
- Choosing an app: compare a photo organiser, design tool or photo-book service according to whether you need screen sharing, a printable PDF or a professionally printed book.
- Selection criteria: check layout controls, supported media, collaboration, export formats and current costs before committing to a platform.
Typefaces and colours
- Typefaces: use no more than two families. For screen layouts, headings around 20–28px and body text around 16px can be starting points; test readability and zoom rather than treating these as fixed rules.
- Colours: choose two to four complementary colours. WCAG’s minimum text-contrast criterion is generally 4.5:1 for ordinary text and 3:1 for large text; good contrast alone does not make an album universally accessible. Source: W3C: minimum text contrast
- Consistency: use the same caption, icon and button styles throughout the album.
Image treatment and consistency
- Resolution: widths around 1,200–2,048 pixels may suit many screen layouts, but keep full-resolution originals for printing. For print, assess pixels per inch at the final image size rather than the file’s DPI setting alone.
- Light editing: adjust exposure, contrast and cropping on copies; avoid heavy filters if they change the memory you want to preserve.
- Aspect ratio: consistent shapes, such as 3:2, 4:3 or square, can bring a page together, provided the crop does not cut out something important.
Video, audio and interactive features
- Video and audio: short clips or 10–30-second recordings can capture laughter and greetings. Use visible controls, avoid autoplay and provide captions or a transcript where helpful.
- Links and QR codes: connect printed pages to online galleries or videos, and check both the link and its access settings before printing.
- Searchable captions: use text fields and tags where supported, rather than flattening every caption into an image.
File settings and export
- Formats: use a suitable photographic format such as JPEG for screen copies, PNG when transparency is needed and PDF for a fixed page layout. Follow the print provider’s requested format for production files.
- File size: compress screen copies only as far as their appearance allows. A page below about 2MB can be a useful aim, but it is not a rule for every album or print file.
- Margins and bleed: follow the printer’s template. Some projects use roughly 3–5mm bleed and 6–10mm safety margins, but binding and trimming requirements vary.
A quick workflow with family contributions
- Organisation: use file names such as year_event_date and folders by theme to simplify assembly.
- Batch processing: if your editor supports it, resize or apply consistent adjustments to copies together. Check the results before replacing any working files.
- Collaboration: choose a service with the commenting or editing features your family needs, and limit edit access to the intended contributors.
Final design checks
- Preview: look at the album on a computer, tablet and phone before sharing it, and inspect the print preview before ordering.
- Short captions: aim for around 10–25 words where practical, including a date and a meaningful detail.
- Readability: check text against its background, at different screen sizes and when zoomed. Adjust the layout or colours if it is difficult to read.
Involving the family and making it an annual tradition

Involving the family and making it an annual tradition starts with small, manageable activities. Share out tasks and celebrate the contributions of people of all ages.
Easy ways to involve everyone
- A photo challenge: invite each person to take three themed photographs during December, such as preparations, Christmas dinner and small details.
- A selection evening: make hot chocolate, choose pictures together and tell the stories behind them.
- Short interviews: ask willing relatives to record a few thoughts about their favourite traditions or memories.
- A creative session: let children decorate pages with drawings, stickers and handwritten captions, using age-appropriate materials.
- A family recipe: include a Christmas recipe in the cook’s own words, with photographs of its preparation.
- A personalised gift: choose a favourite page to print for a relative as a keepsake.
An annual routine, step by step
- Choose a date: set aside a day in January to select photographs and write captions.
- Create a shared folder: invite everyone to contribute by an agreed date, using appropriate access settings.
- Share the jobs: one person can organise files, another edit pages and another arrange printing or sharing.
- Build the layout: start with a simple template so you do not have to redesign every page.
- Review together: allow an hour or two, if that suits the family, to check the album before finalising it.
- Record the tradition: photograph the gathering, with everyone’s agreement, for next year’s album.
Simple tools and ground rules
- Shared digital space: organise a folder or album by year and occasion, using the features available in your chosen service.
- A basic template: keep a familiar layout each year while leaving room for new ideas.
- Contribution guidelines: ask for original-resolution photographs, clear date-and-name labels and perhaps an initial limit of ten pictures per person.
- Backups: keep independent local and off-site copies, and periodically check that the files open.
Keeping everyone interested
- Small rewards: a symbolic certificate or small gift can celebrate creative contributions without turning the activity into a competition.
- Vary the tasks: one person can write captions, another choose frames and another organise printing.
- Share a preview: show a few agreed pages in a private family group to build interest.
- Document the process: keep photographs of the gathering and the album taking shape.
- Make it a get-together: add food and music so that making the album becomes a pleasant annual occasion.
Printing, sharing and offering album-making services

Once the album is ready, decide how to print and share it. If you enjoy the process, you could also explore making albums for others, while keeping private family material separate from anything offered for sale.
Printing options
- Home printing: useful for proofs and small projects. Use compatible paper and the correct printer settings; check whether heavier 200–300gsm stock is supported.
- Photo lab: compare sample prints and paper choices for individual photographs and standard-size copies.
- Print-on-demand photo books: compare book sizes, binding, paper, delivery costs and the required file format before designing the final pages.
- Local print shop: ask about larger quantities or a custom cover, and request examples of coated, matt and laminated finishes.
- Finishing options: a matt cover, selective gloss detail or fabric-covered hardback may suit the design. Do not laminate irreplaceable original photographs or documents.
Essential file settings
- Resolution: aim for the provider’s required pixels per inch at the intended printed size. Screen copies around 1,200–2,048 pixels wide may be convenient, but should not replace the full-resolution masters.
- Colour profile: sRGB is a common choice for screen copies. For print, use the profile the provider requests; do not convert automatically to CMYK.
- Bleed and margins: use the exact production template, including any space needed near the binding, rather than applying one measurement to every book.
- Proofing: order a proof or print sample pages before committing to a full album or multiple copies.
Ways to share
- A private digital album: use account-based invitations or another suitable access control. Check the actual sharing behaviour rather than assuming a PDF or album link is private.
- An online gallery: choose a gallery service that supports the image quality and short videos you need, with appropriate viewing permissions.
- Restricted access: use named recipients or password protection where supported. A shareable link can be forwarded, so treat it accordingly.
- QR codes: link printed pages to related videos, playlists or digital albums, checking availability and permissions before sharing the code.
- Social media: share only agreed previews or excerpts, taking particular care with children’s photographs and personal details.
Possible paid services
- Prints and extra copies: offer clients additional copies or framed pages using material they are entitled to reproduce.
- Custom albums: define a service covering selection, editing, design and printing, with clear hourly or project pricing.
- Related products: cards, calendars and framed prints can complement an album when the required image permissions are in place.
- Digital products: consider original templates or a privately delivered album-design service, rather than selling someone else’s family photographs.
- Where to sell: compare suitable marketplaces, local outlets or your own business page. Check current fees and rules, and use only genuine samples and customer feedback.
Pricing and delivery
- Pricing: include materials, editing time, printing, overheads and a margin. Clearly explain what each package contains.
- Printing to order: compare suppliers who produce individual books to reduce the need for stock, while checking quality and turnaround times.
- Packaging and postage: protect corners and covers, choose suitable packaging and include straightforward care instructions.
- Use of images: agree how clients’ photographs will be stored and used, and obtain separate permission before displaying their work in marketing.
Simple ways to promote the service
- Show sample pages: use your own authorised material or client work with permission to demonstrate the layout and finish.
- Try a local event: show samples at an appropriate craft fair or community event to gather feedback on the product and price.
- Work with others: explore collaborations with photographers, printers or gift shops where there is a good fit.
- Customer feedback: use genuine reviews with permission and accurate product photographs; never invent testimonials.
Rights and privacy checks
- Image rights: check both permission from the people pictured and the right to reproduce the photographs. A subject’s consent does not automatically give you the photographer’s copyright permission. Source: Intellectual Property Office: photographs and copyright
- Privacy: protect stored files, limit access and avoid sharing sensitive pictures or personal details without appropriate agreement.
- Clear terms: explain the work included, delivery schedule, postage and applicable cancellation or returns arrangements before taking an order.
Conclusion
A Christmas and New Year memory album turns scattered photographs into stories worth revisiting. A few manageable steps can help preserve moments, involve the family and build a tradition year by year.
Choose a format that fits your routine, organise the material carefully and give yourself time to create personal pages. You do not need to be a professional designer: a clear layout and thoughtful details go a long way.
Thank you for reading! For more festive projects and ideas, visit the I Love Christmas blog. If you share your own album, make sure everyone involved is comfortable with what you post.
FAQ – Christmas and New Year memory albums
How do I start a Christmas memory album?
Select photographs from recent years and organise them by date or theme. Decide whether you want a digital album, a printed book or both, then shortlist the pictures before editing or printing.
Which format is best: digital, printed or a combination?
It depends on how you want to use it. Digital albums are convenient to edit and share; printed books offer a physical keepsake. Combining them lets you keep a full digital archive and print selected highlights.
What materials do I need for a lasting printed album?
Choose a suitable album or binding, compatible print paper, photograph-safe sleeves or corners and separate caption cards. Avoid PVC, unknown adhesives and overcrowded pages, and keep valuable originals separate from decorative craft materials.
How can I involve the family without making it complicated?
Agree an annual date, invite photographs into a shared folder and give everyone a manageable task, such as choosing pictures, writing captions or decorating pages. Turn the review into a relaxed family gathering.
How can I protect privacy when sharing an album online?
Review the platform’s access settings and use named recipients or password protection where available. Remember that links can be forwarded, ask before publishing personal images and check reproduction rights before using photographs commercially.
Sources and Further Reading
- National Archives: storing family papers and photographs
- National Archives: photographic preservation
- Blurb: image resolution for printing
- Google Photos: shared album controls
- W3C: minimum text contrast
- Intellectual Property Office: photographs and copyright