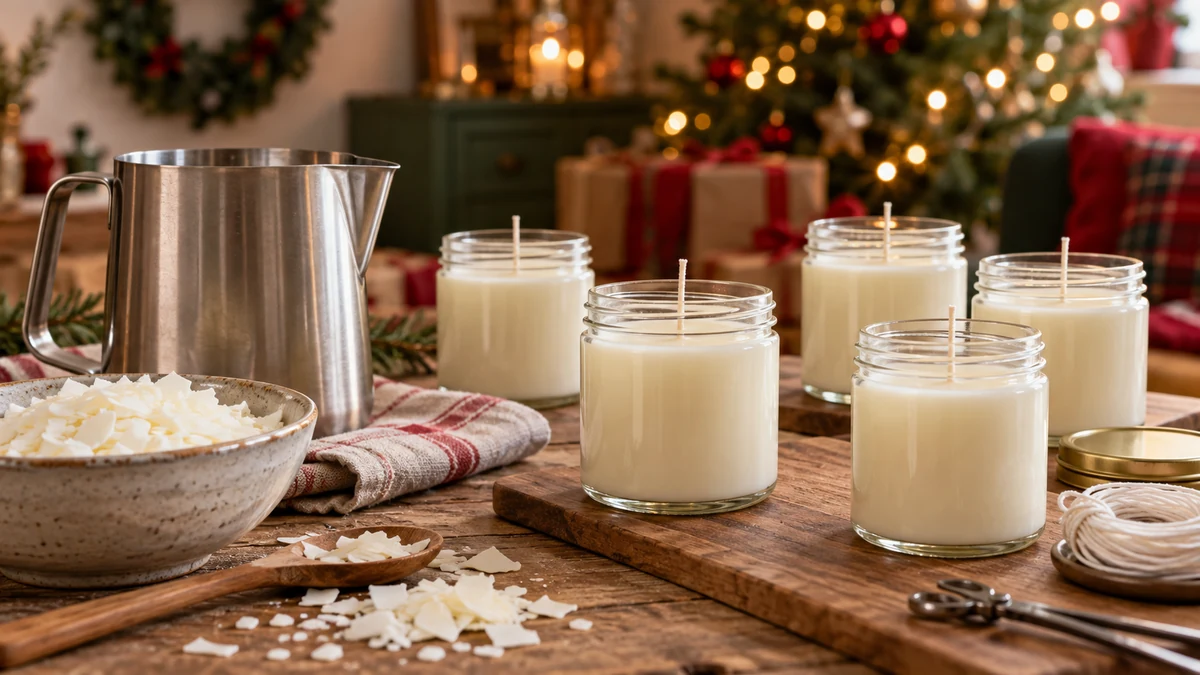
To make a Christmas wreath, choose a sturdy base, arrange foliage and decorations, then attach them using suitable ties or adhesive. Reuse materials you already own where possible and choose a secure display position away from heat.
A handmade Christmas wreath brings a personal touch to a door or wall. It can also be a practical way to use ribbons and ornaments from previous years. Here is a simple approach to planning, assembling and displaying your wreath.
Materials for a handmade Christmas wreath
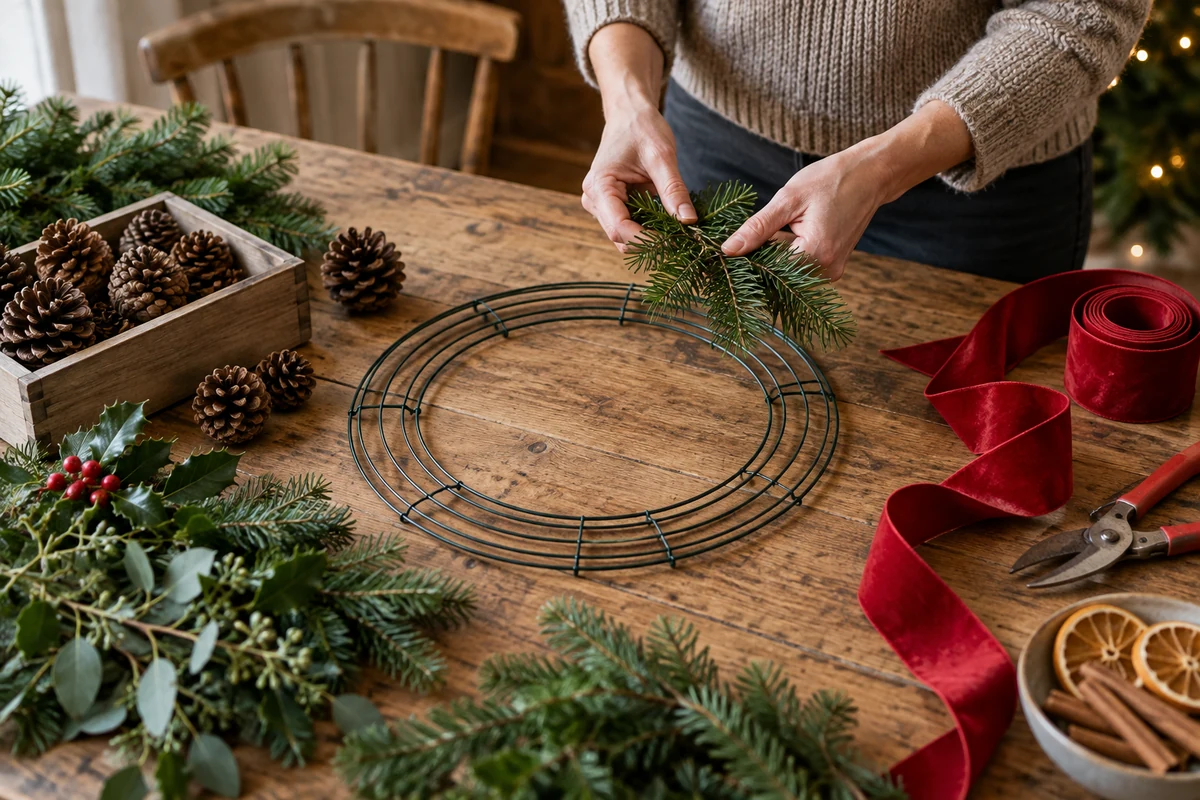
Before starting your Christmas wreath, gather the materials and decide whether it will hang indoors or outside. A reused base and a small selection of decorations are a useful starting point.
- Wreath base: Use a sound wire, woven twig or straw ring. A lightweight cardboard ring can work for a dry indoor display. Reuse an existing base if it is still sturdy.
- Foliage: Suitable conifer cuttings or artificial greenery can add volume. Identify any natural plant material and keep potentially harmful plants away from children and pets.
- Decorations: Try ribbon, dried flowers, pine cones or ornaments you already own. Avoid fragile or sharp pieces where they could be reached or knocked.
- Fixings: Twine, floristry wire or suitable craft adhesive can hold the decorations. Hot glue is optional and should be handled by an adult according to the manufacturer’s instructions.
- Scissors and tools: Use tools suited to the materials. Adults should handle wire cutters and sharp ends, with appropriate supervision for children.
- Hanging ribbon or cord: Choose a strong loop and a suitable hook or hanger that can support the finished wreath’s weight.
Lay everything out before you begin. Reusing decorations can reduce the need for new purchases, but a mixture of glued materials will not necessarily be recyclable afterwards.
Step-by-step wreath assembly

These steps for making a Christmas wreath provide a flexible framework. Adapt the fixings to your base and materials rather than relying on one adhesive for every part.
- Prepare the base: Check that the ring is clean, dry and sturdy. Remove damaged pieces and cover or turn in sharp wire ends before adding decorations.
- Attach the foliage: Arrange small bundles in one direction and overlap them around the ring. Secure them with appropriate ties or fixings. If using glue, follow its instructions and keep fingers away from hot adhesive.
- Add the ornaments: Place pine cones, ribbon and other pieces before fastening them. Distribute the weight sensibly and use stronger fixings for heavier decorations.
- Add a bow: Choose ribbon that suits the colours and tie or attach it firmly. The bow can sit at the top, bottom or side, depending on your design.
- Check the arrangement: Look for loose ornaments, gaps you want to fill and any exposed wire ends. Let adhesive set fully before moving the wreath.
- Fit the hanging loop: Tie a strong ribbon or cord securely around the base, or use a hanger designed for it. Do not rely on a small patch of glue to carry the entire weight.
Your handmade Christmas wreath is ready to display once the fixings are secure and the chosen support is suitable.
Decoration ideas for your wreath

Once the base is ready, personalise your Christmas wreath with a few decorative details. Choose elements that work together without making the ring too heavy.
- Dried flowers: Small dried flower heads can add texture. They are fragile and combustible, so use them away from flames and heat sources.
- Fairy lights: If adding lights, choose a suitable undamaged LED set and follow its instructions. Outdoor displays need outdoor-rated equipment. Keep battery compartments secure and turn lights off when unattended or overnight.
- Fruit-inspired details: Dried orange slices or reusable fruit-shaped ornaments can add colour. Fresh fruit can spoil and add weight; inspect any natural materials regularly.
- Reused ornaments: Give old decorations or fabric scraps a second use. Removable ties can make the wreath easier to dismantle and reuse next year.
- A short greeting: Add a small sign reading “Merry Christmas” or “Season’s Greetings”, or leave the wreath without lettering for a simpler finish.
- Contrasting textures: Combine ribbon, felt, jute or woven materials. Start with a limited palette so that the different textures remain easy to see.
Try the arrangement on a table before fixing it in place. You can remove elements as well as add them; a simple wreath can be just as effective.
Adapting a wreath to different styles
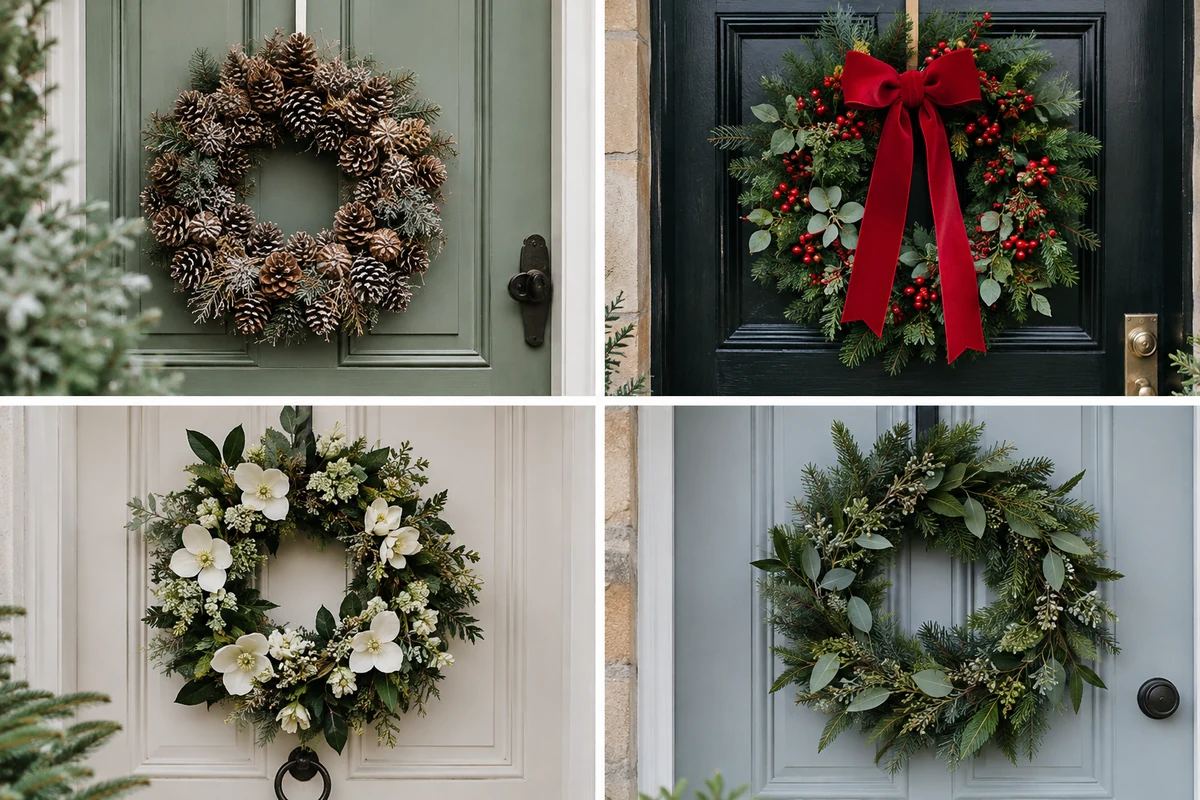
There are many ways to adapt a Christmas wreath to your decorating style. These ideas are starting points rather than fixed rules.
- Rustic: Combine a twig or woven base with pine cones, jute and simple ribbon. Keep natural materials away from heat and check that they are dry and sound.
- Contemporary: Leave part of the ring exposed and use a few geometric ornaments. Neutral colours with restrained gold or silver details can work well.
- Traditional: Use red, green and gold with a generous bow and familiar baubles. Reusing treasured ornaments gives the wreath a connection to previous Christmases.
- Minimal: Choose a plain base and one or two noticeable details. A small foliage cluster or a single bow may be enough.
- Vintage: Combine older decorations with ribbon in retro colours or patterns. Check delicate pieces for damage before using them.
- Relaxed and textured: Mix fabric, cord and dried flowers for an informal arrangement. Use materials you already own where possible rather than buying a whole new set.
Take inspiration from your room, but feel free to combine styles. The wreath does not need to follow a trend to feel personal.
Assembly and finishing tips

A few checks can help your handmade wreath hold together. Consider these assembly and finishing tips before hanging it.
- Plan the layout: Arrange ornaments on the table first. Check the balance of colour and weight, especially if you are decorating only one side.
- Use adhesive appropriately: Match the glue to the materials and follow its drying instructions. An adult should manage hot glue, keeping the tool on a suitable stand and away from children.
- Check each fixing: Once adhesive has set, gently check that decorations are secure. Refasten loose items with suitable ties or fixings rather than simply adding more weight in glue.
- Build up layers: Place smaller details between larger ones to add depth. Leave space around lights and keep the overall weight within the support’s limit.
- Finish with ribbon: A bow can hide a join or bring the colours together. Keep its decorative role separate from the strong loop that supports the wreath.
- Make a final inspection: Check the front and back for loose pieces, sharp ends and trailing cords. Make sure doors and windows still open and close properly.
These checks help make the wreath more practical to use and store. Its lifespan will depend on the materials, weather exposure and how it is looked after.
Where to display a Christmas wreath
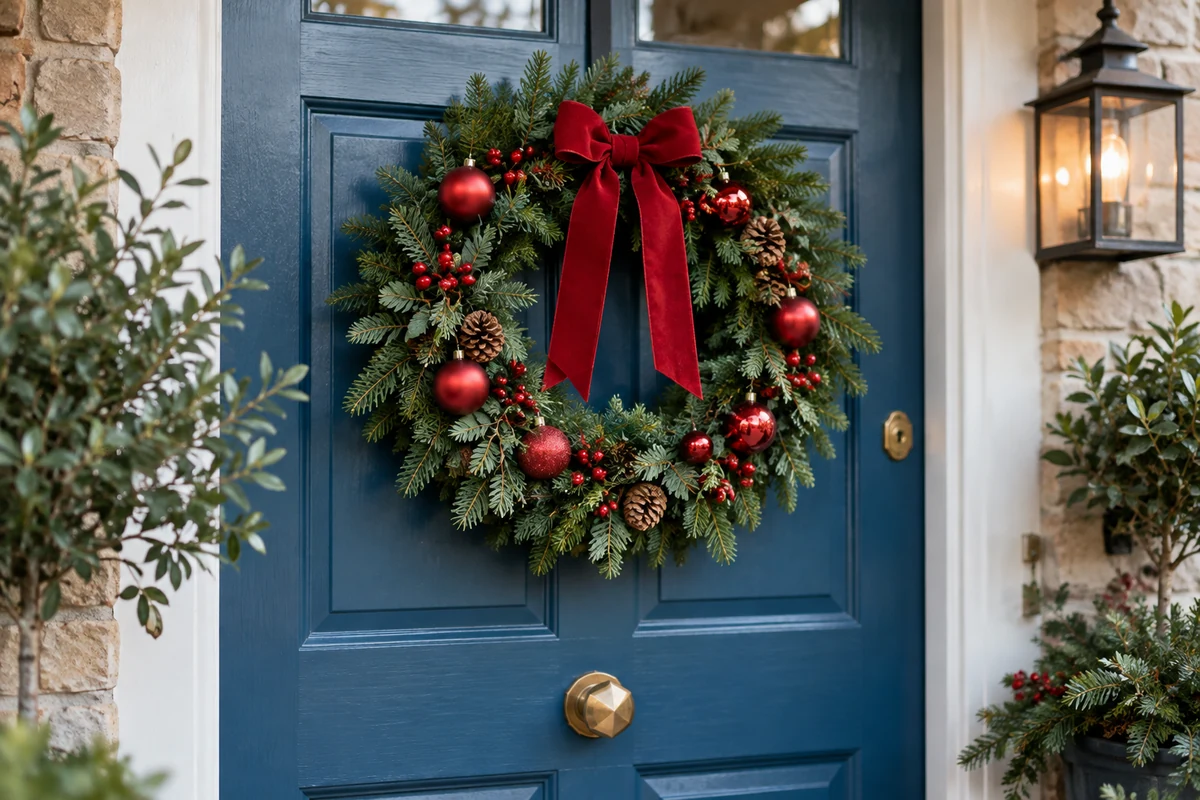
Choose a position for your handmade wreath that suits its weight and materials. These display ideas can work when the support and surroundings are appropriate.
- On the front door: Use a suitable door hanger and materials that can tolerate the conditions. Keep the door’s closing mechanism, locks and any viewing panel unobstructed.
- On a sitting-room wall: A secure hook suited to the wall and wreath weight can create a focal point. Avoid positions where people could knock it.
- Near a fireplace: Choose a separate wall or another cool position away from flames, sparks and heat. Do not hang combustible decorations over an active fire.
- At a window: Use a suitable support without blocking ventilation or an escape route. Keep loops and cords out of children’s reach.
- Beside a mirror: A wreath can complement a mirror, but avoid stressing the glass or relying on an unsuitable adhesive hook. A secure adjacent wall fixing may be more practical.
- As a table centrepiece: A low wreath can frame flameless LED candles. Keep loose decorations away from food and never put a naked flame among foliage, ribbon or dried materials.
Choose the display position before finalising the design. An indoor paper wreath, for example, will not cope well with rain on an exposed door.
Enjoy making a wreath your own
A handmade Christmas wreath offers a way to bring familiar decorations together in a new arrangement. Choose a sound base, secure the pieces carefully and adapt the design to its intended position.
Keep the process enjoyable and work with the materials you have. A few well-chosen details can be enough to make the wreath feel festive.
After Christmas, separate reusable pieces where possible and store them dry. Check local recycling guidance for anything that cannot be reused, particularly mixed or glued materials.
FAQ — Making a handmade Christmas wreath
What materials do I need?
A suitable base, foliage or other covering, decorations, appropriate ties or adhesive, scissors and a strong hanging loop are the basics. Choose materials suited to an indoor or outdoor display.
How can I personalise my wreath?
Use colours, ribbon and ornaments that suit your home. A short greeting, dried flowers or a few suitable LED lights can add detail without overcrowding the design.
What is the best way to hang a wreath?
Secure the hanging loop to the base and use a support rated for the finished weight. Check the fixings and keep the wreath clear of heat, door mechanisms and escape routes.
Can I reuse decorations from an old wreath?
Yes, if they are in good condition. Reusing them can avoid new purchases, and removable fixings make it easier to use them again.
How should I look after the wreath?
Check for loose fixings, dust, damp and deteriorating natural materials. Follow any light-set instructions and replace damaged items rather than continuing to use them.
Will a handmade wreath last for several years?
A reusable base and durable ornaments may last for several seasons when stored dry. Fresh foliage and other natural details will need separate care or replacement.
Sources and Further Reading
- Christmas electrical safety — Electrical Safety First
- Candle safety — London Fire Brigade
- Christmas pet safety — RSPCA