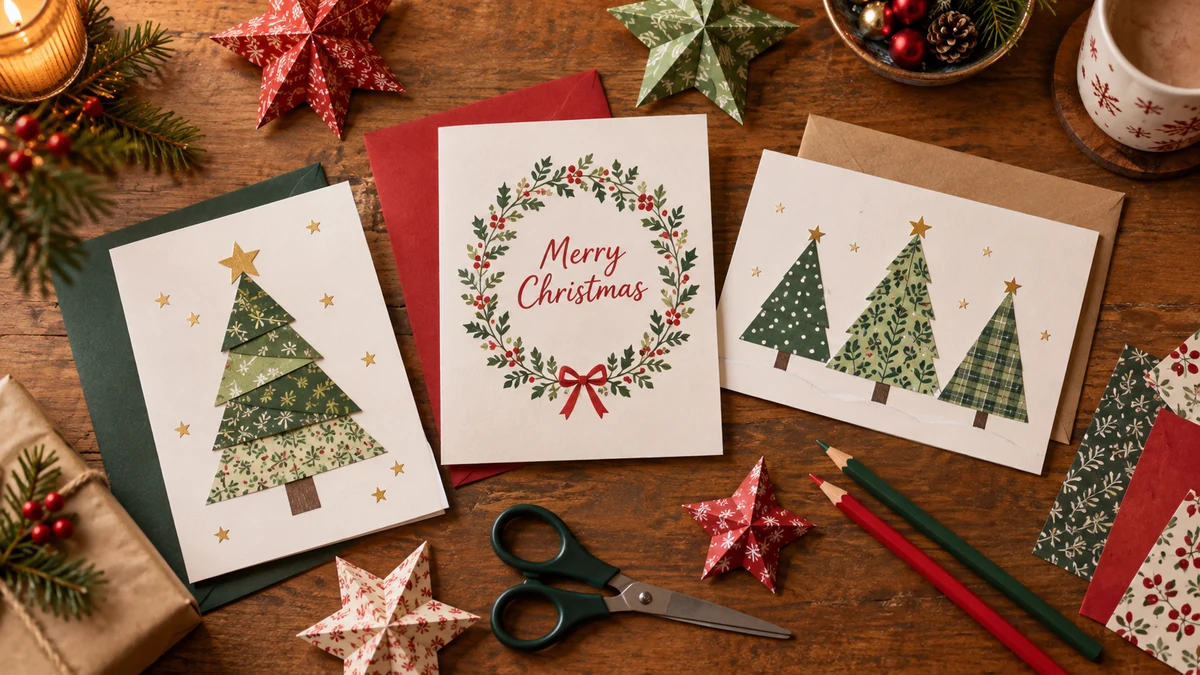
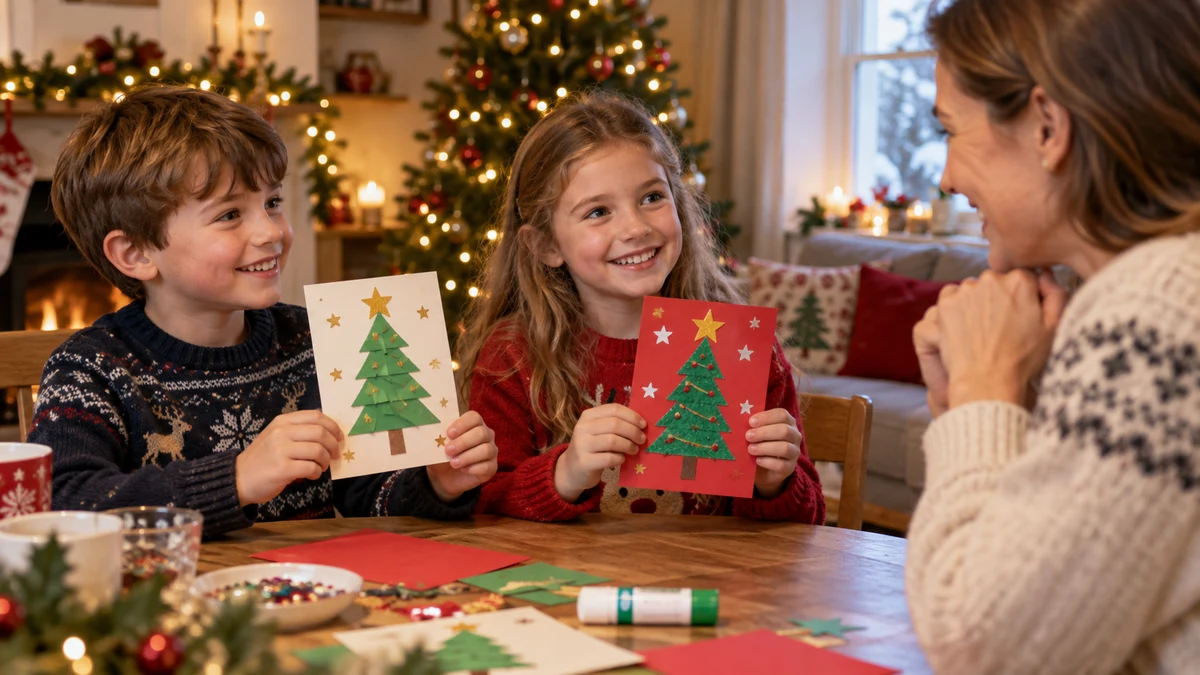
Handmade Christmas cards give children a creative way to send a personal greeting. Start with folded card, suitable pens and simple paper shapes, then add a message in the child’s own words. Adults can help with cutting and addressing while leaving the design choices to the child.
Making handmade Christmas cards with children can be a relaxed festive activity rather than a project that has to look perfect. A cheerful drawing and a few personal words are enough. Here is a practical guide to materials, simple steps and messages you can adapt.
Christmas cards as a seasonal tradition
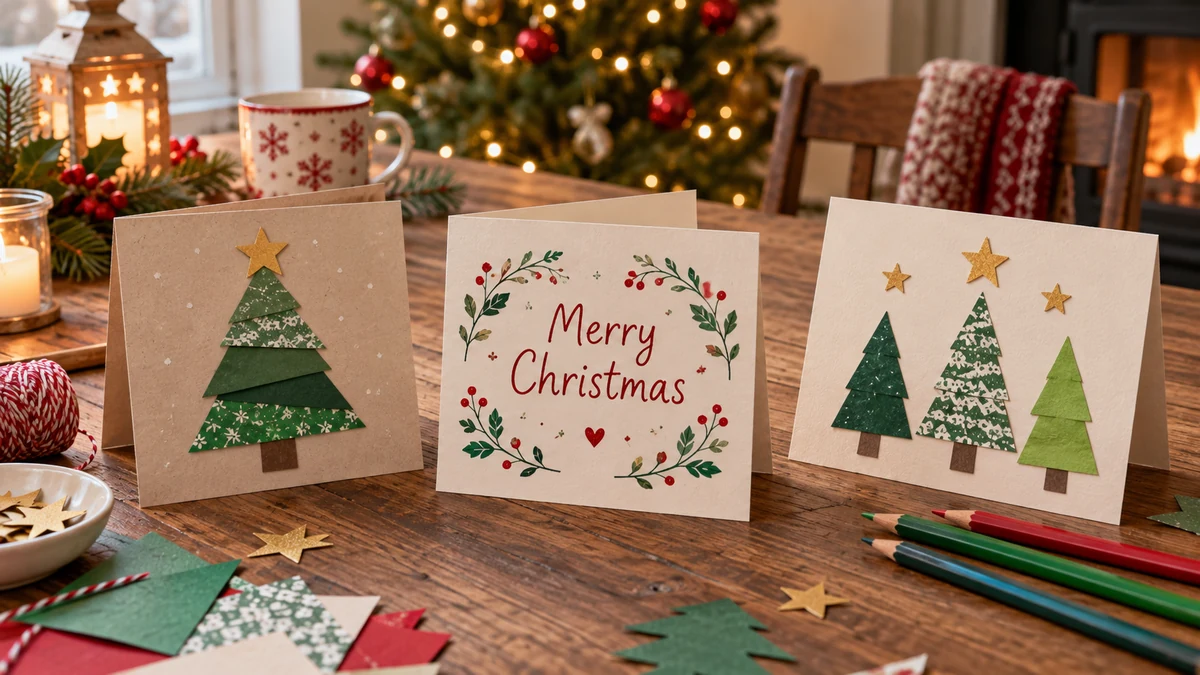
Sending Christmas cards gives people a way to exchange news and good wishes, particularly when they cannot meet. A personal greeting can express the spirit of the season in a form the recipient can keep, although not every family follows the same tradition.
A short history of Christmas cards
The V&A traces the first Christmas card to 1843, when Henry Cole commissioned an illustrated design from John Callcott Horsley. Printed cards became more widely used during the Victorian period. Today, handmade cards sit alongside printed and digital greetings as different ways to stay in touch.
Why a personal card can matter
A card can be a tangible reminder of connection. Its meaning may come from a familiar handwriting style, a shared joke or a drawing chosen for the recipient. A thoughtful message can be welcome without needing to be elaborate or expensive.
Letting the sender’s personality show
The colours, pictures and words can reflect the person making the card. For children, that might mean a favourite animal in a Christmas hat or an unusually coloured tree. A handmade card does not need to imitate a shop-bought design to be worth sending.
Materials for handmade cards
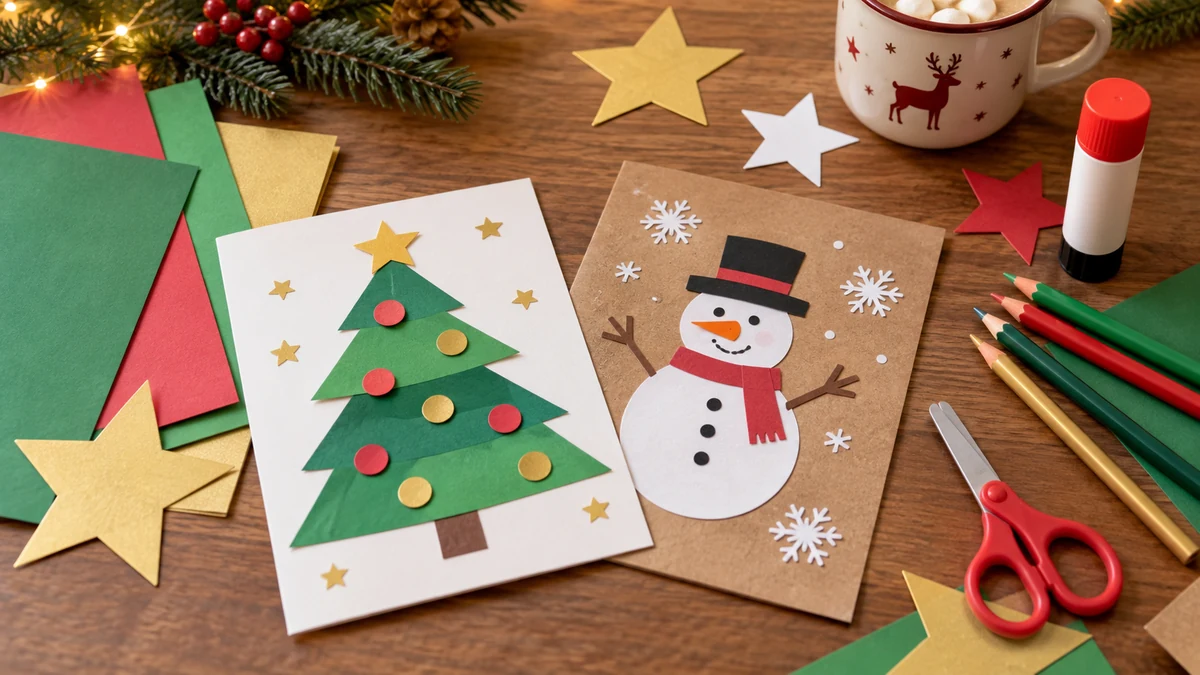
You need only a few materials to make handmade cards. Match the tools to the child’s age and prepare anything difficult before the session begins:
Card and paper
Choose card sturdy enough to fold and stand, plus clean paper scraps for decoration. Reused materials can work well if they are in good condition. Check that the finished size will fit an envelope you have available.
Cutting tools
Use age-appropriate scissors under supervision. Adults should handle craft knives, sharp punches and difficult cutting, away from children’s hands. Pre-cut shapes are a useful option for younger children.
Glue and tape
A suitable glue stick is often enough for paper layers. Use child-appropriate products according to their instructions, and avoid instant adhesives, hot glue and strong solvents in a children’s card-making session.
Pens and colouring materials
Provide washable pens, pencils or other suitable colouring materials. Thick pens may be easier for younger hands to use, while older children may enjoy finer detail. Leave room for a message inside the card.
Simple embellishments
Paper shapes and drawings can provide plenty of texture and interest. Buttons, beads, gems and loose ribbon are small-part or entanglement hazards for younger children, so leave them out where they are unsuitable. Flat designs are also easier to post.
Step by step: a simple Christmas card
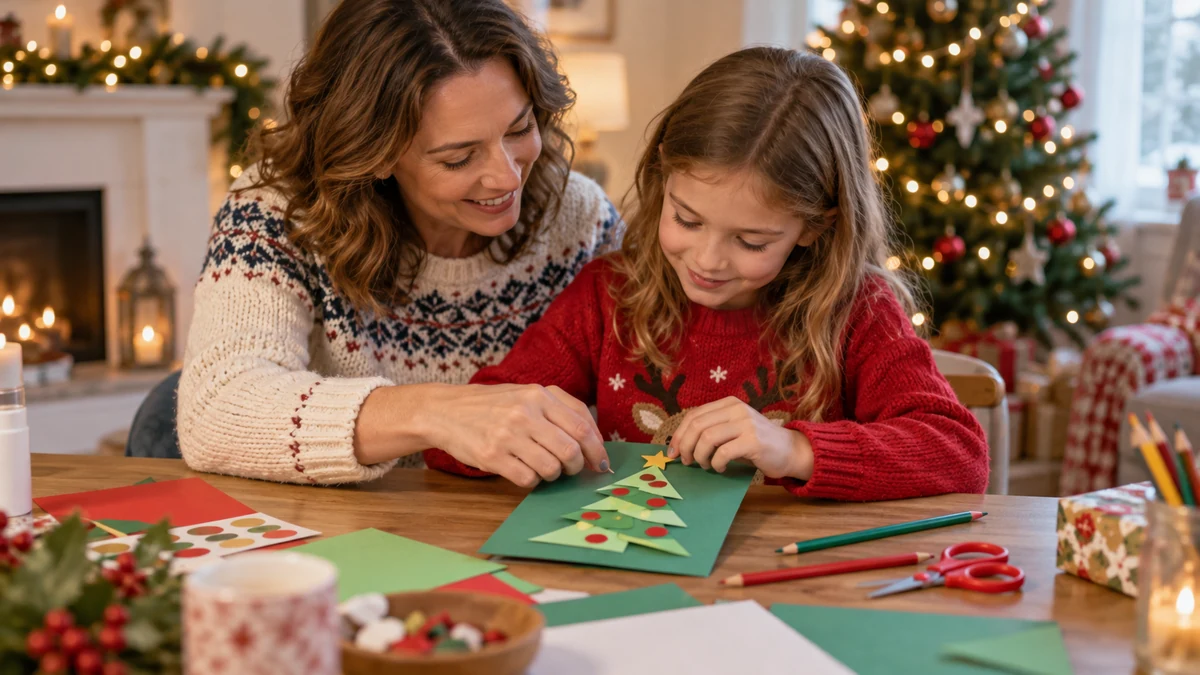
To make a creative Christmas card, choose a straightforward design and work through these steps at the child’s pace. There is no need for every card to be identical:
Choose a design
Ask who the card is for and what that person might enjoy. A tree, star, snowman or favourite animal can be a starting point. Sketch lightly first if helpful, or let the child begin directly with a drawing.
Prepare the card
Fold one piece of card in half to make the base. If adding a paper panel to the front, cut it slightly smaller so a border remains. Adults can prepare the base for children who are not yet comfortable cutting.
Make the picture
Draw, colour or arrange paper shapes on the front. If using a downloaded picture, choose one you have permission to reproduce. Original drawings and simple cut-outs avoid the need to copy someone else’s finished design.
Assemble the layers
Place the pieces before gluing so the child can try different arrangements. Attach the lowest layer first, using a small amount of suitable glue, then add the remaining shapes. Keep the fold clear so the card opens easily.
Write a message
Add a personal greeting inside. ‘Merry Christmas’ or ‘Season’s greetings’ can be followed by a sentence about the recipient. Younger children can dictate a message for an adult to write or sign with a drawing.
Allow it to dry and finish
Let glue and colouring materials dry fully, then check that everything is secure and the card fits its envelope. Avoid aerosol fixatives or varnish sprays for this children’s activity; suitable pens and a little drying time are enough.
Personalising each card
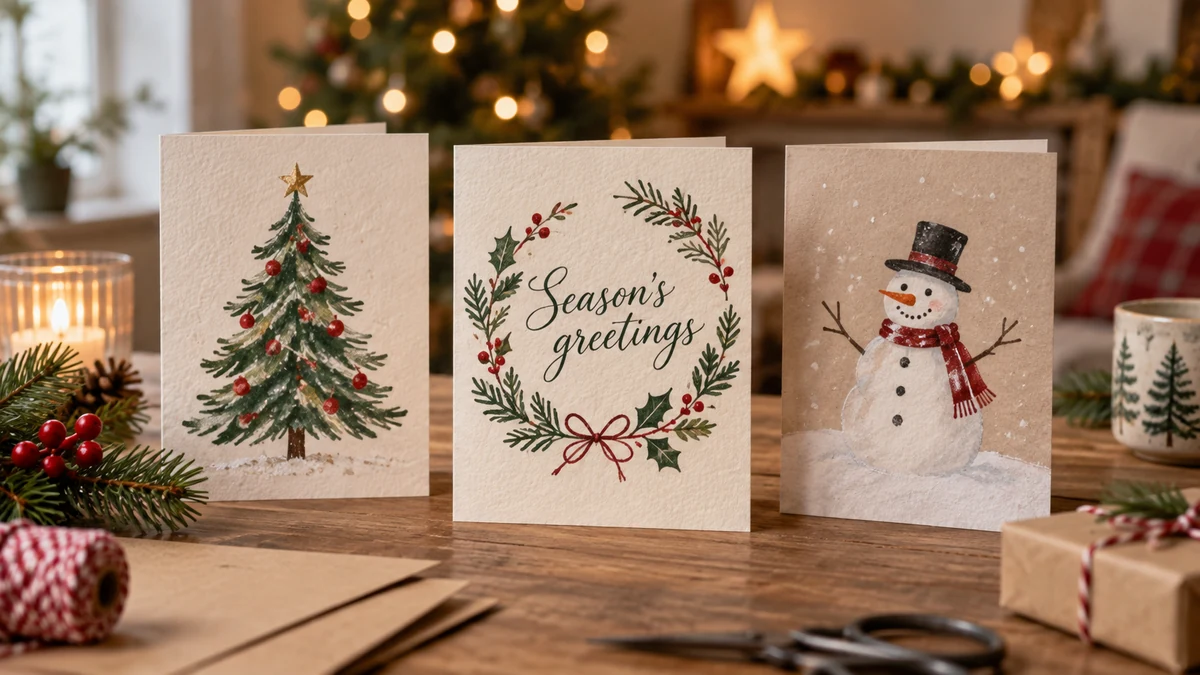
Personalising Christmas cards can be the most enjoyable part. Try these individual touches without turning the project into a complicated production line:
A photograph with permission
A small photo of a shared occasion can suit a card for someone close. Ask the people pictured, and a parent or carer where appropriate, before using it. Avoid sharing the finished card publicly if it reveals addresses or other personal details.
A handwritten note
Write a sentence that belongs to this recipient: thank them for a visit, recall a favourite game or say you look forward to seeing them. Imperfect handwriting does not make a sincere message less valuable.
Personal colours and patterns
Let children choose colours they enjoy or use a favourite colour of the person receiving the card. Stripes, dots and a simple border can give each card its own character without extra supplies.
A folded-paper detail
Older children may enjoy a simple folded tree or paper tab that lifts slightly from the surface. Check that it still fits the envelope. Keep bulky or delicate creations for hand delivery rather than forcing them through the post.
A greeting in another language
A familiar greeting in the recipient’s language can be thoughtful. Check the spelling and meaning first, and pair it with the child’s own message rather than using a phrase nobody understands.
Nature-inspired pictures
Draw a sprig, leaf or pine cone instead of attaching loose natural material. This keeps the card flatter and avoids shedding pieces. For cards sent abroad, check the destination’s rules before including plant material or other unusual contents.
Messages to write in Christmas cards
A message in a Christmas card can be short and still feel personal. These sample greetings are original examples to adapt to the person and the way they celebrate:
A cheerful wish
‘Wishing you and your family a lovely Christmas, with plenty of time for the things you enjoy.’
A message of thanks
‘Thank you for being part of my year. I hope we can share more happy moments in the next one.’
A peaceful Christmas
‘Wishing you a peaceful Christmas and a warm welcome wherever you spend it.’
Season’s greetings
‘Season’s greetings! I hope the new year brings good company and something to look forward to.’
A light-hearted message
‘Merry Christmas! May your biscuits stay crunchy and your fairy lights untangled.’
A short verse
‘A little card, a wish for you: warm Christmas moments, old friends and new.’
An encouraging thought
‘Sending a little Christmas cheer and a hopeful wish for the year ahead. I’m glad to know you.’
Enjoy the process as well as the finished card
Making handmade Christmas cards gives children a chance to create something for another person. The drawing, choice of colour and message can all be their own, with an adult helping where needed.
Keep materials simple, tasks manageable and expectations flexible. Making two cards thoughtfully may be more enjoyable than trying to finish a large pile in one sitting.
Once the cards are ready, check addresses and current postal guidance if you are sending them. A small personal greeting is enough; it does not need to be perfect to be appreciated.
FAQ: handmade Christmas cards with children
What materials do we need?
Start with folded card, paper scraps, suitable pens or pencils, age-appropriate scissors and a glue stick. Adults should prepare difficult cuts and keep unsuitable tools or small parts away from younger children.
How can we personalise the cards?
Use an individual drawing, a handwritten or dictated message, favourite colours or a photograph used with permission. A personal detail matters more than adding lots of decorations.
What should the message say?
A simple greeting plus a sentence about the recipient works well. Children can thank someone, recall a shared moment or say what they look forward to doing together.
What sort of design should we choose?
A tree, star, animal or colourful pattern can all work. Let the child choose within their abilities and keep enough clear space for a message and a fold that opens properly.
How can we make a card feel original?
Include a detail that connects the sender and recipient, such as a shared joke, a favourite colour or a checked greeting in another language. You do not need complicated techniques or expensive materials.
Where can we find ideas?
Look at craft books, family cards or simple shapes in nature. Use other designs as inspiration rather than copying them exactly, and check permission before reproducing a downloaded picture.