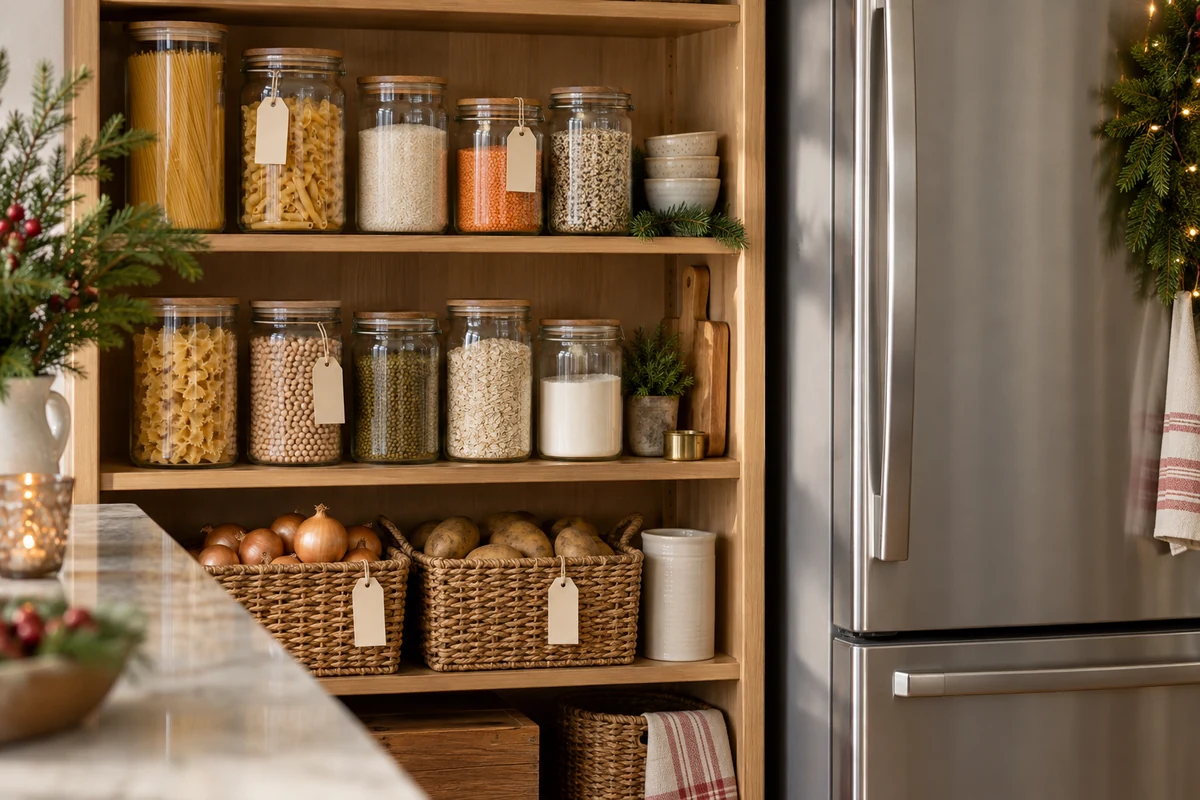
Organising your pantry for Christmas starts with a menu and stock check, followed by clear labels, manageable portions and suitable storage. Keep raw food separate from ready-to-eat dishes, follow use-by dates and plan cooling, freezing and reheating carefully. A tidy kitchen helps you use what you have and makes the celebration easier to prepare.
When you organise your pantry for Christmas, you give yourself a calmer starting point for the festive meal. Here are practical ways to plan shopping, look after ingredients and make room in the fridge when family is coming round.
Illustrations in this article are conceptual images, not documentary photographs or evidence of a particular historical event, destination, venue or access route.
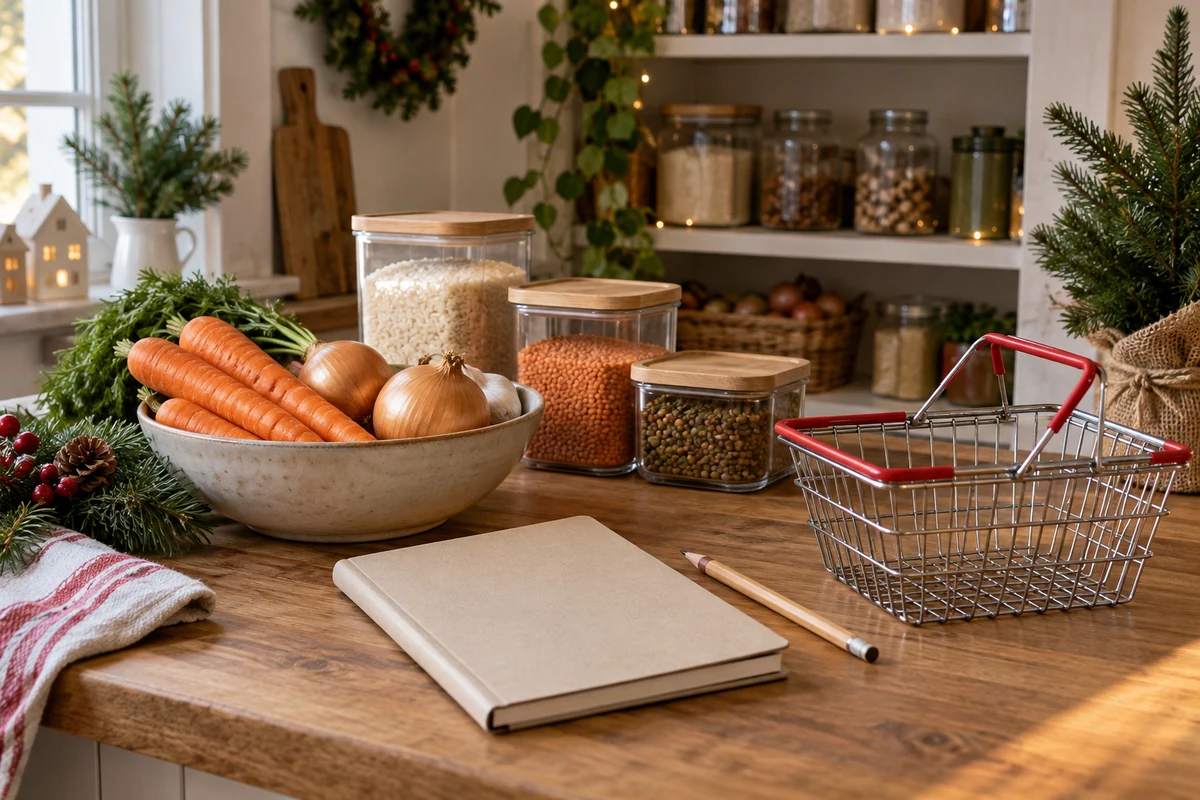
Planning ahead helps reduce last-minute shopping and waste. Check your supplies, make a list and choose a menu you can prepare comfortably.
Building your shopping list
Group the list by category to make shopping easier and keep track of spending.
- Meat and other main dishes: an allowance of 250–300g per adult may be a rough purchasing starting point for some raw boneless roasting cuts, not a universal serving size. Adjust for bones, the recipe, appetites and other dishes; follow the supplier’s portions guide for a whole bird.
- Side dishes: around 150g per person can be a starting estimate for one accompaniment, such as rice, farofa or mash, rather than a fixed allowance for every side combined. Plan the whole plate and avoid multiplying full portions across many dishes.
- Desserts: around 100–150g per person may suit some desserts, or choose a sharing dish with a stated yield. Adjust for richness and preferences.
- Drinks: ask what guests would like and provide plenty of water and alcohol-free choices. An initial 300–400ml per person of juice or soft drink is only a planning example, not the total fluid allowance for an evening. Buy alcohol according to preferences rather than treating it as a required serving.
- Cupboard ingredients: check tins, flour, sugar and seasonings against the recipes. Add only a small contingency if you will use the extra later.
- Storage supplies: include suitable freezer bags, foil, labels and containers so that portioning and storage are easy.
Checking and updating your stock
- Take a quick inventory: check the pantry, fridge and freezer, noting quantities, dates and storage instructions.
- Prioritise the earliest date: put food that needs using soon at the front. This is first-expiring, first-out; first-in, first-out is helpful where dates are otherwise equivalent.
- Identify gaps: mark ingredients that are missing or insufficient and update the shopping list straight away.
- Consider substitutions: note affordable alternatives that genuinely work in the recipe. Seeds are not automatically suitable for someone with a nut allergy, and coconut milk changes both flavour and texture when replacing cream.
- Use simple labels: record opening dates and retain the manufacturer’s use-by and after-opening instructions rather than inventing a new shelf life.
Choosing a practical, balanced menu
Choose dishes that fit your kitchen as well as your tastes. Make-ahead recipes are useful only if you have suitable cooling, storage and reheating arrangements.
- Choose manageable sharing dishes: a roast, gratin or stew may suit a group. Plan how each will be cooked and served rather than leaving it lukewarm while you prepare the rest.
- Include a vegetarian option: a pulse-based or mushroom dish can add variety; check every ingredient against guests’ dietary needs.
- Plan the preparation schedule: identify dishes that can be frozen ahead and which need fresh preparation. Do not assume every sauce, dessert or marinated meat will keep safely in the fridge for two or three days.
- Share tasks: ask relatives to help with simple preparations, arranging dishes or labelling containers, with separate handling for raw and ready-to-eat food.
- Try unfamiliar recipes first: make a small test portion before Christmas to check flavour, timing and equipment needs.
A checklist for seven to ten days before Christmas
- Review the menu and confirm how many guests are coming, including dietary requirements.
- Check existing supplies and complete the list of cupboard ingredients.
- Buy and freeze suitable ingredients or dishes according to their instructions, before any use-by date expires.
- Plan fridge and freezer space, clearing shelves where needed without interrupting safe storage.
- Prepare labels and suitable bags or containers so that you can divide food into sensible portions.
Saving time and reducing stress
- Buy larger packs only when worthwhile: compare unit prices and storage requirements. A bulk purchase is not a saving if it goes unused.
- Plan for leftovers: safely cooled and stored food may become a next-day salad, filling or pie. Follow the storage and reheating guidance below.
- Be realistic: a few well-prepared dishes are easier to manage than too many unfinished ones.
- Use a simple digital record: a photograph of the shelves or a basic checklist can prevent duplicate purchases.
Organising the pantry by category and date
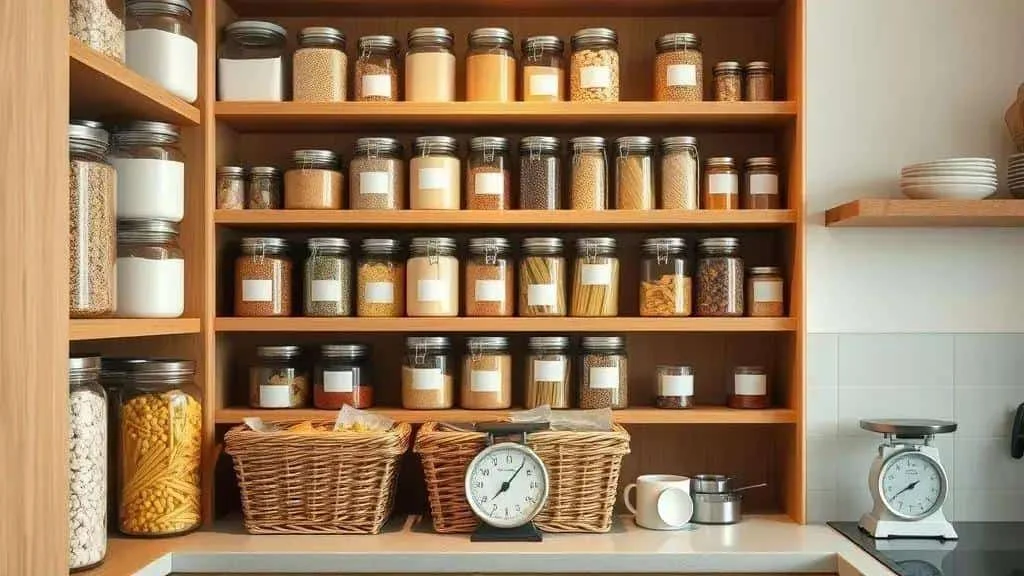
Grouping cupboard ingredients by type and date makes them easier to find and use before they are forgotten.
Useful categories
- Grains and cereals: use clean, dry, food-safe containers with well-fitting lids, and follow the package’s storage instructions. Keep them away from direct sunlight and moisture.
- Flour and starches: use sealed containers, retain the original label details and record the opening date. Choose a cool, dry storage area appropriate for the product.
- Dried beans and lentils: keep in sound, well-sealed packaging or suitable lidded containers. Inspect for damage or pests rather than assuming vacuum or zip bags prevent every infestation.
- Tinned and jarred food: group similar items and keep dates visible, with stacks low enough to be stable.
- Oils and fats: follow the label, keeping suitable products in a cool, dark place and closing containers after use.
- Spices and seasonings: keep frequently used items accessible and clearly labelled; protect dry seasonings from steam and moisture.
- Sweets and snacks: group them in labelled boxes so you can see what you already have.
- Occasional and seasonal supplies: store lighter, less-used items higher up, in boxes that are easy to identify.
Stock rotation and clear labels
- Check every package: a use-by date concerns safety; a best-before date concerns quality. Follow storage instructions and do not eat food after its use-by date because it looks or smells acceptable. Source: GOV.UK: food labelling and dates
- Rotate stock: keep the earliest-dated suitable items at the front and later-dated ones behind.
- Label simply: note the opening date and relevant storage deadline. Coloured dots can help with organisation, but keep the actual written details.
- Decant carefully: transfer dry ingredients into clean containers where useful, retaining ingredient, allergen and date information. Avoid mixing old and new batches without tracking them.
- Review regularly: a brief monthly cupboard check helps prevent surprises when you start cooking.
Containers and labels
- Glass jars with lids: useful for suitable dry ingredients, provided they are clean, dry and stored away from unsuitable heat or light.
- Opaque lidded containers: useful when the product needs protection from light; an open mug is not a substitute for sealed storage.
- Zip bags and modular containers: choose products rated for the intended food and temperature, especially when freezing.
- Stackable boxes: group small packs and tins without creating unstable stacks or exceeding shelf capacity.
- Removable labels: make it easy to replace old dates and descriptions completely when a container is reused.
Keeping things tidy
- Daily ingredients within reach: keep frequently used supplies at a comfortable height.
- Heavy items lower down: use upper shelves for lighter items and avoid overloading any shelf.
- Dividers and baskets: group small packets so they do not disappear behind larger containers.
- Good visibility: adequate cupboard lighting helps you read labels without moving everything. Use lighting suitable for the location.
- An updated list: note depleted ingredients on your phone or a nearby board.
A quick pantry reset
- Work one section at a time: remove the contents of a shelf and check each item.
- Clean the shelf: use a suitable cleaning method, follow product directions and let the surface dry before restocking.
- Sort by category: group similar ingredients before putting them back.
- Label containers: record opening dates and keep the original storage and allergen information.
- Restock in date order: place the items that need using first at the front.
- Take a photograph: use it as a reference for keeping the shelves organised.
Making fridge space and reducing waste
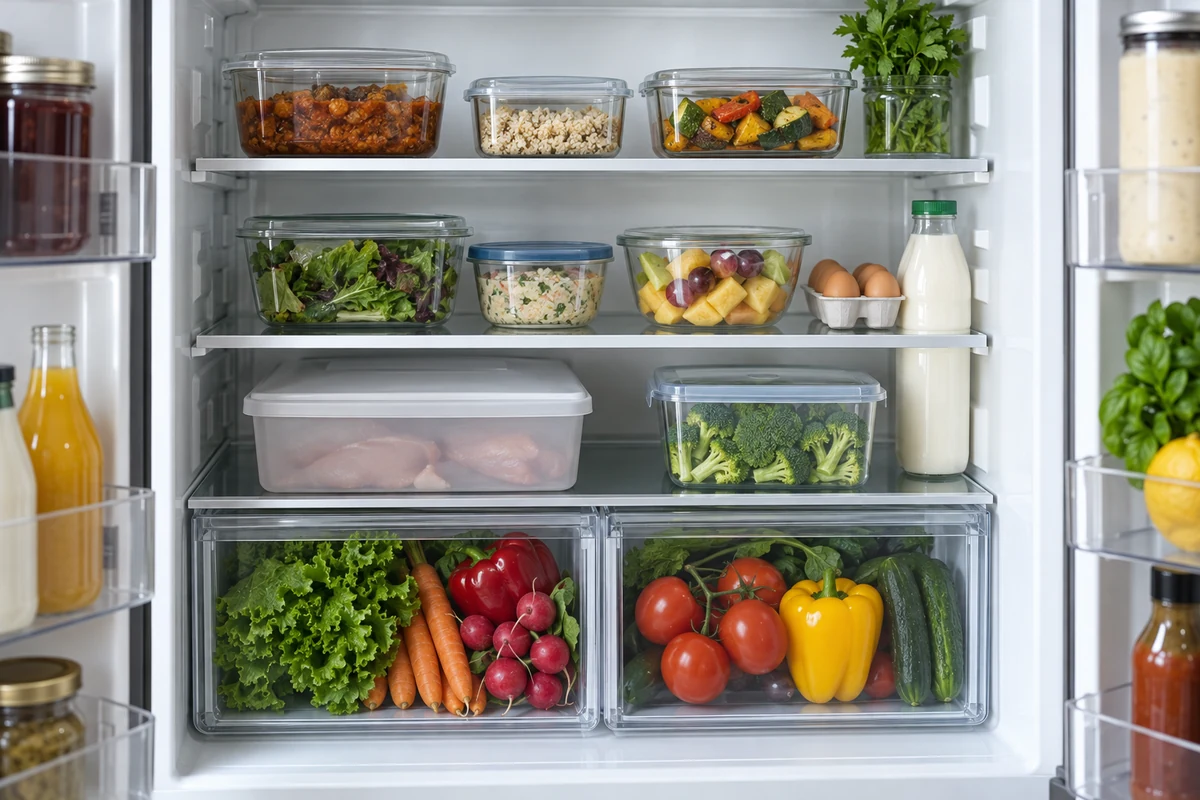
Sensible placement, packaging and portions help you see what is available without crowding the fridge or compromising food safety.
Organising fridge sections
- Ready-to-eat area: keep covered cooked dishes and ready-to-eat foods above raw meat, poultry and fish.
- Dairy products and other chilled ingredients: store according to their labels and your fridge’s guidance, maintaining the recommended temperature.
- Bottom shelf: keep raw meat, poultry and fish in covered, leakproof containers below ready-to-eat food. Cooked roast meat belongs with cooked food, not beside leaking raw ingredients.
- Produce drawers: use them as the appliance instructions recommend, adjusting humidity for the produce where possible and keeping food protected from raw meat drips.
- Door shelves: use for products suited to that location, often condiments. Follow the appliance and food-label guidance for items that need a stable chilled temperature.
Sensible packaging and portions
Use suitable stackable containers so you can identify food without opening every lid. Divide leftovers into manageable portions, cool them promptly and refrigerate within one to two hours. Eat ordinary refrigerated leftovers within 48 hours or freeze them sooner; cooked rice needs stricter handling and storage. Source: FSA: chilling, freezing and defrosting safely
- Rectangular containers: can use shelf space efficiently without blocking airflow.
- Freezer bags and trays: useful for suitable sliced foods or sauces; choose leakproof, food-safe packaging for the intended temperature.
- Clear labels: record preparation dates and the appropriate deadline, rather than relying on memory.
Reducing waste safely
- Use the earliest suitable item first: keep approaching deadlines visible, without mixing raw and ready-to-eat foods.
- Check regularly: review short-lived chilled food daily when preparing for Christmas, and plan meals around what is still safe to use.
- Reheat safely: reheat leftovers only once and make sure they are hot throughout. Reheating does not rescue food that has been stored unsafely.
Airflow and shelf space
Avoid packing shelves tightly: cold air needs room to circulate. Distribute weight sensibly while preserving the separation of raw and ready-to-eat foods.
- Use shallow baskets for small containers if they do not obstruct airflow.
- Keep frequently used ingredients easy to reach, without moving raw foods above cooked dishes.
- A suitable sliding tray can help reach items at the back; check that it does not block vents or prevent the door closing.
Everyday checks
- Create a ‘use first’ area for suitable foods approaching their deadline, while keeping raw ingredients separately contained.
- Take a fridge photograph: check it while shopping to avoid buying duplicates.
- Check the temperature: keep the fridge at 5°C or below, using a fridge thermometer, and the freezer around −18°C. Make sure doors seal properly.
- Clean routinely: wipe spills promptly and clean shelves and drawers regularly, following the appliance guidance.
Keeping Christmas food: freezing and vacuum packing
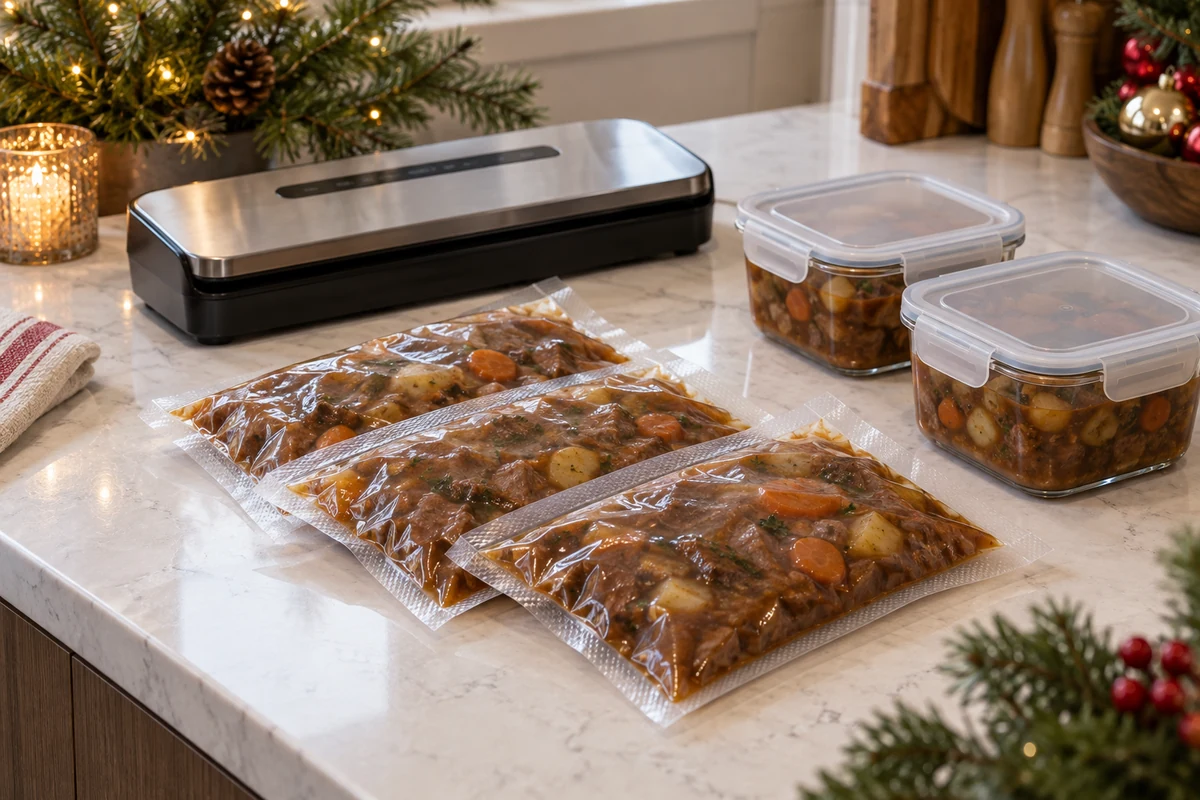
Freezing can help you prepare ahead, but it does not make unsafe food safe. Vacuum packaging is optional and does not replace correct chilling, freezing or storage deadlines.
Freezing basics
- Freezer setting: aim for approximately −18°C and follow the appliance instructions. Check that food remains properly frozen.
- Packaging: use suitable freezer bags or containers, close them securely and leave expansion space where needed for liquids.
- Portioning: freeze amounts you are likely to use together so you do not have to defrost a whole batch.
- Freezing liquids in portions: cool sauces safely, then freeze in suitable small containers or trays before transferring to a labelled freezer bag if practical.
Freezing and defrosting safely
- Cool cooked food promptly: divide large quantities into smaller containers and refrigerate or freeze within one to two hours. Do not leave a large pan out indefinitely waiting for it to become completely cold. Cool cooked rice especially quickly, ideally within one hour.
- Pack appropriately: seal portions in suitable containers and label the contents and date.
- Keep a freezer system: group categories and make the portions you plan to use soon easy to reach.
- Defrost in the fridge: follow the food’s instructions and allow enough time for it to thaw fully. For a turkey without instructions, FSA guidance allows roughly 10–12 hours per kilogram; a large bird can need several days, so one evening is not enough. Source: FSA: Christmas food hygiene
- A quicker option: use the microwave’s defrost setting only where suitable, following its instructions, and cook immediately afterwards. Do not thaw food on the worktop or improvise a shortcut for a large bird.
- Refreezing: follow product instructions. The usual household approach is to cook safely thawed raw food before freezing it again, then cool and store it correctly; avoid repeated thawing and refreezing.
Vacuum packing: when and how to use it
Vacuum packing can help reduce contact with air and freezer burn, but removing oxygen does not sterilise food. Some harmful bacteria can grow in low-oxygen conditions. Do not use a home vacuum sealer as a reason to extend a chilled food’s storage time. Source: FSA: botulism and low-oxygen storage
- Prepare and portion: handle raw and cooked foods separately and keep perishable ingredients chilled during preparation.
- Use compatible bags: choose food-safe bags approved for the sealer and intended storage method, rather than an ordinary household bag.
- Seal as instructed: keep the sealing area clean, leave the required margin and follow the machine’s operating directions.
- Label clearly: record the food, preparation or freezing date and relevant instructions.
- Handle liquids correctly: use only the machine’s approved method for moist foods or safely pre-frozen portions. Do not let liquid contaminate the sealing area or machine.
Planning freezer storage
- Raw meat and poultry: follow the product and freezer guidance for the particular cut. Freeze before the use-by date; a single four-to-twelve-month rule is not appropriate for every product.
- Cooked meat and roasts: freeze promptly in useful portions and use a food-specific storage guide. Vacuum packing does not automatically add months to a safe storage period.
- Sauces and stocks: use small, labelled portions and a tested recipe’s freezing guidance; ingredients affect both texture and storage quality.
- Cakes and desserts: check whether the complete recipe freezes well. Cream fillings and decorations can behave differently from a plain cake, so test a small portion if uncertain.
- Mayonnaise-based salads: freezing often damages the texture. Make a suitable quantity close to serving time and keep it properly chilled.
Reheating and food safety
- Heating thoroughly: use a clean probe where appropriate and a recognised time–temperature combination, such as 70°C for two minutes in the centre. Reheat only once, until hot throughout; heating cannot reliably correct unsafe earlier storage. Source: FSA: cooking food safely
- Microwave method: use a microwave-safe container and suitable vented cover if instructed, stir or turn the food and allow the recommended standing time. Check for cold spots.
- After defrosting: use food within 24 hours of fully thawing in the fridge, unless its instructions require a shorter time. Food defrosted in the microwave should be cooked immediately.
Practical Christmas tips
- Plan ahead: freeze suitable dishes before the busy period, while leaving enough room for the freezer to work properly.
- Keep a freezer list: note where things are so you can find them without searching through every drawer.
- Test unfamiliar recipes: freeze a small portion to check the texture after safe defrosting and reheating.
Packaging and practical labels for festive food
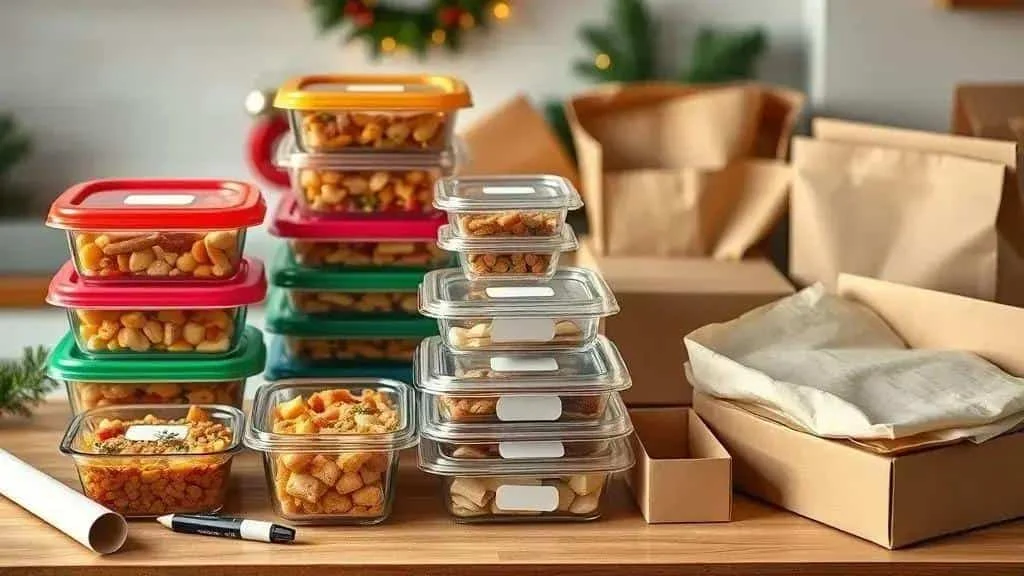
Choose packaging that suits the food, storage temperature, transport and any planned reheating. Clear labels help everyone identify the contents quickly.
Packaging choices
- Glass containers with lids: useful for many dishes, but only use them in an oven, microwave or freezer if rated for that purpose. Check the lid separately and avoid sudden temperature changes.
- Rigid plastic containers: choose food-safe products rated for the intended use. A BPA-free label alone does not mean a container is microwave-, oven- or freezer-safe.
- Freezer or vacuum bags: useful for appropriate portions. A storage bag is not automatically suitable for heating or sous-vide cooking; follow the manufacturer’s instructions.
- Lidded takeaway-style trays: can help transport food if suitable for the contents and temperature. Check whether they can be reheated and remember that metal trays are not for ordinary microwave use.
- Lined food boxes: useful for suitable pastries or baked snacks. Choose food-contact packaging with appropriate grease and heat resistance; it does not replace temperature control.
What to put on the label
A clear label reduces mix-ups. Include at least the following details:
- Dish name, such as chicken lasagne.
- Preparation date and the freezing date where applicable.
- Appropriate reheating instructions based on the recipe, portion and appliance, including checking the centre. A fixed time such as three minutes cannot suit every dish.
- Relevant allergens, such as milk or nuts, based on all ingredients used. Keep original packaging available and discuss individual needs with guests.
A colour system for labels
A simple colour code can supplement written labels:
- Red: dishes intended to be heated before serving.
- Green: vegetarian or vegan dishes, with the specific description written out.
- Yellow: desserts and sweet dishes.
Use legible, moisture-resistant labels and keep marker ink on the outside of the packaging, away from food. Colour alone is not an allergen control.
Useful labelling and packing tools
- A label printer: optional, but helpful if you are preparing many clearly dated containers.
- Suitable markers: choose ink that remains legible on the label and does not touch the food. Easily wiped-off writing is unsuitable for essential dates.
- Clips and closures: use proper food-safe bag closures; decorative ribbon is not a substitute for a leakproof seal.
- Film, foil and baking paper: use according to their intended purpose and temperature limits, choosing the material that suits the dish.
Transport, storage and serving
- Group by destination: organise boxes for the relevant table or serving area while keeping foods with different storage needs separate.
- Maintain the required temperature: use suitable cool boxes and ice packs for chilled food. An insulated bag alone does not guarantee safe hot holding; keep journeys short and check the arrangements at the destination.
- Prevent leaks: secure lids, keep containers upright and add a suitable tray where needed. Keep raw food away from ready-to-eat dishes.
- Prepare a reheating area: make suitable appliances, a clean food probe and clear instructions available to the person handling the food.
- Pack serving equipment separately: include clean utensils and oven gloves, with separate utensils for dishes where needed to avoid cross-contact.
Reducing packaging and waste
- Reusable containers: sound, washable food containers can reduce repeated purchases when reused appropriately.
- Disposable alternatives: if needed, choose suitable food packaging and check local disposal arrangements. A compostable label does not mean it can go in every household compost bin.
- Avoid excess: plan realistic portions and offer smaller helpings with the option of more.
A packing checklist for the day
- Set out clean, suitable containers and labels.
- Divide food into useful quantities for the expected guests.
- Add relevant dates, storage and reheating instructions, and allergen information.
- Group the boxes by destination and order of use, preserving the required temperature and separation.
- Keep spare labels, a suitable pen and extra secure containers ready for last-minute changes.
A preparation and storage timetable
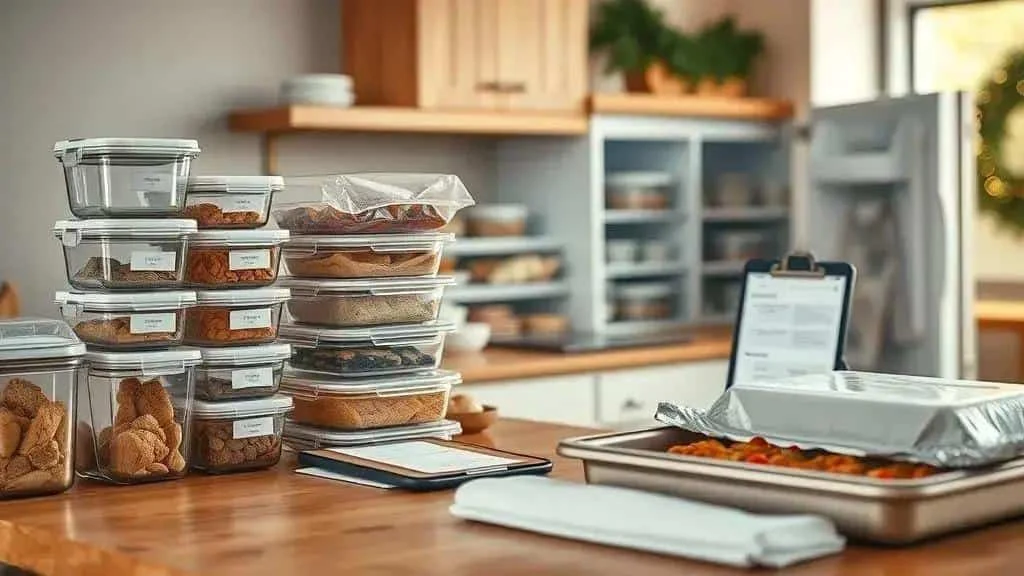
A clear timetable helps the meal come together without leaving food in unsuitable conditions. Adapt the outline below to the recipes, use-by dates and actual fridge capacity.
Seven to ten days before
- Confirm guests: finalise numbers and dietary needs so you can buy appropriate quantities.
- Finalise the menu: identify dishes that can safely be frozen ahead and those that need fresh preparation.
- Buy cupboard supplies: purchase the planned tins, flour, seasonings and drinks after checking your stock.
- Check chilled storage space: allow room for incoming ingredients and prepared dishes without overcrowding the fridge or freezer.
Three to four days before
- Plan marinades and seasonings: prepare only what the recipe and ingredients’ storage instructions allow. Do not apply a blanket 72-hour marinating period to every meat; marinating must take place in the fridge and does not extend a use-by date.
- Cook freezer-friendly components: suitable sauces, stocks or desserts can be cooled promptly, portioned and frozen following the recipe guidance.
- Prepare containers and labels: wash and dry suitable containers and have dates and instructions ready to add.
- Allocate daily tasks: share the manageable jobs among willing relatives.
One to two days before
- Prepare suitable dishes: assemble or cook recipes that fit their safe storage period and your cooling capacity. Most cooked leftovers should not be planned for more than 48 hours in the fridge; rice needs a shorter period.
- Freeze where appropriate: flat, well-sealed portions can save space. Leave room for expansion and follow the freezer’s loading guidance.
- Plan fresh accompaniments: prepare salads, leaves and mayonnaise-based dishes close to serving, following ingredient instructions and keeping them chilled.
- Check the heating plan: confirm appliance capacity and the method for each dish, including a way to check that it is hot throughout.
The day before
- Check defrosting progress: transfer smaller items to the fridge as needed. Large birds should already be thawing according to their instructions; do not leave that step until the evening before.
- Finish suitable fresh items: decorate desserts and prepare ingredients at a time that preserves both texture and safe storage.
- Assemble serving kits: group labels, utensils and appropriate transport containers by destination.
- Leave usable fridge space: plan for arriving dishes without blocking airflow or compromising the separation of raw food.
On the day: morning and the hours before serving
- Heat in a planned order: start with dishes that need longer and use suitable appliances for the portion size. Avoid repeatedly cooling and reheating the same food.
- Arrange the serving area: set out dishes and utensils. Serve promptly, or use equipment that keeps hot food at the appropriate temperature rather than merely warm.
- Check perishable foods: discard anything beyond a safe storage limit or whose storage history is uncertain.
- Share responsibilities: ask someone to arrange dishes, another to replenish drinks and another to help with clean-up.
Storage and labelling throughout the plan
- Label with dates and instructions: include the dish name, preparation or freezing date and relevant storage and reheating details.
- Use manageable portions: chill or freeze amounts that match how you will serve them, instead of repeatedly handling a large batch.
- Keep a fridge and freezer list: a quick photograph or note helps locate food without prolonged searching.
- Prioritise safe cooling: refrigerate ordinary cooked food within one to two hours, sooner when practical. For cooked rice, cool as quickly as possible, ideally within one hour, refrigerate and use within 24 hours. Source: FSA: home food fact checker
Reducing stress
- Start with small jobs: clearing a shelf or making a list early reduces pressure later.
- Simplify the menu: fewer dishes make cooking, storage and serving easier.
- Check your equipment: make sure you have enough trays, suitable containers and oven space before beginning.
- Keep an alternative plan: a suitable ready-prepared dish or simple cold option can help if plans change, provided it is stored and served correctly.
Conclusion
Organising your pantry and fridge for Christmas can save time, reduce waste and make cooking less stressful. Combine a realistic menu with clear dates and safe storage rather than relying on appearance or guesswork.
Start with lists, label containers, portion food sensibly and follow a manageable timetable. Small preparations can make the day much easier.
Thank you for reading! Explore the I Love Christmas blog for recipes, practical organisation ideas and festive inspiration.
FAQ – Organising your pantry and fridge for Christmas
How early should I start planning Christmas dinner?
Start around seven to ten days ahead with the menu and shopping. Freeze suitable components in advance, and plan chilled dishes within their safe storage limits. Allow several days for a large frozen turkey if its instructions require it.
How can I avoid running out of freezer space?
Use suitable flat bags or small containers, organise portions by date and keep a simple list of their locations. Do not overload the appliance or freeze more at once than its instructions allow.
Which containers are best for storage and reheating?
Use food-safe containers specifically rated for the intended freezer, fridge, oven or microwave use. Check lids as well as bases: not every glass container is heatproof, and a BPA-free plastic label does not make it suitable for heating.
What should I put on food labels?
Write the dish name, preparation or freezing date, appropriate storage and reheating instructions, and relevant allergens. Keep original ingredient information available; use colours only as an extra organisational aid.
How should I reheat leftovers for the meal?
Reheat safely stored leftovers only once, until hot throughout. A clean probe can check a recognised combination such as 70°C for two minutes. Stir or turn microwave portions and follow standing instructions; reheating cannot make badly stored food safe.
Sources and Further Reading
- FSA: chilling, freezing and defrosting safely
- FSA: cooking food safely
- FSA: home food fact checker
- FSA: Christmas food hygiene
- FSA: botulism and low-oxygen storage
- GOV.UK: food labelling and dates