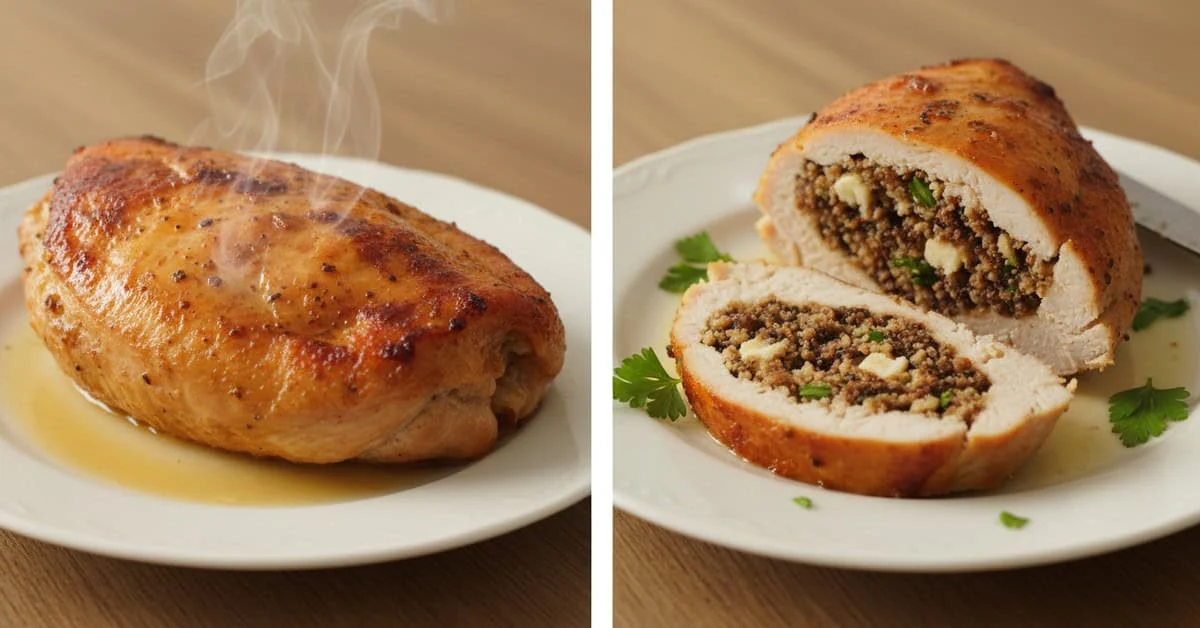
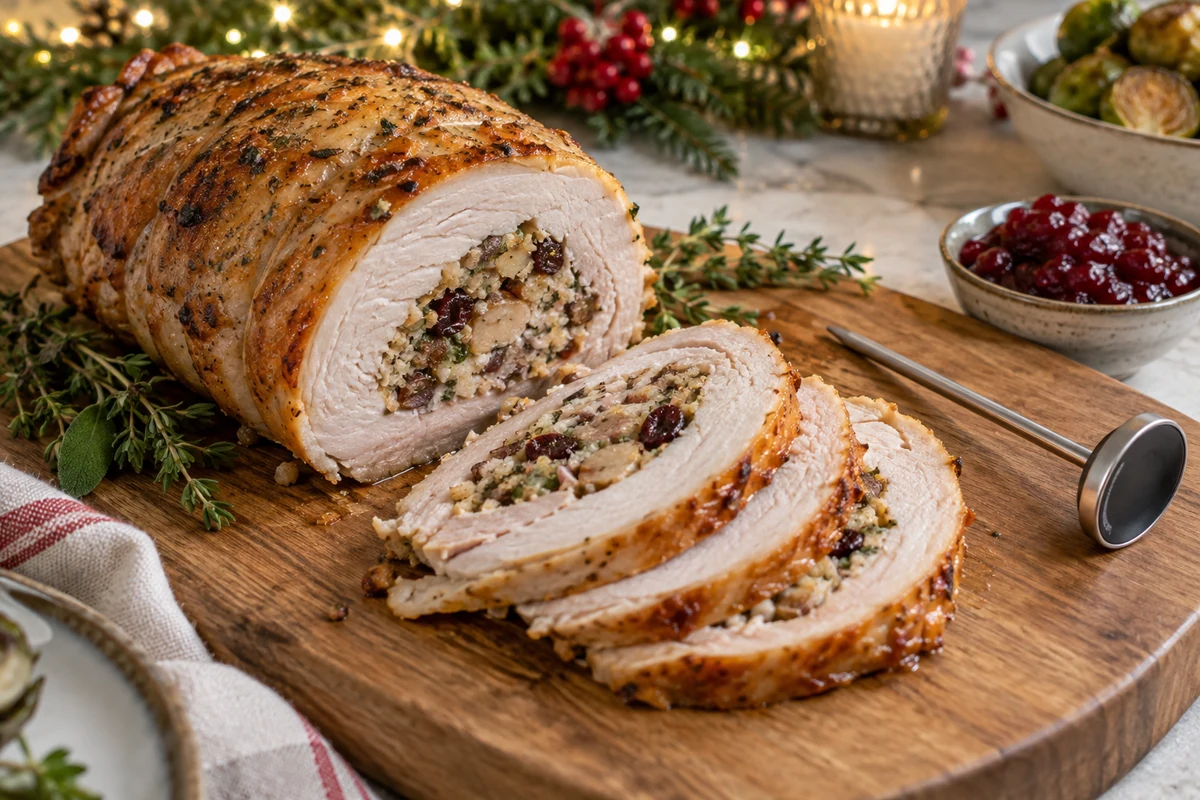
Stuffed boneless turkey breast makes a festive roast that is easy to carve. This version uses vegetables, cranberries, nuts and bread crumbs, rolled inside an opened breast and roasted until both the meat and filling are safely cooked. Rest for 15–20 minutes before slicing; a thermometer is essential for checking the centre of the roll.
Christmas turkey breast can be a practical alternative to a whole bird. A boneless breast opened for rolling gives room for a colourful filling, but its thickness and the stuffing affect cooking time. Follow the preparation and temperature checks below rather than relying on appearance alone.
Ingredients for Stuffed Boneless Turkey Breast
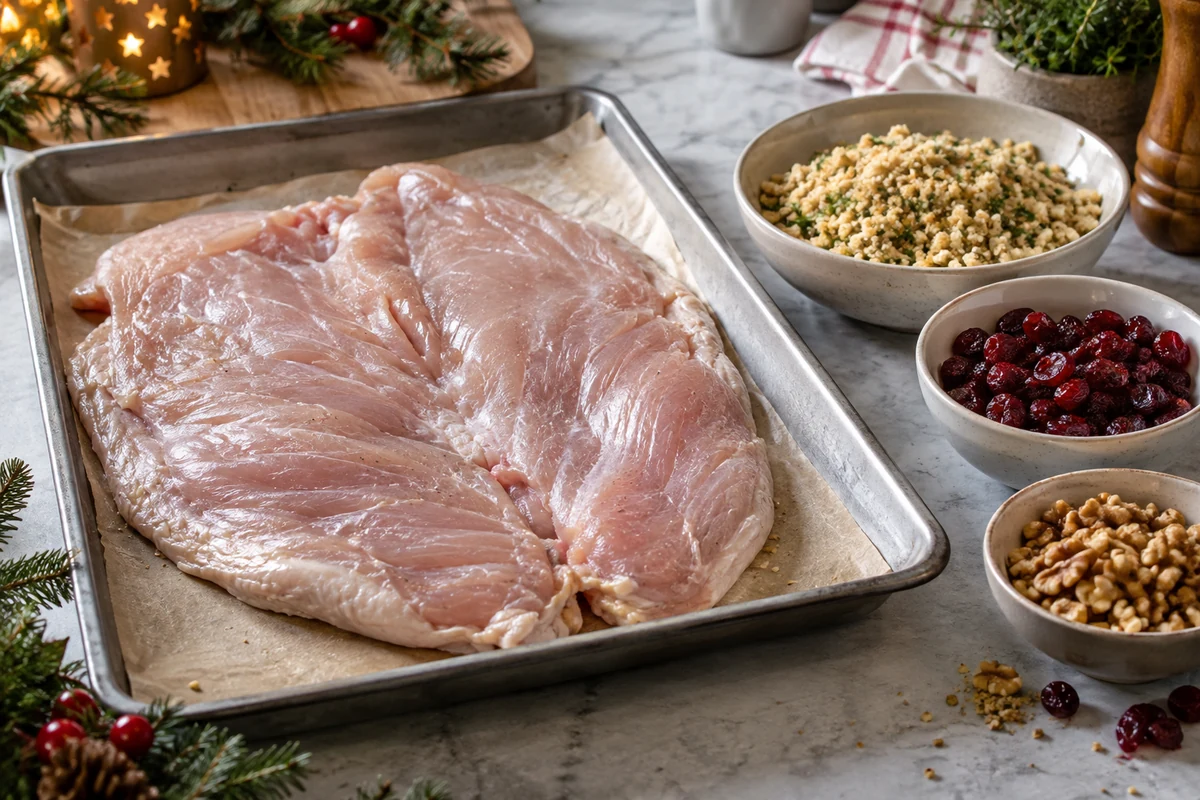
For stuffed boneless turkey breast, gather the following ingredients:
- 1 boneless turkey breast, 1.8–2.2 kg – a fresh uncooked joint, ideally opened by the butcher for rolling. It is not the sliced cooked turkey sold for sandwiches.
- 2 tablespoons olive oil in total – 1 for seasoning the outside and 1 for optional browning. Vegetable oil is an alternative.
- 2 tablespoons butter in total – 1 for softening the filling vegetables and 1 for brushing the joint. A suitable dairy-free spread is an alternative.
- Salt, to taste – reduce or omit extra salt if the turkey is already seasoned or brined, and account for stock and other salty ingredients.
- 1 teaspoon ground black pepper – adjusted to preference.
- 4 garlic cloves, chopped – divide between the filling and the outside. About 1 teaspoon garlic powder is an alternative, adjusted to taste.
- 1 medium onion, chopped – for the filling.
- 1 medium carrot, finely chopped – for colour and sweetness.
- 1 celery stick, finely chopped – or a little well-washed leek.
- 200 g mushrooms, chopped – button or chestnut mushrooms work well. Finely diced aubergine is an alternative, cooked until tender before assembly.
- 120 g bread crumbs – use sound bread and weigh the crumbs. Fresh and very dry crumbs absorb liquid differently. Choose labelled gluten-free crumbs if needed.
- 70 g dried cranberries – or chopped dried apricots or raisins.
- 50 g toasted walnuts or pecans, chopped – sunflower seeds are an option if suitable for the diners and free from relevant cross-contact.
- 1 large egg, beaten – to bind the filling.
- Up to 120 ml chicken or turkey stock for the filling – add gradually. Water or vegetable stock can be used. Have a further 120–240 ml stock or water for the roasting tin.
- 60 ml dry white wine, optional – for the vegetables; use extra stock instead if avoiding alcohol.
- 2 tablespoons chopped fresh parsley
- 1 teaspoon fresh thyme leaves
- Finely grated zest of 1 lemon – adds aroma. Vinegar supplies acidity rather than the same flavour, so it is not a direct replacement for zest.
- A little of the measured oil and seasoning – for the outside; avoid automatically adding extra salt and fat beyond the ingredients above.
- Food-safe kitchen string – to hold the roll together. If using cocktail sticks temporarily, count and remove them all before serving.
Ingredient Notes
Adjust herbs and dried fruit to preference without overfilling the roll. For a gluten-free version, check crumbs, stock and every sauce or seasoning. Seeds are not automatically suitable for everyone with a nut allergy. Add stock gradually after the egg so the filling is moist and cohesive, not wet.
How to Make Stuffed Boneless Turkey Breast
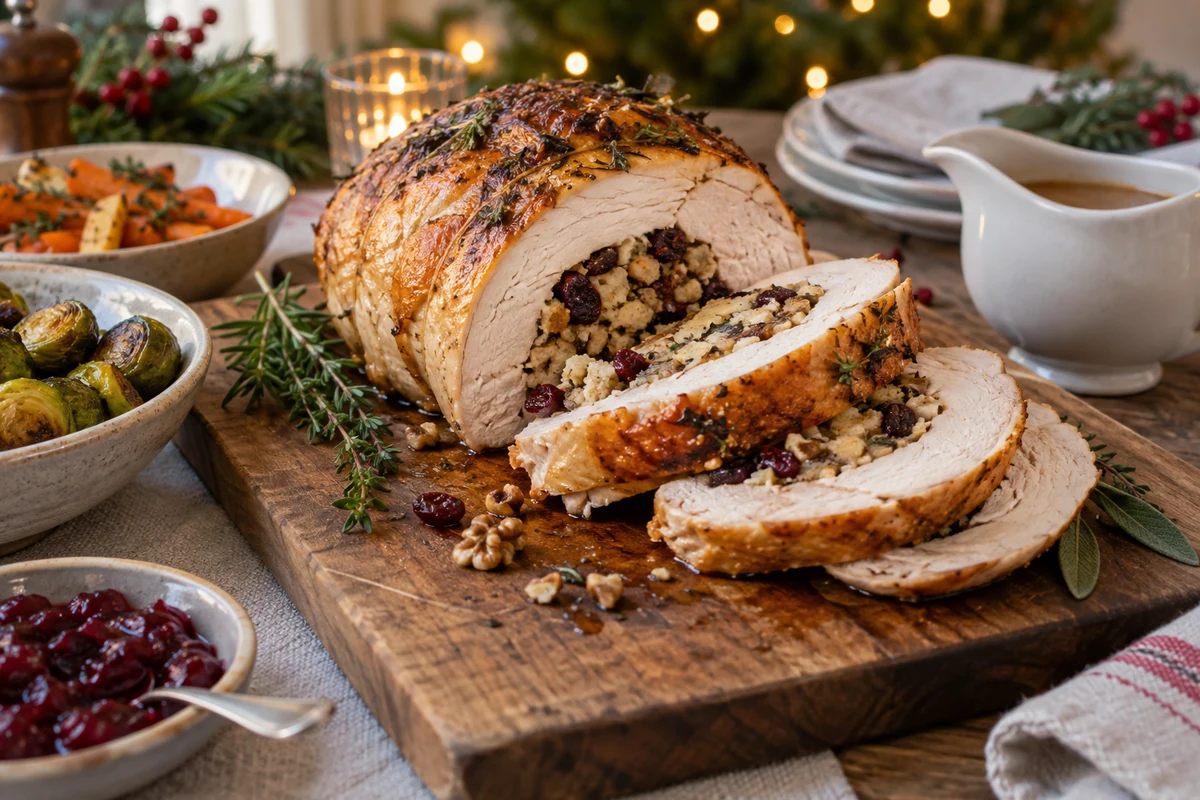
- Open the breast: work on a board reserved for raw poultry, with the skin down if present. Open it like a book to an even thickness, or ask the butcher to do this. Do not wash raw turkey, and keep it refrigerated until preparation.
- Season: use a cautious amount of salt, pepper and two of the garlic cloves. Rub the outside with 1 tablespoon of the oil allowance. Keep the opened breast chilled while preparing the filling.
- Prepare the filling: soften the onion, carrot, celery and remaining garlic in 1 tablespoon butter. Add mushrooms and cook off excess liquid, then add the optional wine or extra stock and simmer briefly. Take off the heat and let the vegetables cool enough not to scramble the egg. Mix with crumbs, cranberries, nuts, beaten egg, parsley, thyme and zest, adding up to 120 ml stock gradually. Assemble and cook promptly; do not partly cook the egg mixture and store it.
- Fill and roll: spread a modest, even layer over the opened breast, leaving clear edges. Roll securely without forcing in all the filling if it will not fit. Bake excess filling immediately in a separate shallow dish and check its centre temperature too.
- Tie securely: use food-safe kitchen string at regular intervals to hold an even roll. Avoid overtightening or a thick mound of filling at one end. Put the prepared roll straight into the cooking process.
- Brown if desired: heat the remaining tablespoon of oil in a large pan and brown the roll carefully on accessible sides. This adds flavour but does not seal juices inside. Skip it if the roll cannot be turned safely, and do not store it partly cooked.
- Arrange in the tin: set the roll on a rack in a suitable roasting tin. Add the separate 120–240 ml stock or water underneath and brush the surface with the remaining tablespoon of butter if desired.
- Roast: preheat to 180°C conventional or 160°C fan. The original 70–90-minute estimate is only a starting check window: the total filled weight, thickness and oven can require considerably longer. Follow suitable instructions for the joint where supplied and continue until the checks below are met.
- Check meat and filling: probe the thickest meat and deepest centre of the stuffing at several points. Both must reach 75°C for 30 seconds or 70°C for two minutes. Do not remove an undercooked roll hoping its temperature will rise enough during resting.
- Protect the surface: baste occasionally with pan juices if wanted, keep oven openings brief and cover loosely with foil if the outside browns too quickly. Top up the tin with hot water if it dries out.
- Rest after cooking: once both meat and filling pass the checks, rest for 15–20 minutes, loosely covered.
- Carve and serve: remove all string and any cocktail sticks. Use a clean board and sharp knife to cut roughly 1 cm slices, then serve promptly.
Preparing for the Oven
Adjust before assembly: if the filling is too dry, add a little stock; if wet, reduce liquid or add a little more crumb. Do not add extra raw egg after cooking. Allow room for the roll to close without packing it tightly.
Stuffed Turkey Breast Variations
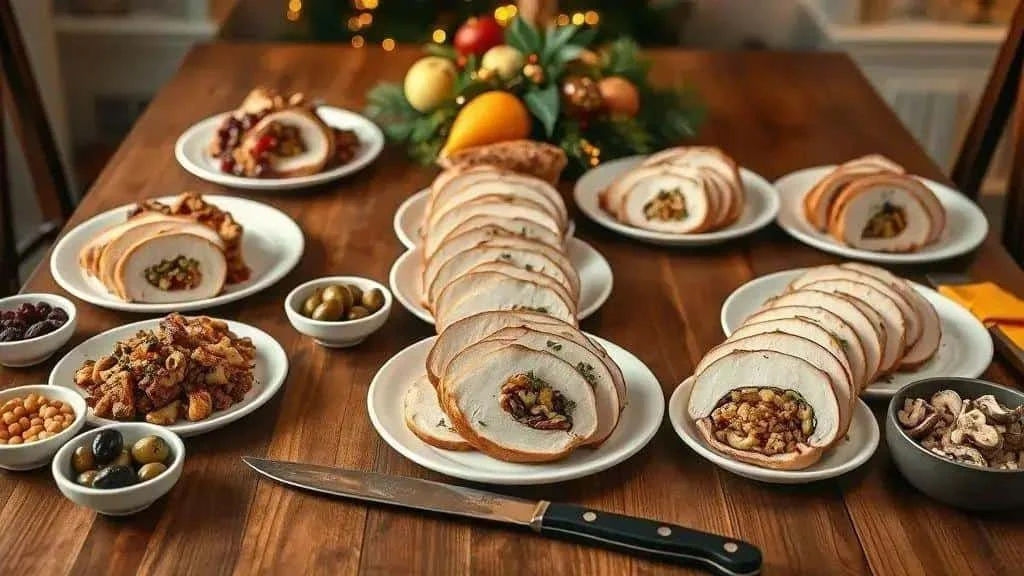
Cranberries and Nuts
This is the main recipe’s fruit-and-nut filling, not an additional quantity to put inside the same roll.
- 70 g dried cranberries
- 50 g toasted chopped walnuts or pecans
- 120 g bread crumbs
- 1 egg
- Up to 120 ml chicken stock, added gradually
Chopped dried apricots can replace cranberries. Use suitable seeds instead of nuts only after checking dietary needs and cross-contact information.
Mediterranean-Style Olives and Sun-Dried Tomatoes
Replace the sweet fruit-and-nut additions with savoury ingredients, retaining enough of the basic crumb mixture to hold the filling together and avoiding overfilling.
- 100 g pitted green or black olives, sliced
- 50 g sun-dried tomatoes, drained and chopped
- 60 g crumbled feta, optional
- Dried oregano, to taste – start with less than a tablespoon if you prefer a subtle flavour.
Goat’s cheese is an alternative to feta, or omit cheese if preferred. Both feta and olives add salt, so reduce other seasoning accordingly.
Garlic and Herb Butter
Use this as a separate seasoning option, not as an extra large filling in addition to all the main stuffing. It adds flavour and fat but cannot guarantee moist meat if the turkey is overcooked.
- Up to 100 g softened butter – use only as much as the joint needs, instead of its usual exterior butter allowance.
- 2 tablespoons chopped parsley and chives
- 2 crushed garlic cloves
- 1 teaspoon thyme leaves
Choose a suitable dairy-free spread if avoiding milk, rather than relying on chilled or ‘solid’ olive oil behaving like butter. Lemon zest is an optional addition.
Apple, Sausage and Sage
A savoury alternative with apple sweetness. Use it instead of the cranberry-and-nut filling, not as another full batch inside the same breast.
- 1 large apple, finely chopped
- 200 g pork sausage meat, fully cooked and crumbled – follow its cooking instructions before assembling the roll.
- 1 tablespoon chopped fresh sage
- 60 g bread crumbs – add a little stock only if needed for a moist, cohesive texture.
Chicken sausage gives a different flavour but is not automatically lower in fat; check the product and cook thoroughly. A sharp apple gives less sweetness.
Mushroom and Wild Rice Filling
An earthy alternative to dried fruit. The mixture can also be served separately as a vegetarian side when made with suitable stock and kept away from turkey and its juices.
- 200 g mixed mushrooms, chopped and cooked
- 160 g cooked wild rice – prepare and cool promptly if not using immediately, following rice storage guidance.
- 1 small onion, softened
- Up to 2 tablespoons soy sauce, optional – adjust salt and check gluten ingredients.
This is not vegetarian once rolled inside turkey. For vegetarian guests, cook and serve it separately using suitable ingredients and utensils. Chopped nuts are optional if appropriate for the diners.
Gluten-Free Ingredients and Less Added Salt
Check the complete ingredient list rather than relying on the name of a variation. Reduced added salt is not the same as a verified low-sodium claim.
- 120 g labelled gluten-free bread crumbs
- Unsalted stock, added gradually – the crumb texture determines how much is needed; do not pour in 120–180 ml automatically.
- Fresh herbs such as parsley and thyme – for flavour without extra salt.
If using crushed cornflakes, choose a product explicitly labelled gluten-free; many contain barley malt. Check the turkey’s seasoning, sauces and stock too, and adjust liquid to the different texture.
Variation Reminders
Moisture: mix the egg and other ingredients first, then add stock gradually. Do not make a wet filling or force excess mixture inside the roll.
Cooking check: both meat and filling must reach 75°C for 30 seconds or 70°C for two minutes before resting.
Presentation: coloured additions such as cranberry or sun-dried tomato show attractively in slices. Remove string and any sticks before carving.
Seasoning and Marinade Options
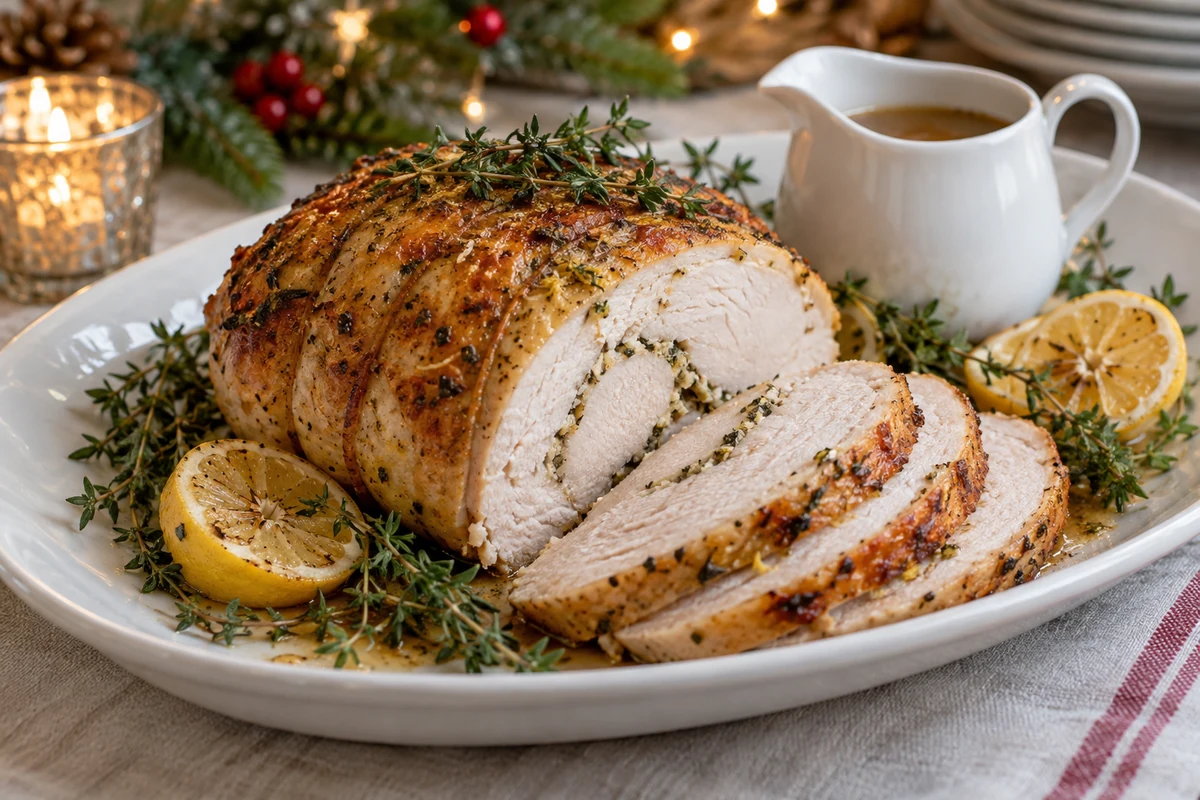
Seasonings and marinades add flavour, but are optional alternatives rather than steps to combine indiscriminately. Check whether the turkey is already brined or seasoned before adding salt.
Wet Brining: Use a Matched Recipe
Brining is not required for the main method. If you choose it, follow a reliable recipe matched to the size of breast and keep the meat refrigerated; it is not a guarantee against drying out during cooking.
- Water – use the amount specified by the chosen brine recipe and enough of that correctly mixed brine to cover the joint.
- Salt measured by weight – do not use the original conflicting instruction of 100 g coarse salt or 60 g fine salt as equivalents. Equal masses do not need a crystal-size conversion; the validated recipe determines concentration.
- Sugar, if called for – follow the brine recipe rather than assuming a fixed amount is needed for every joint.
- Crushed garlic, optional – for flavour in a suitable brine recipe.
- Bay leaves, optional
- Peppercorns, optional
- Thyme and rosemary, optional
- Mix as directed: dissolve measured ingredients according to the chosen recipe. Do not improvise concentration by topping up with unmeasured water.
- Chill completely: never put raw turkey into warm brine. Keep the brine and meat refrigerated.
- Use a food-safe container: contain it in a covered leakproof tray, separate from ready-to-eat foods.
- Follow the specified time: use the brine recipe and the turkey’s use-by date. There is no universal six-to-twelve-hour schedule for every salt concentration and piece of meat.
- Drain without washing raw poultry: discard the brine and pat the surface dry, avoiding splashes. Do not rinse the turkey in the sink or add the main recipe’s full salt allowance again.
Dry Seasoning Instead of an Unverified Dry Brine
Simple seasoning is enough for this recipe. A measured dry-brine method would need its own reliable salt-by-weight instructions.
- Salt to suit the joint – do not follow the original tablespoon-per-450-g instruction, which can add excessive salt. Avoid extra salt on pre-brined meat.
- Ground black pepper, to taste
- Dried thyme or rosemary, to taste
- Season evenly: distribute a suitable amount over the surface without doubling the salt used elsewhere.
- Keep refrigerated: place the meat in a suitable container on the bottom shelf, separated from other foods and within its use-by date.
- Pat dry before cooking: this can help surface browning. It does not replace the centre-temperature check.
Quick Aromatic Marinade
An optional alternative to the main exterior seasoning when a few hours are available. Keep the filling ingredients separate and avoid adding this on top of every other fat and salt allowance.
- 120 ml olive oil – for this optional marinade; drain excess before cooking rather than pouring all of it over the finished dish.
- 60 ml lemon juice or white wine vinegar
- 2 tablespoons honey or maple syrup, optional
- 3 chopped garlic cloves
- 1 tablespoon Dijon mustard, optional
- Chopped parsley and thyme
- Mix the marinade: combine the ingredients in a clean container. Reserve any portion wanted for a sauce before the rest touches raw poultry.
- Refrigerate for two to four hours: coat the unfilled breast and keep covered in a leakproof container, within its use-by date.
- Drain before assembly: discard used marinade, pat away excess and proceed with filling and cooking promptly. Sugary residue can burn during browning.
Herb Butter Beneath the Skin
If the breast has intact skin, a thin layer of herb butter beneath it can add flavour. Use this instead of the usual exterior butter, not as a guarantee that the turkey cannot dry out.
- Up to 100 g softened unsalted butter – use only the amount the skin can comfortably hold.
- 2 tablespoons chopped parsley
- 1 tablespoon fresh thyme leaves
- 2 crushed garlic cloves
- Finely grated zest of 1 lemon
- Mix: combine butter, herbs, garlic and zest into a spreadable paste.
- Loosen the skin gently: create a small space without tearing it, and wash hands and tools after handling raw turkey.
- Spread a thin layer: distribute butter evenly rather than forcing in thick pockets. Refrigerate any unused clean mixture separately.
- Roll and tie: follow the main method, avoiding overfilling and cooking promptly after assembly.
Practical Tips for the Roast
Use a thermometer: check both thick meat and the deepest stuffing for 75°C for 30 seconds or 70°C for two minutes.
Rest after safe cooking: allow 15–20 minutes loosely covered before carving.
Baste moderately: use roasting juices if desired, keeping oven openings brief.
Brown for flavour: a sear creates colour but does not lock juices inside the meat.
Balance filling moisture: add stock gradually before assembly and bake excess filling separately instead of overloading the roll.
Protect the outside: cover loosely if it browns before the centre has cooked.
Avoid duplicate salt: commercially seasoned or brined turkey may need no extra salt on the outside.
Cooking Time and Temperature
- Preheat the oven: use 180°C conventional or 160°C fan, unless suitable instructions for your particular joint specify otherwise.
- Use a stable rack: place it inside the roasting tin so the joint sits above the liquid.
- Plan generously: the original 20–25 minutes per 500 g estimate cannot guarantee doneness for a filled roll. It also excludes the added filling’s weight. Use appropriate joint guidance and a thermometer, allowing longer if necessary.
- Optional browning: turn the roll carefully in a large pan to colour the outside, then transfer immediately to the oven. Browning is not proof of cooking at the centre.
- Check the tin: add hot water if it is drying out and baste occasionally if wanted.
- Cover where needed: protect a darkening surface while the centre continues to cook.
Thermometer Checks
Insert a clean thermometer into several thick areas of meat and the deepest filling. Both need 75°C for 30 seconds or 70°C for two minutes before resting. Do not subtract an assumed three-to-five-degree rise from the target.
- Place the probe carefully: reach the deepest part without touching the roasting tin or measuring only the hot outer layer.
- Check every component: the stuffing can lag behind the meat. A safe temperature-and-time combination is the cooking check; it does not guarantee a particular texture or moisture level.
Finishing the Roast
- Extra colour if needed: use a brief hotter finish or grill only with close supervision. Butter, honey and exposed fruit can burn quickly; stop when the desired colour is reached rather than relying on a fixed time.
- Rest: loosely cover the fully cooked roll for 15–20 minutes before carving.
- Slice neatly: remove string and sticks, then use a sharp knife to cut roughly 1 cm slices on a clean board.
Oven Reminders
Start with a preheated oven: an unheated oven changes the cooking schedule substantially.
Maintain a little liquid: use the separate 120–240 ml stock or water allowance beneath the rack, topping up if necessary.
Fan ovens vary: use the appropriate setting and check the food; do not assume a fixed percentage reduction in cooking time.
Keep openings brief: frequent loss of heat can extend the time needed.
Serving, Storage and Leftover Ideas
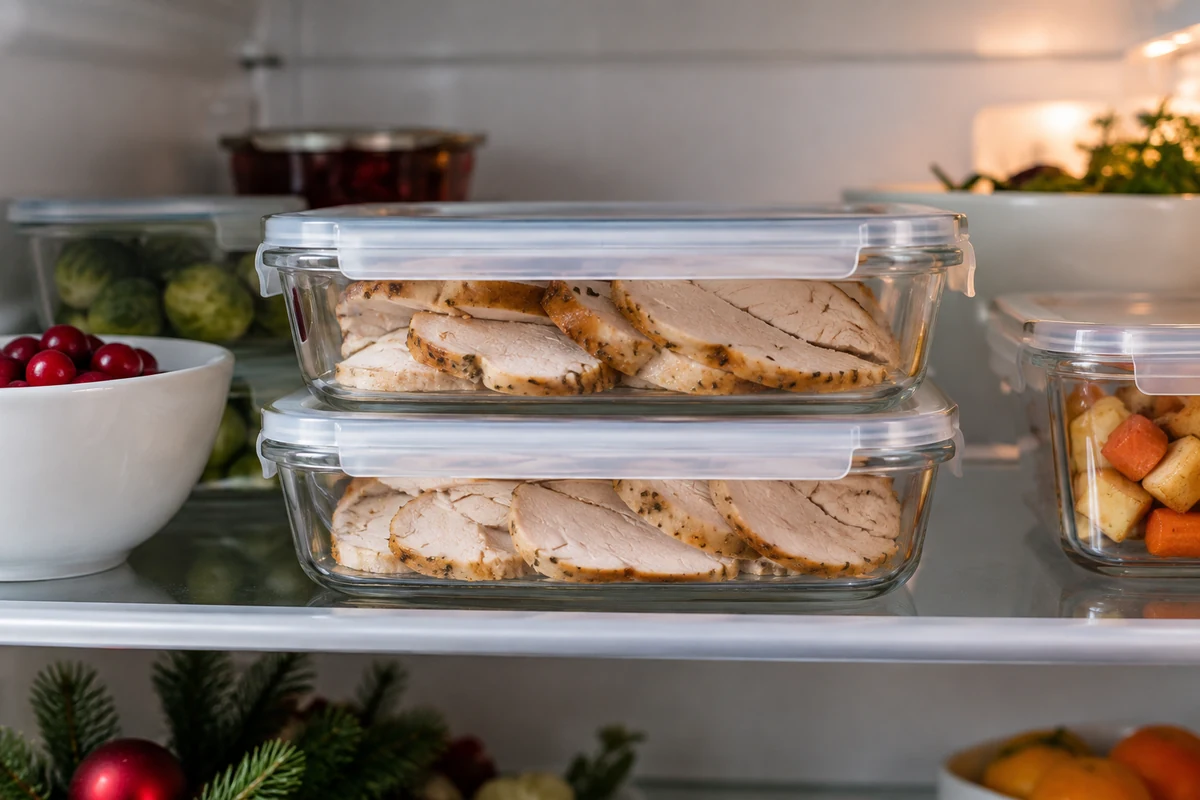
A stuffed boneless turkey breast can provide useful leftovers if they are cooled and stored promptly. Reusing them in another dish does not restart their storage life.
Serving
- Carve into slices: roughly 1 cm slices show the filling and are easy to serve.
- Serve sauce separately: if making gravy from pan juices, bring it to a full boil and simmer before serving. Use a clean saucepan and utensils.
- Choose a few sides: mash, rice, cooked vegetables or a separate leaf salad can complete the plate.
- Serve promptly: warmed plates help the meal stay pleasant to eat. If holding food hot, verify at least 63°C in the food itself.
Storage
- Cool promptly: divide leftovers into shallow portions and refrigerate within two hours. Do not wait for a whole large roll to become completely cold on the worktop.
- Use suitable containers: cover portions to protect them and prevent drying, keeping raw foods separate.
- Refrigerate: keep at 5°C or below and eat within 48 hours, or freeze promptly.
- Freeze in portions: wrap securely and aim to use within two to three months for quality. Thaw fully in the fridge and use within 24 hours after defrosting.
- Label clearly: record the contents and date so portions are used in order.
Reheating
- Oven: put portions in a suitable dish with a little stock, cover and reheat at around 180°C conventional or 160°C fan until 75°C for 30 seconds or 70°C for two minutes at the centre. Both meat and stuffing must be steaming hot throughout.
- Microwave: use microwave-safe cookware and a suitable cover. Follow appliance guidance, turn portions, allow standing time and check for cold spots.
- Frying pan: heat slices with a little stock or cooked sauce, covering and turning as needed until hot all the way through.
- Specialist methods: this recipe does not supply a validated sous-vide reheating process. A 60–65°C bath for twenty to thirty minutes cannot guarantee safe reheating for every portion. Use the ordinary methods above instead.
- Reheat once: check the centre and heat only the portions required. Do not repeatedly chill and reheat the same leftovers.
Ways to Use Leftovers
Festive Turkey Sandwich
- Use thin slices of safely chilled cooked turkey on rustic bread or brioche.
- Add a suitable sauce, leaves and cheese or apple slices if desired, checking the filling’s allergens too.
- Serve cold, or heat a thin toastie until the turkey is steaming hot throughout. Melting the cheese alone does not prove the meat is hot. Keep within the original storage deadline and reheat only once.
Cold Turkey Salad
- Combine safely chilled chopped turkey with leaves, cranberries or raisins, and optional nuts and cheese.
- Dress with oil and lemon or yoghurt, then adjust seasoning using clean utensils.
- Serve promptly as a salad or wrap filling, or keep chilled until needed within the turkey’s original 48-hour refrigerated deadline.
Turkey Fried Rice
- Cook onions, carrots and peas in a little oil until tender.
- Add properly handled cooked rice and turkey, seasoning with soy sauce if suitable. Rice should have been cooled quickly, ideally within one hour, refrigerated and used within 24 hours. Heat everything until steaming hot throughout.
- Add fully cooked scrambled egg and chopped spring onions if desired. This is the rice and turkey’s one reheating; serve promptly.
Turkey Croquettes
- Use a reliable croquette recipe to combine chopped turkey with mash or crumbs, egg and seasonings; the mixture needs suitable proportions to hold its shape.
- Shape, coat and cook until the centre is steaming hot and the egg fully cooked. A golden crust alone is not enough.
- Serve promptly with yoghurt or mustard sauce, checking allergens and avoiding further reheating of the cooked croquettes.
Creamy Turkey Soup
- Soften onion, carrot and celery, then add suitable stock and simmer until the vegetables are tender.
- Add turkey pieces and heat until steaming hot throughout. If blending part of the soup, use equipment rated for hot liquids or cool it as directed by the manufacturer; do not trap hot steam in a sealed blender.
- Adjust seasoning and serve with fresh herbs. Keep the original leftover deadline and do not repeatedly reheat the soup.
Leftover Reminders
- Reheat only once and heat only what will be eaten. Turning leftovers into soup or a toastie does not reset the reheating allowance.
- Limit time out of the fridge: refrigerate leftovers within two hours, sooner in a warm room, and keep chilled portions cold until needed.
- Use clean utensils: wash hands and protect cooked food from raw-poultry contamination.
Conclusion
A stuffed boneless turkey breast offers festive flavour and convenient slices. Keep the filling modest, allow enough cooking time and check the deepest meat and stuffing before resting and serving.
Follow our social channels and visit the I Love Christmas blog for more recipes and seasonal inspiration.
Thank you for visiting. Share your variation and how it worked at your table in the comments.
FAQ — Stuffed Christmas Turkey Breast
Should I use a wet or dry brine?
Neither is required for the main recipe. If brining, choose a reliable recipe matched to the joint, measure salt correctly and keep refrigerated. Do not use conflicting coarse-versus-fine salt weights or add more salt to a pre-brined product.
How do I decide the cooking time?
Use suitable joint instructions and allow for the filling and roll thickness. The original 70–90-minute estimate is only a starting check window. Confirm both meat and deepest filling reach 75°C for 30 seconds or 70°C for two minutes before resting.
Can I change the filling for allergies?
Yes, but check every ingredient and prevent cross-contact. Gluten-free crumbs alone are not enough if stock or sauces contain gluten. Seeds are not automatically safe for every nut-allergic diner, and dairy-free changes must include butter and cheese. Adapt the moisture without overfilling.
How should I store leftovers?
Refrigerate shallow portions within two hours at 5°C or below and eat within 48 hours, or freeze promptly. Thaw in the fridge and use within 24 hours after full defrosting. Oil, sauce or a new recipe does not extend the storage deadline.
How can I reheat slices without drying them?
Add a little stock or cooked sauce, cover and heat until steaming hot throughout. Check 75°C for 30 seconds or 70°C for two minutes at the centre when using a thermometer. Turn microwave portions and check for cold spots. Reheat only once.
What helps keep the turkey moist?
Use a moist but not wet filling, protect an over-browning surface, check doneness promptly and rest for 15–20 minutes after safe cooking. Herb butter is optional; searing does not seal juices inside and brining does not prevent overcooking.
Sources and Further Reading
- Food Standards Agency: cooking food safely
- Food Standards Agency: chilling, freezing and defrosting food
- USDA: stuffing and food safety
- Food Standards Agency: cooking and reheating safely, including rice