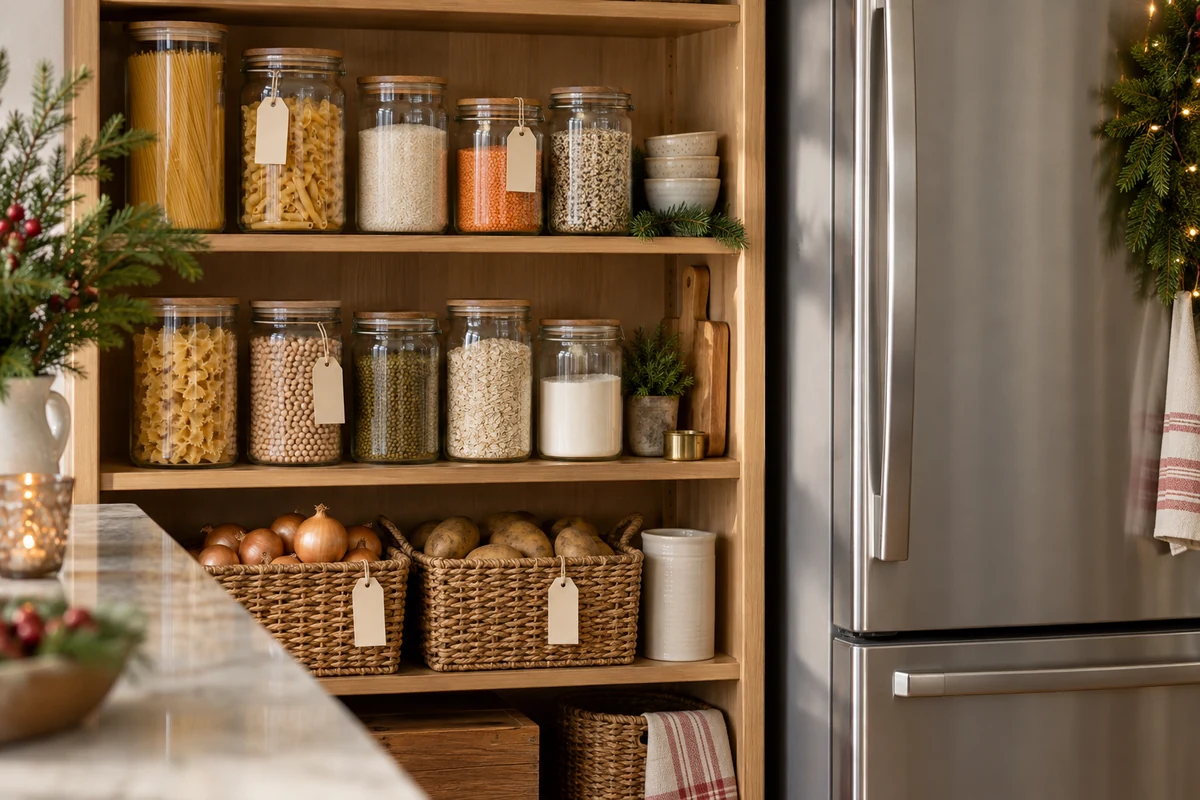
This year-end cleaning checklist divides everyday jobs and deeper cleaning into a flexible 15-day plan. Gather suitable supplies, share responsibilities and reduce unnecessary work so your home is ready for guests without a last-minute rush. Household cleaning mixtures are not substitutes for tested disinfectants.
A year-end cleaning checklist turns the pre-Christmas rush into a manageable plan. These practical steps help you organise the house over 15 days, with room to adjust the workload to your circumstances.
Planning your 15-day cleaning schedule
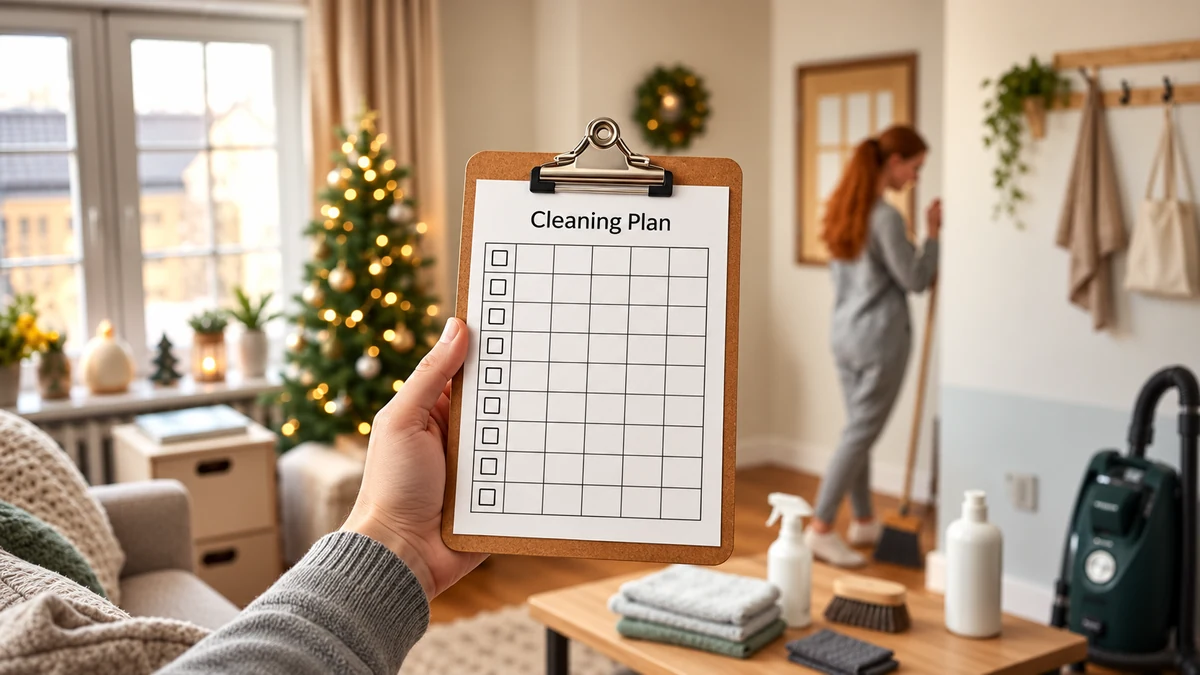
Divide the work into short sessions and clear priorities. Planning means listing the rooms, gathering supplies and deciding how much time you realistically have each day.
Essential supplies and suggested time
- Products: a suitable all-purpose cleaner, disinfectant where needed, glass cleaner, degreaser, microfibre cloths, a sponge and gloves.
- Equipment: vacuum cleaner, bucket, mop, brush and sturdy rubbish bags.
- Time allowance: you might set aside 30–90 minutes on weekdays and 2–4 hours for a weekend deep clean. These are planning suggestions, not targets: split them into shorter sessions whenever needed.
A suggested 15-day schedule
- Day 1 — Take stock and declutter: walk through each room, separating items to keep, donate or discard. Note anything needing repair.
- Day 2 — Check supplies: list missing products and organise containers for rubbish, recycling and donations.
- Day 3 — Walls and ceilings: remove cobwebs and wall marks with suitable methods. Dust accessible fans and light fittings only when switched off and cool; avoid unsafe reaching.
- Day 4 — Windows and curtains: wash lightweight curtains according to their labels and clean accessible glass. Leave high or awkward exterior windows to someone properly equipped.
- Day 5 — Living room and upholstery: vacuum sofas and rugs, then clean fabrics according to the manufacturer’s instructions.
- Day 6 — Kitchen organisation: sort cupboards, check food dates and list missing supplies. Use-by dates concern safety; best-before dates concern quality, so do not treat them as interchangeable.
- Day 7 — Kitchen deep clean: clean the fridge, cooker, oven and microwave using their care instructions. Keep chilled food cold while working and let cooking appliances cool first.
- Day 8 — Bathroom, part one: clean tiles, drains and shower screens. Treat small patches of mould with an appropriate product and investigate persistent damp.
- Day 9 — Bathroom, part two: clean toilets and basins, wash bathmats and check shower curtains.
- Day 10 — Bedrooms: change bed linen, vacuum mattresses if their care instructions allow, organise wardrobes and collect clothing for donation.
- Day 11 — Laundry and cloths: wash tea towels, towels and tablecloths. Check the washing machine’s care instructions and tidy the laundry cupboard.
- Day 12 — Floors and skirting boards: sweep or vacuum, then mop suitable floors, paying attention to corners and skirting boards.
- Day 13 — Outdoor areas and entrance: tidy the porch, patio or balcony, sweep leaves and arrange plant pots, weather permitting.
- Day 14 — Small maintenance jobs: check bulbs, remote-control batteries and simple repairs. Switch off power before changing bulbs and leave electrical repairs to a competent professional.
- Day 15 — Final preparations: walk through the house, empty bins, set out guest essentials and prepare the Christmas table. Fragrance is optional and does not replace cleaning or ventilation.
Practical ways to keep on track
- Start by decluttering: clear surfaces are much easier to clean.
- Use a timer for 25–45-minute sessions, with breaks and shorter sessions whenever needed.
- Group related jobs: dust surfaces, vacuum, then mop, rather than repeatedly cleaning the same area.
- Share simple tasks with the family, such as washing up, dusting low furniture and organising cupboards.
- Schedule time-consuming jobs, such as the oven, sofa or curtains, when you have a longer clear window.
- Keep notes about what worked and save the schedule to adapt next year.
Supplies for your year-end clean
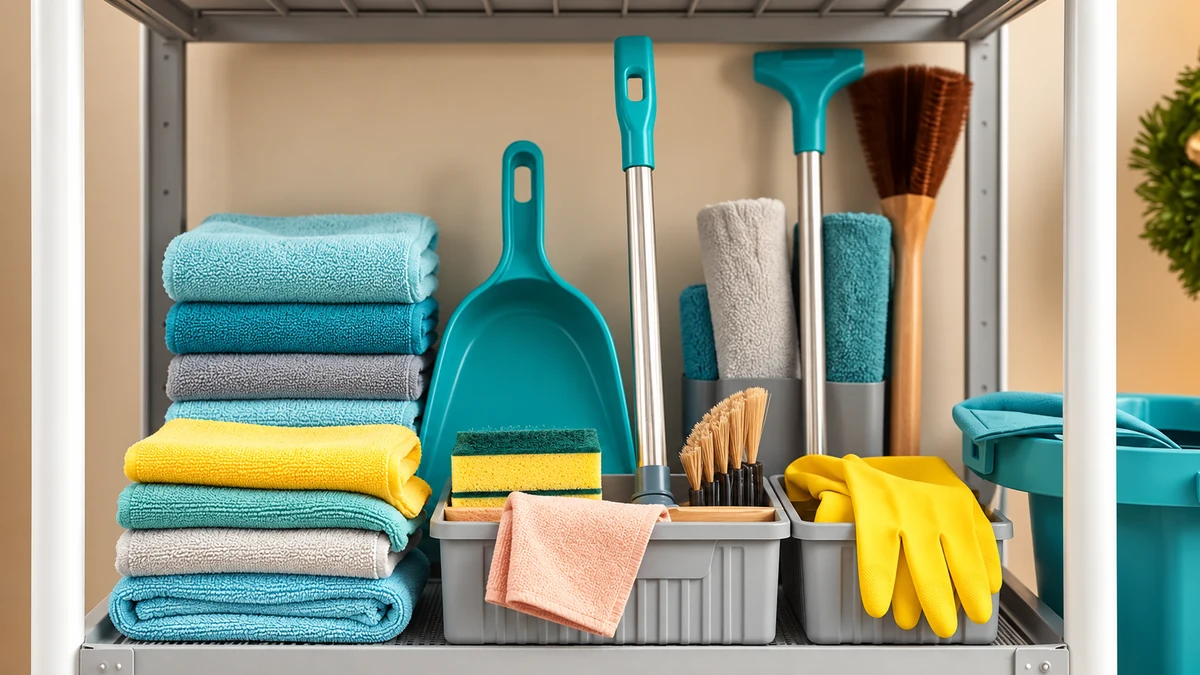
Essential cleaning products
- All-purpose cleaner: useful on compatible washable surfaces. A 500 ml bottle may be a convenient size, but the amount needed depends on the product and your home.
- Disinfectant: use where appropriate, following the label’s dilution and contact time. Routine cleaning and disinfection are different tasks; more disinfectant is not automatically better.
- Glass cleaner: choose one suitable for your windows and mirrors. A 250–500 ml bottle is a purchase option, not an amount to use in one clean.
- Degreaser: choose products approved for the cooker, extractor or tiles concerned. Check oven-liner restrictions before applying any cleaner.
- Electronics cleaner: follow each device manufacturer’s advice. Do not spray alcohol or liquid directly onto equipment, and do not assume 70% alcohol suits every screen or coating.
- Mould treatment: choose an appropriate labelled product for a small affected area. Extensive or recurring mould needs investigation and may require specialist help.
- Sturdy rubbish bags: choose sizes to fit your bins, such as 40–100 litres where appropriate. Keep recycling separate under local rules.
Useful equipment
- Broom and dustpan: for loose dirt before wet cleaning.
- Vacuum cleaner: useful for upholstery, rugs and corners, with the appropriate attachment.
- Mop with a washable head: choose one suitable for your floor finish.
- Microfibre cloths: use separate colours for the kitchen, bathroom, furniture and glass to help keep their uses distinct.
- Sponges and brushes: use soft tools on delicate finishes and a compatible brush where firmer cleaning is appropriate.
- Bucket with measurement markings: useful when a product’s label specifies dilution.
- Protective equipment: follow the product label for gloves and eye protection. An ordinary face covering does not protect against chemical fumes; ensure ventilation and avoid unsuitable products.
Lower-waste options and the limits of homemade cleaners
- Glass cleaning: start with a suitable cloth and the glass manufacturer’s advice. Vinegar is acidic and unsuitable for some coatings, frames and nearby stone; it is not a universal replacement for glass cleaner.
- Bicarbonate of soda: it can be abrasive, so check surface compatibility before considering a paste. Do not use it as a proven treatment for mould.
- Lemon and bicarbonate mixtures: fizzing is not proof of effective cleaning or disinfection. Use an appropriate labelled cleaner instead of combining household ingredients at random.
- Alcohol, soap and essential-oil sprays: homemade mixtures have no established disinfecting performance. Essential oils are optional fragrances, not necessary cleaning ingredients; omit them where sensitivities or pet safety are a concern.
Choosing quantities and alternatives
- For a small home, start by checking the products already available. A 500 ml bottle may be convenient, but no fixed quantity can be guaranteed to last the entire 15-day plan.
- Larger refill packs of 1–5 litres can be practical if you have safe storage. Refill only compatible containers intended by the manufacturer for that product.
- Choose products for the surface and job, rather than assuming household ingredients are chemical-free, harmless or always cheaper.
Storage and organisation
- Keep cleaning products in a dedicated, secure cupboard away from children and pets.
- Retain original labelled containers. Do not put cleaners into food or drink bottles, or reuse containers that held another chemical.
- Keep frequently used supplies accessible to the responsible adult, with occasional-use products behind them.
Ways to save time and money
- Consider compatible refills to reduce packaging; compare unit prices before assuming they save money.
- Turn suitable old textiles into cleaning rags for messy jobs.
- Carry a basic cleaning kit from room to room, keeping products upright and out of children’s reach.
- Note what is running low so you can replace only what is needed.
Room-by-room daily jobs and deeper cleaning
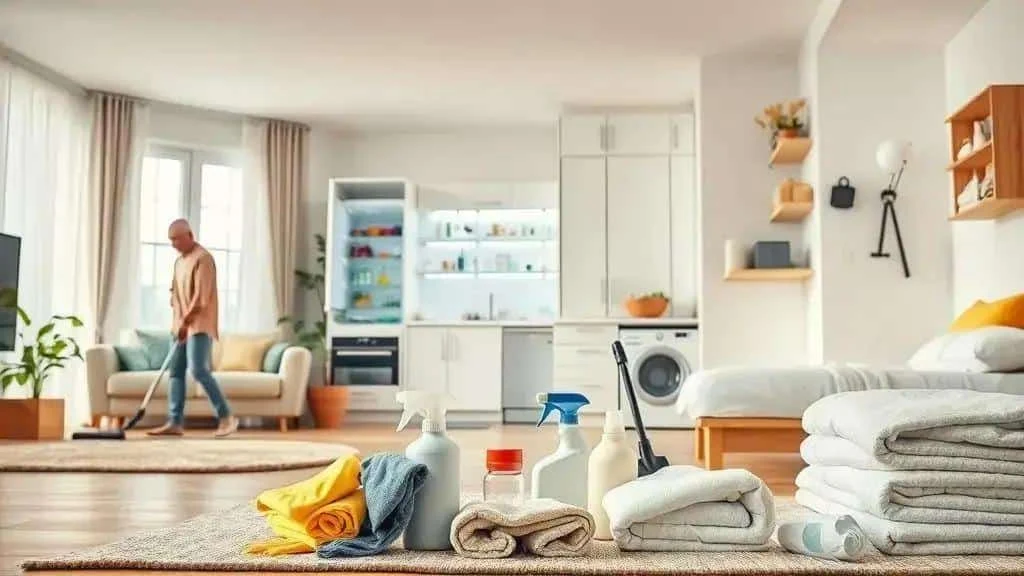
Use short daily sessions for routine tasks and reserve particular days for deeper cleaning. Adapt the following suggestions to the rooms and materials in your home.
Living room
Daily tasks:
- Remove rubbish and packaging.
- Ventilate for around 10–15 minutes where weather, security and household needs allow.
- Dust compatible surfaces and tables with a clean microfibre cloth.
- Arrange cushions and throws.
Deeper-cleaning steps:
- Vacuum upholstery and rugs, using a crevice tool where appropriate.
- Wipe skirting boards with a lightly damp cloth and a suitable product.
- Wash cushion covers and throws according to their care labels.
- Clean accessible window glass; do not lean out or climb unsafely to reach exterior surfaces.
Kitchen
Daily tasks:
- Wash dishes or load the dishwasher promptly.
- Clean worktops and the table with a product suitable for the material and food-contact use.
- Empty the bin and replace the liner as needed.
- Put food away and check storage instructions and dates.
Deeper-cleaning steps:
- Empty and clean the fridge while keeping chilled food cold. Discard food past its use-by date; assess best-before dates separately as quality guidance. Source: UK Government: food safety and date labels
- Clean the cold oven and hob according to their manuals, removing washable parts only where instructed.
- Clean cupboard interiors, organise containers and recycle empty packaging where accepted.
- Clean dishwasher filters and descale only as its manufacturer advises.
Bathrooms
Daily tasks:
- Clean the basin and counter with a suitable product.
- Dry splashes on mirrors and shower screens.
- Replace damp towels with clean, dry ones as needed.
- Replenish toilet paper and hand soap.
Deeper-cleaning steps:
- Clean the toilet inside and out, using separate equipment from other surfaces.
- Address small mould patches with an appropriate treatment; persistent growth needs the moisture problem investigated, not a bicarbonate paste.
- Wash shower curtains and bathmats according to their labels.
- Clean accessible drains and check taps for leaks. Do not combine drain cleaners with other products.
Bedrooms
Daily tasks:
- Make the bed.
- Put away clothing and loose belongings.
- Ventilate the room when appropriate.
Deeper-cleaning steps:
- Change and wash bed linen according to its care instructions.
- Vacuum, rotate or turn mattresses only where their manufacturer recommends it.
- Organise wardrobes and separate suitable clothing for donation.
- Clean beneath accessible furniture and dust switched-off, cool light fittings safely.
Laundry area
Daily tasks:
- Sort laundry by care requirements and colour.
- Keep clean and dirty laundry separate.
Deeper-cleaning steps:
- Wash cleaning cloths, mats and towels on appropriate programmes.
- Clean the washing machine’s filter and door seal according to its manual.
- Organise products and dispose of empty containers under local guidance.
Entrances and outdoor areas
Daily tasks:
- Sweep the entrance and remove leaves or debris.
- Put away shoes and objects left by the door.
Deeper-cleaning steps:
- Clean doors, frames and handrails with a product appropriate to their finish.
- Remove dead leaves from pots and water plants according to their needs.
- Check outdoor lighting and clean only safely accessible, switched-off fittings.
Shared spaces and home office
Daily tasks:
- Sort papers, recycling unwanted material and securely disposing of confidential documents.
- Clean keyboards and mice using the maker’s recommended method. Switch equipment off and avoid spraying liquid directly onto it.
Deeper-cleaning steps:
- Organise shelves and drawers.
- Use a dry or appropriately dampened cloth on electronics as their instructions allow; keep moisture out of openings.
- Arrange work materials so the space remains usable during the holidays.
Moving between rooms
- Carry a portable kit of cloths, suitable cleaner and a rubbish bag to avoid repeated trips.
- Work from cleaner areas towards dirtier ones, changing cloths as needed.
- Spread deeper cleaning across the 15 days, balancing effort with rest.
Quick ways to save time and avoid repeating work
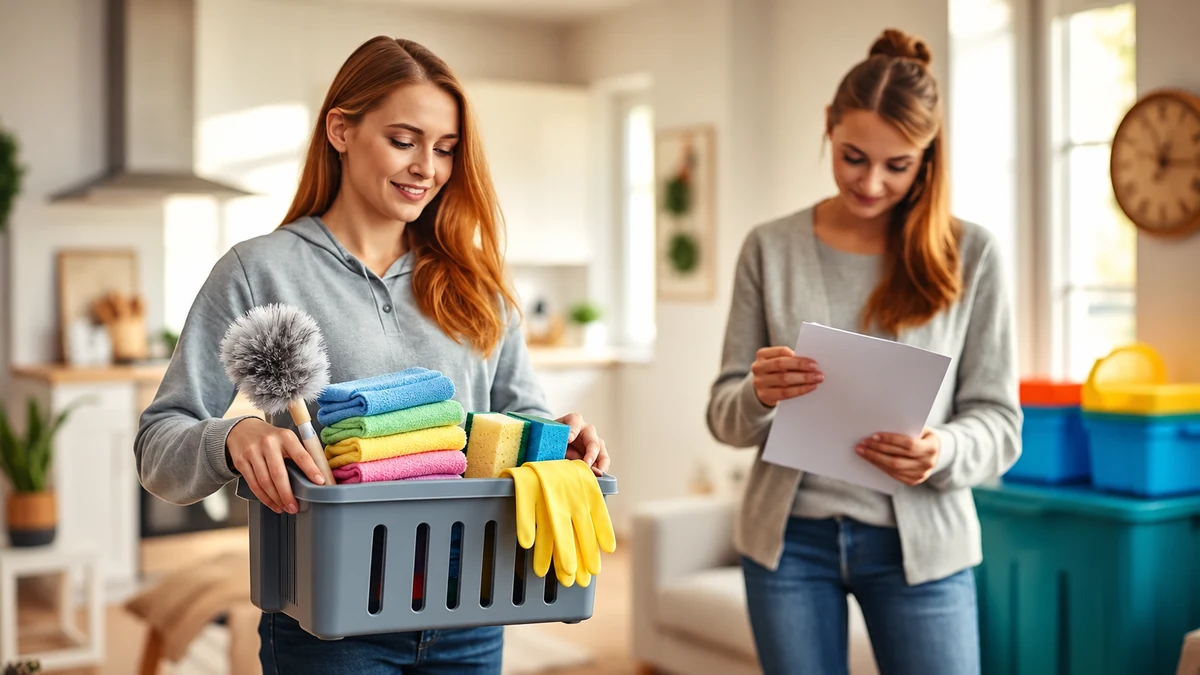
A few simple habits can make the schedule easier to follow. Choose the ones that fit your home and routine.
Put together a portable kit
- A basket of essentials: include microfibre cloths, a suitable all-purpose cleaner, a small rubbish bag and gloves. Add specialist products only when needed.
- Having supplies close at hand avoids interruptions to fetch them.
Work in zones, from top to bottom
- Finish one manageable area, such as the living room, before moving to the next.
- Dust safely accessible higher surfaces first, then furniture and floors, so falling dust does not spoil completed work.
Use a timer and short sessions
- Try 25–45-minute sessions with breaks, shortening them according to your energy and ability.
- Keep a few 5–15-minute jobs for gaps between larger tasks.
Use consistent methods
- Match products to groups of compatible surfaces, such as glass, wood or stainless steel, rather than experimenting each time.
- Remove loose dust before mopping, and clean greasy surfaces with a suitable method before their final wipe.
Declutter before cleaning
- Spending ten minutes putting things away can make cleaning easier, although the time saved will vary.
- Use three boxes for items to keep, donate or discard, setting uncertain decisions aside rather than getting stuck.
Give clear instructions when sharing jobs
- Allocate short, specific tasks, such as vacuuming the sofa or dusting low shelves. Reserve high or hazardous jobs for a capable adult with suitable equipment.
- Keep each person’s list short enough to follow comfortably.
Make a final check
- Check frequently touched surfaces: look at handles, switches and side tables, cleaning them with a suitable method where needed.
- Check bins and lingering smells: remove the source of odours and ventilate appropriately instead of merely masking them.
- Check that things are put away: return loose objects to their places and avoid major furniture rearrangements at the last minute.
Extra ways to avoid repeating jobs
- Measure products as directed. Excess cleaner can leave residue and create more rinsing work.
- Tackle spills promptly with a method suitable for the surface.
- Note what worked at the end of each session and adjust the next day’s plan.
Lower-waste cleaning: household ingredients and reuse
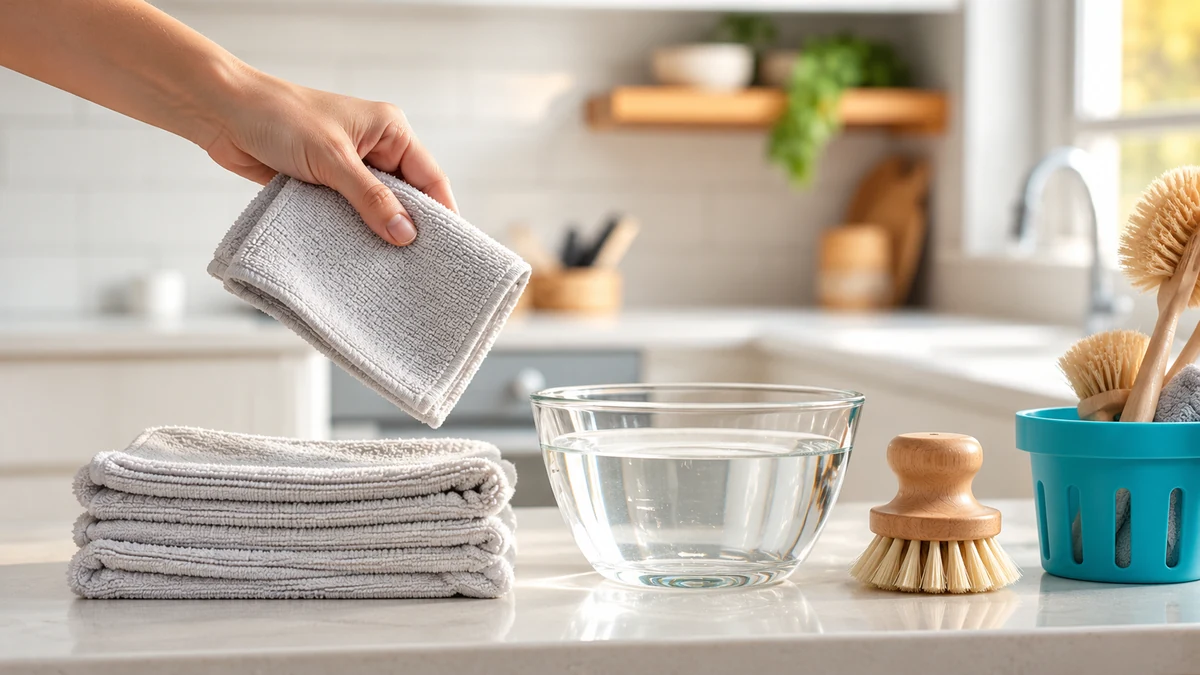
Reusing cloths, buying appropriate refills and avoiding unnecessary products can reduce waste. Homemade does not mean risk-free or disinfecting: the following notes replace unverified multi-ingredient recipes with more cautious options.
Household cleaning options and their limitations
Cleaning glass
- A clean, soft cloth is the starting point; remove loose dust without scratching the surface.
- A compatible glass cleaner should suit any coatings and the surrounding frame material.
- Water where permitted may be enough for a light clean; follow the glass manufacturer’s advice.
- Check the instructions before applying liquid, especially near treated glass, mirrors and natural stone.
- Do not add washing-up liquid, vinegar or other ingredients to a commercial cleaner.
- Apply the recommended method and finish with a clean cloth. This is cleaning, not a promise of disinfection.
Everyday surface cleaning
- A suitable detergent or all-purpose cleaner should match the surface you are cleaning.
- Do not add alcohol to a homemade spray and assume it disinfects. The original mixture of 50 ml of 70% alcohol in 500 ml of water was not a validated disinfectant.
- Follow the stated dilution rather than adding an arbitrary spoonful of soap.
- Leave out essential oils if they are not part of the formulated product; they are not required for ordinary cleaning.
- Prepare the chosen product only as its label instructs, without extra ingredients.
- Use it on approved surfaces and follow any rinsing requirements, particularly around food.
- Test an inconspicuous area where the manufacturer recommends it, especially on painted or varnished finishes.
Removing grease from ovens and other surfaces
- Choose a compatible degreaser after reading the appliance or surface-care instructions.
- Do not add lemon juice or other household ingredients to the product.
- Use water only as directed, with the appliance cool and safely switched off.
- Avoid homemade abrasive pastes where they could damage coatings, seals or self-cleaning oven liners.
- Apply for the label’s stated time, keeping the product away from components that must not be wetted.
- Wipe or rinse as instructed, using a non-scratching tool. Do not heat the oven with cleaner residue inside.
Dealing with mould
- Vinegar is not a reliable universal mould treatment; do not rely on the original homemade recipe.
- Bicarbonate paste is not a substitute for appropriate assessment and treatment.
- Investigate excess moisture, including leaks, condensation or building defects.
- A small affected area may be treated with an appropriate labelled mould-removal product, following its directions.
- Do not dry-brush or vacuum mould. Extensive growth or recurring damp should be referred to the landlord or a suitable specialist. Source: Oxford City Council: dealing with mould
- Cleaning alone will not prevent its return if the moisture problem remains. Oxford City Council’s guidance explains this distinction.
Reuse and waste reduction
- Use manufacturer-approved refills in their intended containers. Do not repurpose drinks bottles or mix residues from different cleaners.
- Turn old textiles into rags for messy jobs, keeping clean finishing cloths separate.
- Compost suitable kitchen scraps, such as fruit peel or coffee grounds, if your composting system accepts them.
- Recycle packaging according to local collection rules and consider compatible refills.
Choosing products and avoiding hazards
- Choose products with clear instructions for the intended job. A short ingredient list or the word ‘natural’ does not establish safety or effectiveness.
- Never mix bleach or disinfectants with other cleaners. In particular, bleach must not be combined with acids such as vinegar, ammonia or alcohol. CDC guidance warns against these combinations. Source: CDC: using bleach safely
- Follow label precautions and ventilate. If a product requires protection you cannot provide, choose a suitable alternative or seek help.
- Keep chemicals in their original labelled packaging, securely stored away from food, children and pets.
Applying these ideas to the schedule
- Set aside time for jobs that need specialist surface care, such as the oven, grout or coated glass.
- For everyday upkeep, use a suitable cleaner at the recommended dose instead of making unsupported environmental or disinfecting claims for a homemade mixture.
- Check compatibility before treating antique furniture or delicate materials.
Practical efficiency tips
- Prepare only what the manufacturer’s directions allow and follow any storage or disposal instructions. Do not keep unpreserved homemade mixtures for weeks.
- An adult can organise cleaning kits and check product instructions while other family members take on simpler jobs.
- Record which labelled products and methods suited each surface. Do not experiment with stronger concentrations.
Involving the family and sharing responsibility
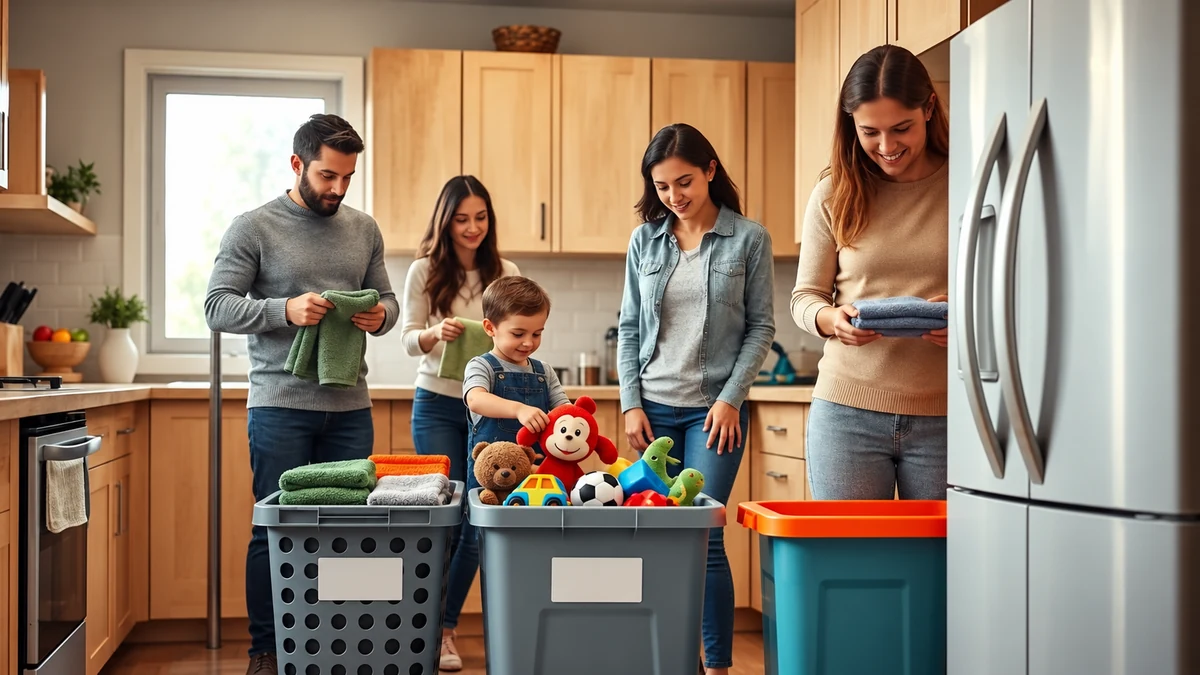
Sharing manageable jobs reduces the load on any one person. A clear plan makes everyone’s contribution easier to see.
Give each person a clear role
- Regular responsibilities: agree who empties bins, cleans the kitchen or keeps the entrance tidy.
- Weekly rotation: swap suitable tasks to share the workload and learn new skills.
- Specific tasks: describe the job and a flexible time allowance, such as ‘vacuum the living room — around 20 minutes’.
Age-appropriate tasks
- Children aged 3–6: with supervision, put away toys, place laundry in a basket or help lay unbreakable table items. Keep them away from cleaning chemicals.
- Children aged 7–12: try simple sweeping, dusting low furniture or folding towels, with supervision appropriate to the child.
- Teenagers: vacuum, wash suitable dishes, organise small cupboards or care for plants, according to their ability.
- Adults: handle cleaning chemicals, awkward access and maintenance. Arrange professional help for work beyond the household’s competence.
Building a family schedule step by step
- List the jobs from the 15-day plan on paper or in a spreadsheet.
- Group them into daily tasks, weekly jobs and deeper cleaning.
- Assign each job to a suitable person, with an estimated duration.
- Agree days and times that fit everyone’s routine.
- Display the plan on the fridge or a noticeboard and tick off completed jobs.
Motivation and rewards
- Thanks and recognition: acknowledge the person’s effort when the job is done.
- Small privileges: let someone choose the Christmas dessert, lunch music or an agreed weekend activity.
- Shared rewards: plan a family outing or film after completing the schedule.
Quick check-ins
- Spend five minutes agreeing who will do what at the start of a cleaning session.
- Use tick boxes so completed work is clear and not unnecessarily repeated.
- Encourage people to say when a task is difficult; adjust the job or time instead of demanding perfection.
Handling reluctance and making adjustments
- Negotiate a fair swap when someone strongly dislikes a particular task.
- Break down large jobs: divide kitchen cleaning into worktops, oven and cupboards, for example.
- Review what worked each week and change the schedule where necessary.
Useful tools
- A whiteboard or simple spreadsheet with names and tasks.
- A timer to keep sessions manageable.
- A portable supply kit, kept securely out of children’s reach between uses.
A printable checklist to adapt to your home
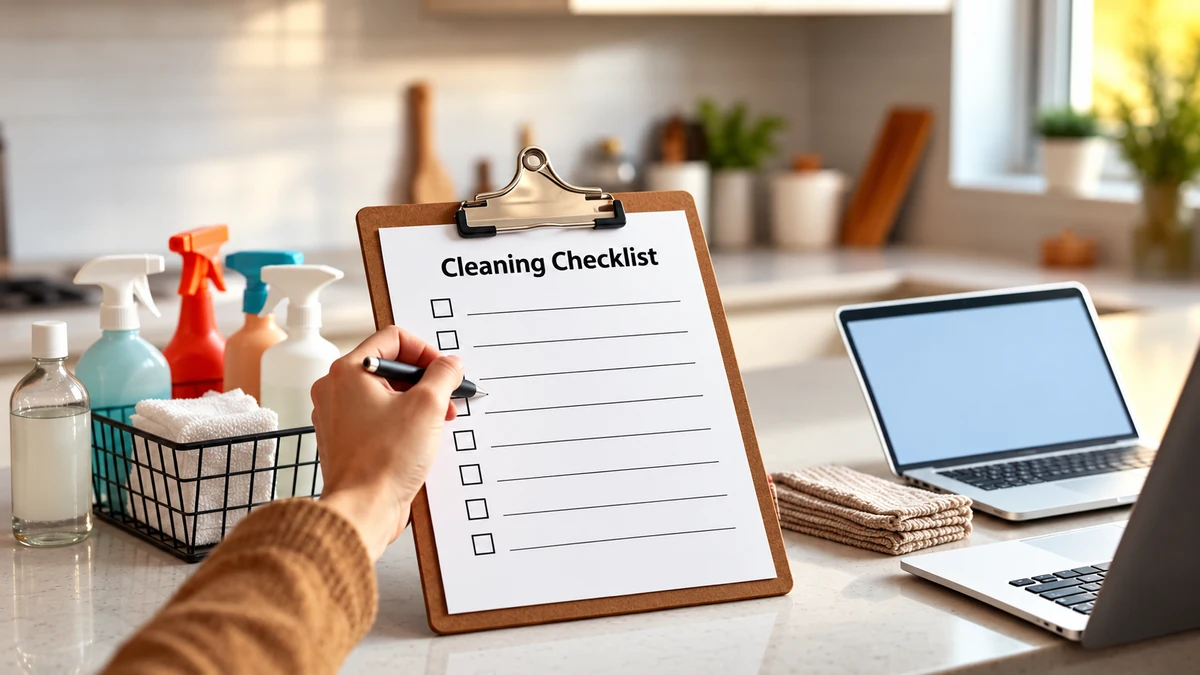
- Day 1 — Take stock: list rooms, donations, repairs and your three main priorities.
- Day 2 — Supplies: check products, organise equipment and prepare recycling and donation bags.
- Day 3 — Walls and ceilings: remove cobwebs, safely dust cool light fittings and note paintwork needing attention.
- Day 4 — Windows and curtains: clean accessible glass, wash or refresh curtains as instructed and check tracks.
- Day 5 — Living room: vacuum upholstery, wipe skirting boards and clear surfaces.
- Day 6 — Kitchen organisation: sort cupboards, check use-by and best-before dates correctly, and organise containers.
- Day 7 — Kitchen deep clean: clean the cold cooker and oven, then the fridge while keeping food chilled.
- Day 8 — Bathroom cleaning: clean tiles, shower screen and basin, and change towels.
- Day 9 — Bathroom details: check grout, drains and toiletries; arrange help for unresolved damp or mould.
- Day 10 — Bedrooms: change linen, follow mattress-care instructions and organise wardrobes.
- Day 11 — Laundry: wash cloths, clean the machine as directed and tidy shelves.
- Day 12 — Floors and skirting boards: remove dust, mop appropriate surfaces and attend to corners and marks.
- Day 13 — Outdoors and entrance: sweep, clean doors and arrange pots when conditions are suitable.
- Day 14 — Maintenance: check bulbs and minor repairs, then arrange decorations safely.
- Day 15 — Final check: inspect the rooms, empty bins and prepare the table and guest essentials.
Printing and using the checklist
Make a page for each day or a table with columns for Day, Task, Person responsible, Estimated time and Done. Print on A4 with tick boxes. If useful, laminate it and use a wipe-clean pen.
A simple spreadsheet might use column A for the day, B for tasks, C for priority, D for the person’s name, E for minutes and F for a tick box. Keep an editable digital copy as well as the printed sheet.
Adapting the schedule step by step
- Assess your space and routine: count rooms and identify jobs that need extra time, particularly kitchens and bathrooms.
- Prioritise frequently used areas: give busy guest spaces attention before the celebration.
- Estimate realistically: record how long early tasks take and adjust later sessions.
- Group similar jobs: clean accessible glass on the same day, for example.
- Use the time available: place longer jobs in free periods and quicker tasks on busy days.
- Delegate and simplify: share manageable tasks and leave technical work to someone suitably skilled.
- Allow some spare time: a planning buffer of around 20–30% may help with interruptions, but adapt it to your household.
Making the checklist practical
- Use colour: highlight priorities before printing.
- Keep a digital version: edit and rearrange jobs without repeatedly printing new sheets.
- Try two columns: this can save paper while keeping the list easy to scan.
- Laminate a reusable master sheet: tick it with a wipe-clean pen and adapt it next year.
- Leave room for notes: record missing supplies or improvements for next time.
Three simple checklist formats
- Option A, compact: one line per day, three main jobs and a space for the person’s name.
- Option B, detailed: room-by-room subtasks, estimated times and individual tick boxes.
- Option C, family: simple symbols and age-appropriate jobs to make sharing the work easier.
Using the checklist each day
- Display the sheet on the fridge or a visible noticeboard.
- Review the plan each morning and change priorities when necessary.
- Tick off completed tasks and make a brief final check.
- Record actual times to improve next year’s schedule.
A flexible 15-day checklist can help you prepare the house without leaving every job until the last moment.
Adapt the workload to your routine, share suitable tasks and concentrate on what makes guests comfortable.
Thank you for reading. Follow our social channels and visit the I Love Christmas blog for more festive ideas and practical planning tips. Wishing you a relaxed and happy Christmas.
Year-end cleaning checklist: frequently asked questions
How much time should I allow each day?
As a starting point, try 30–90 minutes on weekdays and 2–4 hours for a longer weekend session, with breaks. Adjust to your home’s size, the jobs involved and your energy; shorter sessions are perfectly reasonable.
How can I involve the family without confusion?
Give each person short, clear tasks, display names on a checklist and rotate suitable jobs. Thanks, encouragement and small shared rewards can help.
Which cleaning products are essential, and can homemade mixtures replace them?
Start with suitable all-purpose cleaner, microfibre cloths and any specialist products your surfaces require. Use a labelled disinfectant only where appropriate. Homemade vinegar, bicarbonate, alcohol and essential-oil mixtures are not reliable substitutes for tested disinfectants or mould treatments.
How can I adapt the plan for a small home?
Group similar jobs on the same day, shorten sessions where appropriate and use a compact checklist with two or three main tasks per day.
Can I laminate the checklist and reuse it?
Yes. Laminate the main sheet if useful and mark it with a wipe-clean pen. Keep an editable digital version for future changes.
Sources and Further Reading
- CDC: using bleach safely
- Oxford City Council: dealing with mould
- Food Standards Agency: food poisoning prevention
- UK Government: food safety and date labels