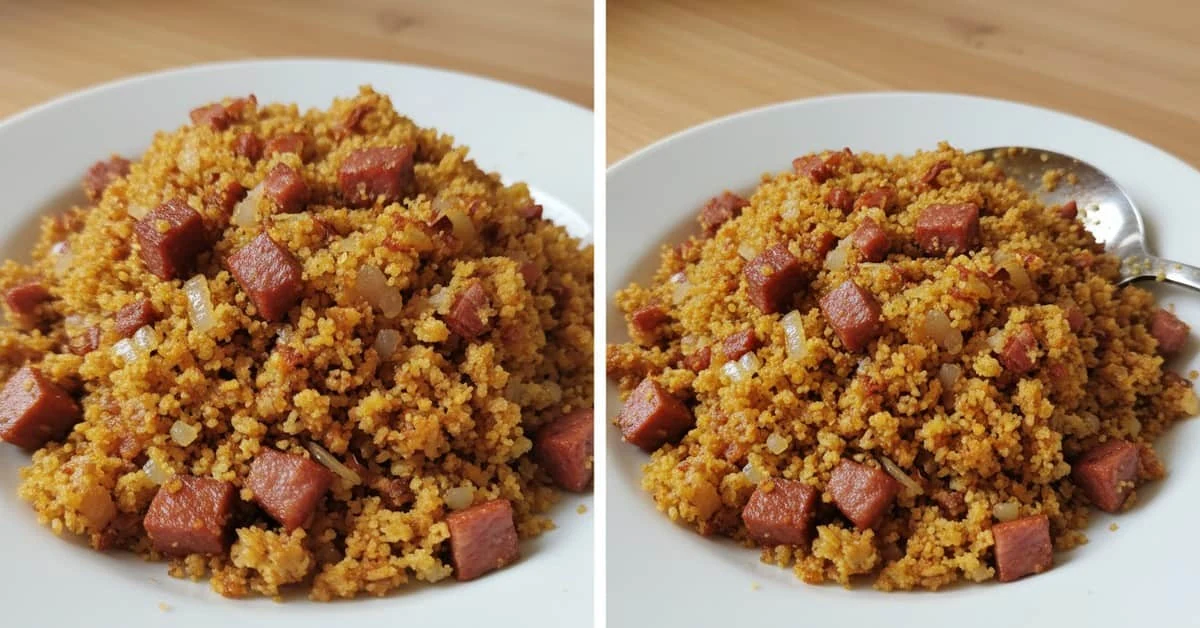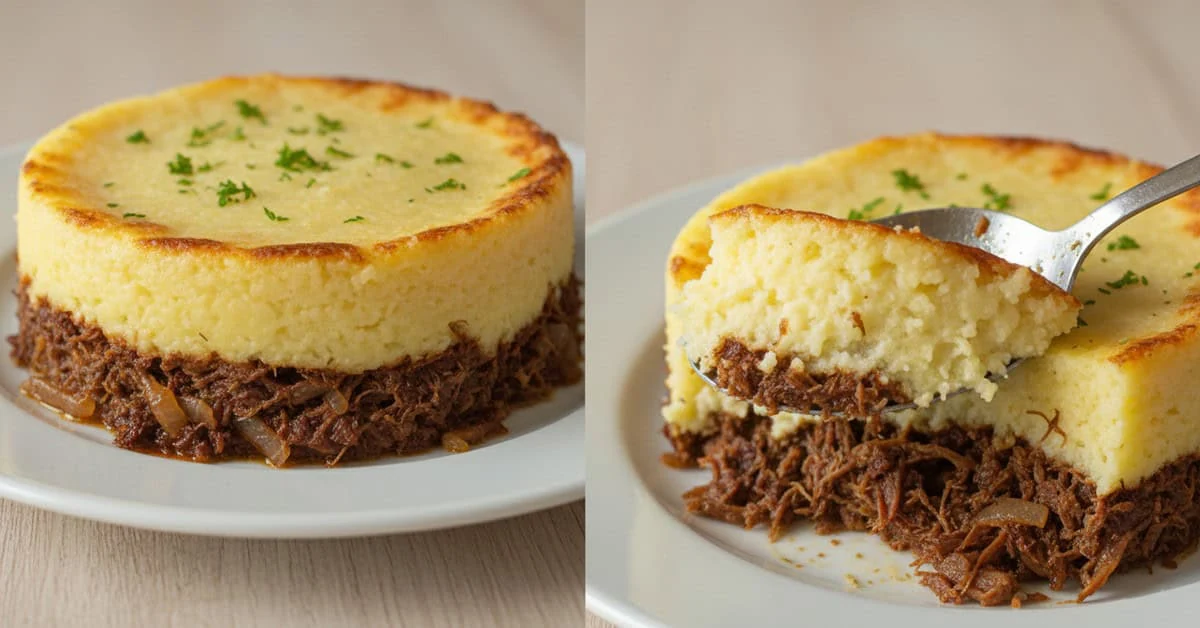
Escondidinho de carne seca is a Brazilian layered bake with creamy cassava mash, shredded salted beef and a golden cheese topping. Prepare the beef according to its desalting instructions and cook the cassava thoroughly before mashing, then assemble a comforting dish for a family or festive meal.
Salted beef and cassava pie brings contrasting textures together: a savoury filling beneath soft mash and melted cheese. This guide covers the preparation, variations and serving ideas for making Brazilian escondidinho at home.
Ingredients for escondidinho de carne seca
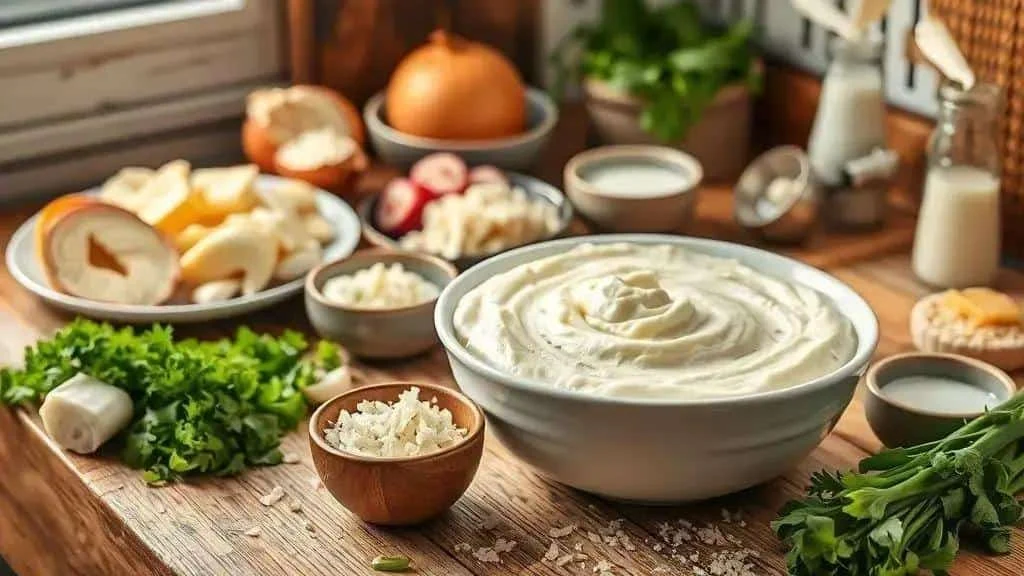
To make Brazilian salted beef and cassava pie, you will need:
- 1.5 kg cassava, also called yuca, aipim or macaxeira – use food-grade sweet cassava suitable for home cooking, peeled and thoroughly boiled before mashing. Alternatively, use 1.5 kg potatoes.
- 500 g carne seca, Brazilian salted dried beef – desalted, cooked and shredded before assembling. Charque or carne de sol may be alternatives, but require their own supplier’s preparation instructions. These are not the same as ready-to-eat snack jerky.
- 2 tbsp butter – for the mash; a suitable margarine is an alternative.
- 120 ml milk, ½ cup – add gradually to adjust the mash. Unsweetened plant drink can be used instead.
- 200 g requeijão cremoso – a Brazilian creamy cheese spread. Cream cheese is an alternative; cream gives a looser result and should be added gradually.
- 200 g grated mozzarella – for the topping. Other suitable melting cheeses can be used; Brazilian queijo prato or coalho will give a different finish.
- 1 medium onion – chopped; red onion also works.
- 3 garlic cloves – chopped or crushed.
- 2 tbsp vegetable oil or olive oil – for the filling.
- Salt and black pepper – to taste; the beef and cheese may provide enough salt already.
- Chopped parsley and spring onion – the Brazilian herb mixture known as cheiro-verde, to taste.
- Optional: 60 ml cream, ¼ cup – for a richer mash, added only if needed for the texture.
- Optional: 25 g grated Parmesan, about ¼ cup – for the topping.
Quick ingredient tips
Desalting the beef: cut and soak in cold water in the fridge, changing the water as directed on its packaging. Some products need an overnight soak, but timing varies with thickness and salt content. Cook in fresh water until tender before shredding. Preparing cassava: peel, cut and boil fully according to the supplier’s instructions, then discard the cooking water. Never eat it raw or use its cooking water in the mash.
How to make salted beef escondidinho
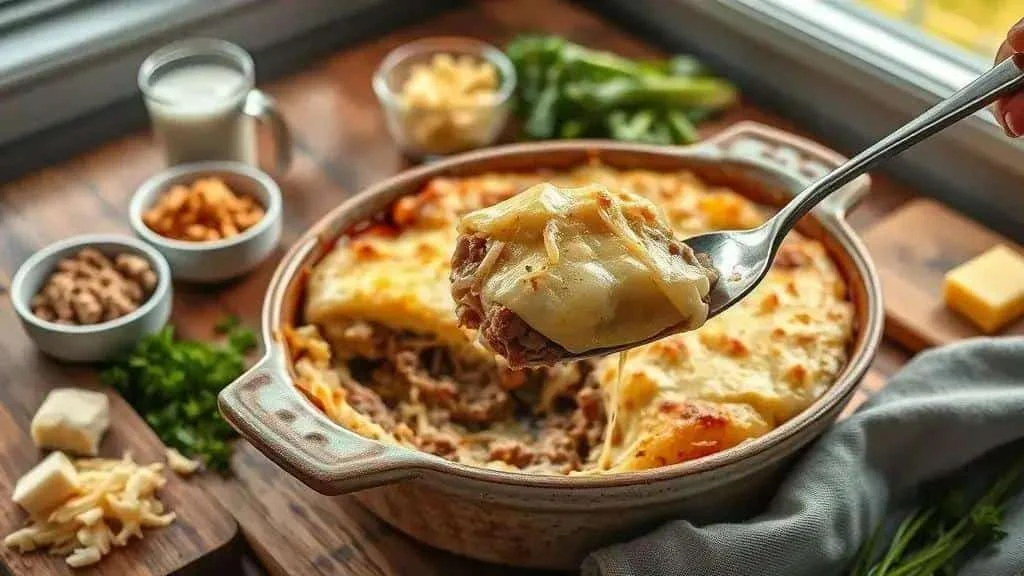
Follow the steps below to make salted beef escondidinho. Allow time for desalting before you begin the filling and mash.
Essential preparation
Prepare the salted beef: follow its packet instructions for refrigerated soaking and water changes, then cook in fresh water until tender. Prepare the cassava: use peeled food-grade sweet cassava, boil until thoroughly cooked and soft, and discard the water. Remove the tough central fibres before mashing.
- Cook the beef: place the prepared 500 g salted beef in a pressure cooker with fresh water, following the appliance’s liquid and filling limits. Around 25–30 minutes under pressure may be a starting guide, but the product and cut determine the time. Cook until tender and release pressure exactly as the manufacturer instructs before opening. A normal saucepan can also be used, allowing more time.
- Shred the beef: once safe to handle but still warm, pull it apart with two forks. Reserve a little cooked beef broth only if it is not too salty; fresh water can be used instead to loosen the filling.
- Cook the aromatics: heat the 2 tbsp oil in a large frying pan. Soften the chopped onion, then add the 3 garlic cloves and cook briefly without burning.
- Finish the filling: add the cooked shredded beef and stir for about 5–7 minutes until hot and lightly browned in places. Add a little water or suitable beef broth if dry. Season cautiously with salt, black pepper and chopped herbs.
- Cook the cassava: boil the 1.5 kg peeled, cut sweet cassava in plenty of water, following the supplier’s instructions. Cooking may take around 20–30 minutes or longer depending on the pieces; it must be fully cooked and tender. Drain and discard the water, and remove tough central fibres.
- Make the mash: mash or rice the cooked cassava while warm, then mix in the 2 tbsp butter and gradually add the 120 ml milk. Stir in the 200 g requeijão or cream cheese. If needed, loosen with a little more milk or fresh hot water, never the cassava cooking water. Avoid overprocessing, which can make the texture sticky.
- Assemble: grease an ovenproof dish large enough for the mixture. Spread half the mash across the base, add all the beef filling, then cover with the remaining mash and smooth the surface.
- Add the cheese: scatter over the 200 g mozzarella and optional 25 g Parmesan.
- Bake: place in a preheated oven at 200°C, or 180°C fan, for about 15–20 minutes if assembled warm, until hot throughout and golden on top. A chilled dish needs longer. For extra colour, grill briefly in a grill-safe dish, watching carefully.
- Finish: leave to stand for 5 minutes, then scatter with chopped parsley and spring onion before serving.
- Serving and richness: serve hot with green salad or rice. For a richer mash, add the optional 60 ml cream during mixing, checking that it remains thick enough to hold its layers.
- Storage: cool leftovers promptly in shallow portions and refrigerate within 2 hours at 5°C or below. Use within 48 hours. Reheat only once, covered in the oven if desired, until steaming hot throughout.
How to desalt and shred carne seca
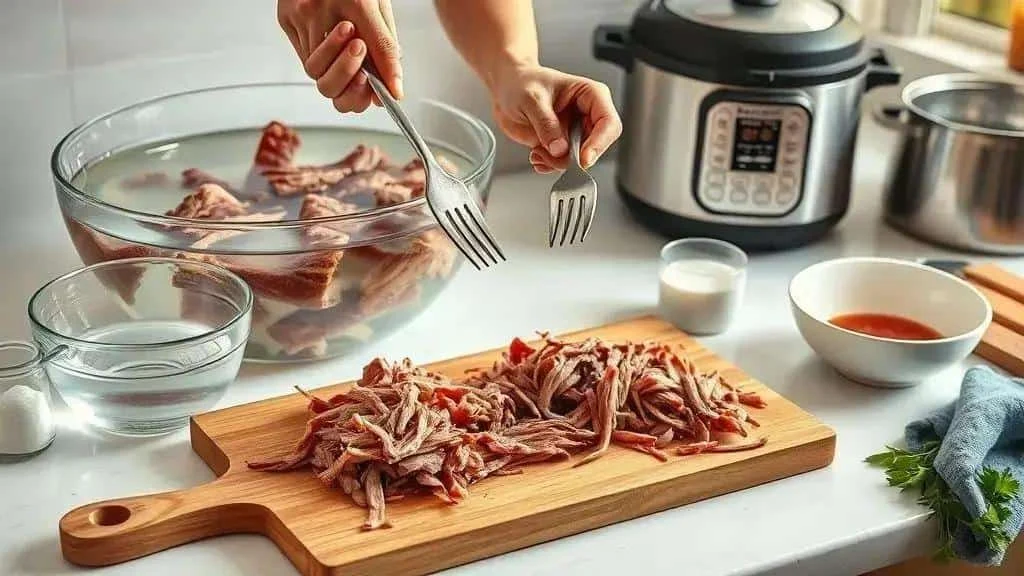
Careful desalting and shredding help create a tender filling without excessive salt. Preparation varies between products, so the supplier’s instructions come first.
Desalting step by step
- Cut into pieces: trim excess fat and cut into roughly 4–5 cm pieces if the packet permits; smaller pieces usually lose salt more readily.
- Soak in cold water: cover the beef with water in a bowl and keep it in the fridge. An 8–12 hour overnight soak is a guide used for some products, not a universal requirement.
- Change the water: follow the packet’s schedule, replacing with fresh cold water and returning the covered bowl to the fridge between changes.
- If short of time: use a supplier-approved quick method or buy ready-desalted meat. Repeated brief boiling is not a reliable substitute for every product’s preparation and full cooking requirements.
- Cook after soaking: drain and cook in fresh water until tender, using a saucepan or the pressure cooker’s specified method. The suggested 25–30 minutes under pressure may need adjusting. Retain a little beef broth only if useful and not excessively salty.
- Taste only when cooked: shred and taste a small fully cooked piece before seasoning. If still too salty, simmer further in fresh water and drain before proceeding.
Shredding methods
- Work while warm: allow the cooked meat to cool enough to handle safely; do not touch it while scalding hot.
- Use two forks: pull the meat in opposite directions until it separates into fine strands.
- Using a mixer: only use an appliance and attachment approved by its manufacturer for shredding cooked meat. Work briefly at a low speed and stop before the meat becomes a paste; forks give more control.
- Using a food processor: short pulses produce a coarser chopped filling rather than long shreds. Follow the appliance’s food-temperature limits and avoid overprocessing.
- Remove tough pieces: discard hard connective tissue as you shred.
Practical preparation and storage tips
Use broth carefully: cooked beef broth can loosen the filling but may still be salty; fresh water is another option. Do not use cassava cooking water. Control moisture: drain the shredded beef well and let excess moisture evaporate in the frying pan, stopping before the filling becomes dry.
Season at the end: taste the fully cooked filling before adding salt. Storage: cool promptly and refrigerate within 2 hours, using within 48 hours, or freeze in portions. Label frozen food and follow your freezer’s guidance for quality.
Escondidinho variations

Vary salted beef escondidinho with a different mash, a creamy cheese layer or a plant-based filling.
Sweet potato mash
- What changes: orange-fleshed sweet potatoes add colour and sweetness against the savoury beef.
- Suggested quantities: use 1 kg cooked mashed sweet potato with 500 g prepared salted beef, giving roughly 4–6 servings depending on the rest of the meal.
- Alternative: ordinary potatoes give a more neutral flavour.
Arracacha mash
- What changes: arracacha, known in Brazil as mandioquinha or batata-baroa, makes a smooth, gently flavoured mash. It is a different root from cassava.
- Preparation: peel and cook 1 kg arracacha until tender, then mash with 2 tbsp butter and up to 100 ml milk, adding the milk gradually.
A creamy cheese layer
- What changes: a Brazilian creamy cheese spread such as Catupiry adds richness to the mash or filling.
- Quantity: use 200 g Catupiry in place of the requeijão, either mixed into the mash or spooned over the beef before covering.
A vegetarian version with jackfruit or mushrooms
- What changes: replace the beef with cooked shredded young jackfruit or sautéed mushrooms. These provide a different texture and are not nutritionally equivalent to beef.
- Seasoning: smoked paprika, cumin and a little soy sauce give a savoury flavour. For a vegan dish, replace the butter, milk and cheeses too.
A cauliflower mash alternative
- What changes: cauliflower gives a different, softer topping. Drain it thoroughly so the layers are not watery.
- Preparation: cook 800 g cauliflower, drain well and mash with 2 tbsp butter and up to 50 ml cream, adjusting for its moisture.
Individual mini escondidinhos
- What changes: individual ramekins are easy to serve at a gathering.
- Portioning: use 200–250 ml ovenproof ramekins. The number depends on the mash quantity and filling depth; fill without overloading and use additional dishes for any mixture left over.
A crunchy farofa or onion topping
- What changes: a crisp finishing layer contrasts with the creamy mash.
- How to add it: scatter seasoned farofa, a Brazilian toasted cassava-flour accompaniment, or crisp onions over the finished bake just before serving, avoiding burning a ready-toasted topping under the grill.
General baking tip: around 15–20 minutes at 200°C, or 180°C fan, is a guide for a warm assembled dish. Different fillings, dish sizes and chilled components change the time. Heat the centre thoroughly before briefly browning the top.
Festive accompaniments

Balance the richness of salted beef escondidinho with crisp salads, vegetables or a simple side that works with the savoury filling.
Salads and starters
- Green salad: lettuce, rocket and watercress with lemon dressing. Prepare enough for your guests, adjusting the amount to the other side dishes.
- Brazilian vinagrete: chopped tomatoes, onion, pepper and herbs with olive oil and vinegar bring a fresh contrast.
- Salpicão: a Brazilian salad of cooked shredded chicken, apple, grated carrot and mayonnaise makes another creamy accompaniment. Keep it refrigerated until serving.
Hot side dishes
- Plain or broccoli rice: fluffy rice pairs with the strongly flavoured filling. Adjust the serving size to appetite and the amount of mash already on the plate.
- Sautéed greens: finely sliced leafy greens cooked with garlic and oil add a different texture.
- Beans: choose simple beans with their broth or Brazilian feijão tropeiro, a drier bean dish with toasted flour and other additions.
Crunchy accompaniments
- Seasoned farofa: try toasted cassava flour with butter, onion and garlic, or add banana for a sweet and savoury contrast.
- Crisp onions or vegetable crisps: scatter over the pie just before serving.
- Bread and toast: garlic bread or rustic slices work alongside the filling and mash.
Roasted vegetables and other alternatives
- Roasted vegetables: cubes of pumpkin, carrot or sweet potato, seasoned with herbs and cooked until tender and golden.
- Alternative mash: arracacha or sweet potato changes the flavour of the topping; choose one rather than needing an extra mash side.
Drinks to serve alongside
- Drink choices: citrus juice or a non-alcoholic drink suits the savoury filling. Adults who drink alcohol could choose a young red wine or a light beer.
- Sparkling water with lemon: a refreshing alternative between mouthfuls.
Practical serving tips
- Portions: roughly 150–200 g per person makes a smaller serving when several other dishes are offered; allow more if it is the main part of the meal.
- Organisation: keep salads and chilled dishes separate from hot serving dishes, with plates and cutlery within easy reach.
- Temperature and texture: serve the bake hot and bring chilled accompaniments from the fridge shortly before the meal.
Storing and using leftovers
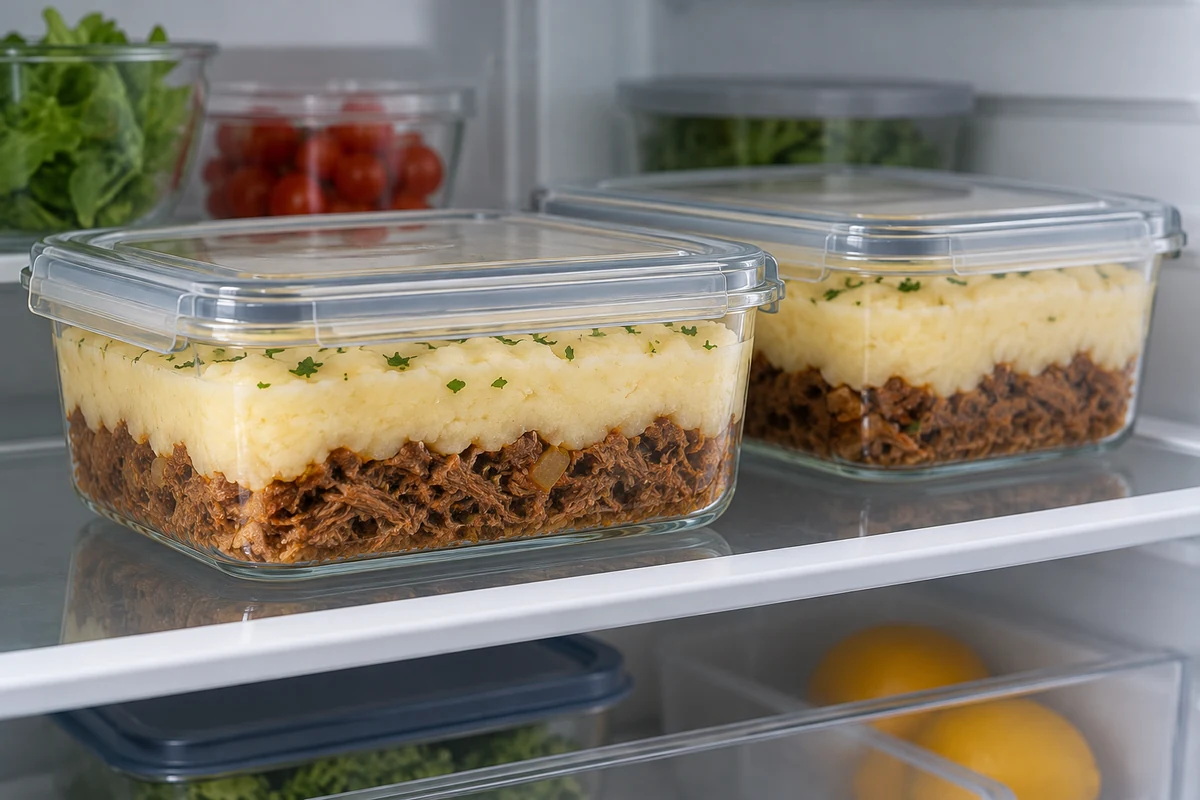
Store leftover salted beef escondidinho promptly so you can enjoy it again without repeatedly warming the whole dish.
Storage temperatures and times
- Fridge, 5°C or below: cool promptly and refrigerate within 2 hours, covered. Use within 48 hours.
- Freezer, around −18°C: freeze well-wrapped portions promptly, label with the date and follow your freezer’s recommended storage guidance. Quality changes with time.
- Individual portions: small freezer-safe containers, such as 300–400 ml sizes, make it easier to thaw only what you need. Leave suitable headroom.
Suitable containers
- Lidded glass containers: check whether each container is freezer-safe and oven-safe; not all glass or lids tolerate both. Avoid sudden temperature changes that could crack glass.
- Freezer bags or suitable wrapping: remove excess air and seal well to reduce freezer burn. Transfer to an appropriate dish for reheating.
- Labelling: record the contents and date so older portions are used first.
Freezing and thawing
- Cool promptly: divide into smaller, shallow portions to help cooling, then refrigerate or freeze within 1–2 hours. Do not leave a large dish out for hours waiting for it to become completely cold.
- Pack in useful portions: freeze individual or family-sized amounts so you can thaw only the quantity needed.
- Thaw in the fridge: allow enough time to thaw fully; a large portion may need more than overnight. Use within 24 hours of full defrosting.
- Microwave defrosting: use the appliance’s defrost setting and reheat immediately afterwards until steaming hot throughout.
Reheating safely
- In the oven: place in a suitable covered dish at 180–200°C, or 160–180°C fan. The suggested 15–25 minutes is only a guide; heat until steaming hot at the centre, then uncover briefly to brown the topping.
- In the microwave: use a microwave-safe cover and follow the appliance’s instructions. Stir or rearrange where practical and check several points for cold spots; do not rely on a fixed 2–4 minute time.
- On the hob: if the beef and mash were stored separately, reheat them separately with a little fresh water or milk as appropriate, stirring until steaming hot throughout, then combine for immediate serving.
- Check the centre: use a clean food thermometer where possible: 70°C for 2 minutes or 75°C for 30 seconds are FSA cooking temperature-time combinations. Touch is not a safe test. Reheat each portion only once.
Ideas for using leftovers
- Small savoury pies: use chilled cooked beef filling in pastry and follow the pastry recipe’s baking method, ensuring both pastry and filling are cooked and hot throughout.
- Croquettes: firm mash and beef can form the basis of croquettes. Follow a complete croquette method with suitable binding and cooking instructions rather than relying on browning alone.
- Sandwich filling: reheat the beef thoroughly with creamy cheese and serve in toasted ciabatta or baguette.
- Pizza or bruschetta topping: use a little beef and cheese, making sure the filling becomes steaming hot rather than only melting the cheese.
- A filled omelette: add thoroughly reheated filling and cook the omelette through. Use leftovers within their original storage period and reheat only once, even in a new dish.
Safety and quality tips
- Plan portions: avoid repeatedly thawing, warming and cooling the same food. Thaw only what you intend to use.
- Check condition and storage: discard spoiled food, but remember that smell and appearance alone cannot establish safety. Respect refrigeration times and temperatures.
- Loosen mash with fresh liquid: use a little milk or fresh water when needed. Cassava cooking water must be discarded, not saved for reheating.
- Reheat only the serving needed: check the whole portion is hot throughout, including the centre, and eat it promptly.
More about Brazilian escondidinho
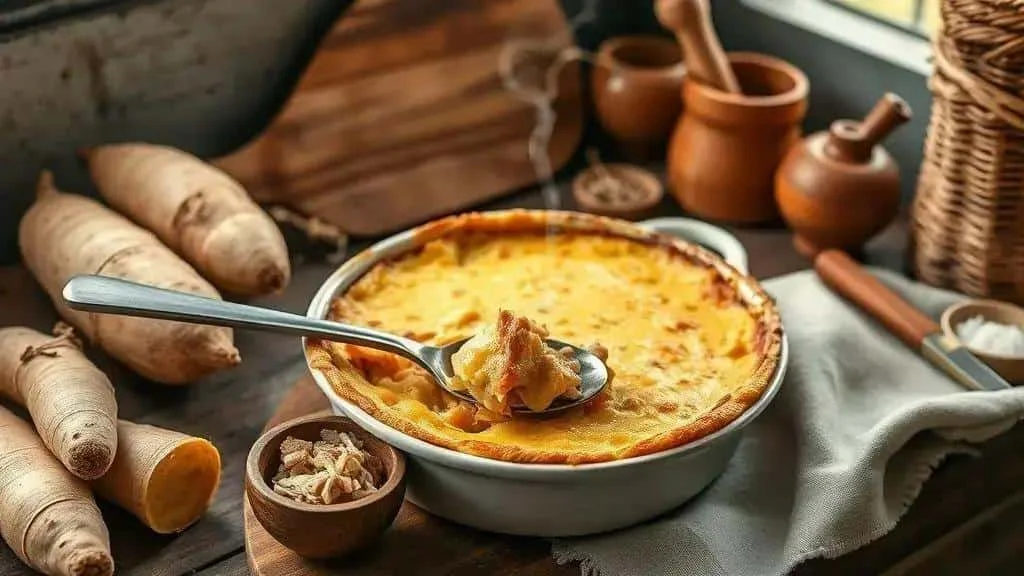
Escondidinho is a Brazilian dish named for the savoury filling hidden beneath its soft topping. It is a comforting format for family dinners and gatherings.
What the name means
The name suggests something ‘hidden away’: the mash covers the filling, which appears when you serve a portion. That layered construction is the defining idea of the dish.
The Brazilian ingredients
Cassava and carne seca give this version its Brazilian character. Keep their names when shopping at Brazilian or Latin American food shops, and ask for products with clear preparation instructions. Salted meats vary and should not all be treated as the same ingredient.
Features of the dish
- Versatility: the topping can be made from cassava, arracacha, sweet potato or cauliflower, with different flavours and textures.
- Local and household variations: different choices of mash, filling and cheese produce their own versions of the same layered dish.
- Salted beef: preserving meat with salt gives it a distinctive character, but the product still needs correct storage, desalting and cooking before use.
- Simple or dressed up: serve in a family baking dish or individual ramekins, choosing a plain cheese topping or a crisp finish.
- Easy to share: a large dish can be portioned at the table, with salads and vegetables alongside.
Texture and flavour
Balance matters: thick, creamy mash should contrast with a moist, savoury filling. Small adjustments to the liquid, cheese and seasoning make a noticeable difference.
A dish for relaxed gatherings
The appeal is straightforward: a hot, shareable bake that can anchor a family lunch, a festive table or an informal dinner. Serve it in the style that suits your occasion.
With the preparation done in advance, assembling escondidinho becomes simple. Try a variation and adjust the seasoning only after tasting the cooked filling.
If you make it, share your results and favourite combinations. Follow our social channels for more recipes and festive meal ideas.
Thank you for reading. Visit the I Love Christmas blog for more kitchen inspiration.
Salted beef escondidinho: frequently asked questions
How long should I desalt the beef?
Follow the product’s instructions. Some use an 8–12 hour refrigerated soak with water changes, while others need a different method or longer time. Keep soaking meat refrigerated, then cook in fresh water until tender. Taste only after cooking.
Can I replace the cassava in the mash?
Yes. Try 1.5 kg ordinary potatoes, or the smaller variation using 1 kg arracacha. Cook until tender and add butter and milk gradually to reach a thick, spreadable mash. The yield changes with the topping quantity.
How can I stop the mash drying out?
Mix in the requeijão or cream cheese and, if needed, up to 60 ml cream. Add milk or fresh hot water a little at a time to loosen it. Never use the water in which cassava was boiled; discard that water.
How should I store leftovers?
Cool in shallow portions and refrigerate within 2 hours at 5°C or below, using within 48 hours, or freeze promptly in labelled containers. Thaw in the fridge, use within 24 hours of full defrosting and reheat only once until steaming hot throughout.
How can I make a savoury vegetarian version?
Use cooked shredded young jackfruit or sautéed mushrooms, with smoked paprika, cumin and a little soy sauce. For a fully vegan version, also replace the butter, milk and cheeses with suitable plant-based products.
Sources and Further Reading
- Food Standards Agency: cooking and reheating safely
- Food Standards Agency: chilling, freezing and defrosting safely
- Food Standards Australia New Zealand: preparing cassava safely