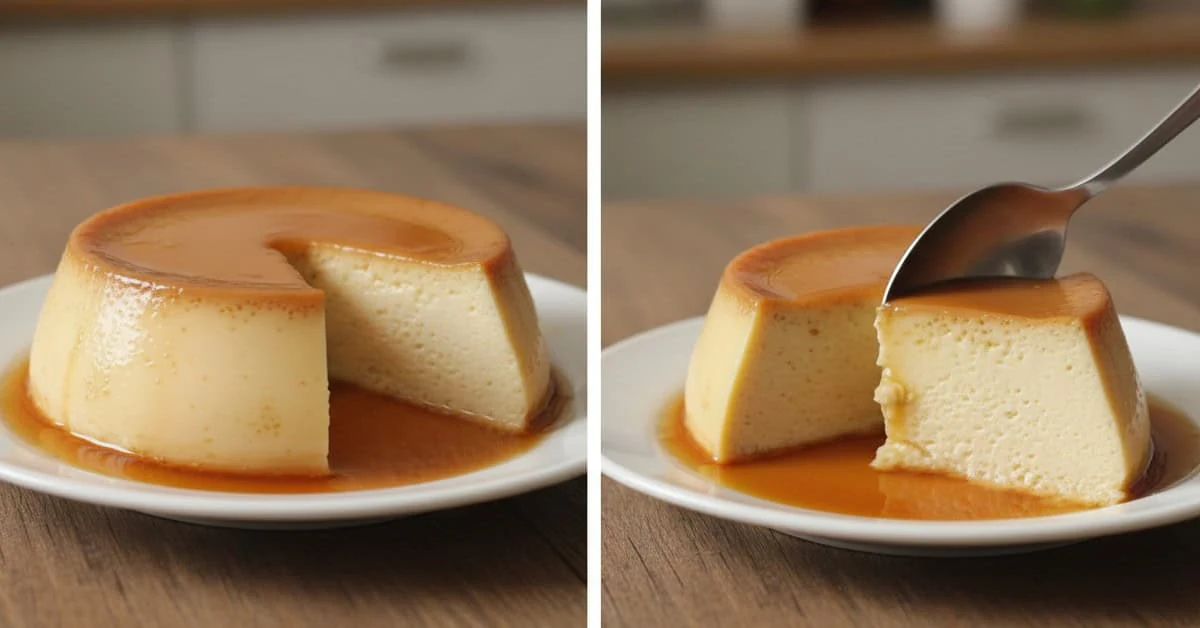
Brazilian condensed milk pudding, or pudim de leite condensado, is a baked caramel custard made with condensed milk, milk and eggs. A water bath, gentle mixing and careful cooking help give it a smooth texture. Chill thoroughly before turning it out so the caramel runs over the set pudding.
Brazilian condensed milk pudding makes a classic finish to a festive meal. For a creamy custard and glossy caramel, pay attention to mixing, heat and chilling rather than trying to rush the pudding out of its mould.
Ingredients for condensed milk pudding
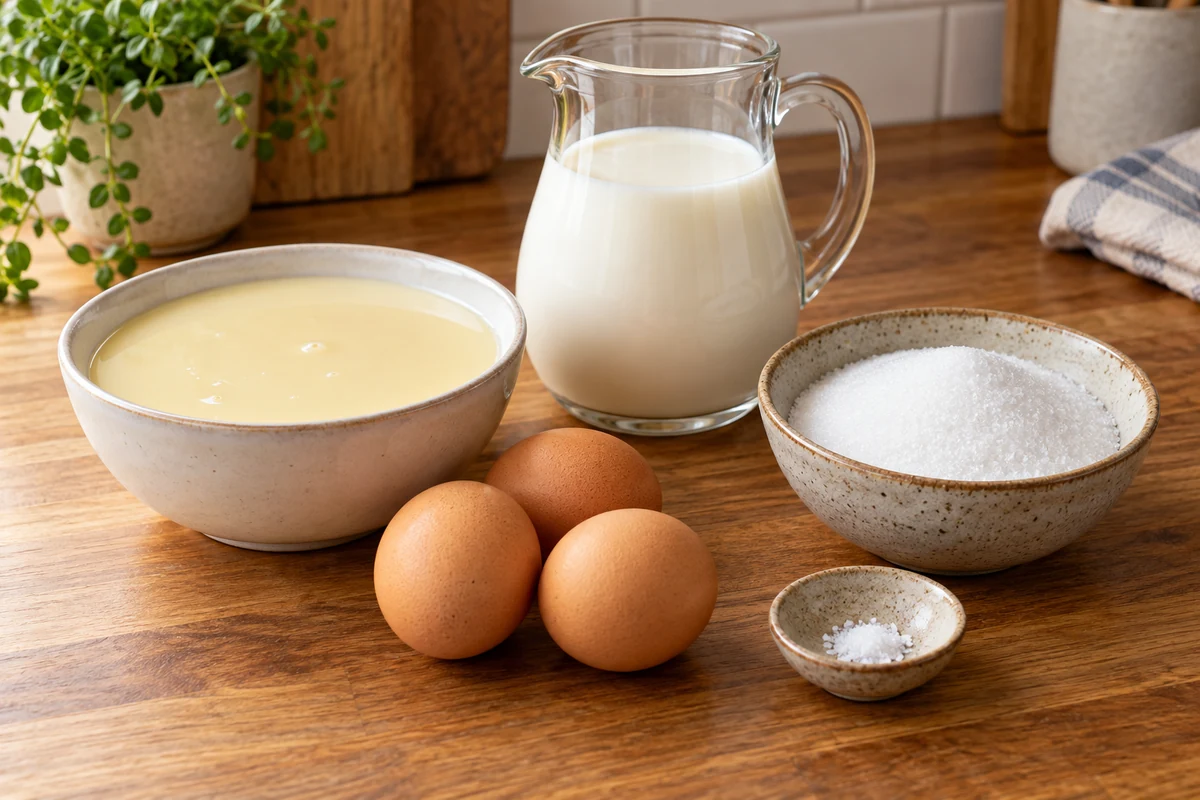
For the main condensed milk pudding recipe, you will need:
- 395 g sweetened condensed milk – weigh the amount if the tin differs in size. Reduced-fat products may change the texture and are not necessarily lower in sugar.
- Whole milk: one condensed-milk-tin measure – use the empty 395 g tin as a volume measure. If using another container, measure the volume occupied by the condensed milk and use that volume of milk; 395 g does not mean 395 ml. Semi-skimmed milk gives a less rich result.
- 3 large eggs – or, for a richer variation, 2 whole eggs and 2 yolks. This changes the custard rather than guaranteeing a firmer result.
- 200 g white granulated sugar – for the caramel. Darker sugars alter the flavour and make the caramel’s colour harder to judge.
- ½ tsp vanilla extract, optional – for a little extra fragrance.
- A pinch of salt – to balance the sweetness.
How to make condensed milk pudding
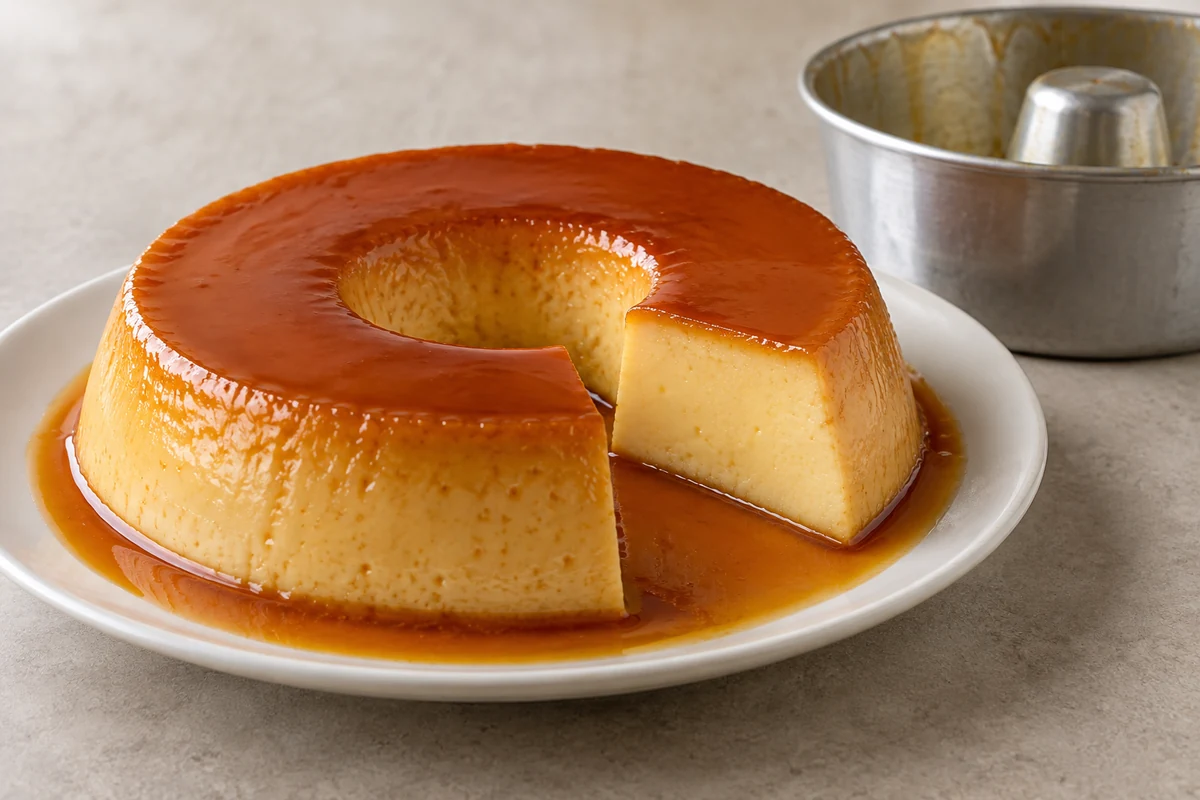
- Preheat to 180°C conventional/160°C fan. Position a shelf near the middle and prepare a deep roasting tin for the water bath.
- Make the caramel: put 200 g sugar in a heavy-based saucepan and heat gently, allowing it to melt and turn amber. Carefully pour into a heatproof, one-piece 20–22 cm pudding mould and tilt to coat the base and a little of the sides. Use dry oven gloves. Hot caramel causes serious burns; never touch or taste it while hot.
- Let the caramel set in the mould while preparing the custard. It may harden; this is normal and it will loosen as the pudding cooks and chills.
- Mix the custard: blend 395 g condensed milk, one empty-tin measure of milk, 3 large eggs, optional ½ tsp vanilla and a pinch of salt just until combined, roughly 20–30 seconds. Avoid a long, frothy blend.
- Pass through a fine sieve to remove strands of egg, then skim off surface foam if needed. Straining helps smoothness but does not remove every air bubble.
- Pour gently into the caramel-lined mould, keeping the jug close to the surface to avoid splashes and extra foam.
- Place the mould inside the roasting tin. Carefully add hot water to the outer tin until it reaches about halfway up the mould, without splashing water into the custard.
- Cover the pudding mould loosely with foil. Use a vessel designed for baking and hot caramel; do not cover it with ordinary cling film in the oven.
- Bake for approximately 50–70 minutes. Start checking around 50 minutes, allowing for the mould and oven. The custard should be set with a gentle wobble, not a liquid centre. Check it is cooked through; a clean food probe reading of 75°C for 30 seconds is one suitable check. Do not rely on a creamy skewer alone.
- Remove carefully from the oven and water bath, protecting against hot water and steam. Cool promptly; do not attempt to turn out a hot pudding.
- Refrigerate within two hours of cooking and chill for at least four hours, or overnight within the storage limit, before turning out.
- Turn out carefully: loosen the edge with a thin knife if suitable for your mould. Briefly stand the base in warm water to loosen the caramel, dry the outside, then invert onto a rimmed plate. Avoid putting an unsuitable mould directly over a flame. Serve cold.
Quick tips
- Reduce bubbles: mix only until combined, strain and skim visible foam before baking.
- Handle eggs safely: take them out when preparing the recipe rather than leaving them standing for hours. Gentle mixing matters more than warming them on the worktop.
- Watch the caramel: remove it from the heat at amber; residual heat continues cooking it, and burnt caramel tastes bitter.
- Richer custard: use the optional 2 whole eggs and 2 yolks instead of 3 whole eggs for a different mouthfeel. Keep the cooking and chilling checks the same.
- Pressure-cooker versions: require an appliance-approved pudding method, compatible mould, trivet, water quantity and pressure instructions. Do not improvise with a cloth inside the cooker or assume a universal 20-minute timing. This recipe’s complete method is the oven water bath.
Classic, coconut and lower-sugar pudding options
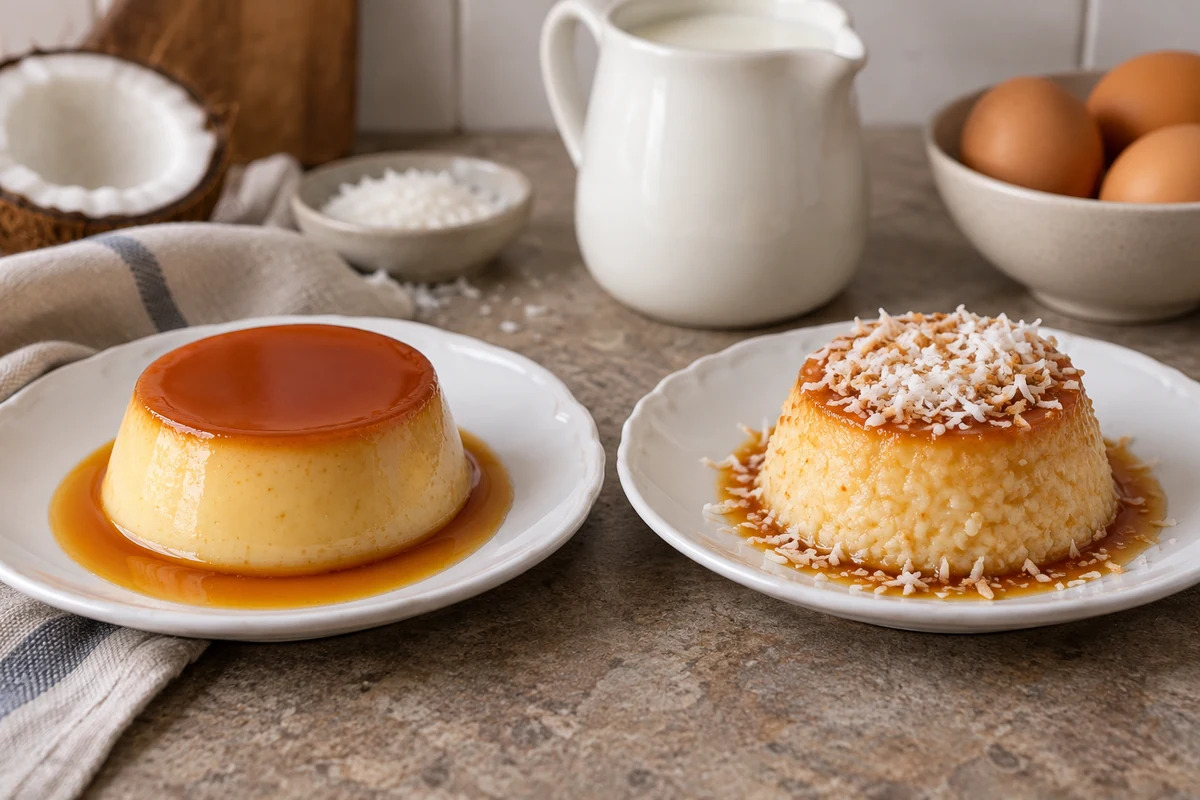
Use the classic condensed milk pudding as the starting point. Coconut is a straightforward flavour variation; reducing sugar more substantially needs a separately tested formulation.
Classic caramel pudding
The familiar version combines a smooth custard with an amber caramel coating. These are the main recipe quantities repeated for convenience, not extra ingredients.
- 395 g sweetened condensed milk
- One empty condensed-milk-tin measure of whole milk – measure by volume as explained above.
- 3 large eggs
- 200 g sugar – white sugar makes the caramel’s colour easiest to follow.
- A pinch of salt
- ½ tsp vanilla extract, optional
- Make the caramel: melt the sugar gently until amber and carefully coat the heatproof mould, protecting your hands.
- Mix the custard: blend the condensed milk, measured milk, eggs, optional vanilla and salt briefly until smooth.
- Strain and prepare the water bath: pour into the mould, cover loosely with foil and set in hot water reaching halfway up its sides.
- Bake: use 180°C conventional/160°C fan and start checking around 50 minutes. Allow roughly 50–70 minutes, longer if needed, until set and cooked through as described in the main method.
- Cool and chill: refrigerate within two hours, then chill for at least four hours before turning out.
Coconut pudding
Coconut adds flavour and a more textured finish. Finely grated coconut gives a less coarse result than large shreds.
- 395 g sweetened condensed milk
- One empty-tin measure of milk in total – for more coconut flavour, use half whole milk and half coconut milk, keeping the combined volume the same.
- 3 large eggs
- 60 g grated coconut – finely grated fresh coconut or unsweetened desiccated coconut; the textures will differ.
- 200 g sugar – for the caramel.
- A pinch of salt – can balance flavour but does not reduce the sugar content.
- Caramel: prepare the caramel-lined mould as for the classic version.
- Mix the custard: briefly blend the condensed milk, measured milk or milk mixture, eggs and salt until combined.
- Add the coconut: strain the custard first, then stir in the grated coconut with a spoon rather than blending it into a foam.
- Bake in a water bath: use the main recipe’s 180°C conventional/160°C fan setting and begin checking at about 50 minutes. The coconut changes the texture, but the centre still needs to be fully cooked.
- Finish: cool promptly, refrigerate within two hours and chill thoroughly. Add a little toasted coconut just before serving if wanted.
Considering a lower-sugar version
Sugar affects more than sweetness: it changes the custard and caramel too. A product labelled ‘light’ may be lower in fat rather than sugar, so do not describe the finished pudding as sugar-free or suitable for a particular medical diet without checking its actual ingredients.
- Choose a tested lower-sugar custard recipe – evaporated milk is not a direct replacement for 395 g condensed milk, and adding sweetener to an arbitrary cup of it does not preserve this recipe’s proportions.
- Milk choice – skimmed or semi-skimmed milk changes richness, not the amount of sugar in the condensed milk or caramel.
- Egg quantity – follow the tested recipe you select; do not change the eggs as well as the liquid and sweetener without a reliable method.
- Caramel alternatives – use only a product and method specifically intended for that purpose. Erythritol does not behave like ordinary sugar caramel.
- A pinch of salt – can balance flavour but does not reduce the sugar content.
- Follow the sweetener’s instructions: do not heat it indefinitely waiting for an amber colour it may never develop. A lower-sugar sauce may look and behave differently from caramel.
- Mix according to the chosen recipe: use its specified milk, sweetener and eggs, blending gently and straining where directed.
- Use its cooking guidance: changes in liquid, mould and ingredients affect the time. Check the custard is cooked through rather than copying the timing blindly.
- Chill thoroughly: cool promptly and refrigerate within two hours; follow the recipe’s setting time and a conservative storage limit.
- Keep expectations realistic: alternative sweeteners can change flavour and texture. This section explains the limits of substitutions rather than presenting an untested equivalent recipe.
Tips that apply across variations
- Extra yolks: the main recipe’s 2-whole-eggs-and-2-yolks option gives a richer custard, but is not a universal fix for poor setting.
- Mix gently: avoid excess foam and strain the custard before adding any coconut.
- Allow chilling time: a thoroughly chilled pudding is easier to turn out and slice.
How to reduce bubbles and keep the custard smooth
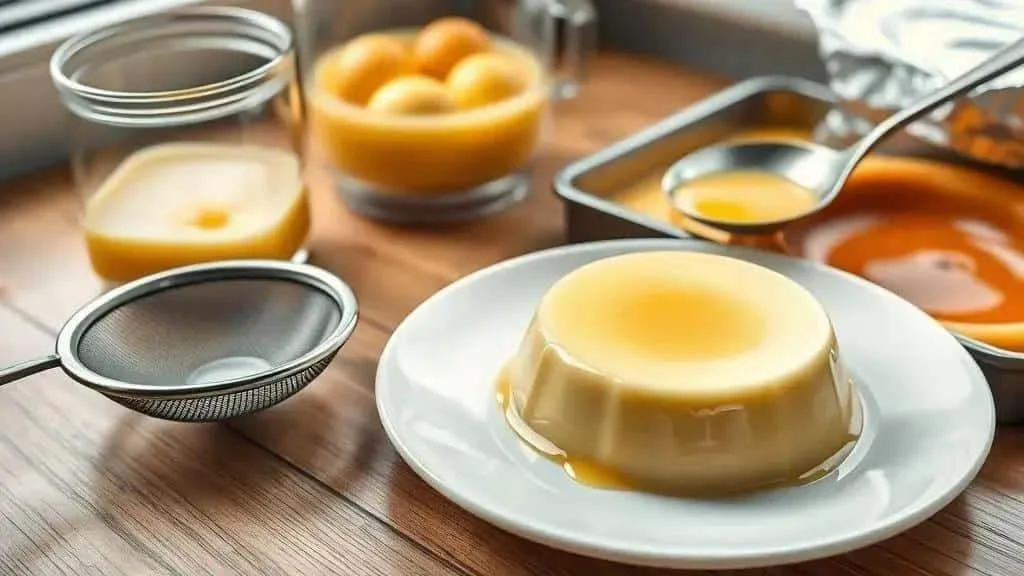
Small changes in mixing and baking can improve the texture of condensed milk pudding. A few tiny holes are not a reason to discard a properly cooked pudding, but gentler handling helps if you prefer a smooth finish.
Why holes and bubbles appear
- Over-blending: a long blend incorporates air and creates foam.
- Unstrained custard: strands of egg can spoil smoothness; strain and skim rather than expecting the sieve to remove every bubble.
- Excess heat: an overly hot oven or vigorously boiling water bath can make the custard cook unevenly.
- Rough handling: shaking the mould or pouring from a height adds bubbles and increases the risk of splashing.
Habits for a smoother texture
- Prepare ingredients together: measure everything before mixing, keeping milk and eggs properly stored until needed. There is no need to leave eggs warming for hours.
- Blend briefly: about 15–30 seconds may be sufficient, depending on your blender; stop once the mixture is even.
- Strain and skim: use a fine sieve and remove any remaining foam from the top.
- Pour gently: keep the jug or ladle close to the mould rather than letting the mixture fall from a height.
- Let the caramel set: hardening in the mould is normal. Avoid burning it while making it; setting is not the same as burning.
- Try the yolk variation if desired: use 2 whole eggs and 2 yolks in place of 3 whole eggs for a richer version.
Before the pudding goes into the oven
- Preheat fully and position the shelf so the water bath can sit level.
- Add the water carefully: hot water should reach roughly halfway up the mould without getting into the custard.
- Cover loosely with foil: this protects the top. Do not use ordinary cling film in the oven.
- Strain the custard into the caramel-lined mould and remove visible foam.
- Avoid unnecessary oven opening: begin checking near the suggested time, earlier for individual ramekins, while watching for excessive browning or a boiling water bath.
Cooling and slicing
- Cool promptly after baking and refrigerate within two hours. Follow the mould manufacturer’s guidance on sudden temperature changes; do not plunge a hot dish into cold water.
- Chill for at least four hours or overnight, within the storage limit.
- Loosen with warm water: briefly warm the base of the mould, keeping water below the rim, then dry it before turning out.
- Use a warm, dry knife for neat slices, wiping between cuts.
Making the caramel
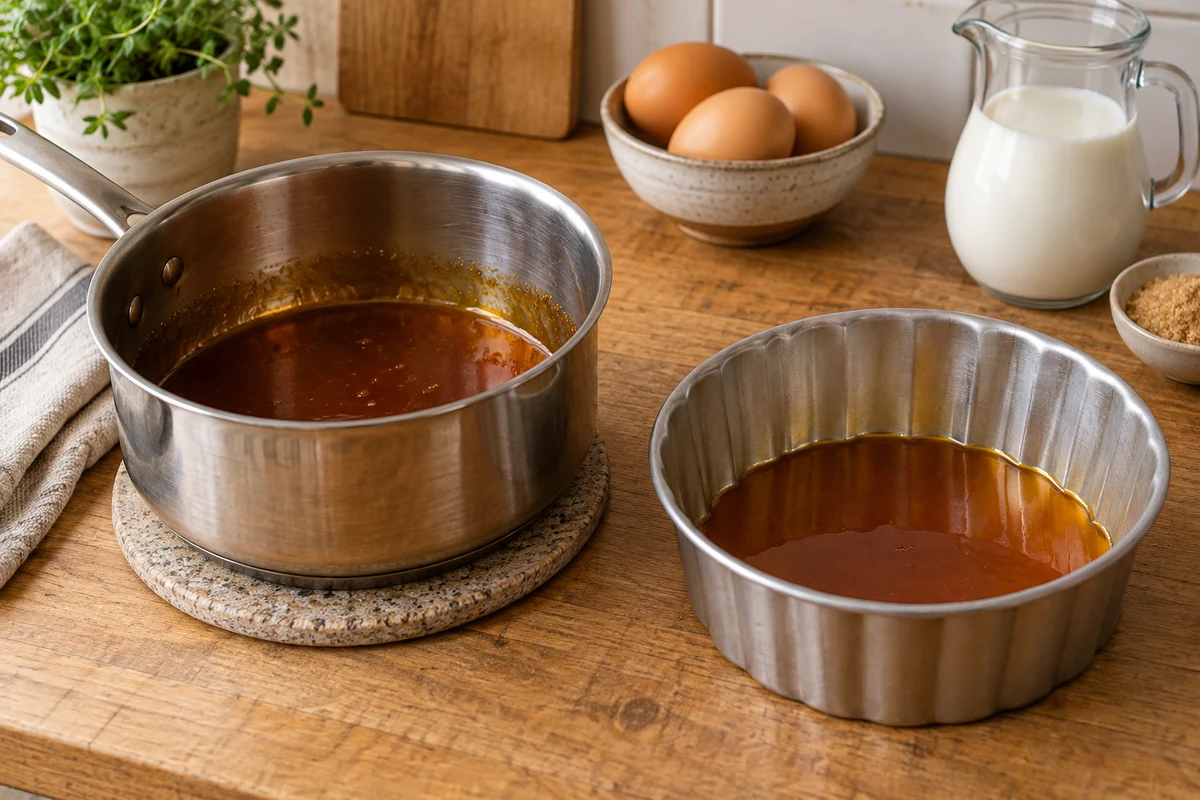
For a balanced caramel coating, watch the colour closely and remove the pan from the heat before the sugar becomes too dark. Choose either the wet or dry method, not both.
Caramel ingredients and options
- 200 g white granulated sugar – the same caramel quantity as the main recipe, not an additional batch.
- 60 ml water – for the wet method only. The dry method uses sugar without added water.
- Optional lemon juice or glucose syrup – a small amount can discourage crystallisation, but neither is essential to the basic sugar-and-water method.
- Optional butter for a different sauce – butter is not needed for this pudding’s caramel lining. If making a separate buttery caramel sauce, use a recipe designed for it rather than adding it automatically here.
Wet caramel method
- Combine sugar and water: put 200 g sugar and 60 ml water in a heavy-based pan and gently moisten the sugar evenly.
- Heat and dissolve: once the sugar has dissolved, stop stirring and let the syrup cook, watching it carefully.
- Leave the bubbling syrup alone: there is normally no need to skim foam or repeatedly put a spoon into very hot caramel.
- Watch the colour: the syrup moves from pale gold to amber. Remove it from the heat before it becomes dark and bitter.
- Keep this lining simple: no butter is required. Pour the caramel promptly and carefully while fluid.
- Coat the mould: use dry oven gloves and a suitable heatproof mould. Tilt carefully to coat the base, keeping hot sugar away from skin.
Dry caramel method
- Heat the sugar alone: spread 200 g sugar in a heavy-based pan over gentle heat.
- Move it sparingly: as the edges melt, gently move dry sugar towards the melted areas with a heat-resistant utensil, avoiding splashes.
- Stop at amber: remove from the heat promptly and carefully pour into the mould.
- If it sets in the pan: gentle heat may soften it again. Do not pour water suddenly into very hot caramel, which can spit violently. Caramel that has hardened in the pudding mould can be left there.
Reducing crystallisation
- Avoid excessive stirring: particularly once the wet-method sugar has dissolved.
- Keep the pan sides clean: if crystals collect above the syrup, a damp pastry brush can gently wash them down without splashing the hot liquid.
- Optional acid or glucose: a little lemon juice or glucose syrup can help discourage crystals; careful handling still matters.
Judging colour and readiness
- Light amber: gives a milder caramel flavour suited to the custard.
- Dark amber: tastes more bitter and is closer to burning. The pan continues to hold heat after leaving the hob.
- Use suitable equipment: a sugar thermometer can help if rated for high temperatures, but monitor the colour and follow its instructions rather than relying on one universal reading.
Turning out and keeping the pudding
- Loosen the caramel: briefly stand the chilled mould in warm water below its rim, then dry and invert onto a rimmed plate.
- Keep refrigerated: cover the pudding and return it to the fridge after portioning. Do not repeatedly warm the whole pudding to adjust its sauce.
Caramel safety
- Avoid skin contact: hot sugar sticks and burns. Keep children and pets away, and never taste caramel before it has cooled safely.
- Use appropriate utensils: a stable heavy-based pan, a heat-resistant utensil and dry oven gloves make handling safer.
Portions, storage and troubleshooting
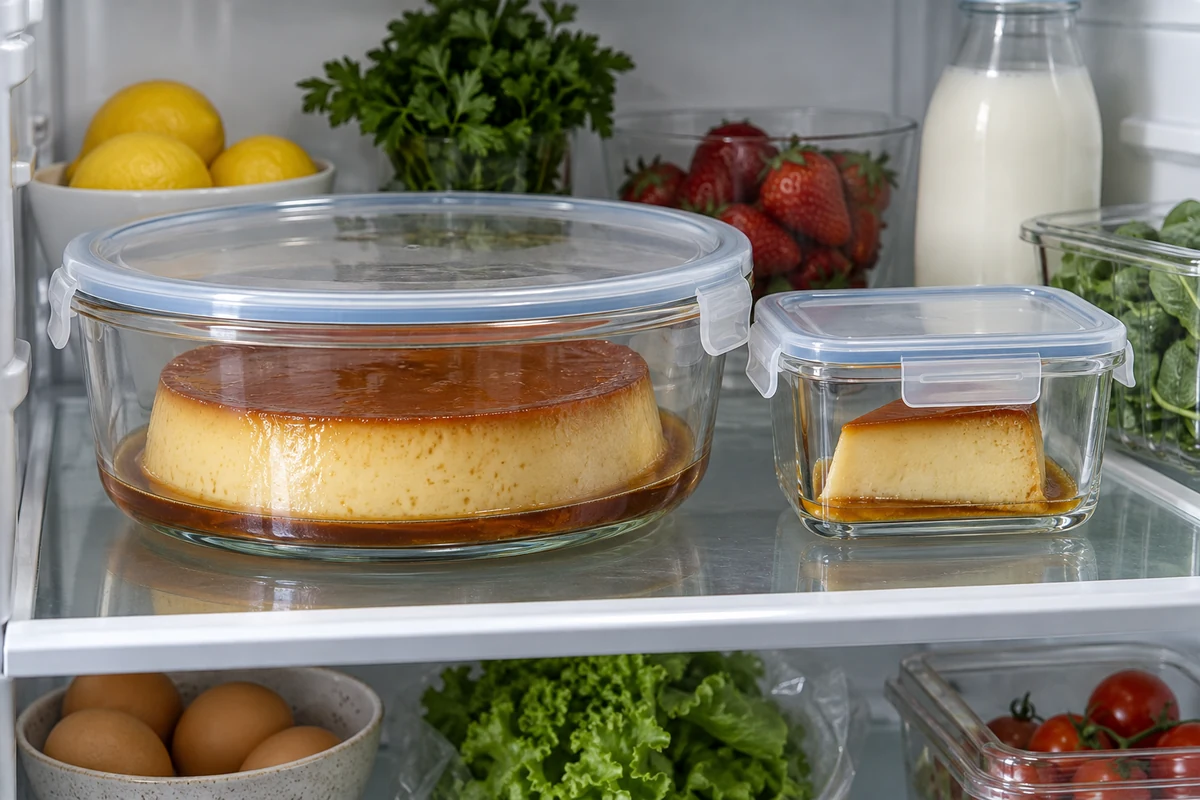
This pudding can be cut into roughly 8–10 portions, depending on appetite and slice size. The finished weight varies, so weigh portions if you need an exact serving weight.
Choosing a mould
- A 20–22 cm mould: suits the main method if it has sufficient capacity for the custard with room below the rim.
- Individual ramekins: divide the mixture between suitable heatproof ramekins, leaving space at the top. The number depends on their capacity; smaller portions cook sooner, so check earlier.
- A smaller mould: needs enough depth and capacity. A deeper custard may take longer to cook; do not overfill just to fit all the mixture.
Safe storage
- Fridge: keep covered and eat within 48 hours of cooking, or sooner if an ingredient’s storage instructions require it.
- Temperature: keep the fridge at 5°C or below and check it with a fridge thermometer.
- Freezing: the custard can become watery or grainy, so freshly chilled is preferable. If all ingredients permit freezing, freeze promptly in a sealed container and aim to use within a month for quality.
- Defrosting: thaw in the fridge and use within 24 hours of fully defrosting. Do not refreeze.
- Caramel sticking: briefly warming the mould’s base in water can help release it. Keep this short and serve the pudding cold.
Common problems and adjustments
- Burnt caramel: start again once the pan can be handled safely. More sugar or water will not remove a burnt flavour.
- Holes in the custard: excessive blending, rough pouring and too much heat can contribute. Mix briefly, strain, skim and pour gently into a controlled water bath.
- Liquid centre: continue baking and check the temperature. A slight set wobble is different from uncooked liquid; chilling cannot make raw custard safely cooked.
- Rubbery or dry texture: the pudding may have overcooked. For the next batch, check earlier and remove once set and safely cooked through, then cool promptly.
- Water entering the mould: use a one-piece watertight mould, handle the water bath gently and cover with foil. Do not add ordinary cling film under foil in the oven.
- Caramel hardening: setting in the empty mould is expected. For a chilled pudding that will not release, briefly warm the base rather than pouring hot water onto the dessert.
- Substitutions: alternative sweeteners and milks change the recipe. Use a tested formulation for substantial changes rather than assuming identical setting and baking times.
Before serving
- Cool promptly after cooking and refrigerate within two hours, without exposing a hot mould to sudden cold water.
- Chill for at least four hours, or overnight within the storage limit.
- Release carefully with a suitable thin knife around the edge and a brief warm-water dip for the base if needed.
- Slice with a warm, dry knife, wiping between portions.
Enjoy your homemade pudding
A smooth condensed milk pudding depends on gentle mixing, controlled baking and enough chilling time. Start with the classic version, then try coconut or the richer yolk variation once familiar with the method.
Thank you for following the recipe. For more festive cooking ideas, visit the I Love Christmas blog and our social channels.
If you make it, let us know which version you chose and how it turned out. Small adjustments to your own oven and mould can make the next batch easier.
FAQ: Brazilian condensed milk pudding
What oven temperature and cooking time should I use?
Use a water bath at 180°C conventional/160°C fan and allow roughly 50–70 minutes, checking from about 50 minutes. The custard should be set, not liquid in the centre, and cooked through; 75°C for 30 seconds is one suitable probe check. Cool promptly, refrigerate within two hours and chill at least four hours before turning out.
How can I reduce holes in the custard?
Blend briefly, strain out egg strands, skim foam and pour gently. Avoid a vigorously boiling water bath or excessive oven heat. You do not need to leave eggs warming on the worktop for hours.
How do I make caramel without burning it?
The wet method uses 200 g sugar and 60 ml water. Stop stirring once dissolved, watch the colour and remove at amber. Pour carefully into a heatproof mould using dry oven gloves; hot caramel must not touch skin.
Can I make a lower-sugar version?
Use a separately tested lower-sugar custard recipe. ‘Light’ condensed milk is not necessarily lower in sugar, evaporated milk is not a direct replacement, and erythritol does not caramelise like sugar. Do not assume a substitution makes this pudding sugar-free or suitable for a medical diet.
How long can I keep the pudding?
Keep covered at 5°C or below and eat within 48 hours of cooking or the earlier ingredient limit. Freezing may spoil the texture; if freezing a suitable version, thaw in the fridge and use within 24 hours of defrosting. Never refreeze.
Sources and Further Reading
- Food Standards Agency: chilling, freezing and defrosting safely
- Food Standards Agency: cooking food safely