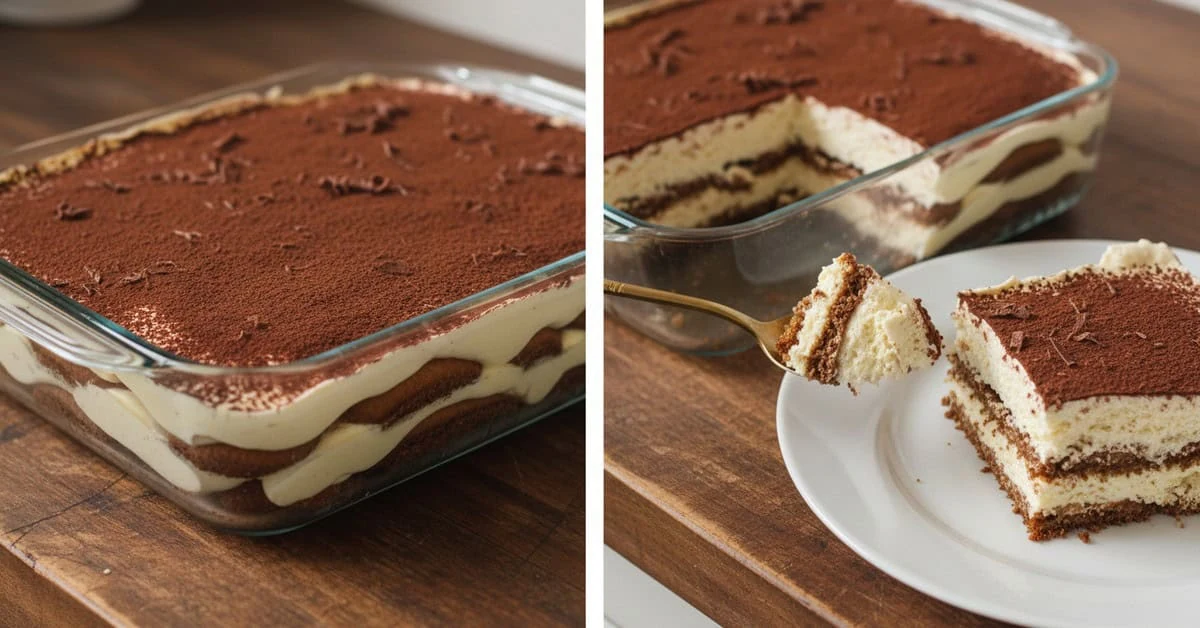
Creamy chocolate pavé is a Brazilian layered dessert of lightly dipped biscuits and smooth chocolate cream. Alternate the biscuits with a filling made from chocolate, condensed milk and cream, then chill for at least four hours to let the layers settle. Serve cold with chocolate shavings or a little cocoa.
Creamy chocolate pavé is a useful make-ahead dessert for a Christmas gathering. Careful dipping and enough chilling time are the main steps towards soft biscuits and a smooth filling, without a soggy base.
Ingredients for creamy chocolate pavé
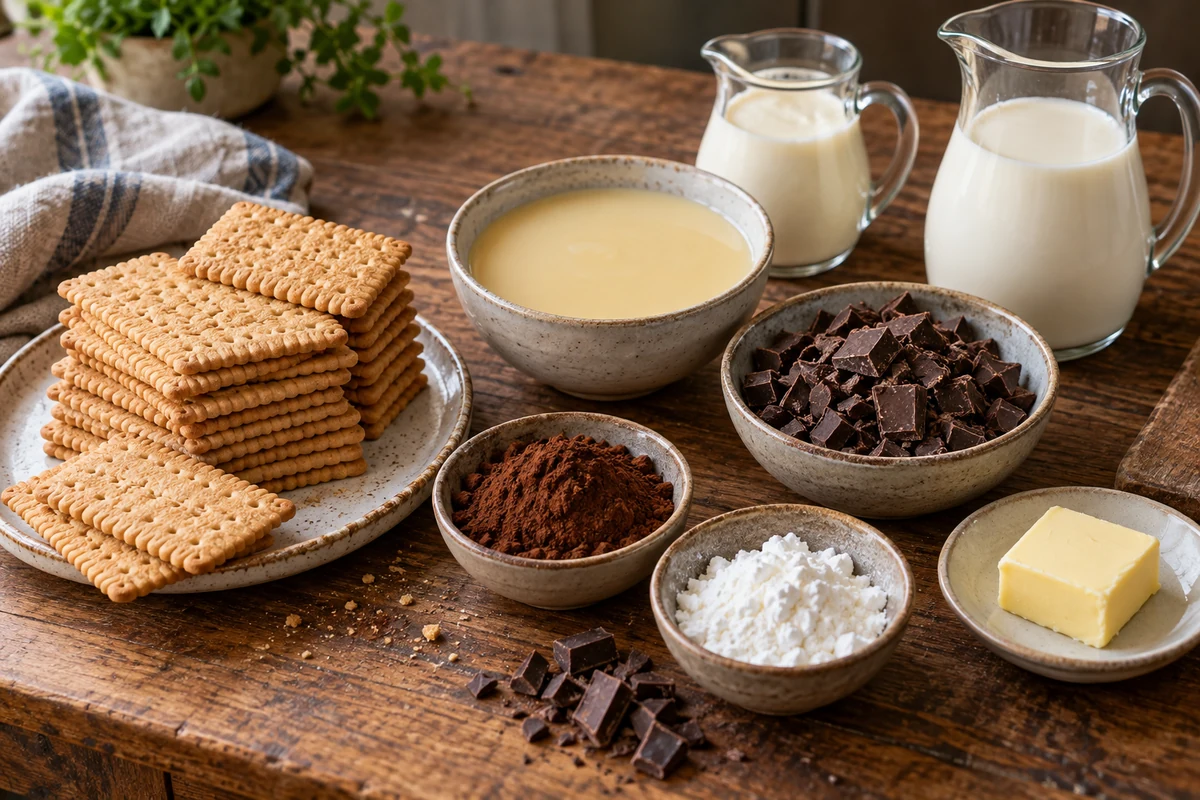
Gather these ingredients for creamy chocolate pavé. The alternatives give different results, so choose one version rather than making every substitution at once.
- 400 g plain biscuits – Brazilian maisena biscuits or similar plain tea biscuits. Sponge fingers give a softer, more absorbent layer; dip them especially briefly.
- 500 ml milk, divided – reserve a little cold milk for the cornflour and use the rest for dipping. There is no need to heat the dipping milk. Use an appropriate plant-based drink for the dairy-free version.
- 200 g dark chocolate, finely chopped – milk chocolate makes a sweeter filling and changes its setting texture.
- 395 g sweetened condensed milk – use the stated weight rather than assuming every tin is the same size. Plant-based condensed milk is an option for the dairy-free variation.
- 200 g cream – Brazilian-style cream or single cream for stirring into the filling. Coconut or soya cream produces a different dairy-free version.
- 2 tbsp unsalted butter – or a suitable plant-based spread or coconut oil for a dairy-free version.
- Up to 2 tbsp unsweetened cocoa powder, optional – start with 1 tbsp for a deeper chocolate flavour and add the second if wanted.
- 1 tbsp cornflour – mixed with a little of the reserved cold milk before cooking into the filling. In UK recipes, cornflour means the fine white starch, not yellow maize flour.
- 1 tsp vanilla extract, optional – or a little finely grated orange zest.
- Chocolate shavings or sprinkles – to finish. Optional whipped topping needs an additional 200 g whipping cream and 1 tbsp sugar; these are separate from the filling ingredients.
- A pinch of salt – to balance the chocolate flavour.
Quick substitution tips
Dairy-free: check every ingredient, including biscuits, condensed milk, chocolate and toppings, and use suitable plant-based alternatives. Softer filling: an extra splash of cream, up to 50 g, softens the result but can make it less sliceable. Less sweetness: try dark chocolate around 60% cocoa; reducing condensed milk also changes the structure. Thickening: if needed, mix an extra 1 tsp cornflour with a little cold milk and cook it into the filling until thickened, following the starch packet’s cooking guidance.
How to make creamy chocolate pavé
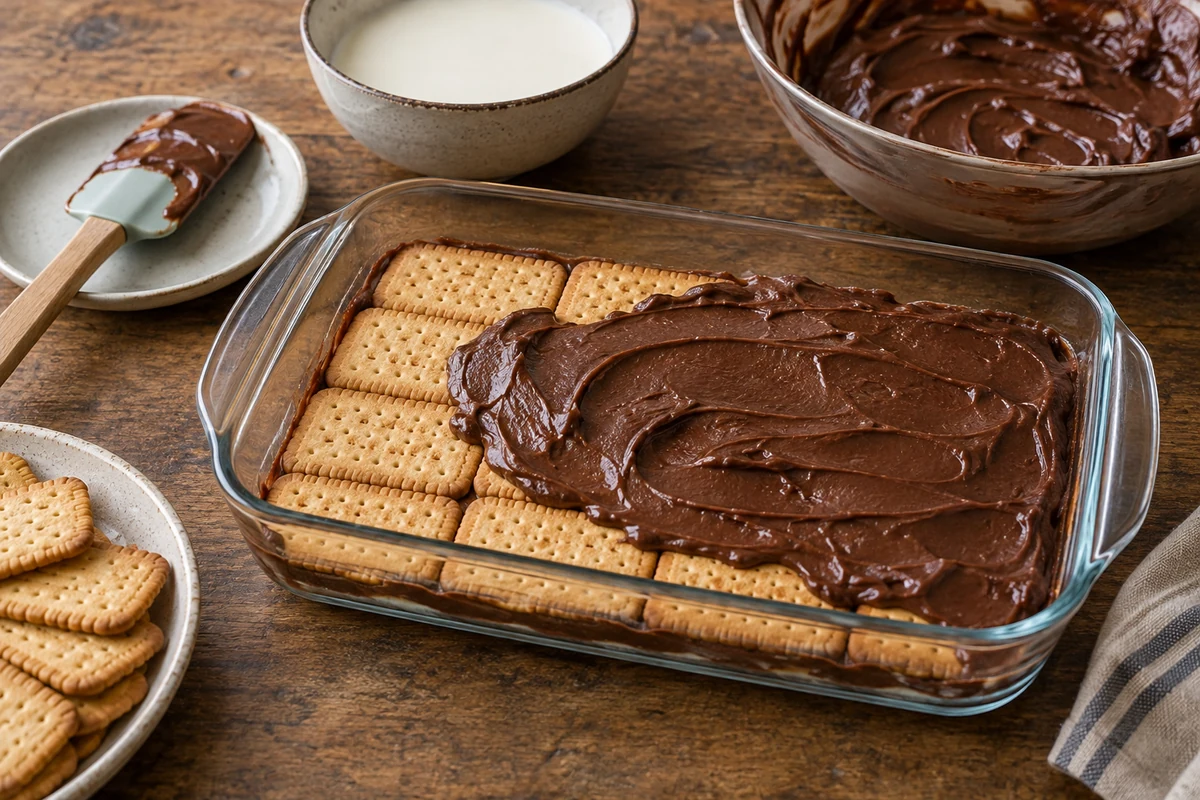
- Start the filling: combine 395 g condensed milk, 200 g chopped dark chocolate, 2 tbsp butter, the pinch of salt and, if using, 1 tbsp cocoa in a saucepan. Stir over low heat until melted and smooth. Add the second tablespoon of cocoa only if wanted; do not cook the mixture into a stiff confection.
- Thicken the filling: stir 1 tbsp cornflour into a little of the measured cold milk until smooth. Whisk into the warm filling, then cook gently, stirring, until thickened and the starch is cooked according to its packet. Remove from the heat and stir in 200 g cream and optional vanilla. Cool promptly until no longer hot before layering.
- Prepare the dipping milk: pour the remaining measured milk into a shallow bowl. For optional coffee flavour, dissolve a little instant coffee separately and cool before adding; keep this extra liquid modest so it does not flood the biscuits.
- Dip the biscuits: briefly dip each biscuit, about a second to start with, then lay an even layer in your dish. More absorbent biscuits need only the lightest dip.
- Build the layers: spread chocolate filling evenly over the biscuits. Repeat, sharing the filling between the layers and finishing with cream. The number and thickness of layers depend on your dish; avoid leaving the final layer short of filling.
- Cover and chill: smooth the top, cover and refrigerate for at least four hours, or overnight within the storage limit. Cool and refrigerate promptly, within two hours of cooking the filling; do not leave the dessert on the worktop while it sets.
- Decorate before serving: if wanted, whip an additional 200 g whipping cream with 1 tbsp sugar until it holds soft peaks, then spread over the chilled pavé. Finish with chocolate shavings or sprinkles. Single cream is not suitable for whipping.
- Serve and store: serve cold. Keep covered at 5°C or below and use within 48 hours of preparation, or sooner if an ingredient’s instructions require it. Discard leftover dipping milk.
Practical tips
Adjust the filling before assembly: it will firm further as it cools. If genuinely too thin, cook in a small extra cornflour slurry; if too stiff, stir in a little cream. Avoid repeated heating and cooling of the finished dessert.
Dairy-free version: use plant-based dipping milk, condensed milk, cream and fat, plus suitable biscuits, chocolate and decorations. Lactose-free dairy products are not safe substitutes for someone with a milk allergy.
Easier assembly: a shallow dish makes even layers easier. Individual glasses also work, but still allow sufficient refrigeration for the filling to cool and set.
Add fruit: thinly sliced banana or washed, well-dried strawberries can go between layers. Fruit adds moisture and is best added shortly before the planned serving day.
Dairy-free and quicker chocolate pavé variations

Adapt creamy chocolate pavé to your ingredients and schedule using the options below. Alternative products vary, so check their labels and do not assume all versions will set identically.
Dairy-free version
- 400 g suitable dairy-free biscuits – check the ingredients and relevant allergen information rather than relying on the style of biscuit.
- 500 ml plant-based drink, divided – reserve a little cold liquid for the cornflour and use the rest for dipping.
- 395 g plant-based sweetened condensed milk – weigh it if your tin differs in size.
- 200 g dairy-free dark chocolate – around 55–70% cocoa according to taste; check the label.
- 200 g coconut cream – in place of dairy cream.
- 2 tbsp coconut oil – in place of butter.
- 1 tbsp cornflour – mixed with some of the measured cold plant-based drink.
- Melt the chocolate gently with the coconut oil, using a bowl over barely simmering water or very low heat. Keep water out of the chocolate.
- Add the plant-based condensed milk and stir over low heat until evenly combined.
- Cook in the cornflour slurry while stirring until thickened and cooked according to the starch packet. Remove from the heat, mix in the coconut cream and cool promptly until suitable for layering.
- Assemble alternating briefly dipped biscuits and filling. Cover and refrigerate promptly for at least four hours, following the same 48-hour or earlier ingredient storage limit.
Quicker version with instant chocolate dessert
- 2 packets instant chocolate dessert mix – choose a product that sets without cooking, or follow the cooking step if your product requires it. Packet yields vary.
- Milk in the quantity stated on the packets – do not assume 300 ml will suit two packets. Have a little separate milk available for dipping biscuits.
- Optional cream or soya cream – only use as a replacement for some of the mixing milk if the product instructions permit it. Adding 300 g extra cream indiscriminately can prevent setting.
- Plain biscuits or sponge fingers – enough for the layers in your chosen dish; pack sizes vary.
- Prepare the instant dessert exactly as directed, including the specified liquid, mixing and chilling requirements. Check whether plant-based milk is compatible if using it.
- Briefly dip the biscuits in the separate milk and arrange the first layer.
- Alternate layers of prepared chocolate dessert and biscuits, finishing with dessert. Chill for at least the product’s stated setting time; 30 minutes is not sufficient for every brand or dish.
- Finish with chocolate shavings or a dusting of cocoa when ready to serve.
Other flavour variations
- With fruit: add thin banana slices or washed, dried strawberries. Avoid watery fruit or thick layers that make the dessert unstable.
- Vegan: use the plant-based variation and check that the biscuits, chocolate, fat and decorations are vegan too.
- Coffee or optional liqueur: replace some dipping milk with cold coffee, according to taste. For an adult dessert, start with 1–2 tbsp liqueur in place of the same amount of milk, rather than a large 200 ml addition. Alcohol remains in this unbaked dessert; label and serve accordingly.
Tips for every version
Dipping: keep it brief and drain before layering. Texture: adjust the filling before assembly, remembering that it firms in the fridge. Storage: cover and refrigerate at 5°C or below, using within 48 hours or the earlier product limit.
Assembly, presentation and storage
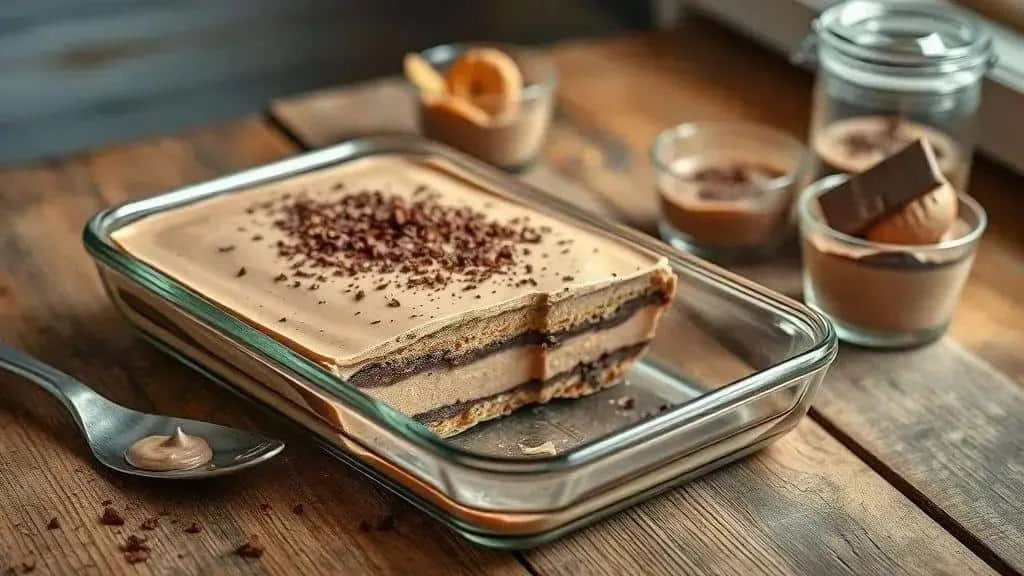
These checks help keep your creamy chocolate pavé neat to serve and properly chilled.
Assembling the layers
- Choose a shallow dish: a clear dish shows the layers and makes portioning straightforward.
- Dip carefully: start with about a second per biscuit, less for very absorbent ones. Avoid leaving biscuits soaking while you prepare other ingredients.
- Share out the filling: use a spatula to spread even layers, planning enough cream for the top. A roughly 1 cm layer can be a guide where the dish and quantities allow it.
- Pause in the fridge if needed: if the filling is still soft, a brief 15–20 minute chill can help before continuing. Keep the remaining ingredients chilled too.
- Smooth the surface: dip a clean spatula in hot water, dry it, then gently level the top without adding water to the dessert.
Presentation
A few simple touches make the layers look inviting:
- Decoration: use chocolate shavings, sifted cocoa or freshly prepared fruit just before serving.
- Portioning: for a firmly set version, use a knife warmed in hot water and dried between cuts. Softer pavé is perfectly suited to spooning into bowls.
- Individual servings: layer in dessert glasses for easy serving without slicing.
- Keep it simple: a small spoon and plain napkin let the dessert take centre stage.
Storage
- Refrigerate promptly: cover and keep at 5°C or below. Eat within 48 hours of preparation, or earlier if the cream, fruit or other ingredients require it.
- Freezing changes texture: cream can separate and biscuits may soften further. Freshly chilled pavé is preferable, especially with fruit or a whipped topping.
- If freezing a suitable version: check every ingredient allows freezing, freeze promptly in a sealed container and aim to use within one month for quality. Thaw in the fridge and use within 24 hours of fully defrosting; do not refreeze.
- Serving a firm filling: a little freshly whipped cream can soften the overall mouthfeel. Adding fresh cream does not restart the dessert’s storage time or rescue spoiled food.
- Transport: use a lidded container in an insulated cool bag with frozen packs, then refrigerate on arrival. Keep it cold rather than merely protecting the shape.
Getting a smooth chocolate filling
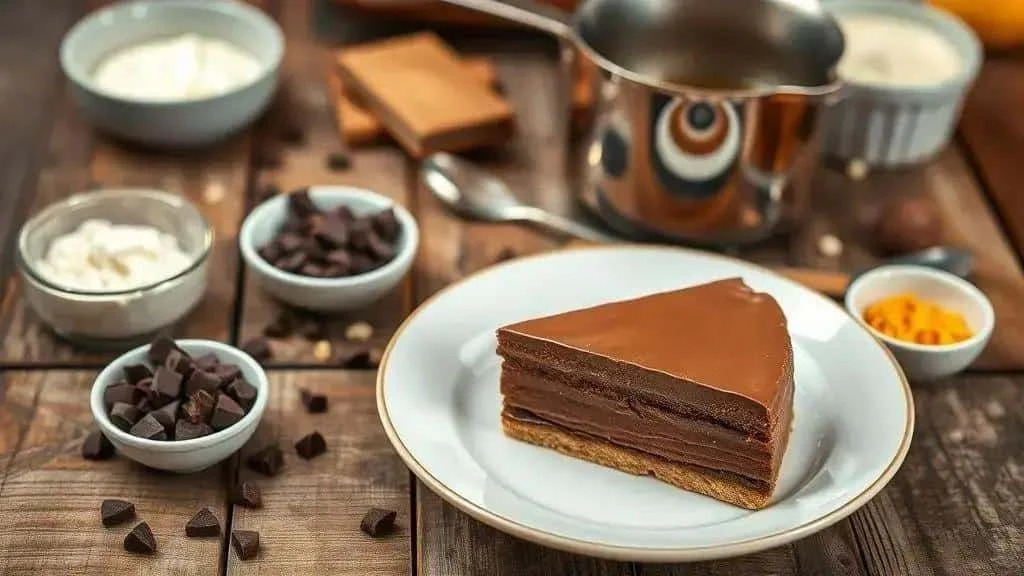
Choose chocolate you enjoy – around 50–70% cocoa gives a range from sweeter to more intense. Chop it finely and melt gently to reduce the risk of scorching.
Ganache as an alternative technique
For a separate chocolate-and-cream filling, pour hot cream over finely chopped chocolate, wait briefly and stir from the centre until smooth: this is ganache. Its firmness depends on the chocolate and cream ratio. Treat it as an alternative filling with its own tested proportions, not an instruction to add another batch of chocolate, cream or butter to the main condensed-milk recipe.
Avoiding soggy biscuits
- Dip briefly: a quick dip followed by draining is usually enough; sponge fingers need especially little liquid.
- Control the liquid: a shorter dip is more useful than sweetening the milk in an attempt to stop absorption. The biscuits continue to soften against the filling while chilling.
- Use a filling with some body: let the cooked filling cool slightly before assembly so it spreads rather than flooding the biscuits.
Adjusting creaminess
- Cream cheese or mascarpone: as a variation, up to 150 g can be stirred into cooled filling for a different flavour and texture. Check the consistency gradually; this is additional to the main ingredients.
- Condensed milk: brings both sweetness and body. Reducing it changes setting as well as flavour, so a darker chocolate is the simpler first adjustment.
- Whipped topping: whip the optional additional 200 g whipping cream with 1 tbsp sugar and add shortly before serving. For a stabilised topping, follow a tested method and the gelatine manufacturer’s directions; an unspecified spoonful of hydrated gelatine is not a reliable measure.
- Cornflour: the main recipe already includes 1 tbsp. Dissolve it in cold liquid and cook as directed; add only the small extra adjustment described above if needed, rather than repeating the whole tablespoon.
Flavour adjustments
- A pinch of salt: balances the chocolate’s sweetness.
- Coffee or liqueur: add dissolved coffee gradually to taste, or use the optional 1–2 tbsp liqueur variation for adults. Do not combine every flavouring automatically.
- Citrus zest: a little orange zest gives fragrance without much additional liquid.
Allow time to chill
Plan at least four hours in the fridge: overnight is convenient if it fits within the storage limit. The biscuits soften and the filling firms during this rest.
How ingredients change the result
- Condensed milk is much sweeter and thicker than ordinary cream, so exchanging one for the other changes both flavour and structure.
- Higher-cocoa chocolate usually gives a stronger, firmer result. A little extra cream can soften it, but avoid adding so much that the layers will not hold.
- Sponge fingers absorb liquid quickly and soften more than many plain tea biscuits. Adjust the dipping rather than assuming the same timing suits both.
Enjoy your chocolate pavé
Creamy chocolate pavé is a straightforward make-ahead dessert when the dipping, layering and refrigeration are handled carefully. Start with the main recipe, then choose a variation that suits your table.
For more festive recipes and ideas, follow our social channels and visit the I Love Christmas blog.
Thank you for reading. If you make the dessert, share a photo and let us know which biscuits and chocolate you chose.
FAQ: creamy chocolate pavé
Can I make pavé without dairy?
Yes, with suitable plant-based milk, condensed milk, cream and fat, plus dairy-free biscuits, chocolate and toppings. Check every label and relevant allergen information. Lactose-free dairy is not suitable for a milk allergy.
How do I prevent soggy biscuits?
Dip briefly and drain before layering. Very absorbent biscuits need less liquid. Use cooled filling that spreads without flooding the layers; sweetening the dipping milk does not replace controlling the soak.
How long does pavé need in the fridge?
Allow at least four hours for the main recipe, or overnight within the 48-hour or earlier ingredient storage limit. Keep it at 5°C or below. Instant-dessert versions must also follow their packet’s setting instructions.
Can I freeze pavé?
It is best freshly chilled because freezing may separate the cream and soften the biscuits. If all ingredients permit freezing, freeze promptly, use within a month for quality, thaw in the fridge and eat within 24 hours of defrosting. Do not refreeze.
How can I make the filling creamier?
Melt the chocolate gently and adjust cooled filling with a little cream if too firm. Optional mascarpone or cream cheese changes its texture and flavour. Cornflour thickens rather than aerates, so cook it properly and do not add repeated large amounts.