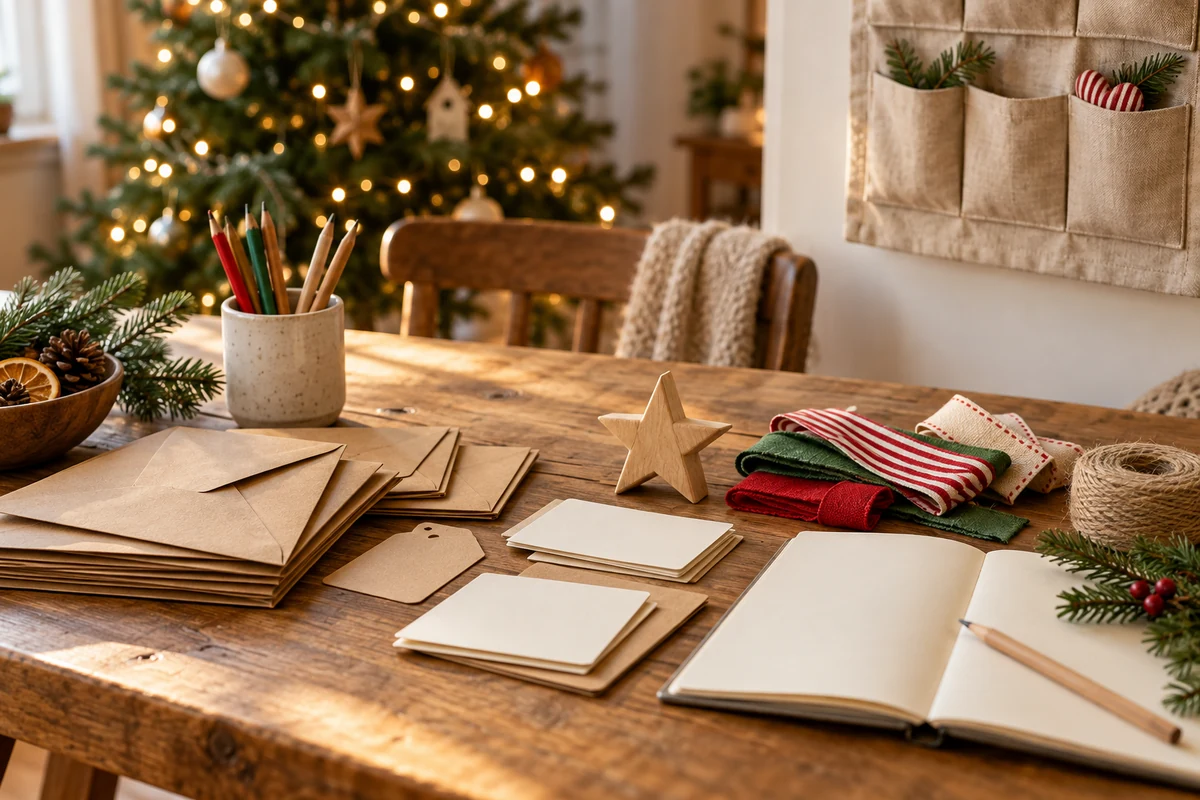
This Christmas activity calendar offers a flexible October-to-December plan with decorations, baking, handmade gifts, children’s activities and ideas for using what you already own. Choose the tasks that suit your household, prepare materials in advance and share the work of planning the festive meal.
A Christmas activity calendar can turn the weeks from October to December into a collection of small, enjoyable traditions. It need not involve a purchase every day or an ambitious craft project every weekend. Start with a few affordable ideas and leave room to change your mind.
Illustrations in this article are conceptual images, not documentary photographs or evidence of a particular historical event, destination, venue or access route.
Planning and materials: making your Christmas activity calendar
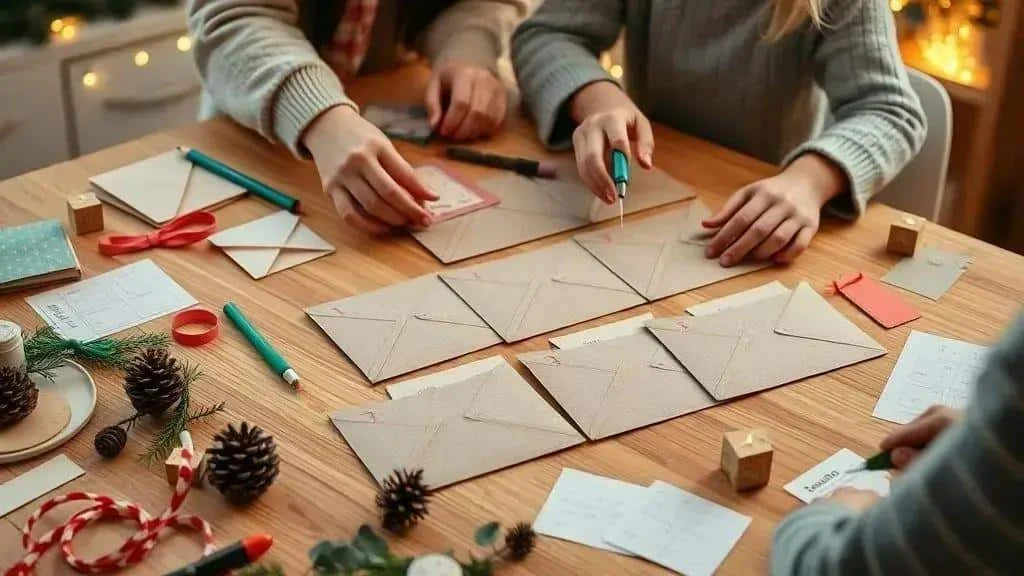
Begin with a simple plan and practical supplies. Choose a format that fits your family’s routine, then gather materials you can use comfortably.
Useful materials
- Format: choose a daily December countdown, a monthly activity sheet or a weekly plan for October to December. A homemade Advent-style countdown often has 24 or 25 spaces; a weekly plan can follow the dates you actually have available.
- Containers: use envelopes, paper bags, small boxes or fabric pockets, with enough for your chosen format.
- Surprises: include activity cards, experience vouchers, messages, stickers or occasional small gifts. Any sweets or objects must suit the recipient’s age and dietary needs.
- Tools: scissors, suitable glue, double-sided tape, a hole punch, pens, numbered labels and ribbon. Keep tools and cords safely away from young children.
- Decorative supplies: coloured paper, stickers, stamps, ribbons and clean, suitable natural materials such as pine cones.
- Reuse options: use recycled paper, clean cardboard tubes and packaging saved from previous years where they are suitable for the task.
Planning step by step
- Choose a purpose: more family time, children’s activities, charitable giving or spending less. This helps you decide what to include.
- Choose a timetable: try a daily December activity, a weekly October-to-December plan or a mixture of short tasks and two larger treats.
- List activity categories: decorations, baking, crafts, stories, helping others and small gifts.
- Spread out the themes: assign a category to each day or week so the activities feel varied.
- Write down 30–40 possibilities: keep spare ideas for changes of plan, favouring affordable activities that are easy to organise.
- Group the supplies: put each week’s materials together so you are not searching for them at the last minute.
- Prepare in advance: set aside a few weekend hours to fill envelopes, make labels and wrap any surprises.
- Check before finishing: open a few envelopes to make sure the contents fit and are suitable for the person receiving them.
Practical tips and safety
- For young children: avoid sharp objects and small parts that could be swallowed. Activity cards and messages are often a better choice than miniature toys.
- Keep to a budget: combine homemade activities with occasional bought items, rather than feeling obliged to buy something every day.
- Use fewer new materials: favour reusable supplies, shared experiences and suitable donations. Gardening activities should use age-appropriate seeds and adult supervision.
- Make it personal: adapt surprises to each person’s interests and abilities, and include handwritten messages.
- Leave time for adjustments: an hour a week may be enough to replenish supplies and change activities as needed.
Organisation and storage
- Use a storage box: keep prepared envelopes and materials together, divided by month if useful.
- Keep a checklist: record what is inside each envelope so you can rearrange the plan without opening everything.
- Save reusable pieces: dismantle suitable decorations after the season and store ribbons, stamps and reusable labels for next year.
- Choose a workspace: a clear table, good lighting and a container for paper scraps make preparation easier.
October: easing into the Christmas season
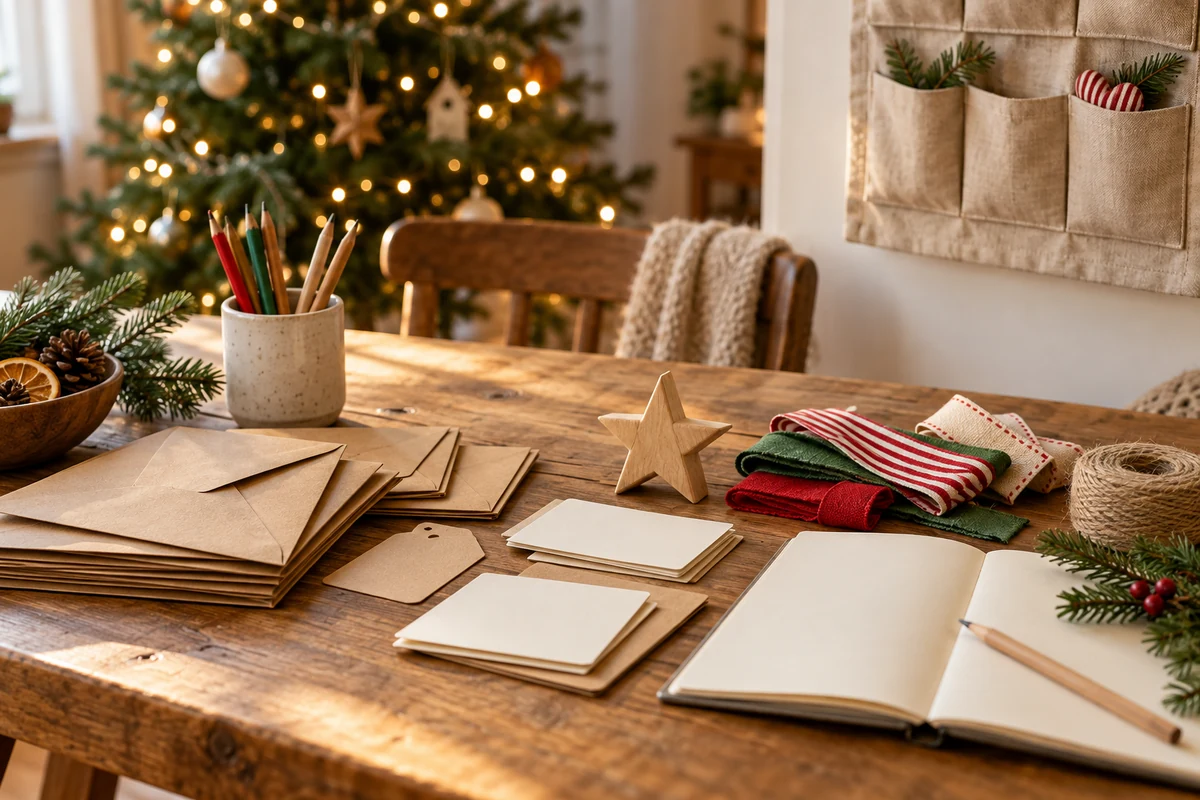
October can be a gentle starting point for a few creative activities. There is no need to turn the whole month into Christmas; choose occasional tasks that your family enjoys.
Quick activities to begin with
- A short countdown: prepare ten numbered bags with simple tasks such as decorating a window, choosing a song or planning a suitable gardening activity.
- Handmade cards: spend an afternoon cutting paper, adding stickers and writing personal messages, with tasks suited to the children taking part.
- Reused-material decorations: turn clean cardboard tubes, spare paper and fabric scraps into stars or paper chains.
- Stories and songs: choose two short stories and three festive songs to enjoy together as an occasional or weekly ritual.
- A first charitable activity: choose a local cause, ask what it currently accepts and collect suitable items in a labelled box. Explain the purpose to the children.
Affordable, practical supplies
- Coloured paper and kraft paper: versatile materials for cards and decorations.
- Cardboard tubes and small boxes: reuse clean packaging for simple structures.
- Ribbon, string and PVA glue: supplies that can serve several projects, used with appropriate supervision.
- Stickers and coloured pens: an easy way to personalise a project without buying elaborate equipment.
- Natural materials: use clean, dry pine cones, leaves and twigs from permitted sources. Avoid sharp, mouldy or unidentified plant material.
Fitting activities into the calendar
- Decide how often: choose convenient days, such as Tuesdays and Saturdays, without filling every available moment.
- Vary the activities: alternate crafts, cooking, reading and helping others.
- Prepare weekly kits: group supplies for two or three activities in labelled containers.
- Make the plan visible: a kitchen noticeboard can show the week’s activity to everyone.
- Allow realistic time: reserve 30–60 minutes at the weekend for a project, adapting the length to those taking part.
Involving the whole family
- Adapt the task: younger children might add suitable stickers while older children cut or assemble with supervision.
- Share responsibility: invite each person to help choose or organise an activity.
- Record the moment: photograph creations and messages for a family album, respecting everyone’s preferences about photographs.
- Focus on the experience: shared time can matter more than an expensive object.
- Stay flexible: swap tasks when energy, weather or available time changes.
November: decorations, baking and handmade gifts

November is a useful time to prepare decorations, try recipes and make gifts. If you intend to sell anything, allow time for the relevant food or product-safety requirements as well as the making.
Affordable decoration ideas
- Lighting: suitable warm-white LED lights can create a welcoming feel around a window or tree. Follow their instructions and check for damage before use.
- A homemade wreath: combine suitable dry twigs, pine cones and ribbon. An adult should handle wire and secure any sharp ends.
- Reused-material ornaments: make painted cardboard stars or use biscuit cutters for salt-dough ornaments. Keep non-edible craft dough separate from food and away from pets.
- A table arrangement: place flameless lights, greenery and dried fruit in a stable shallow container, leaving room for dishes and glasses.
- A colour scheme: two or three colours, such as green, copper and cream, can bring existing decorations together.
Simple seasonal baking
These cinnamon butter biscuits can be wrapped as a small gift once completely cool. Keep edible decorations hygienically stored rather than leaving them exposed for an extended period.
- 200 g butter, softened — a suitable block baking margarine is an alternative, although the result may differ.
- 200 g sugar — use the stated weight rather than an unspecified cup measure. Changing the type or amount of sugar changes the texture.
- 1 large egg — the original suggests 1 tablespoon ground flaxseed mixed with 3 tablespoons water as an alternative, but this variation has not been tested here. It does not make the recipe vegan unless the butter is replaced too.
- 1 teaspoon vanilla extract — optional.
- 360 g plain flour — for a more wholemeal version, replacing part of the flour requires a trial batch because absorption and texture differ.
- 1 teaspoon baking powder
- 1 tablespoon ground cinnamon — reduce if you prefer a milder flavour.
- A pinch of salt — to balance the sweetness.
Method
- Cream the butter and sugar: beat by hand or with a mixer until creamy.
- Add the egg and vanilla: mix until evenly combined.
- Combine the dry ingredients: sift together the flour, baking powder, cinnamon and salt, then gradually add them to the creamed mixture.
- Bring together the dough: mix until firm and cohesive, without prolonged kneading.
- Chill: cover and refrigerate for 30 minutes to make the dough easier to roll.
- Roll and cut: roll between sheets of baking parchment to about 5 mm thick, then cut into festive shapes.
- Bake: use a preheated oven at 180°C for approximately 10–12 minutes, until the edges are lightly golden. Check the biscuits, as size and ovens affect the timing.
- Cool and pack: leave to cool completely before placing in clean food-safe bags or airtight containers. Include ingredient and allergen information when giving them away.
Handmade gifts to prepare
- Hot chocolate kits: layer measured dry cocoa, sugar and suitable additions in a clean food-safe jar. Use a complete recipe and include quantities, preparation instructions, ingredients and allergens.
- Biscuit jars: pack cooled butter biscuits in clean airtight jars, finished with ribbon and a personal label.
- Scented candles: use a properly tested candle-making system with compatible wax, wick, fragrance and a purpose-made container. Ordinary attractive jars are not automatically suitable; a bought candle or flameless decoration is a simpler gift.
- Cards and bookmarks: make small sets with kraft paper, stamps and handwritten messages.
- Presentation: a neat ribbon, clear label and suitable wrapping can finish a gift without much expense.
Selling and donating responsibly
- Work out the price: include materials, time, packaging, selling fees and other relevant costs before deciding on a selling price.
- Choose a suitable outlet: local fairs, community groups and online listings may be options. GOV.UK guidance requires food businesses to register with the local authority; in England, Wales and Northern Ireland, this is at least 28 days before trading. Check the relevant guidance for your nation before selling food. Source: GOV.UK: registering a food business
- Be clear about donations: if part of a sale goes to charity, explain exactly how much and obtain any necessary agreement from the organisation.
December: a weekly plan for the festive meal
Divide preparations into planning, shopping, suitable advance cooking and final tasks. The example below is flexible: use your actual meal date, fridge capacity and the storage instructions for each dish.
A week-by-week outline
- Week 1, 1–7 December: choose the menu, confirm guest numbers and dietary needs, list non-perishable ingredients and order any special items.
- Week 2, 8–14 December: buy dry and tinned ingredients and test unfamiliar recipes. Freeze suitable cooked bases or dough promptly; do not keep them refrigerated for weeks until Christmas.
- Week 3, 15–21 December: buy items with dates appropriate to the meal, prepare suitable freezer dishes and organise extra cutlery and napkins.
- Week 4, 22–24 December: buy remaining perishables according to their use-by dates, prepare only dishes suitable for the intended storage period and finalise the cooking timetable. Adapt this stage if you are serving on Christmas Day rather than Christmas Eve.
Planning the final few days
- Several days before: check the main ingredient’s defrosting instructions and allow enough refrigerator time. A large turkey may need longer than two days; do not rely on a fixed weekday schedule.
- At the appropriate storage interval: make desserts and advance dishes only as early as their recipes and storage requirements allow, or freeze suitable dishes.
- The day before, where suitable: wash and prepare vegetables, keeping ready-to-eat ingredients separate from raw meat. Store suitable salads chilled with their dressing separate.
- Before guests arrive: arrange the table and serving utensils. Keep cold starters refrigerated until needed rather than setting them out for the whole afternoon.
- The evening before: review the checklist and write down each dish’s cooking, resting and serving times.
A compact plan for the day
- Six to eight hours before: check the schedule, clear preparation space and begin only tasks that genuinely need this time. There is no need to heat the oven or sauces for hours without a reason.
- At the recipe’s starting time: cook or reheat the main dishes, allowing the specified resting time where appropriate. A three-to-four-hour window is not suitable for every joint or bird.
- One to two hours before: prepare suitable fresh accompaniments and check the serving plan. Keep perishable food at a safe temperature rather than leaving a finished platter on the table.
- About 30 minutes before: finish or reheat suitable side dishes and adjust the lighting. Flameless candles are a useful alternative to naked flames.
- At serving time: serve hot dishes promptly and bring chilled dishes out as needed. Use suitable hot-holding equipment according to its instructions if there is a delay.
Checklists and labels
- Label containers: note the dish, preparation date and relevant storage or reheating instructions.
- Check equipment: serving dishes, oven gloves, foil, a clean food thermometer, suitable holding equipment and serving tongs.
- Finish the shopping: fresh herbs, lemons, ice, salad ingredients and drinks, stored appropriately.
Timing and food safety
- Reheat thoroughly: Food Standards Agency guidance says leftovers should be reheated only once and be steaming hot throughout. For checking thorough cooking, it gives 70°C for two minutes or an equivalent temperature-and-time combination, measured in the centre with a clean food thermometer. Source: Food Standards Agency: cooking and reheating food
- Plan suitable advance dishes: choose recipes that can be cooled, stored and reheated safely. FSA guidance advises refrigerating cooled leftovers within two hours and eating them within 48 hours or freezing them; rice has stricter storage advice. Source: Food Standards Agency: chilling, freezing and defrosting
- Share the work: agree who is handling starters, oven dishes and drinks, including any dietary or safety instructions.
- Allow a final check: leave a little time before serving to check that dishes are ready and properly hot or chilled.
Estimating time for each dish
- The main dish: calculate preparation, cooking and resting from the actual recipe and weight. A general two-to-three-hour estimate is not reliable for all meals.
- Roasted accompaniments: many take roughly 30–60 minutes, but follow the recipe and check doneness. Reheating time depends on quantity and starting temperature, not a universal ten-minute rule.
- Desserts: prepare ahead only where the recipe permits, and keep perishable desserts chilled until serving as directed.
Preparing in advance and sharing tasks can make the meal more relaxed, provided the plan fits the food and the people involved.
Children’s activities: games, stories and simple crafts
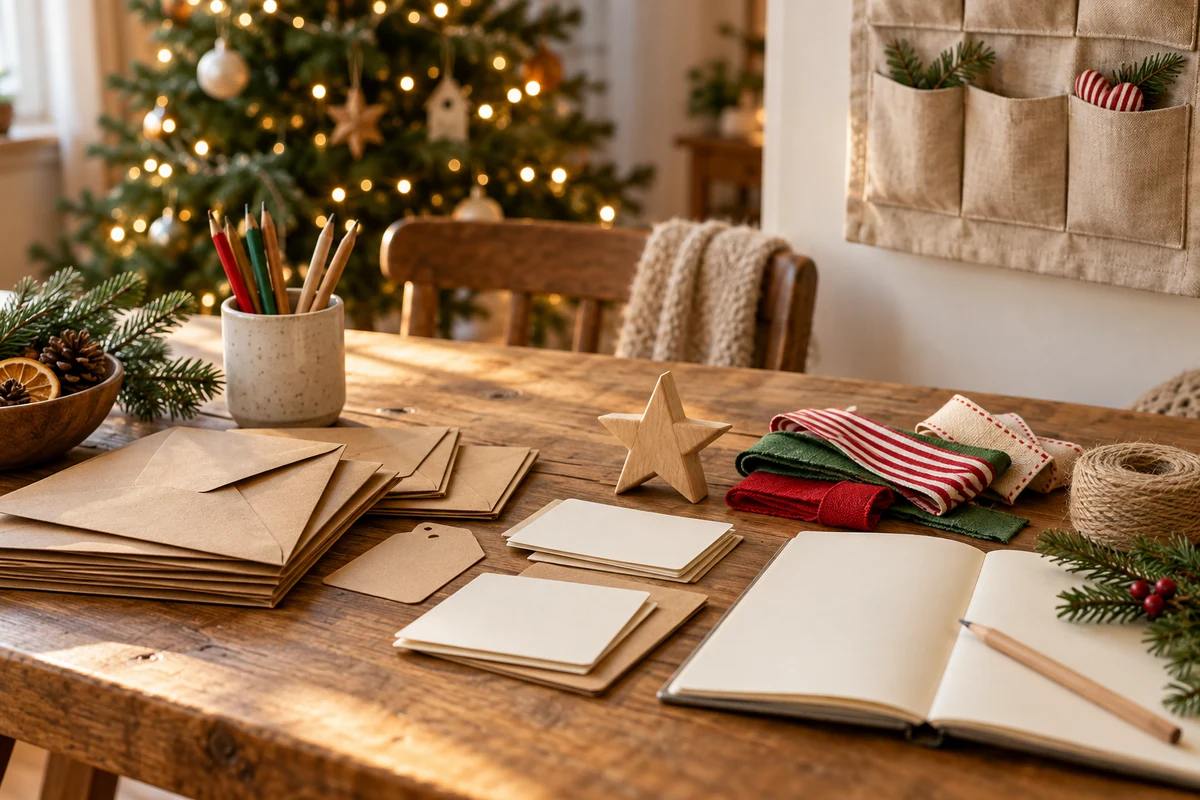
Short, practical activities can keep children interested and make room for their own ideas. Adjust the pace and materials to their needs.
Quick games
- A festive treasure hunt: hide six to eight suitable picture cards around safe, accessible parts of the home. Adapt clues to the children’s abilities and avoid tiny objects for younger players.
- Christmas matching pairs: make duplicate picture cards and play short rounds, with no need to enforce a timer if that spoils the fun.
- Music bingo: make cards with familiar song titles or pictures, play short excerpts and mark the matching spaces.
Stories and reading
- A story in instalments: divide a suitable tale into three parts, read one at each gathering and invite children to draw a scene.
- Puppet theatre: make characters from clean socks or paper bags and act out a short story.
- A small reading group: choose a short story and ask gentle questions about its characters and feelings. Page count matters less than interest and accessibility.
A simple craft: an envelope countdown
This project gives children a visible sequence of activities to help assemble with an adult.
- Materials: 24 small envelopes, numbered labels, card, suitable glue, coloured pens, tape and 24 activity ideas or age-appropriate surprises.
- Make the backing: arrange the envelopes on a card backing with room to open them. An adult should secure the display safely, keeping any hanging cord out of young children’s reach.
- Number the envelopes: write the numbers 1–24 on labels and attach one to each envelope.
- Fill them: add an activity card, kind message or suitable small gift.
- Attach them: use suitable tape or another secure fixing, with the numbers easy to follow. Avoid accessible small pegs where they could be swallowed.
- Make a routine: open one each day at a convenient time. Photograph the creations if everyone is comfortable with that.
A quick craft: a painted pine-cone decoration
- Materials: clean dry pine cones, age-appropriate craft paint and brushes. Keep optional finishing products separate for adult use.
- Apply a base colour: paint a thin coat and let it dry for the time stated on the product; this will not always be 15–20 minutes.
- Add details: paint dots or stripes in another colour, leaving room for the child’s own design.
- Finish: let the paint dry fully before an adult attaches a suitable hanging loop. Varnish and loose glitter are optional, not necessary for a successful decoration.
Adapting activities to different ages
- Around ages 3–5: try brief sessions, perhaps ten to fifteen minutes, with suitable glue and close adult supervision. Match the task to the individual child.
- Around ages 6–9: supervised cutting and painting can offer more choice and small responsibilities.
- Older children: may enjoy longer projects, preparing gift kits or helping organise a short play, without being required to do so.
Materials, safety and organisation
- Prepare a materials box: suitable rounded scissors, glue sticks and pre-cut paper can make sessions easier. Store the box safely between activities.
- Agree simple rules: explain the workspace, clean-up and available time, with breaks when needed.
- Supervise actively: adults should handle hot glue and sharp wire. Keep small parts away from children who may put them in their mouths.
Sharing family activities
- Take turns helping: adults can share the preparation and supervision rather than leaving it to one person.
- Invite children to help: older children can demonstrate simple tasks, while adults retain responsibility for safety.
- Keep a record: save drawings or photographs of projects and reading sessions in a family album.
Saving money, reusing materials and making items to sell
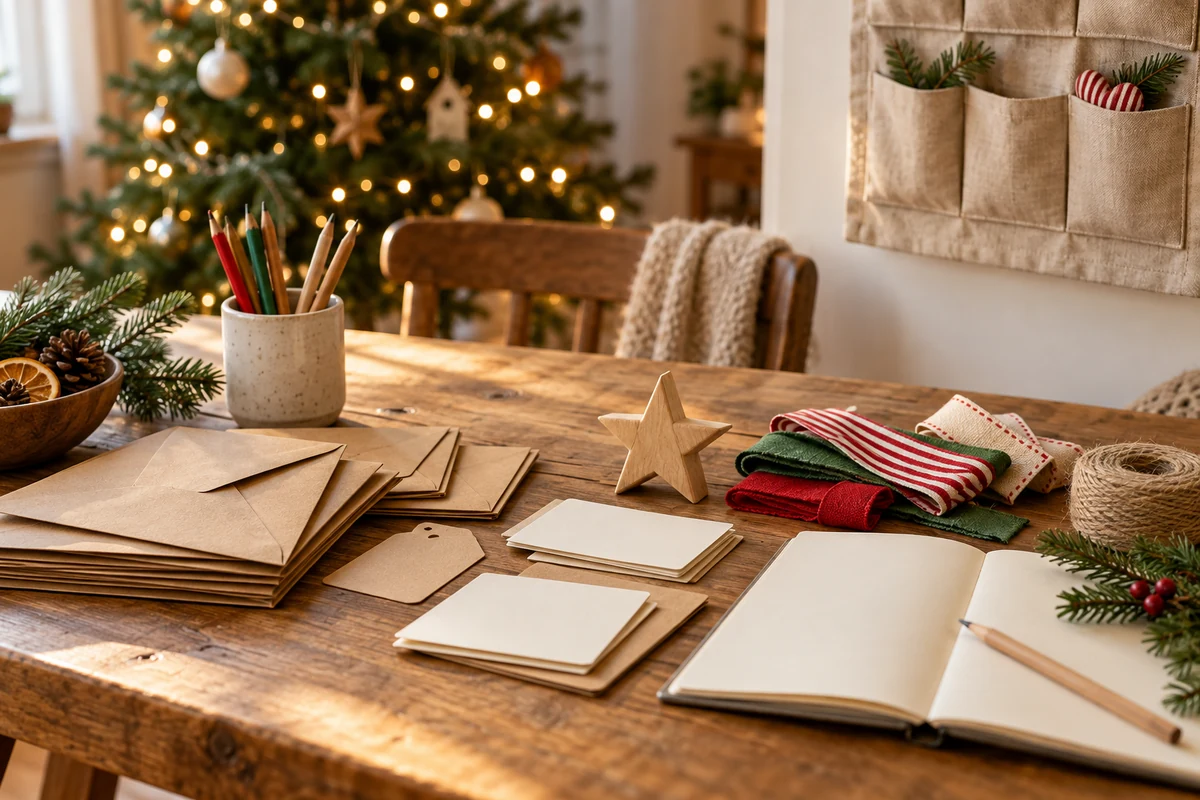
Start with affordable projects that use suitable materials you already have. Simple products may be easier to make consistently, but neither sales nor environmental benefits are guaranteed.
Practical low-cost ideas
- Paper decorations: make stars, garlands or cones from spare kraft paper and personalise them with stamps.
- Pine-cone ornaments: paint clean cones and add reused fabric ribbon, with an appropriate hanging loop.
- Hot drink kits: put dry ingredients from a complete recipe into clean food-safe jars, with preparation, storage and allergen information.
- Decorative jars: reuse suitable glass containers for small ornaments or battery lights, not improvised burning candles. Anglesey Trading Standards explains the safety assessment and labelling required when candles are made for sale. Source: Anglesey Trading Standards: candle safety and sale
- Handmade cards and bookmarks: combine recycled paper, stamps and simple illustrations for small gift sets.
Preparing products for sale
- Make a small trial: prepare two or three examples to assess appearance, construction and production time. Check safety requirements before offering them for sale.
- Record the process: write down materials, stages and timings to make subsequent batches more consistent.
- Choose suitable packaging: use paper, fabric bags or sound reused boxes where they protect the product appropriately.
- Record actual costs: include materials and working time for each item, along with relevant overheads and fees.
- Ask for feedback: a small initial batch can help you learn which sizes, colours and prices interest people, without committing to excessive stock.
Finding customers without a large budget
- Local fairs: check organiser requirements and costs before booking; they can offer a chance to speak directly with customers.
- Community groups and online marketplaces: use clear photographs, accurate descriptions and realistic delivery information.
- Local partnerships: ask suitable shops or cafés about stocking products, agreeing commission, responsibilities and payment terms first.
- Useful photographs: show the whole item, a close-up and an example of its use. Good images help people understand a product; they do not guarantee sales.
Practical ways to reduce waste
- Consider local supplies: they may reduce some journeys and support nearby businesses, but compare quality, price and the product’s wider impact.
- Reuse before buying: suitable packaging, lace and fabric can become part of a new project.
- Choose packaging carefully: use what can genuinely be reused or accepted by local recycling services. Glass and compostable packaging are not automatically the lowest-impact options.
- Explain reuse: suggest a safe second purpose, such as storing craft supplies, without making unsupported food-safety claims about a container.
A simple pricing example
A starting calculation is selling price = materials + labour + other costs + profit allowance. Distinguish a mark-up on cost from profit margin as a percentage of the selling price.
- Illustrative Brazilian example: materials of R$5 plus half an hour at R$20 per hour give R$15 before other costs. Adding a 40% mark-up gives R$21. That is about a 28.6% margin before other expenses, not a 40% margin; it is an arithmetic example, not a current market price.
- Choose your own allowance: there is no universal 30–50% figure that suits every product or sales channel. Include fees, overheads and applicable taxes when checking viability.
Managing the work
- Track stock: keep a simple list of finished items and supplies to avoid unnecessary purchases.
- Work in manageable batches: if demand justifies it, group suitable tasks, such as painting several ornaments, without producing more than you can store or sell.
- Describe products honestly: specify which materials are reused and where the item is made. Avoid broad environmental claims you cannot support.
Ready for a calmer Christmas?
A flexible plan and a handful of enjoyable activities can make October to December feel more connected without adding an exhausting list of obligations.
Thank you for reading. Follow our social channels for short tutorials and practical inspiration, or visit the I Love Christmas blog for more ideas.
Share a creation or tell us which activity became a family tradition. Enjoy making a celebration that suits your household.
Christmas activity calendar: frequently asked questions
How do I start a Christmas activity calendar simply?
Choose a purpose and a daily, weekly or mixed format. List possible activities, select a manageable number and group the supplies so preparation is straightforward.
Which affordable materials are useful?
Kraft paper, envelopes or paper bags, tape, numbered labels, suitable glue, coloured pens and clean natural materials such as pine cones can cover many projects.
How can children of different ages take part safely?
Choose short, suitable tasks, supervise tools and avoid small parts for children who might swallow them. Adjust responsibilities to each child’s abilities rather than relying on age alone.
How can activities cost less and create less waste?
Reuse suitable packaging and supplies, buy only what is needed, and include shared experiences or donations instead of a new object every day.
How can I organise the festive meal with less stress?
Divide planning and shopping across the weeks, use recipe-specific cooking and storage times, label containers and share clearly defined tasks with willing helpers.
Sources and Further Reading
- Food Standards Agency: cooking and reheating food
- Food Standards Agency: chilling, freezing and defrosting
- GOV.UK: registering a food business
- Anglesey Trading Standards: candle safety and sale