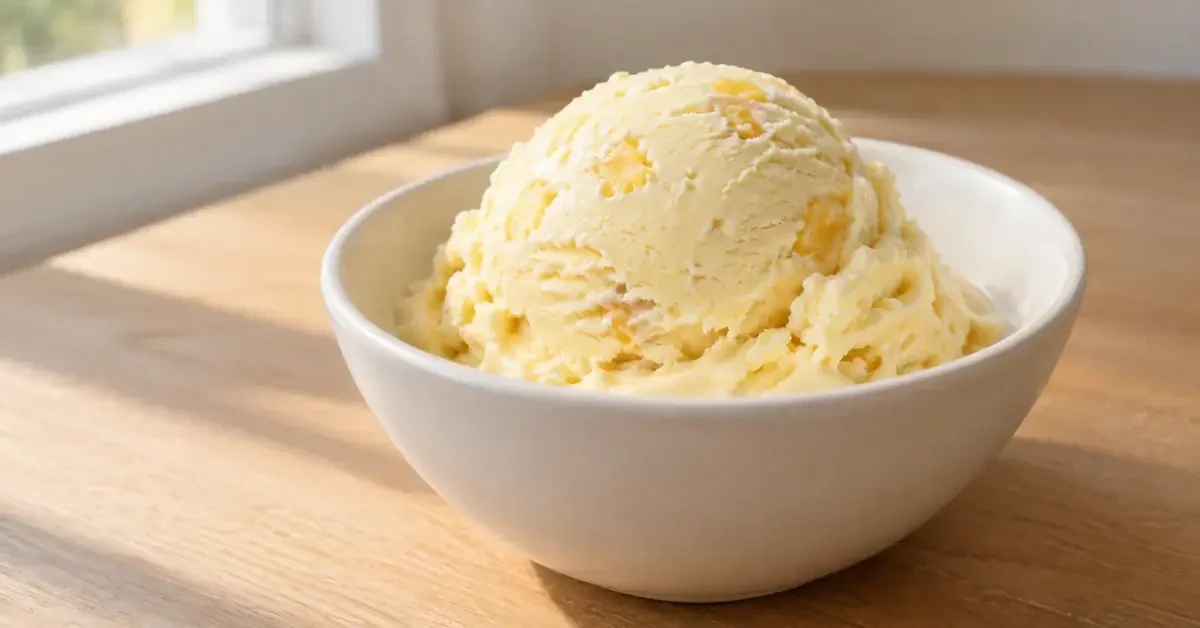
This homemade pineapple ice cream combines pineapple purée, sweetened condensed milk and Brazilian cream. Stir every 1–2 hours during freezing to help break up ice crystals; allow roughly 4–6 hours to firm up, depending on the freezer and container.
Creamy pineapple ice cream pairs the fruit’s refreshing tang with a rich dairy base. It needs only a few ingredients and can be made without an ice-cream machine.
The images illustrate this recipe and its preparation; the appearance of your finished dish may vary.
Prepare the fruit before combining it with the dairy ingredients, then freeze and stir as the texture develops. Raw pineapple contains bromelain, which can make dairy mixtures bitter; this version uses the cooked-and-cooled purée option rather than leaving the fruit raw.
Ingredients
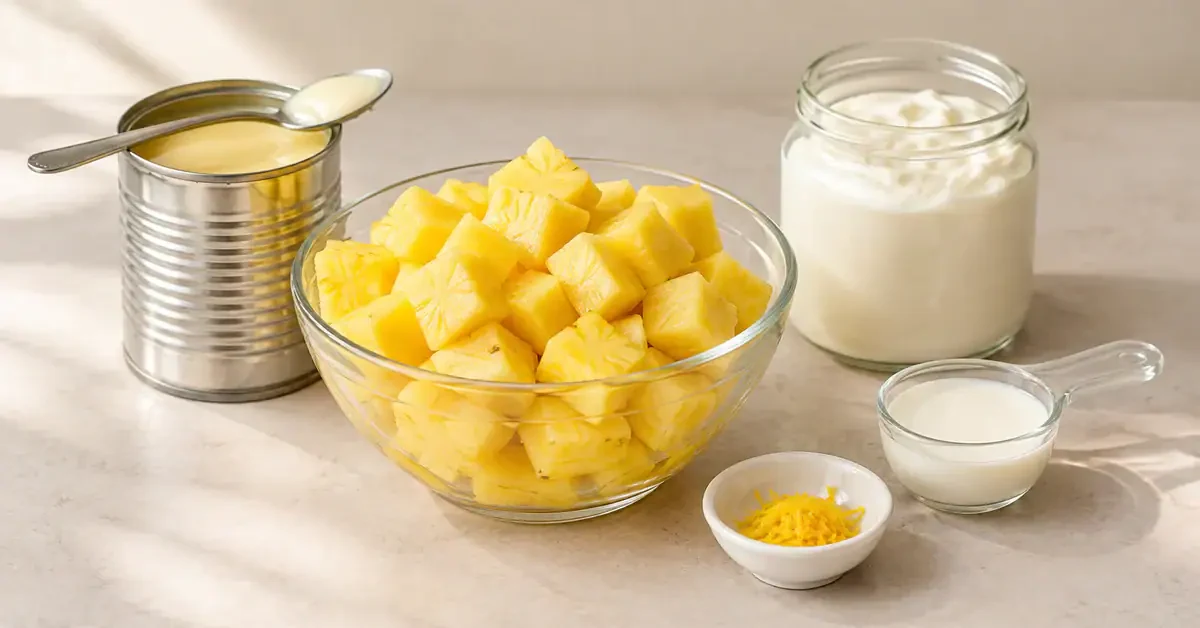
- 300 g fresh pineapple flesh, chopped
- 395 g sweetened condensed milk
- 300 g Brazilian creme de leite, with any separated watery liquid drained off
- 2–4 tablespoons milk or water, optional and only if needed to loosen an unusually thick mixture
- Optional: lemon zest or vanilla flavouring, to taste
Method
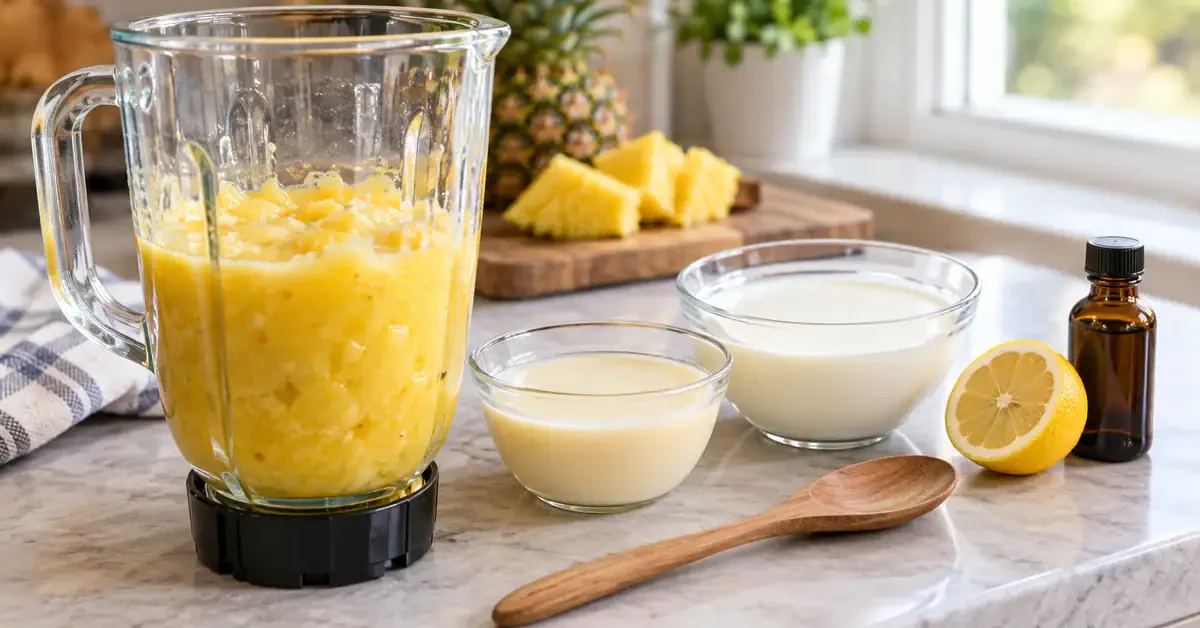
- Prepare the pineapple: blend the chopped fruit to a smooth or slightly chunky purée. Cook the purée in a saucepan, stirring, bringing it to a simmer throughout rather than merely warming it. Reduce any excessive liquid gently, then cool promptly and refrigerate until cold before adding the dairy ingredients. Cooking the fruit helps avoid the bitter reaction that raw pineapple can have with milk proteins.
- Combine the ingredients: mix the cold pineapple purée with the condensed milk and drained cream until evenly combined. If unusually thick, use a little of the optional milk or water; do not add it automatically, as extra water encourages iciness.
- Add flavouring, if using: stir in a little lemon zest or vanilla to taste. Use the optional flavourings in the ingredients list; extra lemon juice would add liquid and acidity to the mixture.
- Freeze and stir: transfer to a freezer-safe container and freeze. Every 1–2 hours, stir the partially frozen mixture with a spoon or whisk, scraping the firmer edges into the centre. Continue until firm and creamy, usually around 4–6 hours. This is an estimate, not a guaranteed setting time.
Checking the texture
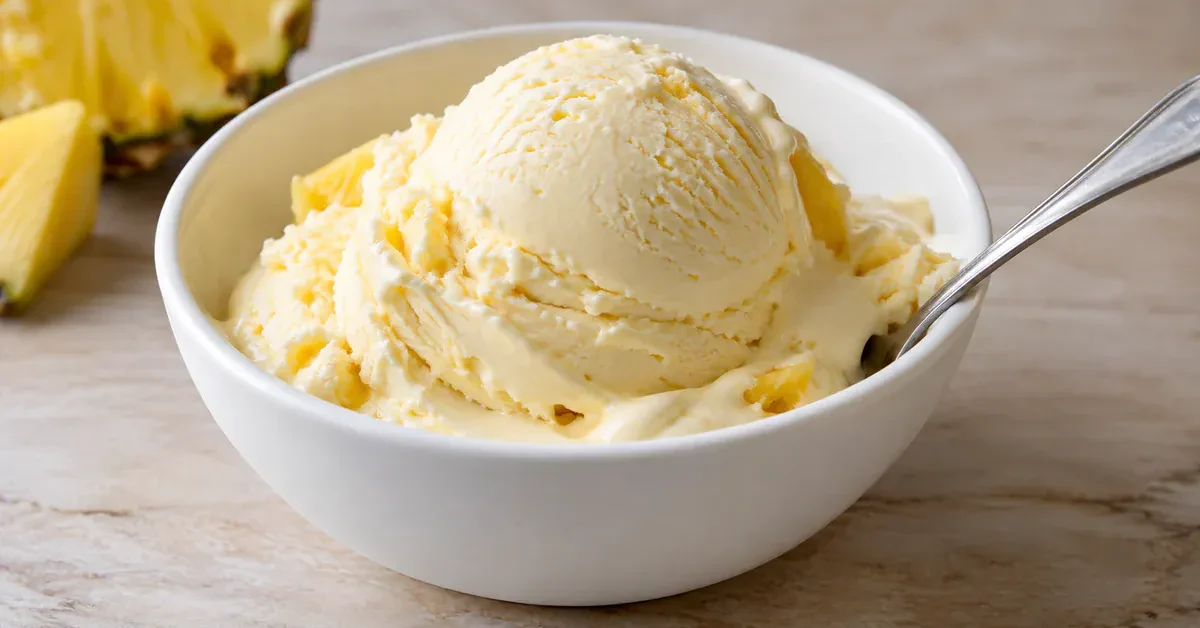
- What to look for: the ice cream should hold a scoop and soften to a creamy consistency for eating. It should not remain liquid, although it may be quite firm straight from the freezer.
- If it is too hard to scoop: let it stand for about 5–10 minutes, just until scoopable. Avoid letting the whole container melt.
Common mistakes and how to avoid them
- Overmixing: combine the ingredients until smooth rather than blending indefinitely. This method does not rely on whipping large amounts of air into the cream.
- Freezing without stirring: larger ice crystals can develop. Stir every 1–2 hours while the mixture is still partially frozen, rather than waiting until it is solid.
- Leaving out the cream: condensed milk alone makes a different, much sweeter base. Keep both dairy ingredients in the stated proportions for this version.
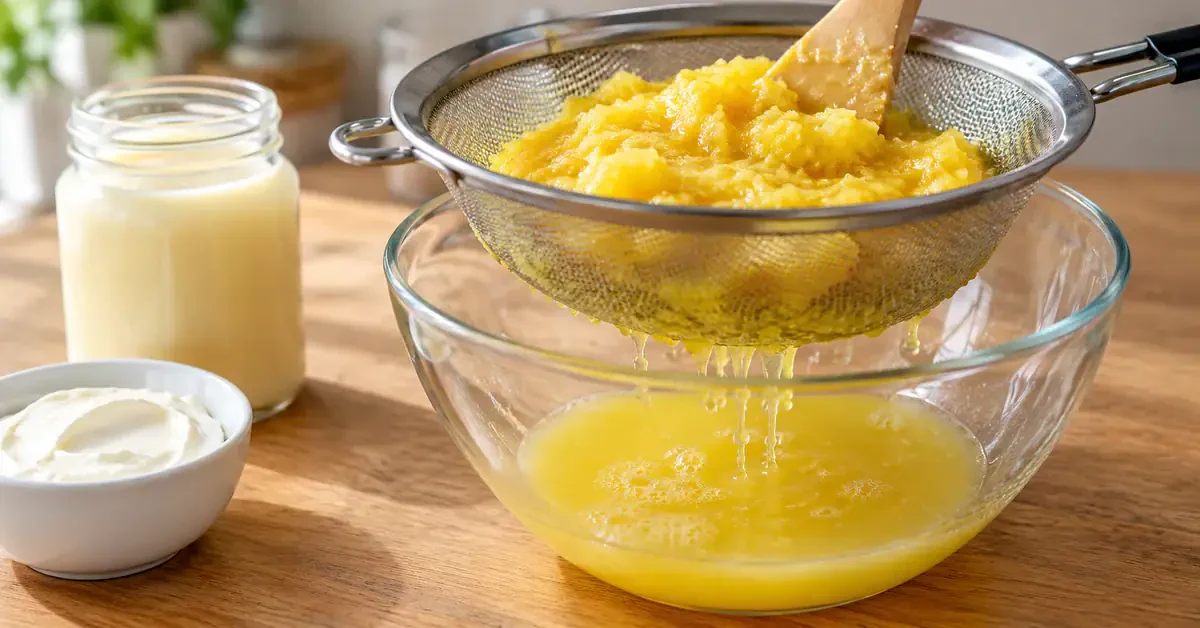
- Using watery or raw pineapple purée: reduce excess juice while cooking the fruit, then cool it fully before mixing. Raw pineapple’s bromelain can break down milk proteins and cause bitterness; freezing raw fruit does not reliably remove that enzyme activity. The Japan Dairy Industry Association explains this reaction and the use of heated or canned fruit to avoid it. Source: Japan Dairy Industry Association: pineapple and milk bitterness
Variations, serving and storage
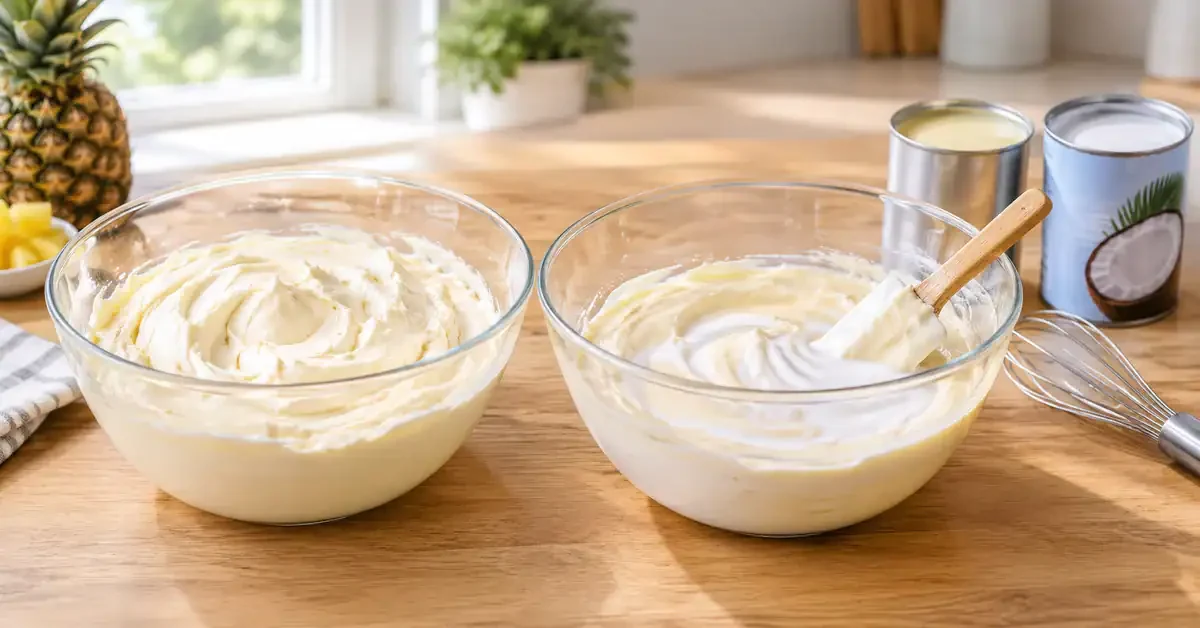
The following ideas change the flavour or presentation. Some add ingredients beyond the basic recipe, and a substitution can change how firmly the dessert freezes.
Coconut variation: replace half the cream with coconut milk
Replace half the cream with the same weight of well-mixed tinned coconut milk: 150 g cream and 150 g coconut milk, alongside the condensed milk. Coconut milk has no dairy whey to drain. Its fat and water content vary, so the result may freeze differently; do not assume extra condensed milk will repair a watery mixture.
Serve with passion fruit sauce, desiccated coconut or caramelised pineapple
These optional toppings add contrast. Passion fruit sauce provides tang, coconut adds aroma, and cooked caramelised pineapple adds a fruit topping. Cool cooked toppings before adding them to the ice cream so they do not immediately melt the scoop.
Storage: keep tightly covered in the freezer and use within a week for best texture
Use an airtight freezer-safe container to limit ice crystals and absorbed odours. Soften only briefly for scooping; do not thaw the whole batch and refreeze it. A short rest makes hard ice cream easier to serve, but it cannot reliably undo large ice crystals that have already formed.
Ready to serve
Stirring during the first stages of freezing helps keep this pineapple ice cream smoother. Scrape the sides as well as stirring the middle, and return the container to the freezer promptly each time.
For a future batch, try the coconut variation with 150 g cream and 150 g tinned coconut milk, keeping the condensed milk unchanged. Expect a different flavour and possibly a different firmness rather than an identical result.
Pineapple ice cream: frequently asked questions
How do I know when the ice cream has the right texture?
It should hold a scoop, then soften to a creamy consistency for eating. Stir every 1–2 hours during the initial freezing stage. If very firm straight from the freezer, allow roughly 5–10 minutes to soften without letting it melt completely.
What if the mixture is too watery?
Reduce excess liquid from the pineapple purée while cooking it, before adding the dairy ingredients, and cool it completely. Do not try to strain or cook the finished dairy mixture to compensate. The optional milk or water is only for an unusually thick base, not a required addition.
Can I use coconut milk instead of cream?
The suggested variation replaces half the cream with the same weight of tinned coconut milk: 150 g of each. Keep the condensed milk. Coconut milk varies between brands, so the freezing texture may differ; this remains a dairy-containing dessert.
Which container and utensils should I use?
Choose a freezer-safe container with a lid and a spoon or whisk that can reach its edges. Stir the partially frozen mixture every 1–2 hours, incorporating the firmer edges, then return it promptly to the freezer.
Which toppings work well?
Try a little passion fruit sauce, desiccated coconut or cooled caramelised pineapple. These are optional additions. Serve the ice cream as soon as you have scooped it, keeping the remaining batch frozen.