This dairy-free pineapple frozen dessert blends pineapple and banana with coconut milk, sugar and lime. Use a blender suitable for frozen fruit, then freeze the mixture, or adapt it for an ice cream maker. The basic recipe is vegan, with suggestions for a richer coconut version and a less creamy, sorbet-style alternative.
A bowl of pineapple and coconut frozen dessert brings bright fruit flavour to a summer meal or festive table. Frozen banana provides body without dairy, while coconut milk gives a richer finish. Children can help with toppings, with an adult handling the equipment.
Ingredients for Pineapple Frozen Dessert
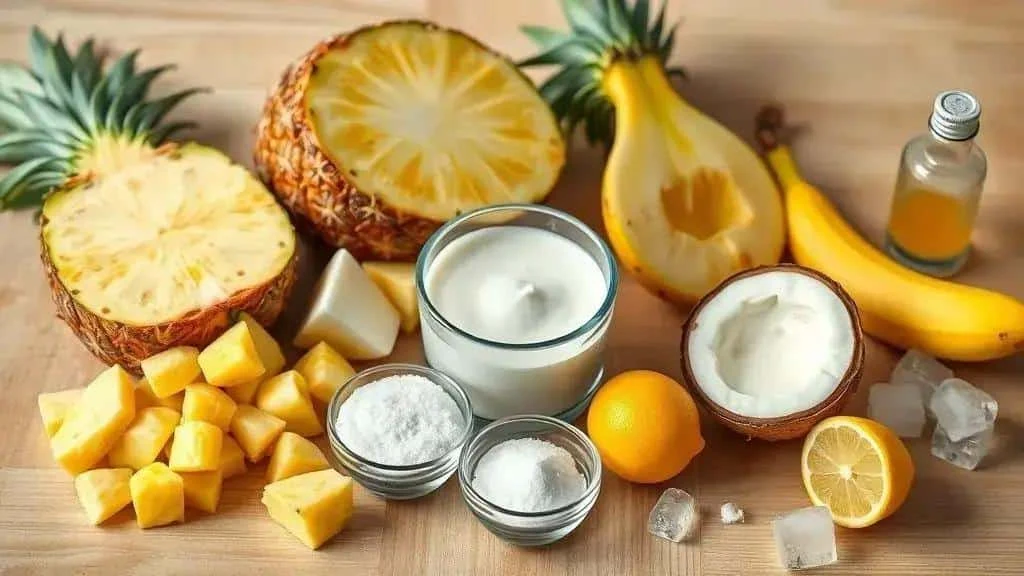
These quantities make approximately six servings of pineapple frozen dessert. Portion size depends on the size of the bananas and how much air is incorporated.
- 400 g prepared pineapple – peeled, with any tough core removed, cubed and frozen for the blender method. The same weight of mango makes a different fruit variation.
- 400 ml tinned coconut milk – full-fat gives a creamier result. Light coconut milk or an unsweetened oat or almond drink makes a thinner, icier dessert and changes the allergens.
- 2 ripe bananas – peeled, sliced and frozen. Around 100 g avocado purée is an experimental alternative with less sweetness and a different flavour; it is not an exact replacement for two bananas.
- 100–130 g sugar – adjust to the fruit’s sweetness. Reducing it changes how firmly the mixture freezes. Lactose-free condensed milk can be used in a separate dairy-containing variation, but is not a direct equivalent and is neither vegan nor suitable for milk allergy.
- 1 tbsp lime juice – for a sharper fruit flavour; lemon juice is an alternative.
- A pinch of salt – optional, to balance the flavour.
- 1 level tbsp cornflour, optional – for a cooked, thickened coconut base. Mix with 2 tbsp cold coconut milk taken from the 400 ml, then cook with the rest as described below and chill before blending. Do not add raw cornflour or an untested agar substitution directly to the cold mixture.
- 1 tsp vanilla extract, optional – for a gentle vanilla note.
Substitutions and Practical Notes
Freezing the fruit: spread the prepared pineapple and banana in a single layer on a lined tray, then transfer the frozen pieces to a suitable bag or container.
Plant drinks: full-fat tinned coconut milk gives more body than most oat or almond drinks. A lower-fat liquid usually produces a less creamy result rather than an identical substitute.
Other sweeteners: maple or agave syrup changes the amount of water and sugar, so treat it as a variation and expect a different freezing texture. Honey is not vegan and is unsuitable for babies under one. Do not add a full quantity of sugar as well as sweetened condensed milk.
Smoothness: remove tough pineapple fibres before blending and process until smooth within the appliance’s limits. Straining removes some fibre but can make the mixture thinner. Added coconut oil can harden into flecks in a frozen mixture, so it is not needed for the basic recipe.
Yield: divide the finished dessert into about six servings. The ingredients make substantially more than six 50–80 g portions; weigh the finished batch if you need an exact serving weight.
How to Make Pineapple Frozen Dessert
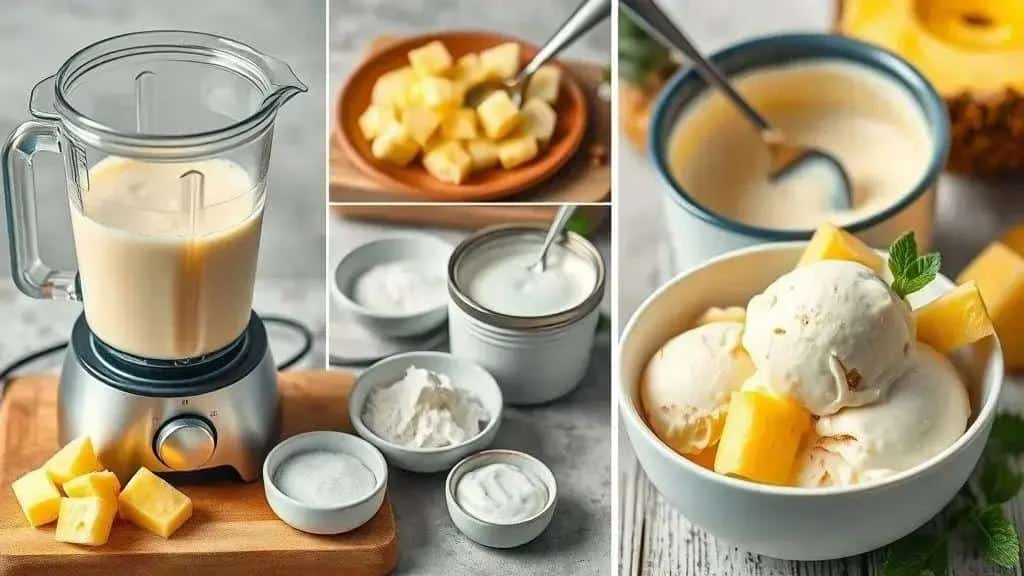
- Freeze the fruit: prepare 400 g pineapple and two peeled, sliced bananas. Freeze in a single layer for at least four hours or until firm; larger pieces may need overnight.
- Prepare the coconut base: combine the 400 ml coconut milk with 100–130 g sugar. If using cornflour, first mix it smoothly with 2 tbsp of the cold coconut milk, then stir into the remaining milk and sugar in a saucepan. Heat gently, stirring, bring to a simmer and cook for about one minute until thickened. Cool promptly in a shallow container and refrigerate until thoroughly chilled before continuing.
- Soften very hard fruit briefly: leave it for around five to ten minutes if needed. Use a blender or processor designed for frozen ingredients and follow its instructions; do not force a struggling motor.
- Blend until smooth: add the coconut base, frozen fruit, lime juice, optional vanilla and a pinch of salt in the order recommended for your appliance. Blend in manageable batches if necessary. Switch off and unplug before scraping the sides with a spatula.
- Check flavour and texture: add a little more sugar only if needed and a small splash of coconut milk only if the appliance requires it. Extra liquid makes the final dessert icier. A smooth mixture needs no further straining unless fibres remain.
- If using cornflour: it should already have been cooked into the coconut base and chilled in step two. Do not stir dry cornflour or a hot-water slurry into the finished cold mixture.
- Ice cream maker option: follow the machine’s instructions for a cold, pourable base, not hard frozen chunks. For this route, blend chilled rather than frozen fruit with the chilled coconut base. Churn for the manufacturer’s recommended time, often around 20–30 minutes, then transfer to a freezer container to firm up.
- Without an ice cream maker: transfer the blended mixture to a shallow freezer-safe container. After about an hour, stir firmly to break up the setting edges. Repeat two or three times at 30–40-minute intervals while it is still stirrable.
- Finish freezing: freeze until firm, usually several more hours or overnight depending on the container and freezer. Let it soften briefly before scooping rather than expecting commercial ice cream softness straight from the freezer.
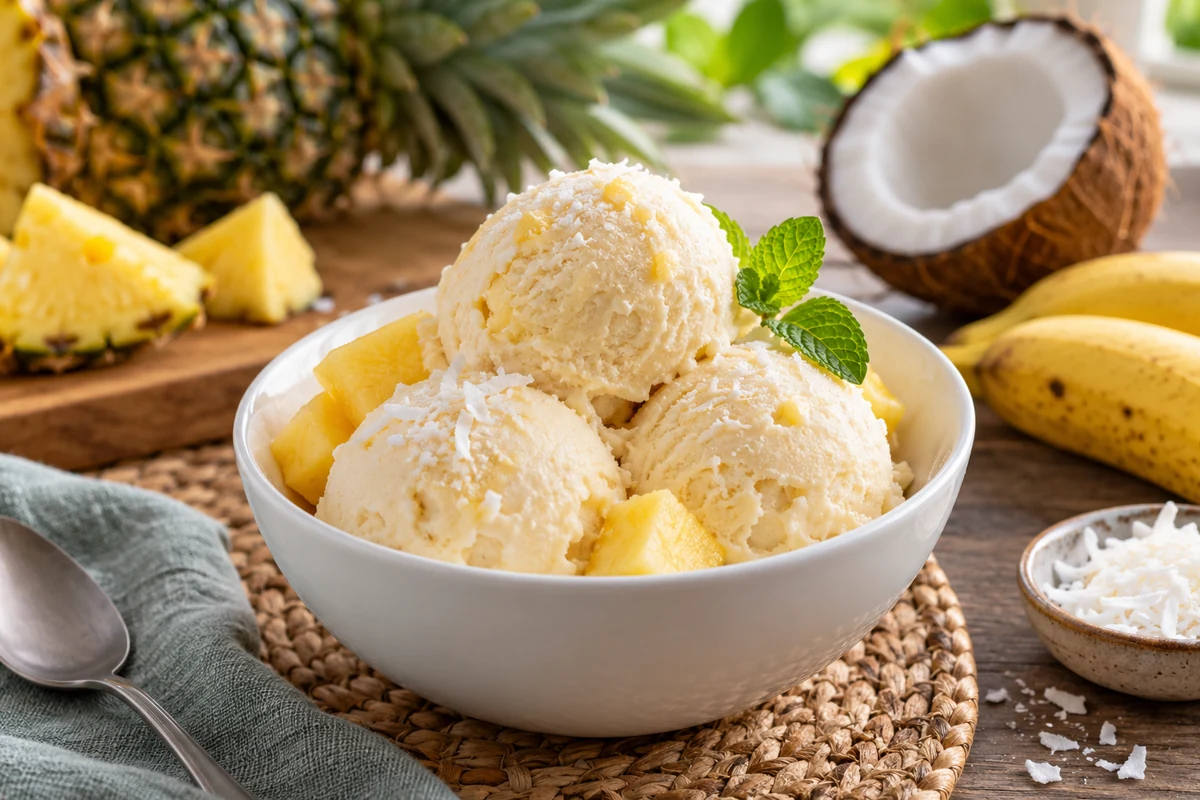
- Serve: scoop into bowls and add fresh pineapple, mint, lime zest or toasted coconut. Serve promptly.
- Store: keep covered at −18°C or below and aim to enjoy within two weeks for best texture. Freezer-safe film against the surface can help reduce drying, but leave a little headspace under the lid.
Tips for a Creamier Texture
Choose ripe fruit and a rich base: ripe bananas add sweetness and body, while full-fat coconut milk contributes fat. Freeze fruit in small separate pieces and blend using suitable equipment. A brief softening period helps very hard fruit, but do not leave the mixture to melt and repeatedly refreeze it. Extra coconut oil is unnecessary and may form hard flecks.
Vegan, Coconut and Sorbet-Style Variations
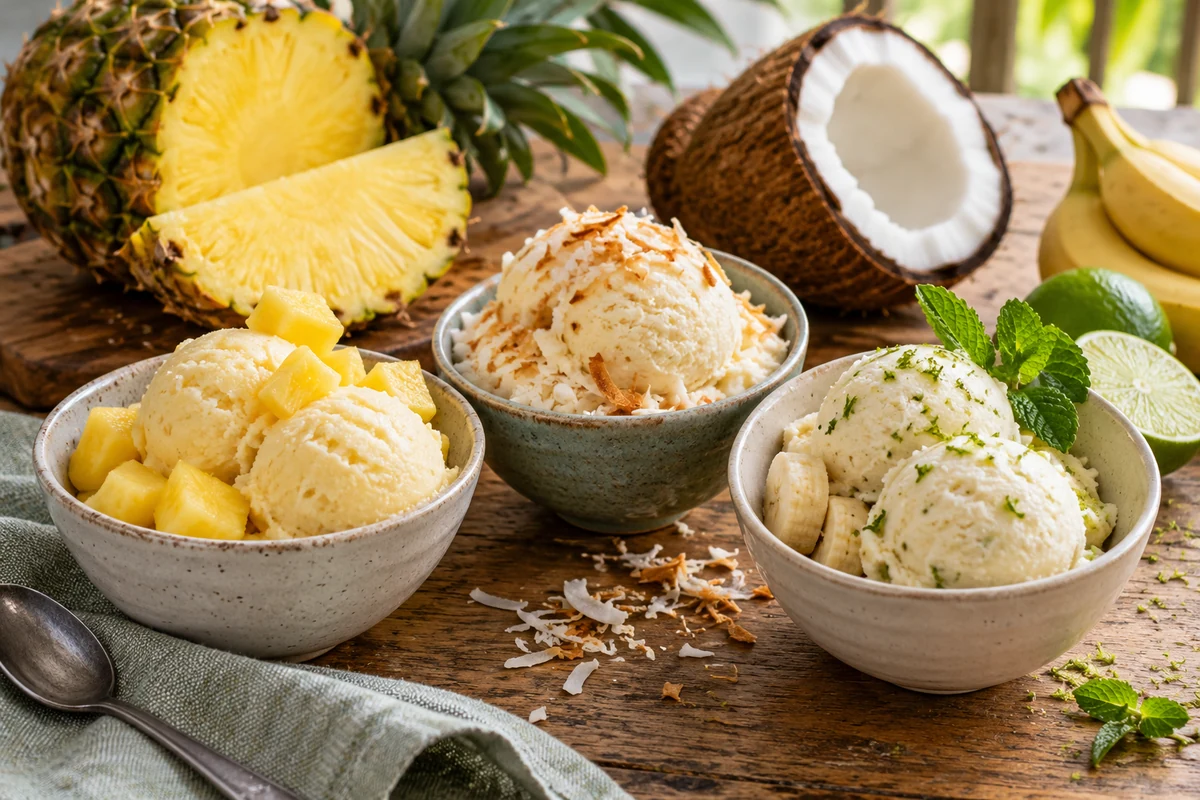
These variations change the sweetness and texture of the pineapple dessert. They are alternatives to try, not nutritionally equivalent swaps.
Vegan Variation
The main recipe is already vegan when made with coconut milk, sugar and suitable vanilla. This version uses syrup instead of granulated sugar.
- 400 g pineapple, cubed and frozen for the blender method.
- 400 ml tinned coconut milk – a thick plant drink can be tried, with a less creamy result.
- 2 ripe bananas, peeled, sliced and frozen.
- 3–4 tbsp maple or agave syrup – a starting point to taste, not an equivalent to 100–130 g sugar. The dessert may freeze harder.
- 1 tbsp lime juice, for brightness.
- Optional coconut oil: omit it for the simplest version – a spoonful is not a reliable substitute for a balanced ice cream base and can set into hard specks.
Method: blend using an appliance suitable for frozen fruit, then freeze and stir as above. For an ice cream maker, use a chilled pourable mixture and follow the manufacturer’s instructions.
Extra Coconut
Coconut cream and desiccated coconut give a richer flavour. Keep the two bananas from the main recipe for body.
- 400 g pineapple, cubed and frozen.
- 300–350 ml full-fat coconut milk – use with the coconut cream below, not in addition to the main recipe’s full 400 ml.
- 100 ml unsweetened coconut cream – if omitting it, use the main recipe’s 400 ml coconut milk instead.
- Sugar to taste – two tablespoons gives a much less sweet, harder-freezing version than the main recipe. Adjust with that texture difference in mind.
- 2 tbsp desiccated coconut – stir in after blending for texture.
- Finely grated lime zest – for citrus aroma.
Method: blend the pineapple, two frozen bananas and coconut liquids until smooth, then fold in the desiccated coconut and zest. Freeze as above and garnish with toasted coconut if desired.
Less Rich, Sorbet-Style Version
Replacing coconut milk with coconut water reduces richness, but produces a fruit ice rather than the same creamy dessert. No exact calorie value has been calculated for this variation.
- 400 g frozen pineapple.
- 200–250 ml coconut water – start with less and add only enough to blend.
- 1 ripe frozen banana, for some body and sweetness.
- Sweetener, if needed – follow the product’s instructions. Stevia and sugar alcohols do not behave like sugar in freezing, and the result may be harder or grittier. Keep any xylitol product away from dogs.
- 1 tbsp lime juice, to taste.
Method: blend until smooth and serve as a soft fruit ice, or freeze briefly to firm. Longer freezing can make it very hard, so allow a short softening period before scooping.
Tips for All Variations
Freeze fruit separately: small pieces in a single layer are easier to process than a solid block. For more body: frozen banana is helpful, though it adds its own flavour; coconut oil alone does not reproduce the structure of dairy ice cream.
Getting a Creamy Texture Without Dairy
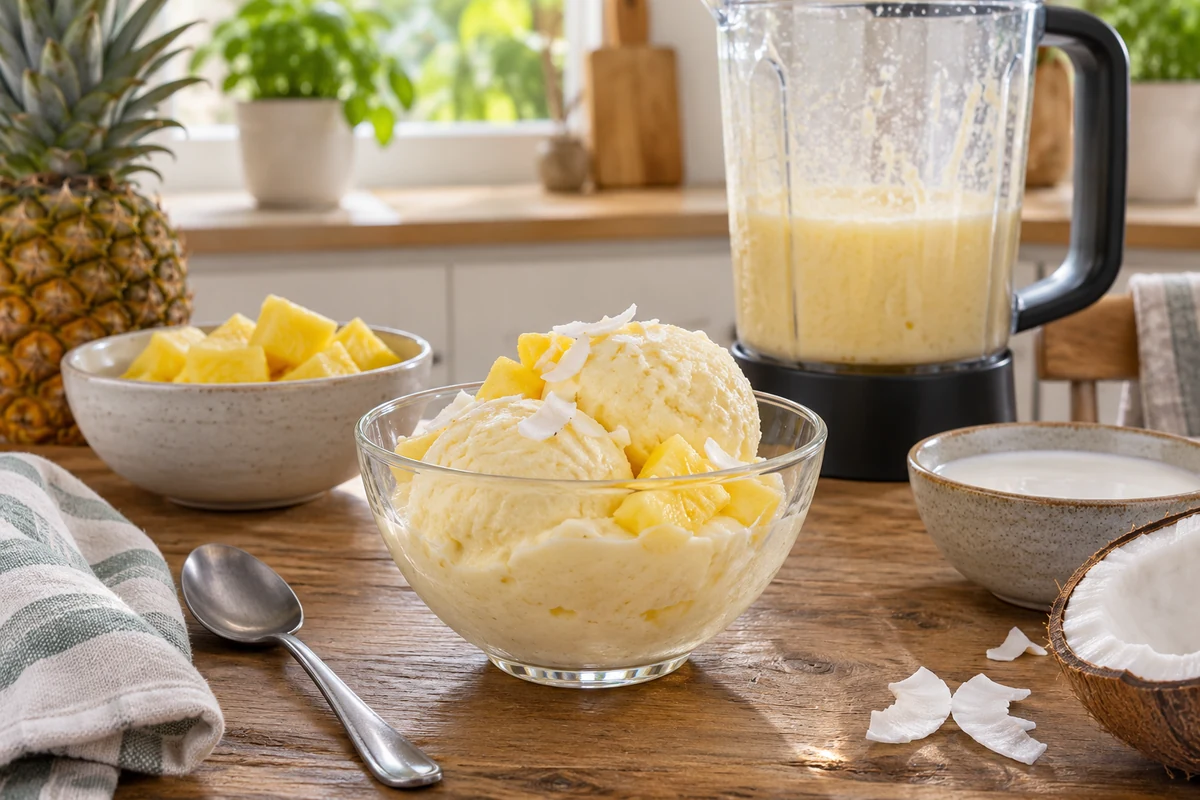
Start with ripe fruit: pineapple and banana provide sweetness and body, while the coconut milk supplies richness.
Preparation Techniques
Freeze evenly: spread fruit pieces on a tray before storing them in a bag, so they remain easier to separate and blend.
Allow a brief rest: very hard fruit may need five to ten minutes to soften slightly, depending on room temperature and the appliance.
Follow the blender’s instructions: many models work best with liquid added first, but only process frozen fruit if the machine is designed for it. Stop if the motor struggles and unplug before scraping.
Ingredients That Add Body
Frozen banana: one or two bananas add body and sweetness, with a noticeable banana flavour.
Full-fat coconut milk: this gives a richer mouthfeel than a watery plant drink.
Coconut oil: it hardens when cold and can form flakes in the mixture. It is optional experimentation rather than a necessary creaminess trick.
Thickening and Texture Adjustments
Cornflour: make a smooth slurry with cold liquid, cook it into the coconut base until thickened, then cool promptly and chill before blending. Simply dissolving it in hot water and adding it cold does not properly cook the starch.
Avocado purée: 50–100 g can replace part of the banana in an experimental variation. It changes the colour, flavour and sweetness.
Sweetened additions: syrup or condensed milk changes freezing texture as well as sweetness. Lactose-free condensed milk still contains dairy, while a plant-based condensed alternative must be checked separately for ingredients and allergens.
Finishing Methods
Ice cream maker: churn a cold pourable base according to the appliance’s capacity and timing instructions, then freeze to firm. Churning helps incorporate air but cannot compensate for every change in the recipe.
No-churn method: use a shallow container and stir as the mixture begins to set, repeating at 30–40-minute intervals two or three times while practical.
Storage: cover the surface with suitable freezer-safe film if desired, fit a lid and keep frozen. Soften only the portion you intend to serve.
Common Problems
Too much water: extra thin liquid encourages an icy texture. Add only what is needed for blending.
Uneven blending: process in short stages, stopping and unplugging before scraping the sides. Smaller fruit pieces and a suitable machine help avoid unblended chunks.
Storing Pineapple Frozen Dessert
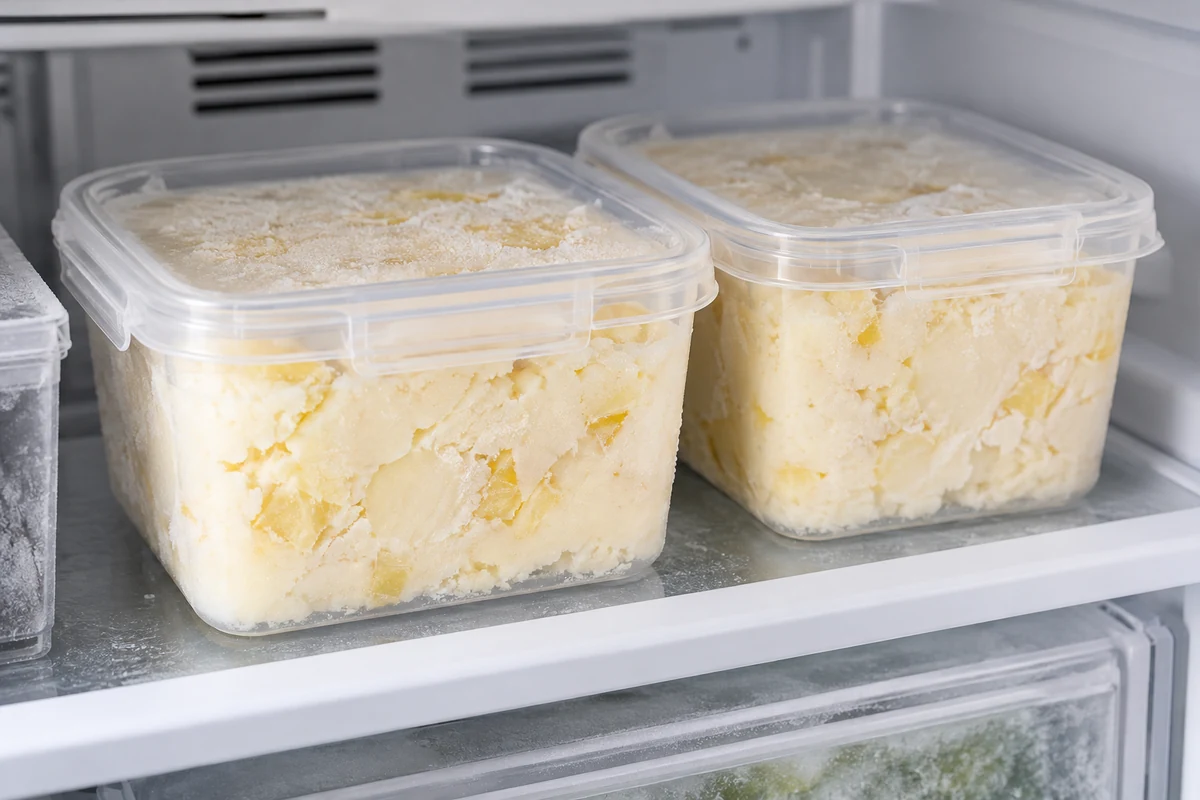
Use a clean freezer container: choose a shallow container with a secure lid and leave a little headspace rather than filling to the brim. Suitable film against the surface can reduce air exposure.
Temperature and Quality
Keep the freezer at −18°C or below: aim to enjoy the main recipe within two weeks for good texture. A water-based version may be best within about one week, while a richer coconut version may remain pleasant for two to three weeks. These are quality targets, not guarantees after poor handling or thawing.
Preparing the Base for Freezing
Chill a cooked base first: if using cornflour, cool the coconut mixture promptly in a shallow container, refrigerate within one to two hours and chill thoroughly before blending or churning. Do not leave it on the worktop overnight.
Reducing Ice Crystals
- Use shallow containers: the mixture freezes more quickly than in a deep, tightly packed tub.
- Cover the surface: suitable freezer-safe film can reduce surface drying before the lid is fitted.
- Freeze smaller portions: this avoids repeatedly softening the entire batch.
- Use the optional cooked base correctly: cooked cornflour can add body, but the balance of fruit, liquid, fat and sugar still determines texture. Oil is not a substitute for proper thickening.
Softening and Serving
Allow a brief softening period, often 5–15 minutes, watching the consistency rather than the clock. Scoop while still frozen and return the untouched frozen tub promptly. Do not refreeze fully melted dessert or portions that have been served and handled.
Changes in Quality
- Large ice crystals or a dry surface suggest texture loss or freezer burn.
- An unusual smell or visible spoilage is a reason to discard it. Do not taste food to check whether it is safe; normal smell is not proof of safe handling.
- Unexpected colour changes can reflect oxidation or deterioration. Discard the dessert if its condition or storage history is doubtful.
Practical Storage Tips
Label the date: note when the batch was made and freeze in small portions. For transport, use suitable insulated frozen-food packaging and frozen packs, keep the journey short and ensure the dessert stays frozen. Ordinary ice packs cannot guarantee frozen storage for an unlimited journey.
Toppings and Accompaniments
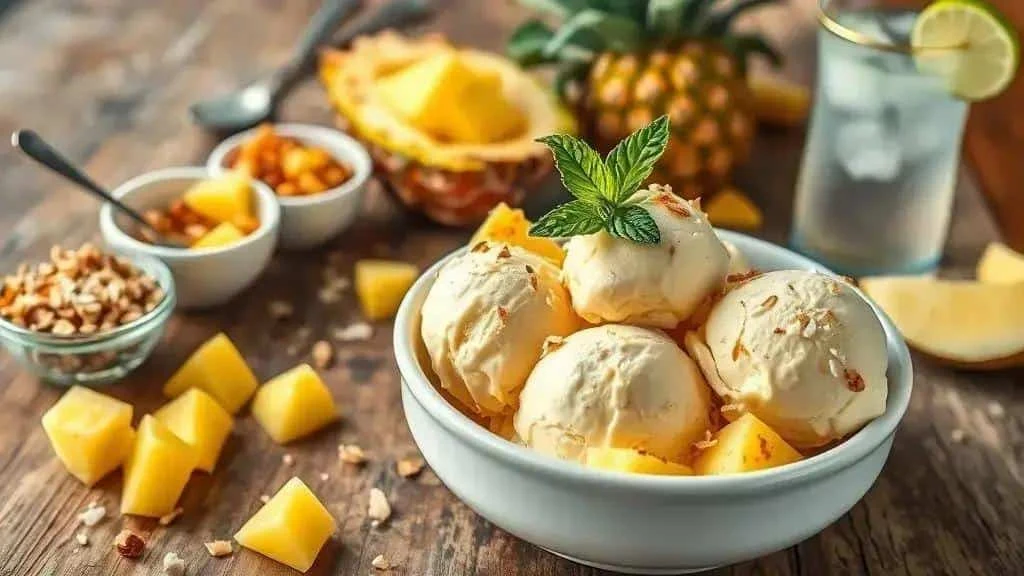
- Fresh pineapple cubes – for extra fruit flavour and a juicy contrast.
- Toasted coconut – for a crisp finish and stronger coconut aroma.
- Lemon or lime zest – for citrus fragrance without much extra liquid.
- Mint leaves – as a fresh garnish.
- Granola or chopped nuts – for suitable guests, checking allergens. Avoid hard nut pieces in young children’s portions.
- Passion fruit sauce or berry coulis – for contrasting colour and sharpness.
- Crisp biscuits or waffle pieces – serve alongside, checking dairy, egg and gluten ingredients if required.
Presentation Ideas
In a pineapple shell: use a freshly prepared, clean shell as a serving bowl, with one or two scoops, fruit cubes and mint. Prepare hygienically and serve immediately.
In a clear glass: layer the dessert with a little coulis and granola just before serving.
Individual moulds: freeze small portions in suitable moulds and turn out shortly before serving so they keep their shape.
Drinks to Serve Alongside
- Chilled coconut water – a simple accompaniment to the fruit flavour.
- Iced mint infusion or white tea – two different options; white tea is tea and normally contains caffeine, whereas a pure mint infusion does not.
- Sparkling water with lemon – for a sharp, unsweetened accompaniment.
- Optional adult variation: a small drizzle of dark rum can be added to an individual serving, only for guests who want alcohol. Keep it separate from children’s and alcohol-free portions.
Serving Tips
Check the texture: soften briefly until scoopable, usually around five to ten minutes, depending on the freezer and room temperature.
Add contrast if you like: toasted coconut, a biscuit or suitable granola contrasts with the smooth dessert.
Assemble at the last moment: keep crunchy toppings separate until serving so they do not soften.
Pineapple: Background and Nutrition Notes
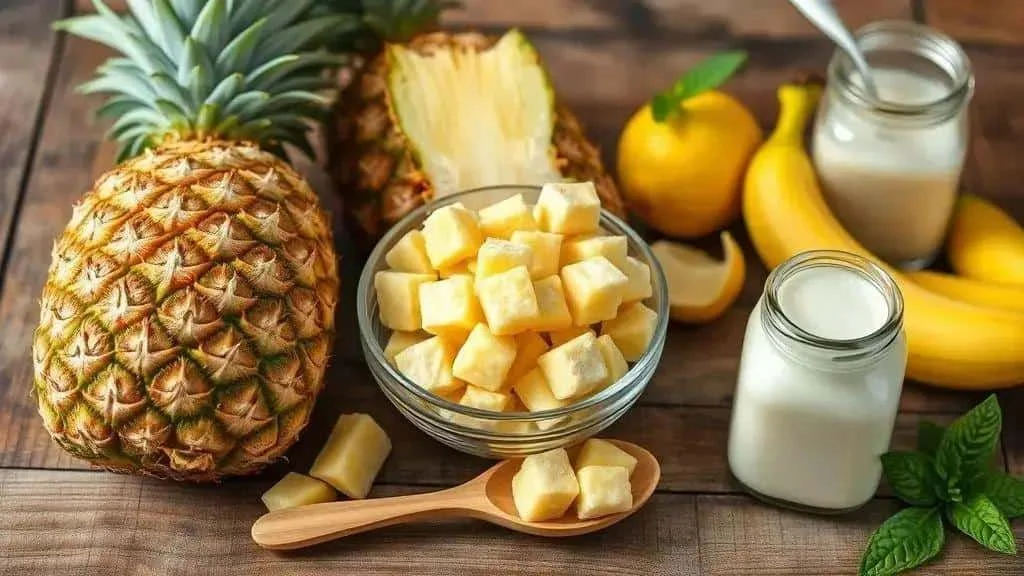
Pineapple supplies the fruit flavour in this dessert, but the nutrition of raw pineapple is not the same as that of the finished coconut-and-sugar mixture.
About Pineapple
- Origins: pineapple is native to South America and later spread through cultivation to many tropical regions.
- Growing: a plant takes many months to produce a fruit, with timing affected by growing conditions and cultivation methods rather than a single universal deadline.
- Historical display: in Britain, pineapples were once costly fruits associated with wealth and elaborate garden cultivation. Their decorative use has continued long after they became widely available.
- The core: its fibrous texture can make a frozen dessert less smooth, so remove particularly tough sections.
- Flavour pairings: pineapple works well with coconut, mint, passion fruit and other tropical fruit.
Understanding the Nutrition of This Dessert
- Energy: the finished recipe includes coconut milk, bananas and sugar as well as pineapple. A calorie figure for 100 g raw fruit cannot be used for 100 g of this dessert.
- Carbohydrates and sugars: both the fruit and added sweetener contribute. Maple syrup, honey and condensed milk also add sugars rather than making the recipe sugar-free.
- Fibre: keeping the blended fruit pulp retains more fibre than straining it out. No exact fibre amount has been calculated for a serving.
- Vitamin C: pineapple contributes vitamin C, but the amount per serving depends on the fruit, handling and final portion size. The dessert is not an immune treatment.
- Minerals: pineapple contributes minerals including manganese, but a precise value for this recipe would require a calculation from the actual ingredients and yield.
- Fat and protein: raw pineapple is low in fat, whereas full-fat coconut milk makes the finished dessert considerably richer. Plant drinks and other substitutions change the balance.
- Bromelain: pineapple contains protein-breaking enzymes known as bromelain. Research on concentrated preparations does not establish that eating this dessert treats inflammation or a digestive condition.
Choosing Ingredients
Use ripe fruit: sweeter pineapple may need less added sugar, although reducing sugar affects freezing. Remove tough fibres and freeze the prepared pieces promptly.
Balance texture and flavour: banana adds body and coconut milk adds fat and richness. These are culinary choices rather than a claim that the combination has special medicinal effects.
Allergies and Individual Needs
- Mouth irritation: raw pineapple can cause discomfort for some people. Stop eating it if it causes symptoms; do not assume swelling, itching or breathing difficulty is merely normal acidity. Seek appropriate medical help for a suspected allergic reaction.
- Dietary advice: concentrated bromelain supplements are different from ordinary food portions. Follow any individual advice from your clinician or pharmacist rather than treating this dessert as a supplement or applying supplement claims to it.
A Final Kitchen Note
Freeze prepared fruit promptly: this makes it convenient for blending and helps maintain quality. It does not sterilise fruit or guarantee that every nutrient remains unchanged.
A Fruit-Filled Dessert to Enjoy
Pineapple, banana and coconut milk make a simple dairy-free frozen dessert with plenty of fruit flavour. Use ripe ingredients, follow the equipment instructions and allow a little softening time for easy scooping.
Share your version and favourite toppings, and visit the I Love Christmas blog for more recipes and festive ideas.
Frequently Asked Questions About Pineapple Frozen Dessert
How long does it keep in the freezer?
Keep it covered at −18°C or below and aim to enjoy within two weeks for best texture; water-based versions may be best within about a week. These are quality guides, not a guarantee after thawing or poor handling. Do not refreeze fully melted dessert.
Can I replace coconut milk with another plant drink?
Yes, but oat or almond drink generally produces a less creamy, icier result. Frozen banana adds some body, but the texture will differ. Check allergens, and do not rely on coconut oil alone to restore creaminess.
How can I reduce ice crystals?
Use a shallow covered container, keep the freezer temperature stable and stir the no-churn mixture as it sets. The optional cornflour must be cooked into the coconut base and chilled before blending, not added raw. Avoid repeatedly melting and refreezing the dessert.
Do I need an ice cream maker?
No. A blender suitable for frozen fruit and a shallow freezer container are enough for the basic method. Stir as the mixture sets. An ice cream maker uses a chilled, pourable base and may give a lighter texture when used according to its instructions.
How do I make it vegan and lactose-free?
The main coconut milk, banana, pineapple and sugar recipe is already vegan and lactose-free when all bought ingredients are suitable. Avoid honey and dairy condensed milk. Lactose-free dairy condensed milk is still an animal product and still contains milk allergens.
How can I present it attractively?
Serve in bowls, clear dessert glasses or hygienically prepared pineapple shells, with fresh fruit, mint, lime zest or toasted coconut. Add crunchy toppings immediately before serving and check guests’ allergies.
Sources and Further Reading
- Food Standards Agency: chilling and storing food
- NCCIH: bromelain
- FDA: xylitol is dangerous for dogs