
Organising Christmas photos means gathering and sorting festive pictures and videos, naming files consistently, adding useful captions and keywords, and arranging folders by year and event. Combine this with independent backups, separate copies for printing and sharing, and family albums or videos that make the collection easier to enjoy.
Organising Christmas photos can turn a scattered collection into memories you can actually find. These practical steps will help you choose, protect and share the pictures that matter to your family.
Illustrations in this article are conceptual images, not documentary photographs or evidence of a particular historical event, destination, venue or access route.
Getting started: sorting and selecting Christmas photos

Gather copies from phones, cameras, USB sticks, social accounts and external drives into a temporary working folder. Keep the source files where they are until you have checked the copies and made an independent backup; social-media downloads may be smaller than the originals.
Review unwanted files before deleting anything
- Check duplicates and screenshots: use a duplicate-finding tool to identify candidates, then review them yourself. Similar photographs, edited versions and different resolutions are not necessarily redundant.
- Review blurred photographs: choose sharper pictures for large prints, but consider sentimental value before discarding the only record of a moment.
- Check accidental shots: test images, black frames and pictures obscured by fingers may be removable after review and backup.
- Keep the originals: save an independent copy before editing, compressing or deleting files from the working collection.
Use a simple selection system
- Apply stars or labels: try three categories: review, keep and favourites. A low rating should prompt a second look, not automatic deletion.
- Check metadata: confirm capture dates and camera information in EXIF. Use appropriate caption and keyword fields, often IPTC, for names and descriptions; not every app exports all its labels.
- Name folders consistently: a dated folder such as 2025-12-25_Family_Dinner keeps events in chronological order. Substitute the actual year and occasion.
- Create themed albums: examples include “Christmas dinner”, “Presents” and “Children playing”. These make smaller selections easy to share.
Practical tools for the first sort
- Duplicate checking: start with a tool you already trust, use its preview and avoid bulk deletion until you understand what it has matched.
- Quick selection: your photo library may offer suggested favourites or grouping by people. Availability and privacy settings vary; check the results rather than treating them as a final selection.
- Batch editing: use your existing editor for modest exposure and crop adjustments, reviewing pictures individually afterwards.
- Metadata preservation: retain native originals, such as JPEG, HEIC or RAW files. Check export settings because an application can remove metadata even when the file format supports it.
Choose photographs for their meaning
Prioritise memorable moments: look for expressions, reactions and details of the decorations. A manageable selection, perhaps 50–100 pictures for a larger event, can help when making an album or video, but there is no required number. Invite relatives to identify photographs with personal significance.
Practical tip: put your selected copies in a folder such as 2025_Christmas_Highlights, using the correct year. Keep extra pictures and unedited originals separately for future projects.
Folders, filenames and labels that make searching easier
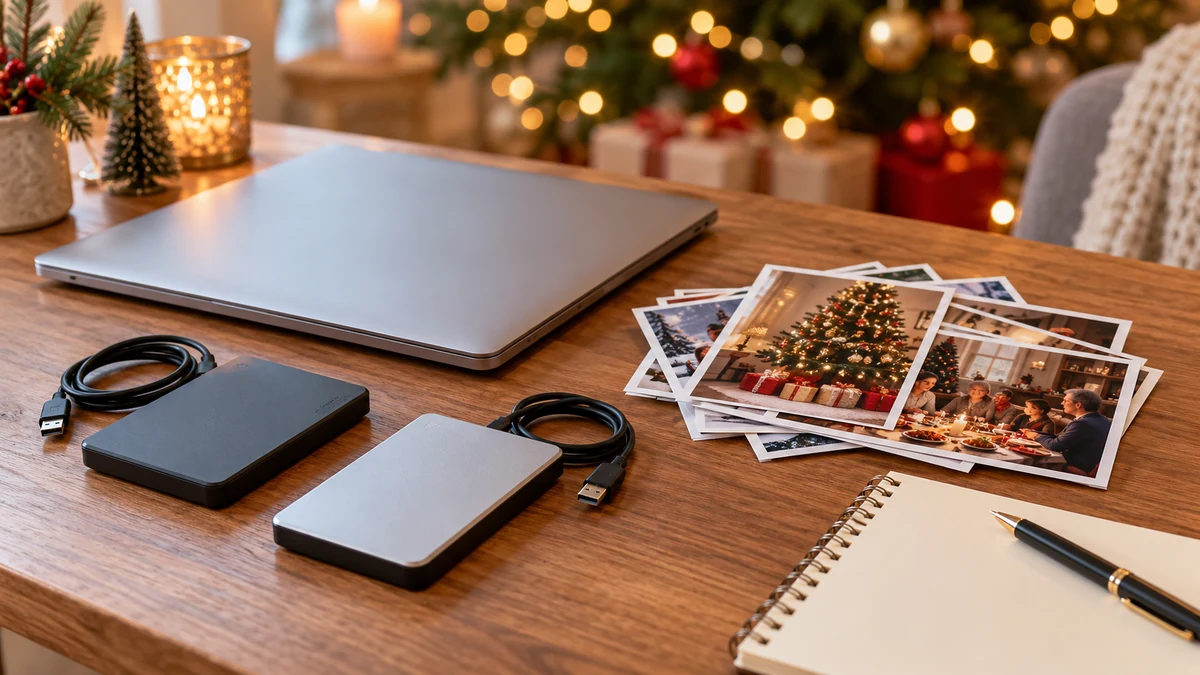
A clear naming system helps you find photographs without opening every file. A chronological structure, with folders for each year and subfolders for events or places, is a useful starting point.
An example folder structure
- A top-level folder for the year: for example, 2025 for pictures taken that year.
- Subfolders by date and event: 2025-12-24_Christmas_Eve, 2025-12-25_Morning and 2025-12-25_Presents.
- Separate originals and exports: keep untouched source files apart from folders such as 2025_Christmas_Highlights and 2025_Christmas_Print.
2025/
├── 2025-12-24_Ceia/
│   ├── RAW/
│   └── Edited/
├── 2025-12-25_Manha/
└── 2025_Natal_Highlights/
A consistent filename format
Choose a pattern that is understandable to the people who will use the archive. Dates, occasions and a sequence number can make sorting easier without making every name excessively long.
- Suggested pattern: YYYY-MM-DD_Event_Place_Person_000.jpg.
- Examples: 2025-12-25_Dinner_Living_Room_Family_001.jpg and 2025-12-25_Presents_Sara_003.jpg.
- Keep names portable: underscores (_) and hyphens (-) can simplify sharing between systems. Avoid characters your storage service does not support; spaces are not inherently a problem everywhere.
Labels and metadata for useful searches
Use keywords, ratings and descriptive fields to organise pictures by occasion, person or location. EXIF capture details and IPTC captions serve different purposes. Face grouping can help where available, but it is optional and may remain specific to one application.
- Useful keywords: Christmas dinner, presents, tree, grandparents and children.
- IPTC fields: add a title, caption and keywords using terms your family will recognise.
- People and smart albums: if you choose to use face grouping, review the app’s privacy controls and consider the wishes of the people pictured. Correct mistaken matches.
Putting the system into practice
- Bring sources together: copy photographs from phones, cameras and other sources into a working folder without removing the originals.
- Create the folders: add event subfolders inside the appropriate year folder.
- Rename in batches: Adobe Bridge supports batch renaming with a preview and an option to copy files to another folder. Test your date-and-sequence pattern on copies before processing a large collection. Source: Adobe Bridge: batch renaming files
- Add keywords: label related pictures together, then check any names or places that need individual attention.
- Back up the result: make independent copies of the organised archive. A synchronised folder alone is not a substitute for a recoverable backup.
Useful automation without unnecessary complexity
- Batch renaming: use a trusted renaming feature with a preview, keep a copy of the originals and check for duplicate filenames.
- Library management: use the photo app you already know for ratings, captions and searches. Test whether important metadata survives an export.
- Synchronisation: a cloud file service can keep folders available on several devices, while a photo library may use albums instead. Understand the distinction and its deletion behaviour.
Habits that keep the archive manageable
- Keep it simple: avoid unnecessary layers of subfolders that make browsing harder.
- Agree a family convention: use the same basic filename and keyword patterns when several people contribute.
- Document the system: a short README.txt in the main folder can explain the structure to the next person who manages it.
Backups, cloud services and local storage
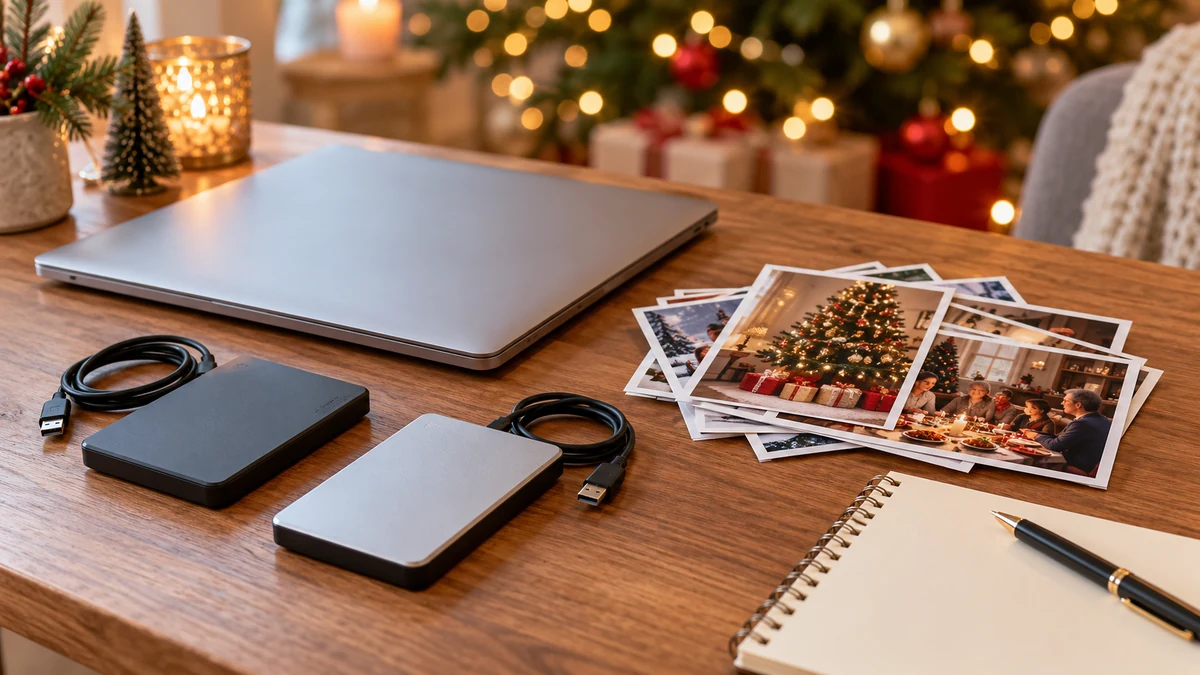
Local storage gives you a copy you control; cloud services can provide access from elsewhere and an off-site copy. Their usefulness depends on how they are configured, what they retain and whether you can restore files. Build a routine you can maintain.
Applying the 3-2-1 backup principle
3-2-1 means keeping three copies, including the original and two backups, across two types of storage media, with one copy off site. CISA describes this approach to reduce the risk of losing every copy together. Two devices containing the same kind of disk do not automatically satisfy the different-media element. Source: CISA: data backup options and the 3-2-1 principle
Strengths and limitations
- Local storage, such as a disk or NAS: offers convenient access and control, but equipment costs, maintenance, theft and physical damage still matter. It also needs an independent backup.
- Cloud storage: can support remote access and sharing, but upload speed, account access, recurring costs and retention rules affect its usefulness. Provider redundancy is not the same as your own recoverable backup.
- A combined approach: use local files for everyday work and an independent off-site backup, checking that changes or deletions do not immediately destroy every copy.
A practical backup routine
- Schedule full backups: choose an interval suited to how often the collection changes. A weekly copy is one possible starting point, not a universal requirement.
- Back up changes between full copies: incremental backup software can save changed files. Ordinary synchronisation may also propagate deletions, so check what can actually be recovered.
- Keep previous versions: where supported, configure version history and check its retention period, storage limits and recovery process.
- Preserve originals: retain native RAW, HEIC or other source files before editing, together with any sidecar files needed to interpret your edits.
Automate, then check the results
- Understand synchronisation: Apple explains that deleting an image from iCloud Photos also removes it from other devices using the service. Keep a separate archive rather than relying on multiple synchronised screens as independent backups. Source: Apple: how iCloud Photos works
- Check phone uploads: Wi-Fi-only uploads can limit mobile data use. Verify that your backup contains full originals, not merely optimised previews or placeholders.
- Try restoring a few files: for example, recover one or two photographs each month into a separate test folder and open them. Do not overwrite the working archive during a test.
- Test a larger restore periodically: a complete album test every six to twelve months is one possible routine. Adjust it to the collection’s importance and rate of change.
Account security and encryption
- Check encryption arrangements: protection during transfer and on the provider’s servers is useful, but it is not necessarily end-to-end encryption. Read what the service actually offers.
- Consider client-side encryption: encrypting before upload can offer additional privacy, but may limit previews or sharing. Store recovery information securely; losing the key can mean losing access to the archive.
- Protect the account: use a strong unique password, enable two-factor authentication where available and keep recovery codes somewhere secure and separate.
Capacity, cost and performance
- Estimate the space needed: measure the actual collection, including videos, originals and edited exports, then allow room for future additions and retained versions.
- Choose suitable storage: compare speed, capacity and total cost. Some RAID arrangements help a NAS continue through a disk failure, but RAID is not a backup against accidental deletion or other damage.
- Compare cloud plans: consider storage, version history, recovery, compression and sharing rules rather than price per terabyte alone.
Choosing a setup you can maintain
- A local device: a NAS may suit a larger shared archive, but is not essential for a small family collection. Its configuration and maintenance should not replace independent backups.
- An external drive: choose capacity and speed to suit the archive, then pair it with a separate off-site copy. Keep a backup disconnected when it is not in use where practical.
- A cloud service: evaluate the service’s original-quality storage, recovery and privacy features alongside cost and compatibility with your devices.
- A retention policy: decide how long you need previous versions, check that the chosen plan supports that period and review older offline media periodically.
A short implementation checklist
- Consolidate: gather copies into an organised master archive.
- Plan 3-2-1: account for the original, two backups, different media and an off-site copy.
- Automate: schedule actual backups and check their completion, distinguishing them from synchronisation.
- Secure: protect accounts with two-factor authentication and assess encryption separately; they do different jobs.
- Test: restore files regularly to confirm that usable copies are available.
Editing, restoring and turning photographs into family videos

Preserve the originals and work on copies before making adjustments or restoring damaged pictures.
A useful editing workflow
- Gather your selection: copy the chosen pictures into a working folder.
- Make editing copies: a lossless working format such as TIFF or PNG can avoid repeated lossy saves during restoration. Converting a JPEG does not recover detail already lost.
- Edit similar pictures together: apply restrained shared adjustments, then check exposure, skin tones and cropping individually.
- Export for the purpose: create web-friendly JPEGs, files that meet your printer’s requirements and compatible copies for video projects. Keep these apart from originals.
Basic adjustments
- Crop and frame: improve the composition without accidentally cutting off people or meaningful details.
- Adjust exposure: balance brightness and contrast while retaining detail in highlights.
- Check white balance: aim for natural colours; a modest warmer tone may suit a festive scene without making faces orange.
- Use colour carefully: a small vibrance adjustment may help, but avoid oversaturated skin and decorations.
- Sharpen sparingly: balance sharpening and noise reduction without creating halos or erasing fine details.
- Remove distractions thoughtfully: retouching a mark or stray object can help a decorative picture. Keep the original and label substantial alterations rather than presenting them as an unchanged record.
Restoring older photographs
- Scan carefully: 300–600 pixels per inch can be a starting range for photographic prints, depending on size and intended enlargement. Use the scanner’s real capabilities and keep a lossless working copy where practical.
- Adjust faded colour: use levels or curves cautiously to improve contrast and colour without claiming to know exactly how an uncertain original looked.
- Repair surface damage: spot-healing and cloning tools can reduce visible scratches and stains. Inspect the result at a useful magnification.
- Treat missing areas cautiously: reconstructed details are interpretations, especially on faces. Preserve the scan and identify any substantial invented or AI-generated replacement.
- Retain character: avoid strong filters that erase facial features, clothing textures or decorations.
Making a family slideshow
- Select a manageable set: a larger project might use 50–120 photographs, but a shorter selection may be more enjoyable. Match the length to your audience and the story.
- Set the pace: try three to six seconds per picture, allowing longer for captions or important moments. Review the complete video rather than applying one timing blindly.
- Use gentle movement: a slow pan or zoom can add interest, but still pictures are also effective. Reduce movement if viewers find it uncomfortable.
- Keep transitions simple: a restrained crossfade is often easier to follow than elaborate effects.
- Choose suitable music: select a track that suits the mood and whose licence permits your intended use, particularly if the video will be posted online.
- Add narration and captions: a few spoken details can provide context, while accurate captions improve accessibility.
- Include short title cards: dates and brief explanations help relatives follow the sequence.
- Export for the audience: 1080p H.264 is one practical sharing option when supported by the destination. Preserve project files and source images; exporting a higher resolution or a different codec does not automatically create a better archival master.
Tools and automation that can help
- Photo editing: start with an editor that supports your camera files and non-destructive adjustments rather than buying a new tool for one project.
- Restoration: use repair tools carefully and compare the edited picture with the original scan. AI enhancement can invent details and needs review.
- Slideshows and video: choose an editor that can arrange images, add captions and export a format your family can play.
- Phone editing: modest mobile adjustments are convenient, but check export quality and keep the full original elsewhere.
- Automation: saved presets and batch exports can save time once you have tested them on a few representative pictures.
Final editing checks
- Version your work: use names such as v1 and v2, with dates where useful, so an earlier edit remains identifiable.
- Add context: captions and keywords make the result easier to understand and find later.
- Back up first: keep independent local and off-site copies before considering removal of any source files.
- Share selectively: use recipient-specific access where available and inspect permissions before sending an album.
- Test playback: check pictures, captions and sound on more than one device before sharing the video.
Sharing, printing and preserving family memories

A well-organised collection makes Christmas memories easier to enjoy now and maintain over time. Digital backups and thoughtfully stored prints complement one another, but both need occasional attention.
Share online with care
- Check how album access works: an invitation and an unrestricted sharing link are not equivalent. Google Photos explains that anyone with a shared link can view the album; a forwarded link can reach people you did not personally invite. Source: Google Photos: sharing albums and links
- Review sharing duration: use expiry controls if your service and plan offer them, or turn sharing off manually when it is no longer needed.
- Set permissions: limit editing or contributions where appropriate. Viewing access does not reliably prevent screenshots, copying or further sharing.
- Send suitable-sized copies: smaller exports can be easier to load, but lower resolution is not a privacy safeguard. Remove unnecessary location data where appropriate.
Printing photographs and gifts
Check print quality: compare samples, paper and service reviews. Good photographic inkjet printing can produce excellent results; the process alone does not determine quality.
- Match pixels to print size: Adobe recommends 300 pixels per inch for high-quality printing unless the printer specifies otherwise. Changing only the resolution setting does not add image detail; check the actual pixel dimensions and intended size. Source: Adobe: print dimensions and resolution
- Popular sizes: 6 × 4 inch prints, roughly 15 × 10 cm, 7 × 5 inch prints, A4 enlargements and square photo books are useful options. Check the supplier’s exact dimensions and crop.
- Gift ideas: photo books, calendars, cards and framed pictures can turn a small selection into a personal present.
- Follow colour instructions: use the colour profile and file format requested by the printer. A soft proof can help where a suitable profile and workflow are available.
Preserving physical and digital copies
- Keep source files: preserve native originals alongside edited masters and maintain independent backups. Converting every file to another format is not necessary for a useful archive.
- Record context accurately: add names, captions and verified dates in suitable metadata fields. Mark uncertain dates as estimates instead of presenting them as known facts.
- Store prints carefully: choose appropriate acid-free storage materials and PVC-free sleeves, keeping photographs in a dry, stable place away from direct light.
- Digitise old prints: a flatbed scan at a suitable resolution, often starting around 300–600 ppi, can provide a working copy. Keep a lossless restoration file and smaller sharing exports if needed.
Make it a family project
- Invite contributions: let willing relatives add photographs to a controlled shared album. Agree who can contribute and whether names or faces may be tagged.
- Choose favourites together: a short family review can identify meaningful pictures and decide who would appreciate prints or a photo book.
- Enjoy the collection: arrange a small slideshow evening or display a few prints at a family gathering.
A sharing and printing checklist
- Gather the final selection: place copies in a folder such as Christmas_Highlights.
- Prepare print files: check pixel dimensions, crop and colour profile against the printer’s requirements. A 300 ppi setting alone cannot make a small file suitable for a large print.
- Create sharing copies: export appropriately sized JPEGs for albums or messages while retaining the originals.
- Check access: review recipients, permissions and any available expiry controls before sharing.
- Back up the finished work: keep the photo-book project and final files in independent local and off-site copies.
Privacy and considerate sharing
- Ask before publishing: check relatives’ wishes, with particular care around children, and avoid exposing private addresses, locations or personal information.
- Use watermarks only when useful: they may identify a public sample but do not prevent copying or make a private picture safe to publish.
- Limit the audience: prefer controlled access over a public post, review it periodically and remember that recipients may still save copies.
A practical way forward
Start with one event: gather copies, choose a simple naming system, make independent backups and share a thoughtful selection. A small routine is easier to maintain than a complicated archive you never revisit.
Quick reminder: use the 3-2-1 principle, keep filenames and labels consistent, and protect the originals before editing.
Thank you for reading. Explore the I Love Christmas blog for more festive ideas and practical ways to enjoy your family’s memories.
FAQ: organising Christmas photos
How do I start when Christmas photos are scattered across devices?
Copy them into a temporary working folder, retain the source files and make an independent backup. Then organise the collection by year and event, checking copies before deleting anything.
What filename format makes photographs easy to find?
A pattern such as YYYY-MM-DD_Event_Place_Person_001.jpg works well. For example, 2025-12-25_Dinner_Living_Room_Family_001.jpg identifies a particular occasion; use the actual date and a consistent sequence.
How should I back up important photographs?
Use the 3-2-1 principle: the original plus two backups, two types of storage media and one off-site copy. Check recovery and retention settings, automate where practical and test restores. Synchronisation and RAID alone are not independent backups.
Choose the audience carefully and review permissions. A sharing link may be forwarded, and recipients can save pictures. Ask the people shown before publishing, avoid sensitive details and disable access when it is no longer needed.
How can I restore faded or damaged old photographs?
Make a suitable scan, keep it untouched and edit a working copy. Carefully adjust colour and repair scratches; preserve the original appearance where possible and identify reconstructed details rather than treating them as certain.
How many photographs should a family slideshow contain?
Choose a number suited to the audience and desired length. A larger project might contain 50–120 pictures at three to six seconds each, with longer pauses for captions. Shorter videos can work just as well; preview the pacing and use appropriately licensed music.
Sources and Further Reading
- CISA: data backup options and the 3-2-1 principle
- Apple: how iCloud Photos works
- Adobe Bridge: batch renaming files
- Google Photos: sharing albums and links
- Adobe: print dimensions and resolution