Festive pavê desserts are Brazilian layered puddings made with cream, biscuits and toppings such as chocolate, fruit or coconut. Plan the ingredients, assemble ahead and refrigerate promptly. Here are five flavour ideas, with detailed methods for four of them and a brigadeiro-and-walnut variation to develop separately.
Festive pavê desserts bring familiar flavours to a celebration. These five ideas include four creamy, layered recipes and practical assembly tips for sharing with family and friends.
Why pavê works well for festive meals
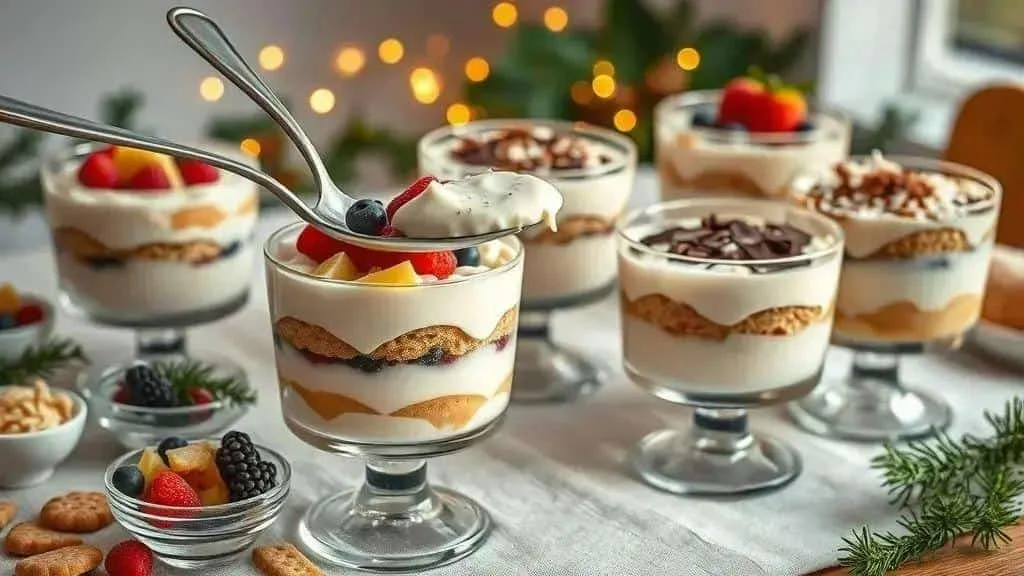
Pavê combines familiar flavours, contrasting textures and convenient preparation, making it an appealing addition to Christmas and New Year meals.
Nostalgia and shared memories
Many Brazilian families associate pavê with childhood celebrations and special gatherings. That connection helps make it a comforting, familiar dessert at festive occasions.
Contrasting textures
Creamy fillings sit between firmer biscuit layers, while a freshly added crunchy topping gives each spoonful contrast. The biscuits soften as the dessert chills.
Convenient preparation ahead
Pavê can be assembled ahead and kept refrigerated, making the meal easier to organise. Making it the day before can save time, provided the ingredients’ use-by dates and chilled storage times allow it.
Everyday ingredients and flexible costs
Biscuits, cream, fruit and chocolate are the main building blocks. Choosing familiar ingredients can keep costs manageable. Thick yoghurt can replace some cream in suitable versions, but changes the flavour and consistency rather than giving an identical result.
Variations and dietary needs
Traditional, fruity, lactose-free and plant-based versions are possible. Check every ingredient for the relevant allergy or dietary requirement; replacing one dairy ingredient alone does not make the whole dessert suitable.
An attractive finish
Even layers, fresh fruit and chocolate curls make pavê inviting. A little care with the presentation is often enough to create a lovely centrepiece for the dessert table.
Practical tips
- Choose sturdy biscuits: they hold their shape better during assembly, although they will soften in the filling.
- Balance the sweetness: use tart fruit or a darker chocolate, and adjust optional added sugar to taste.
- Chill thoroughly: allow at least four hours for the layers to settle; a soft recipe may still need serving with a spoon.
- Finish before serving: add crunchy toppings and delicate fresh fruit at the last moment.
Planning ingredients and time for five pavê flavours
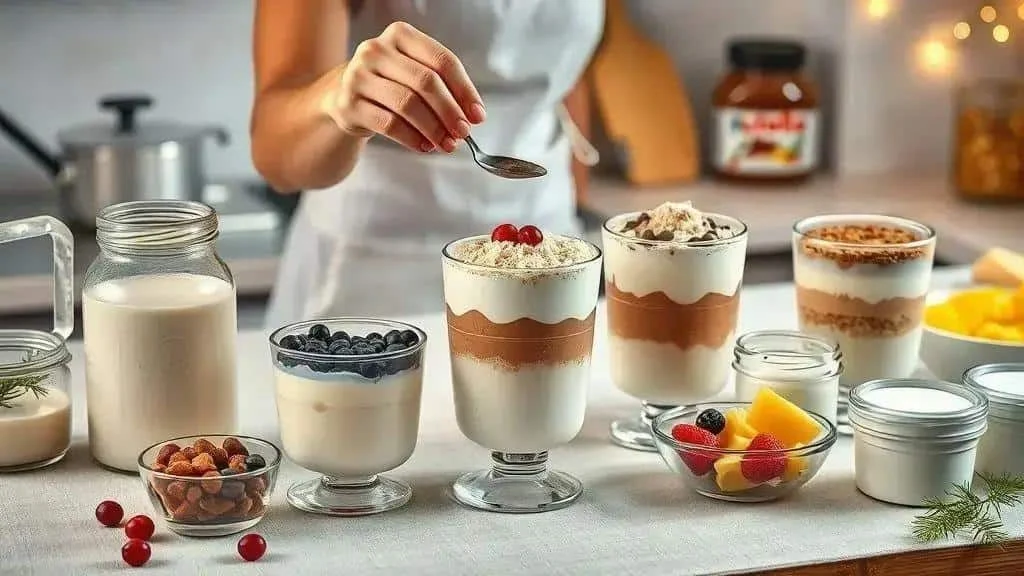
A shopping list and simple timetable make preparation easier. The lists below give an overview; read each full recipe before shopping. Brigadeiro and walnut is a flavour suggestion with a planning list, rather than a fifth fully specified method.
Shopping overview: quantities and portions vary by recipe
Classic chocolate pavê
- 1 tin sweetened condensed milk (395 g) — this is the amount used in the method below. Plant-based condensed milk changes the result and needs suitable ingredients throughout.
- 500 ml cream — soya or coconut cream can be used in an adapted version, with a different texture.
- 300 g dark chocolate — milk chocolate makes a sweeter, potentially softer dessert.
- 400 g plain sweet biscuits — Brazilian maisena biscuits are one option; sponge fingers absorb liquid differently.
- 200 ml milk for dipping — or a suitable plant-based drink. Check the full list for optional cocoa, butter and the chocolate garnish.
Mixed berry and mascarpone pavê
- 500 g prepared mixed berries, such as strawberries, blackberries and raspberries — for frozen fruit, follow the packet’s preparation or cooking instructions and cool before using.
- 250 g mascarpone — or 250 g cream cheese with 2 tbsp cream. Also allow the separate 300 ml cream and 200 ml dipping milk used in the recipe.
- 1 tin sweetened condensed milk (395 g)
- 200 g sponge fingers
- Finely grated zest of 1 lemon — with optional sugar, cornflour and mint as listed in the full recipe.
Milk powder and chocolate hazelnut pavê
- Up to 240 g whole milk powder, such as Ninho — start with 120 g in the cream and use extra only as needed. This means cooking milk powder, not infant formula.
- 1 tin sweetened condensed milk (395 g)
- 250 g chocolate hazelnut spread, such as Nutella — a homemade spread may have a different consistency.
- 200 g cream — plus 200 ml milk for dipping, and optional vanilla and garnish from the full list.
- 200 g plain sweet biscuits — wafers soften differently and give a less defined layer.
Pineapple and coconut pavê
- 1 medium pineapple, about 1.2 kg before peeling — remove the skin and core, then dice the flesh. The usable weight will be lower.
- 200 ml coconut milk — coconut cream makes a richer version. Also allow 200 ml dairy cream and 200 ml dipping milk from the full recipe.
- 1 tin sweetened condensed milk (395 g)
- 150 g desiccated coconut — reserve 50 g to toast for the topping.
- 200 g plain sweet biscuits — check the full list for lemon, optional sugar and mint.
Brigadeiro and walnut pavê: a flavour idea
- 2 tins sweetened condensed milk — for planning this variation; use a complete brigadeiro pavê method before making it.
- 60 g drinking chocolate powder — sweetness varies by brand, and this is not interchangeable with the same volume of pure cocoa.
- 30 g butter
- 200 ml cream
- 150 g chopped walnuts — cashews or almonds are flavour alternatives, not substitutes for someone with a nut allergy.
- 200 g plain sweet biscuits — the original provides this flavour’s ingredients but no detailed assembly or cooking method; it is not presented here as a tested recipe.
A practical preparation timetable
- Two days before: check your equipment and shopping list. Check use-by dates before buying perishable ingredients.
- The morning before: make fillings that need cooling. Divide cooked mixtures into shallow containers, cool promptly and refrigerate within one to two hours.
- The afternoon before: wash and prepare fruit, then cover and refrigerate it. Toast coconut or nuts if needed and store separately once cool.
- The evening before: assemble the chocolate or milk-powder versions and refrigerate overnight. Assembly does not restart the storage clock for fillings made earlier.
- On the morning of the meal: assemble fruit versions early enough for at least four hours’ chilling, keeping decorative fruit separate until serving.
- Use waiting time well: while one filling cools, organise the next recipe’s ingredients and clean the work area.
- Just before serving: add crunchy toppings and decorations. Keep the desserts refrigerated until they are needed.
Equipment and preparation
- Clear serving dishes — one for each flavour you make, sized to the actual mixture rather than an assumed yield.
- Separate mixing bowls — label them if you are making several fillings.
- Spoons and spatulas for smoothing the layers.
- Food-safe containers with lids — for chilled fillings and fruit.
- Measuring jugs, spoons and scales — weighing ingredients helps keep the quantities consistent.
Quick assembly and storage tips
- Avoid soggy biscuits: dip them briefly rather than soaking them until they fall apart.
- Add delicate finishing touches just before serving, particularly fresh fruit and crunchy toppings.
- Refrigeration: keep covered at 1–5°C and use within 48 hours of making the earliest perishable component, or sooner if an ingredient’s instructions require it. Aim for 24 hours for fresh-fruit versions for best quality.
- Transport: cover securely and keep the dish level in an insulated cool box with ice packs.
Five pavê flavours: textures and variations

These five ideas offer different textures and flavours for a festive meal. Four have detailed methods below; brigadeiro and walnut remains a variation to prepare using a complete recipe.
Classic chocolate pavê
Texture: creamy filling, softened biscuit layers and a smooth chocolate finish.
Variations: use milk chocolate for extra sweetness, or add biscuit crumbs or nuts just before serving. A lactose-free version needs suitable condensed milk, cream, chocolate, milk, butter and biscuits throughout.
Mixed berry and mascarpone pavê
Texture: a rich cream contrasted with juicy, tart berries.
Variations: use cream cheese instead of mascarpone, prepare frozen berries according to their instructions, or reduce optional added sugar to suit the fruit.
Milk powder and chocolate hazelnut pavê
Texture: a thick milk-powder cream and a denser chocolate hazelnut layer. Milk powder adds body, rather than aerating the mixture by itself.
Variations: add crushed biscuits for crunch instead of loose cornflour, or try a homemade hazelnut spread. A plant-based version requires suitable replacements for all dairy ingredients, biscuits and chocolate.
Pineapple and coconut pavê
Texture: soft cream, juicy pineapple and a freshly added toasted coconut topping.
Variations: use well-drained tinned pineapple, coconut cream for extra richness, or lemon zest for a fresher finish.
Brigadeiro and walnut pavê
Texture: a rich chocolate-condensed-milk layer contrasted with chopped walnuts.
Variations: cashews or almonds change the flavour; a little coffee or darker chocolate can balance sweetness. Adapt a complete recipe rather than guessing the cooking time from the planning list.
Presentation tips
- Serve chilled: refrigerate for at least four hours so the layers can settle.
- Finish freshly: add fruit and crunchy toppings just before serving.
- Check dietary requirements: read all labels and prevent cross-contact. Lactose-free dairy still contains milk proteins and is not suitable for a milk allergy.
Classic chocolate pavê: ingredients and method
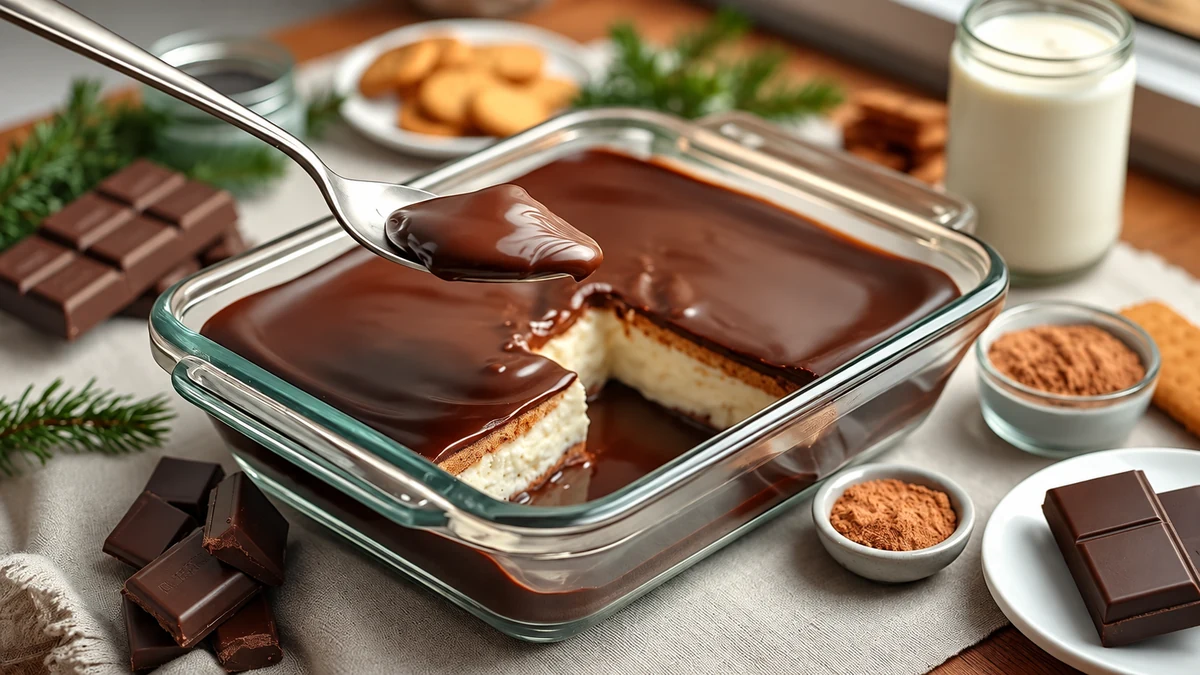
This classic chocolate pavê makes approximately eight generous portions, depending on the dish and serving size. The ingredient list uses the single tin of condensed milk specified in the original method, correcting its conflicting two-tin list.
- 1 tin sweetened condensed milk (395 g) — use a suitable plant-based product only as part of an adapted recipe.
- 500 ml cream — divided into two 250 ml portions. Soya or coconut cream will alter the result.
- 300 g dark chocolate — milk chocolate makes a sweeter version.
- Up to 4 tbsp unsweetened cocoa powder, optional — use 2 tbsp in the condensed-milk cream if wanted, with a little extra for a light dusting rather than automatically using it all.
- 400 g plain sweet biscuits — sponge fingers or wafers give a different texture and absorbency.
- 200 ml milk for dipping the biscuits — or a suitable plant-based drink.
- 50 g grated chocolate or chocolate sprinkles — white chocolate curls or a light cocoa dusting are alternatives.
- 1 tbsp butter, optional — for the ganache. A suitable plant-based fat changes the flavour and texture.
Method
Prepare both fillings before assembly and give them time to cool. This is a spoonable layered dessert; firmness varies with the cream and chocolate used.
- Make the ganache: chop the 300 g chocolate into a bowl. Heat 250 ml cream until almost boiling, pour over the chocolate and leave for one minute. Stir until smooth, adding the optional tablespoon of butter if using.
- Make the condensed-milk cream: put the 395 g tin of condensed milk and remaining 250 ml cream in a pan. Add 2 tbsp cocoa if wanted. Stir over a low heat until slightly thickened, approximately 5–8 minutes. Transfer to a shallow container to cool promptly; refrigerate within one to two hours.
- Dip the biscuits: pour the 200 ml milk into a shallow dish and briefly dip each biscuit, without letting it fall apart.
- Start the layers: spread a thin layer of the cooled condensed-milk cream over the base of a serving dish, then cover with dipped biscuits.
- Add ganache: spread half the cooled ganache evenly over the biscuits.
- Repeat: add another biscuit layer, the remaining condensed-milk cream and the remaining ganache. Divide the ingredients between extra layers if your dish requires it, keeping ganache for the top.
- Smooth and decorate: level the top. Finish with grated chocolate, sprinkles or a light cocoa dusting; add delicate curls just before serving.
- Refrigerate: cover and chill for at least four hours, preferably eight hours or overnight, within the storage limits below.
- Serve: keep chilled until needed. Cut with a clean knife if firm enough, or use a serving spoon for a softer set.
- For beginners: dip biscuits briefly, keep the heat low when making the filling and use a clear dish to see the layers.
Mixed berry and mascarpone pavê: ingredients and method
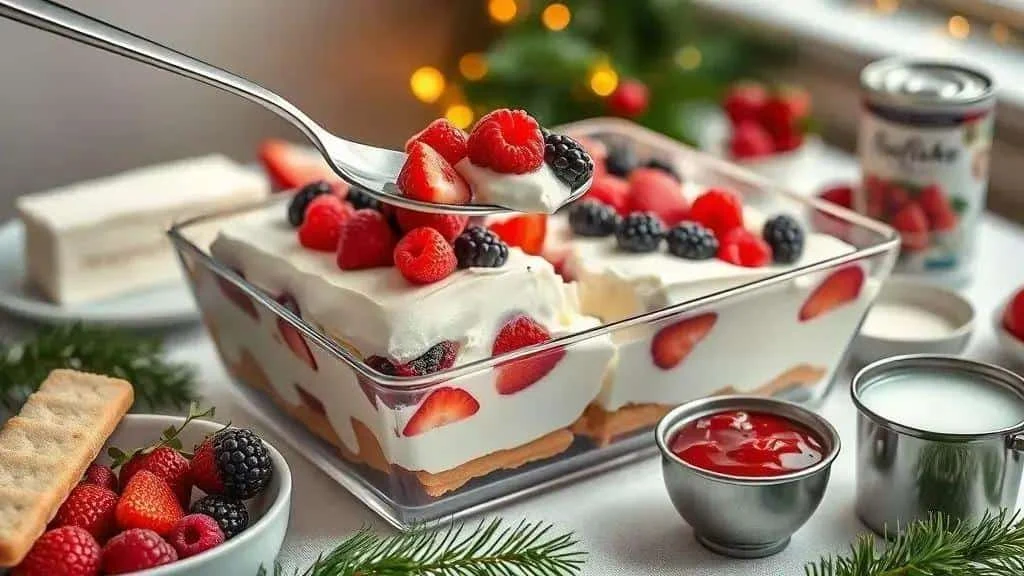
- 500 g prepared mixed berries — strawberries, blackberries and raspberries. If using frozen fruit, follow its preparation instructions, cool if cooked and drain; do not assume 600 g frozen always yields exactly 500 g prepared fruit.
- 250 g mascarpone — or 250 g cream cheese plus 2 tbsp cream.
- 1 tin sweetened condensed milk (395 g) — a plant-based product alone does not make this dairy-rich recipe vegan.
- 300 ml cream — plus 200 ml milk for dipping the biscuits. Plant-based alternatives change the texture and must suit all the other ingredients.
- 200 g sponge fingers — plain sweet biscuits are an alternative.
- Finely grated zest of 1 lemon
- 2 tbsp sugar, optional — adjust to the berries’ tartness.
- 1 tbsp cornflour mixed with 2 tbsp cold water, optional — for thickening the fruit sauce; cook it through if used.
- Fresh mint leaves, optional — washed, for decoration.
Method
- Prepare the fruit: wash fresh berries and quarter large strawberries. Prepare frozen berries according to the packet, drain and cool if necessary. Reserve about 100 g for the topping, 200 g for the optional sauce and the remaining 200 g for the layers.
- Make the optional sauce: gently cook 200 g berries with up to 2 tbsp sugar for approximately 3–5 minutes, following any longer cooking instructions on a frozen-fruit packet. Add the cornflour slurry if needed and cook, stirring, until thickened. Cool promptly. If not making sauce, use these berries in the layers too.
- Mix the mascarpone cream: combine 250 g mascarpone, the condensed milk and 300 ml cream. Mix gently until smooth, then briefly beat on a low speed if needed. Stir in the lemon zest. Avoid overbeating mascarpone.
- Dip the biscuits: pour 200 ml milk into a shallow dish and briefly dip the sponge fingers without soaking them through.
- Start the pavê: spread a thin layer of cream over the dish’s base and cover with dipped biscuits.
- Add cream and fruit: spread about half the remaining mascarpone cream over the biscuits, then add some cooled fruit sauce and the berries allocated to the layers.
- Repeat: add another biscuit layer, the remaining cream and sauce. Keep the 100 g decorative fruit refrigerated separately until serving.
- Cover and chill: smooth the surface and refrigerate for at least four hours, or overnight if the ingredients’ storage times allow it.
- Finish before serving: add the reserved berries, optional mint and a little of the lemon zest if you kept some back. Serve with a clean spoon, or slice only if the dessert is firm enough.
- Quick tips: do not over-soak the biscuits, adjust optional sugar to the fruit and drain excess liquid before assembling.
Milk powder and chocolate hazelnut pavê: ingredients and method
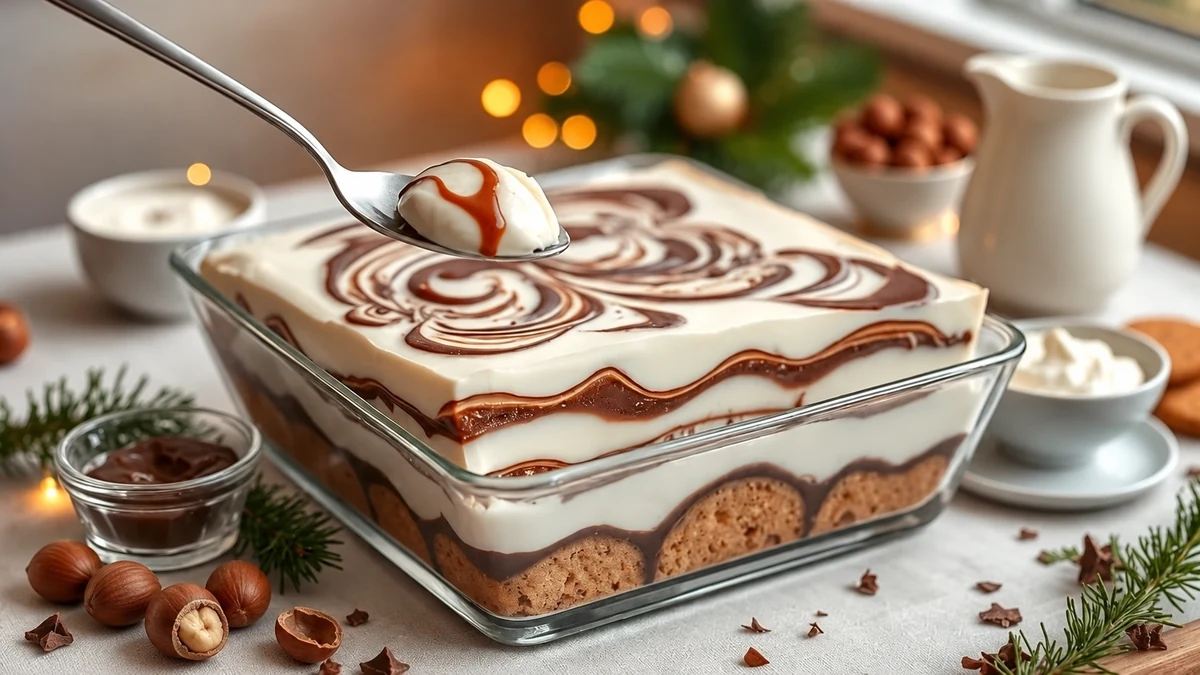
- Up to 240 g whole milk powder, such as Ninho — use 120 g initially, then extra only for adjustment and a light dusting. A plant-based powder is a recipe adaptation, not an identical replacement.
- 1 tin sweetened condensed milk (395 g) — choose suitable alternatives throughout for a lactose-free version.
- 200 g cream — divided into two 100 g portions. Soya or coconut cream changes the result.
- 250 g chocolate hazelnut spread, such as Nutella — or a suitable alternative, checking milk and nut ingredients.
- 200 g plain sweet biscuits or sponge fingers — wafers produce a softer layer.
- 200 ml milk for dipping — or an appropriate plant-based drink such as oat; almond drink contains nuts.
- 50 g chocolate curls or sprinkles — toasted coconut is another topping option.
- 1 tsp vanilla extract, optional
Method
- Make the milk-powder cream: whisk the condensed milk, 100 g cream and 120 g whole milk powder until smooth. Stir in the optional vanilla. Use a low mixer speed if necessary.
- Check the consistency: if very loose, add a little more of the reserved milk powder at a time until thick but spreadable. You do not have to use all 240 g.
- Make the hazelnut cream: gently warm 250 g chocolate hazelnut spread with the remaining 100 g cream, stirring until smooth. Do not boil. Let it cool promptly before assembly.
- Dip the biscuits: pour 200 ml milk into a shallow dish and give each biscuit a quick dip.
- Start the layers: spread a little milk-powder cream over the dish’s base, then add dipped biscuits.
- Add the pale cream: spread half the remaining milk-powder cream evenly over the biscuits.
- Add hazelnut cream: spoon over half the cooled chocolate hazelnut mixture and spread gently without stirring the layers together.
- Repeat: add another biscuit layer, the remaining pale cream and the rest of the hazelnut cream.
- Decorate: finish with chocolate curls or a light dusting of milk powder. Do not add the entire unused 120 g as a dry topping. For a marbled finish, lightly draw a fork through the top creams before decorating.
- Refrigerate: cover and chill for at least four hours, preferably overnight within the storage limits below.
- Serve chilled: use a clean, dry knife if the layers are firm enough to slice, or spoon into bowls.
- For beginners: dip biscuits briefly, taste fillings before adding optional sweeteners and assemble with cooled fillings rather than hot mixtures. Refrigerate promptly.
Pineapple and coconut pavê: ingredients and method
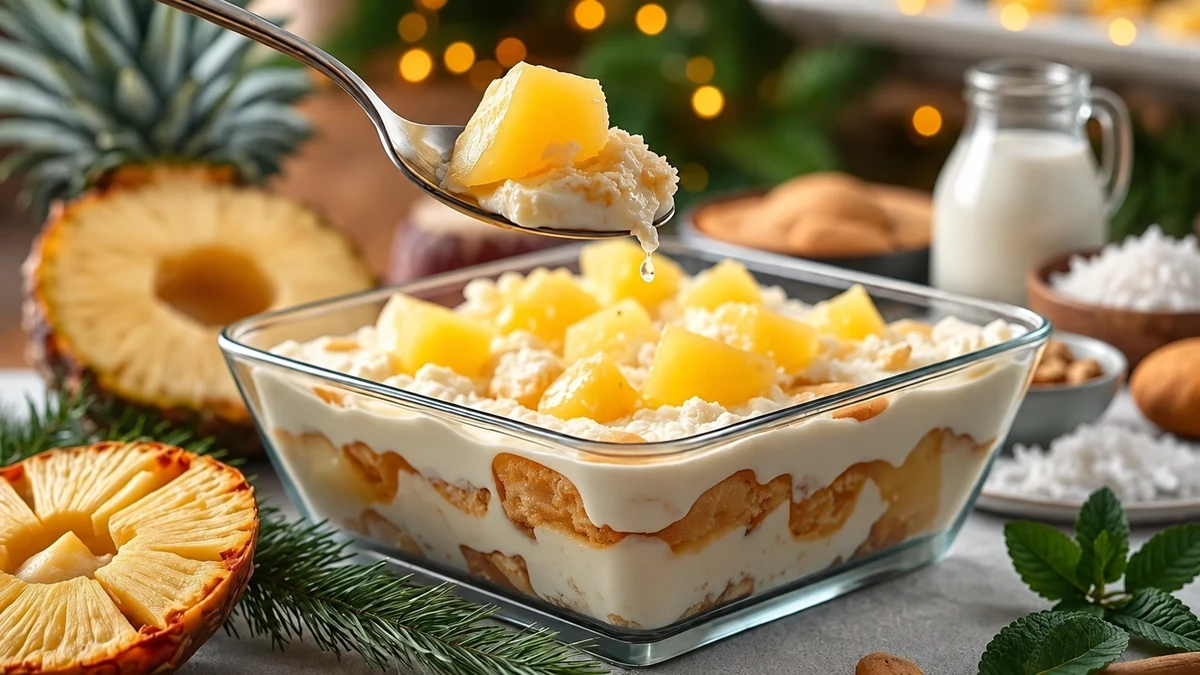
This pineapple and coconut pavê makes approximately eight portions, depending on the size of the pineapple and the servings.
- 1 medium pineapple, about 1.2 kg whole — peeled, cored and diced. Tinned pineapple can be used by matching the prepared, drained fruit weight; one unspecified tin is not automatically equivalent.
- 1 tin sweetened condensed milk (395 g) — or a suitable plant-based product for an adapted version.
- 200 ml cream — 150 ml for cooking and 50 ml stirred in afterwards.
- 200 ml coconut milk — coconut cream gives a richer result.
- 150 g desiccated coconut — 100 g for the filling and 50 g toasted for decoration.
- 200 g plain sweet biscuits — sponge fingers are a softer alternative.
- 200 ml milk for dipping — or a suitable plant-based drink.
- 2 tbsp sugar, optional — adjust to the pineapple’s sweetness. Other sugars still count as sugar; honey is unsuitable for babies under one.
- Juice of ½ lemon — to balance the sweetness.
- Fresh mint leaves, optional — washed, for decoration.
Method
- Prepare the pineapple: peel, core and dice it. Reserve about 180–200 g for decoration if the prepared yield allows, then set aside the remaining flesh for the filling. Keep decorative fruit covered and refrigerated.
- Cook the fruit: put the remaining pineapple in a pan with up to 2 tbsp sugar and the juice of ½ lemon. The source method used 300 g here but left excess fruit unallocated; use the remaining prepared flesh and allow the cooking time to vary. Cook until softened and excess liquid has reduced, then cool promptly. Drain if still watery.
- Toast the coconut: gently toast 50 g desiccated coconut in a dry frying pan, stirring until lightly golden. Cool and keep separate for the topping.
- Make the coconut cream: stir the condensed milk, 200 ml coconut milk and 150 ml cream in a pan over a low heat until slightly thickened, approximately 5–8 minutes. Remove from the heat and stir in the remaining 50 ml cream and 100 g coconut. Transfer to a shallow container, cool promptly and refrigerate within one to two hours.
- Dip the biscuits: briefly dip them in the 200 ml milk without letting them disintegrate.
- Start the layers: spread a little cooled coconut cream over the dish’s base and cover with dipped biscuits.
- Add the filling: add half the remaining cream and some cooled pineapple. Repeat with biscuits, the rest of the cream and the remaining cooked fruit.
- Cover and chill: smooth the top and refrigerate for at least four hours, or overnight if the ingredients’ storage times permit.
- Decorate before serving: add the reserved pineapple, toasted coconut and optional mint.
- Practical tips: dip biscuits briefly, drain excess fruit syrup before assembly and adjust optional sugar to the pineapple’s sweetness.
Final tips, variations and storage
- Choose suitable textures: use sturdy biscuits and cooled, thickened fillings to reduce watery layers.
- Balance the flavours: contrast sweet cream with tart fruit, unsweetened cocoa or a little coffee.
- Layer carefully: drain fruit thoroughly and use thicker creams lower in the dish. Moving watery fruit to the top does not remove its excess liquid.
- Finish freshly: add crunchy toppings, delicate fruit and chocolate curls just before serving.
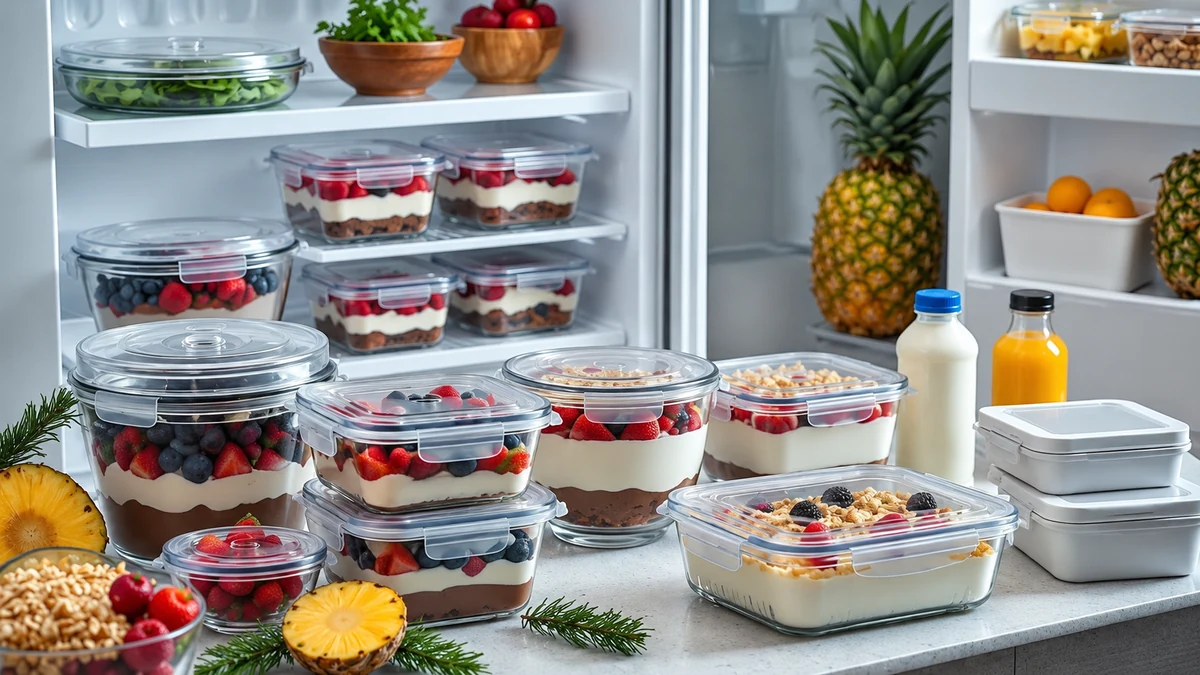
- Use suitable containers: covered glass dishes or food-safe lidded tubs simplify chilled storage and transport.
Practical variations
- Lactose-free: check the condensed milk, cream, milk, milk powder, chocolate, spreads, butter and biscuits. Lactose-free dairy is not suitable for a milk allergy.
- Plant-based: use suitable condensed milk, cream, milk drink, powder, chocolate and biscuits without dairy or eggs. Nut creams introduce nut allergens; textures need checking in a small batch.
- Less sweet: reduce optional added sugar or choose tart fruit. Reducing condensed milk changes the structure, so test the balance rather than replacing it blindly with yoghurt.
- Extra crunch: add crushed biscuits, toasted nuts or wafer crumbs near serving time. They soften if left between moist layers.
- An adults-only variation: a little liqueur can flavour the dipping liquid. Label it clearly and provide an alcohol-free option; the alcohol is not cooked off in this dessert.
Storage times and transport
- Refrigeration: keep covered in a fridge at 1–5°C. Use within 48 hours of preparing the earliest perishable component, or the shorter time required by any ingredient’s use-by date or instructions.
- Fresh-fruit versions: aim to eat within 24 hours for best texture, always observing any shorter ingredient limit. Chilling does not make spoiled ingredients safe.
- Freezing: versions without fresh-fruit toppings or delicate crunch are better candidates. Freeze promptly in airtight containers and aim to use within one month for quality; creams can split and biscuits soften, so try a small portion first.
- Transport: secure the dish level in an insulated cool box with ice packs. Keep it cold throughout the journey and refrigerate on arrival.
Freezing and defrosting
- Before freezing: chill the freshly prepared dessert until firm, then cover tightly and place in a freezer-safe airtight container. Do not use freezing to extend food already beyond its safe chilled life.
- Freezer quality: aim to use within one month; this is a quality guide rather than a guarantee of unchanged texture.
- Defrosting: thaw in the fridge, allowing roughly 12–24 hours depending on the portion and dish. Check it has fully defrosted and use within 24 hours; never thaw it on the worktop.
- After defrosting: add fresh fruit and crunchy toppings just before serving. Keep chilled and do not refreeze thawed leftovers.
Simple presentation tips
- Use clear dishes: they show off the contrasting layers.
- Clean the rim: wipe away splashes with a clean cloth before chilling, without touching the food unnecessarily.
- Label the flavours: identify allergens and any alcohol clearly instead of relying on remembering each dish’s position.
Choose from these five pavê flavour ideas, using the four detailed recipes where you want step-by-step guidance. Assemble in good time, chill safely and add delicate toppings at serving time.
Thank you for reading. Follow our social channels for more festive recipes, assembly tips and ideas for the Christmas table. Share your version if you give one a try.
Visit I Love Christmas for more festive inspiration, tutorials and seasonal ideas.
FAQ: festive pavê desserts
How long should pavê chill before serving?
Allow at least four hours, preferably eight hours or overnight, within the ingredients’ safe storage limits. Some mixtures stay spoonable rather than setting firmly enough to slice.
Can I freeze pavê, and how should I defrost it?
Versions without fresh-fruit toppings or delicate crunch freeze better, but cream can split. Freeze promptly in airtight portions and aim to use within one month for quality. Defrost fully in the fridge, often 12–24 hours depending on size, and use within 24 hours. Add toppings at serving time.
How do I stop the biscuits getting too soggy?
Give sturdy biscuits or sponge fingers a brief dip rather than soaking them. Use cooled, thick fillings and well-drained fruit. Some softening during chilling is expected.
What substitutions work for lactose-free or vegan versions?
Check every ingredient, including condensed milk, cream, milk powder, chocolate, spread, butter and biscuits. Suitable plant-based products can be used in adapted recipes, but may change the texture. Lactose-free dairy is not milk-allergy-safe, and nut alternatives are unsuitable for a nut allergy.
How can I transport pavê without spoiling the layers?
Cover securely, keep the dish level in a firm container inside an insulated cool box with ice packs, and avoid jolting it. Keep it cold, refrigerate on arrival and add crunchy toppings shortly before serving.