Slow-roasted Brazilian cupim makes a generous Christmas centrepiece for around 6–8 people. This guide covers a molasses marinade, covered roasting, checking tenderness and a short glazing stage, with notes on other cooking methods and serving the finished beef.
Slow-roasted Brazilian cupim brings a distinctly Brazilian flavour to the Christmas table. Cupim is the marbled hump cut from zebu cattle; ask a specialist Brazilian butcher for it and allow plenty of cooking time. A glossy molasses glaze complements its rich flavour.
Ingredients for slow-roasted Brazilian cupim
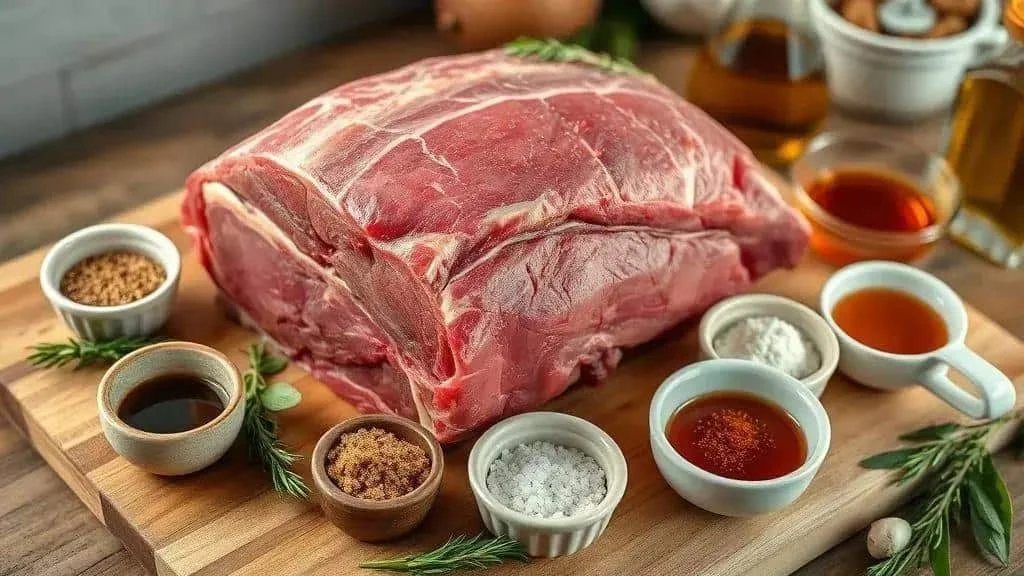
For this slow-roasted Brazilian cupim with molasses glaze, gather the following ingredients. A 2.5–3 kg joint serves roughly 6–8 with side dishes; appetites and cooking losses will affect the yield.
- 2.5–3 kg whole cupim joint – choose a well-marbled piece and ask the butcher how much external fat to trim. Brisket or chuck can be slow-cooked with similar flavours, but need a method and timing suited to that cut.
- Salt, to taste – season modestly initially, as the stock and soy sauce also contribute salt. Coarse and fine salt are not interchangeable by spoonful.
- 1 tablespoon freshly ground black pepper – reduce if you prefer a milder seasoning.
- 8 garlic cloves, crushed – use seven in the marinade and reserve one for the glaze.
- 1 medium onion, chopped – provides an aromatic base in the roasting tin; red onion also works.
- 3 tablespoons vegetable or olive oil – one for the marinade and two for browning.
- 180 ml molasses in total – use 60 ml for the marinade and 120 ml for the glaze. Cane syrup can be substituted, although its sweetness and flavour will differ.
- Up to 45 g soft brown sugar, optional – add to the glaze only if needed after tasting; molasses is already sweet.
- 2 tablespoons (30 ml) soy sauce – adds savoury depth. For a gluten-free version, choose tamari specifically labelled gluten-free and check the other ingredients too.
- 1 tablespoon Worcestershire sauce, optional – gives the glaze extra depth; omit if preferred and check allergens on the label.
- 1 tablespoon Dijon mustard – adds sharpness to the glaze; mild mustard gives a gentler result.
- 360 ml beef stock, plus extra if needed – use 240 ml in the roasting tin and 120 ml in the glaze. Choose a lower-salt stock if possible.
- 120 ml dry red wine, optional – add to the roasting tin, or use another 120 ml stock instead for an alcohol-free version.
- 2 rosemary sprigs – or use thyme for a different aroma.
- 2 bay leaves – remove before serving.
- 15 g butter – to finish the glaze. A dairy-free spread is an alternative, but does not make this beef dish vegan.
- 1 teaspoon smoked paprika – divide equally between marinade and glaze; sweet paprika is a milder alternative.
- Extra salt and pepper, if needed – taste the cooked sauce before adjusting.
Choosing and balancing the ingredients
Look for marbling within the cupim rather than simply a thick outer layer of fat. For a less sweet glaze, start with 80 ml molasses instead of 120 ml and omit the optional sugar. Do not compensate automatically with more soy sauce, which can make the sauce too salty.
Molasses, stock and careful seasoning form the base of the dish. Refrigerating the joint in its garlic and molasses marinade for 8–12 hours flavours the surface; keep it covered, within its use-by date and away from ready-to-eat food.
For gluten-free cooking, check the stock, mustard, Worcestershire sauce and soy sauce or tamari labels. Replacing butter with a dairy-free spread changes the dairy content only: a recipe containing cupim and beef stock is still a meat dish.
How to slow-roast cupim, step by step
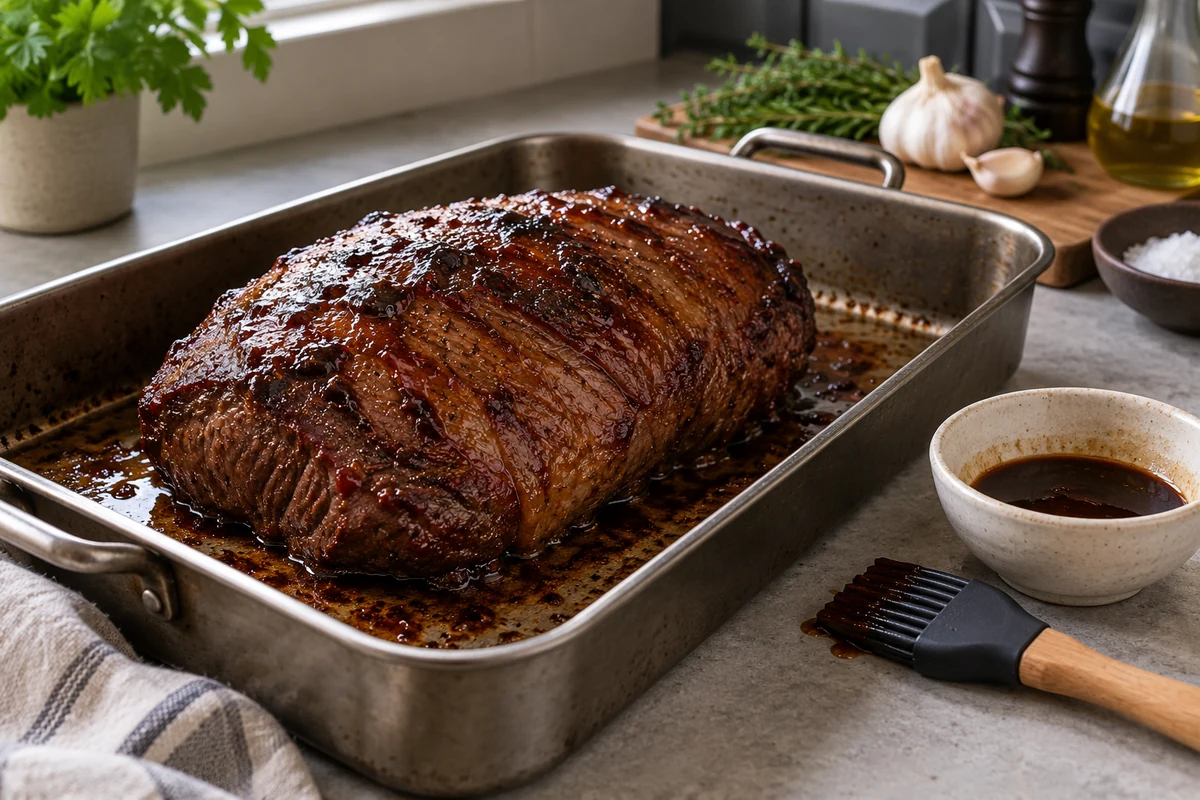
- Preheat the oven: set it to 160°C conventional or 140°C fan, with a shelf in the centre and enough space for the covered roasting tin.
- Season and marinate: rub the joint with salt to taste, the pepper, seven crushed garlic cloves, 60 ml molasses, one tablespoon oil and half the paprika. Cover and refrigerate for 8–12 hours, keeping within the meat’s use-by date.
- Prepare the glaze: combine the remaining 120 ml molasses with soy sauce, mustard, Worcestershire sauce if using, 120 ml stock, the reserved garlic and paprika. Cook as described below, adding brown sugar only to taste and finishing with 15 g butter. Keep a clean portion for serving.
- Brown the joint: remove excess wet marinade and discard it. Heat the remaining two tablespoons oil in a suitably large pan and brown the beef on each side, watching carefully so the sugar does not burn. Browning develops flavour; it does not seal in juices.
- Fill the roasting tin: place the onion, rosemary and bay in a deep tin, add 240 ml stock and the optional wine or replacement stock, then set the beef on a low roasting rack above the liquid.
- Cover and slow-roast: seal the tin with foil and cook at 160°C conventional or 140°C fan. Start checking after about 3 hours, but allow longer if needed: a thick 2.5–3 kg cupim may take substantially more than 4 hours to become tender.
- Keep the first stage covered: check the liquid when checking the beef and top up with hot stock if the tin is drying out. Save the sugary glaze for the final uncovered stage, rather than repeatedly opening the oven to baste throughout the long roast.
- Check temperature and tenderness: use a clean food thermometer in the thickest part. This slow-cooked cut should be cooked through and yield easily to a fork. Around 90–95°C is a useful texture checkpoint, not a guarantee that every joint will already be tender.
- Glaze the surface: once the beef is tender, uncover, brush with glaze and raise the oven to 200°C conventional or 180°C fan. Cook for roughly 10–20 minutes, watching closely and brushing again if needed, until glossy rather than burnt.
- Rest before carving: remove from the oven and leave for 15–20 minutes under loose foil before slicing.
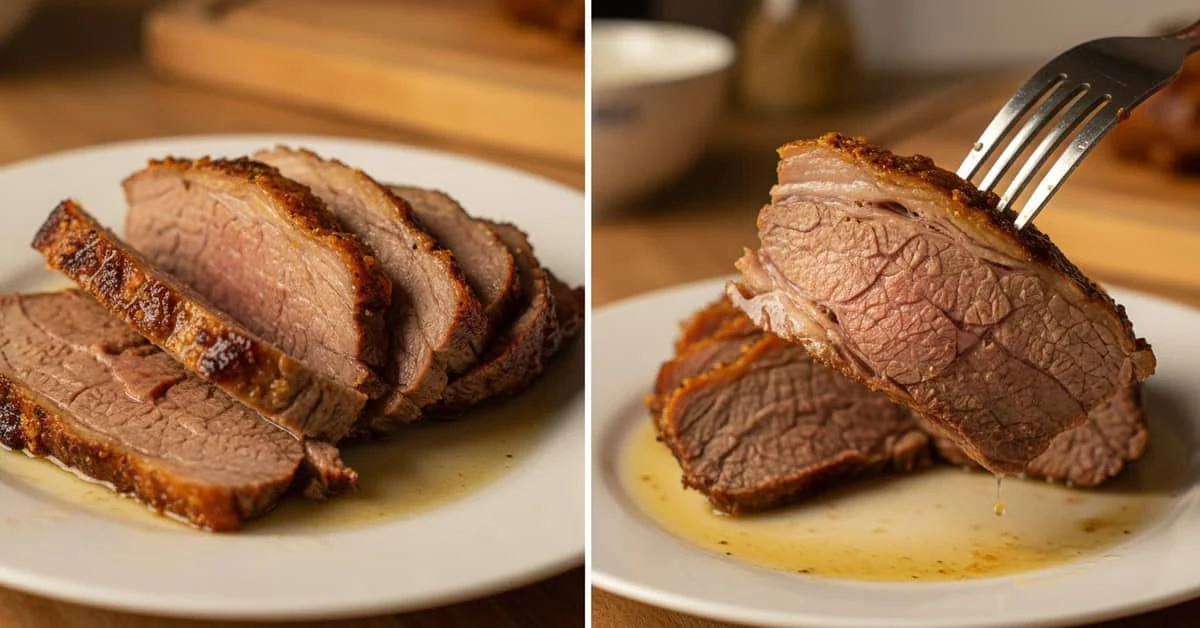
- Slice and serve: cut across the grain or gently shred the tender meat. Strain and skim the roasting juices if serving them, and offer the reserved clean glaze separately.
- Practical finishing tips: add hot stock if the roasting tin becomes dry. The 15 g butter in the glaze gives it a glossy finish; there is no need to add another portion unless you prefer a richer sauce.
Safe preparation for a large roast
Use a deep, stable roasting tin and oven gloves, and open foil away from your face to avoid steam burns. A fork test measures tenderness, not food safety. Use a clean thermometer to check the centre is thoroughly cooked, and keep raw-meat utensils away from serving utensils.
Molasses glaze: method, quantities and adjustments
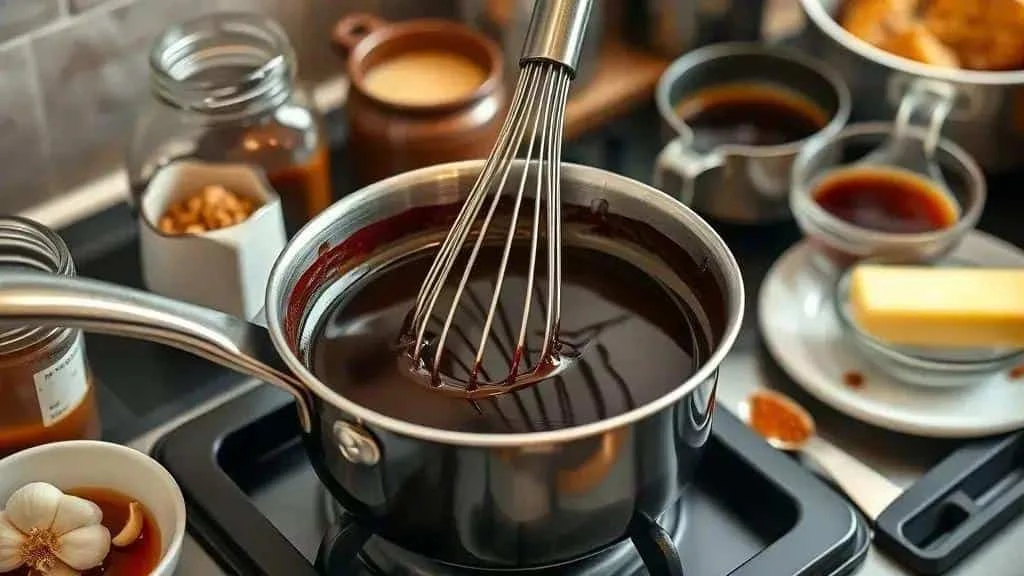
This molasses glaze is for the final stage of roasting. The quantities below are the glaze portion of the ingredient list above, not a second batch to add on top of it.
- 120 ml molasses – taken from the 180 ml total, after using 60 ml in the marinade. Cane syrup gives a lighter, sweeter result.
- Up to 45 g soft brown sugar, optional – taste first and add only as much as you want; it can be omitted.
- 2 tablespoons (30 ml) soy sauce – or labelled gluten-free tamari if appropriate.
- 1 tablespoon (15 ml) Worcestershire sauce, optional – for extra savoury flavour.
- 1 tablespoon Dijon mustard – for a little sharpness.
- 120 ml beef stock – reserved from the 360 ml total. Vegetable stock is an alternative for the sauce, although the complete dish still contains beef.
- 15 g butter – or a dairy-free spread, to finish.
- 1 crushed garlic clove – reserved from the eight in the main list.
- ½ teaspoon smoked paprika – the remaining half of the teaspoon in the main list.
- Combine the sauce ingredients: stir together the molasses, soy sauce, optional Worcestershire sauce and mustard in a small saucepan.
- Add the seasoning: stir in the reserved garlic and paprika. Leave the optional sugar until you have tasted the warmed mixture.
- Add stock and heat: pour in the 120 ml stock and warm over a medium-low heat, stirring to combine.
- Reduce gently: simmer for about 6–8 minutes, stirring regularly, until the sauce lightly coats the back of a spoon. Adjust the time to the pan and heat.
- Balance the flavour: taste and add brown sugar only if wanted. If the glaze is too sweet, a few drops of cider vinegar can sharpen it; add gradually rather than making the sauce saltier with extra soy sauce.
- Finish with butter: take the pan off the heat and stir in the 15 g butter until melted.
- Strain if preferred: pass through a fine sieve for a smoother glaze.
- Glaze near the end: brush over the tender beef during its final uncovered roast. Set aside a separate clean portion before a brush touches the meat.
Adjusting the consistency
The starting point is 120 ml molasses and 120 ml stock in the glaze. For a thicker version, use 60 ml stock or simmer a little longer; for a thinner sauce, increase this portion to about 180 ml. These adjustments affect the glaze only, not the stock needed in the roasting tin.
Flavour variations and substitutions
For a citrus note, add a teaspoon of orange juice at the end. A pinch of cumin adds earthy warmth, although it will not reproduce the smoky flavour of paprika. For an alcohol-free dish, use stock instead of the optional wine and check bottled sauce ingredients.
Making the glaze ahead
Cool a clean batch promptly and refrigerate in a covered container within 1–2 hours. Use within 48 hours or freeze. Reheat only the amount required, once, until steaming hot; discard glaze or marinade contaminated by raw-meat utensils rather than returning it to the stored batch.
Seasoning, marinades and keeping the beef moist
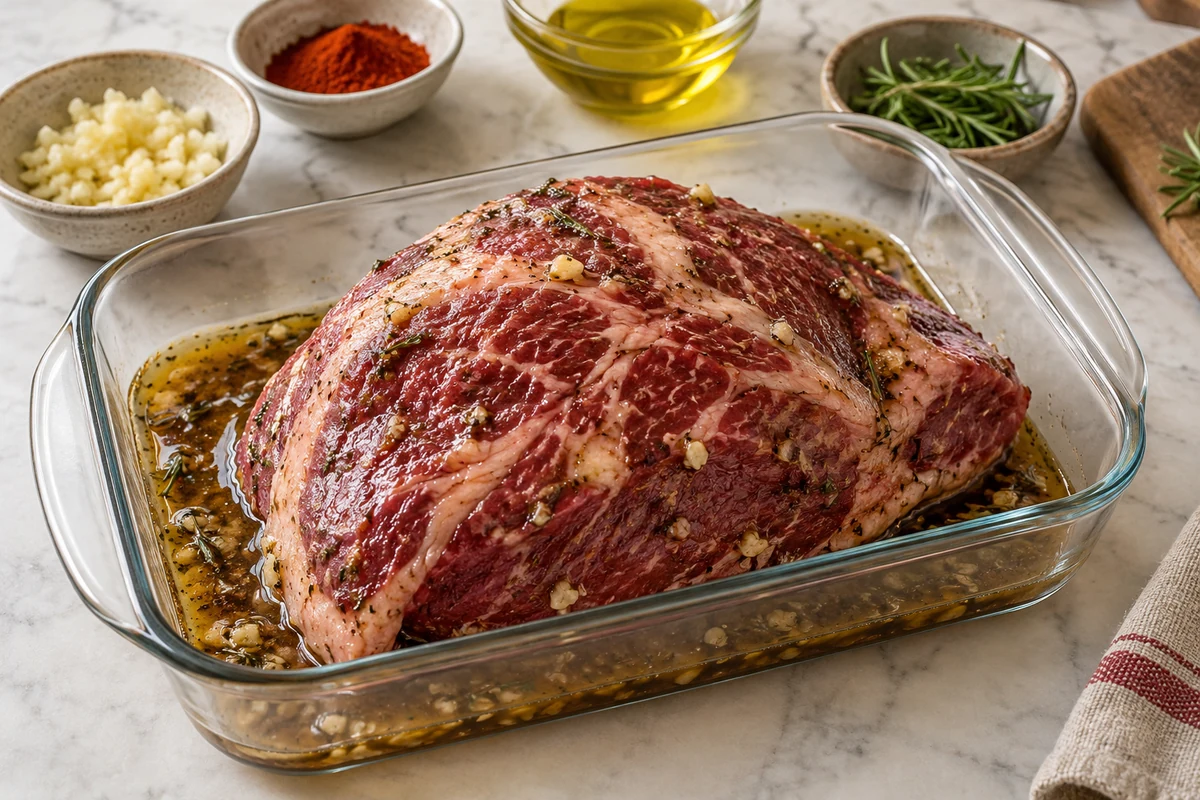
The seasoning gives slow-roasted Brazilian cupim much of its character. Balance sweetness and salt, keep marinating meat refrigerated and use a covered roasting stage to limit moisture loss.
Useful dry seasonings
- Salt – season the meat, allowing for salty stock and sauces; avoid adding a separate full measure at every stage.
- Freshly ground black pepper – brings warmth and aroma; reduce the quantity for a milder dish.
- Crushed garlic – flavours the surface. Garlic powder can be used more sparingly if fresh garlic is unavailable.
- Smoked paprika – adds colour and smokiness; sweet paprika gives a softer flavour.
- Fresh rosemary or thyme – add whole sprigs during roasting, then remove the woody stems before serving.
Alternative molasses and herb marinade
- 120 ml molasses – this alternative replaces the main recipe’s marinade; do not add both marinades to the same joint.
- Up to 3 tablespoons soft brown sugar, optional – omit for a less sweet marinade.
- 2 tablespoons soy sauce
- 1 tablespoon Dijon mustard
- 4 crushed garlic cloves
- 2 tablespoons olive oil
- 2 rosemary sprigs
- Mix the marinade: combine the molasses, optional sugar, soy sauce, mustard, garlic and oil, then add rosemary.
- Divide before use: put half in a clean covered container and refrigerate. Rub the other half over the beef, taking the soy sauce into account when adding any salt.
- Marinate in the fridge: cover and refrigerate for 8–12 hours, within the meat’s use-by date. Turn once if convenient, using clean utensils.
- Keep the reserved portion separate: the untouched, refrigerated half can be cooked and used for glazing. Discard the portion that has been in contact with raw beef; never pour it back into the clean sauce.
Alternative citrus marinade
- 60 ml orange juice – use this mixture instead of either molasses marinade, not in addition to it.
- 2 tablespoons cider vinegar
- 3 tablespoons olive oil
- 2 garlic cloves, finely chopped
- Finely grated zest of 1 lemon
- Combine the liquids: stir together the orange juice, vinegar and olive oil.
- Add aromatics: mix in the garlic and lemon zest, then season modestly with salt and pepper.
- Use a shorter marinating time: refrigerate the covered beef for 4–6 hours, within its use-by date. Acid mainly affects the surface; it is not a substitute for the long cooking this cut needs.
Practical techniques for a tender roast
- Seasoning ahead: if salting the beef before marinating, count that salt as part of the main seasoning. Keep the meat refrigerated and do not add another full quantity later.
- Browning before roasting: brown the surfaces for flavour, taking care with sugary marinades. Browning does not create a seal that traps moisture.
- Slow, covered cooking: use around 150–160°C conventional or 130–140°C fan and allow enough time for connective tissue to soften.
- A rack and stock in the tin: a low rack keeps the joint above the liquid, while a sealed cover helps retain a moist cooking environment.
- Glazing at the end: apply the molasses sauce during the final uncovered stage, building a thin coating without exposing sugar to hours of roasting.
- Checking rather than guessing: use a clean food probe and test tenderness. Around 90–95°C can be a useful checkpoint for this cut, but continue gently if the fibres are still resistant.
- Resting before carving: leave the cooked joint under loose foil for 15–20 minutes before cutting across the grain.
Quick substitution tips
Cane syrup or honey will give a different flavour from molasses, so adjust sweetness gradually. Use labelled gluten-free sauces when needed. Keep sugary coatings thin at the browning and glazing stages, as they can burn quickly.
Cooking time, oven temperature and portions
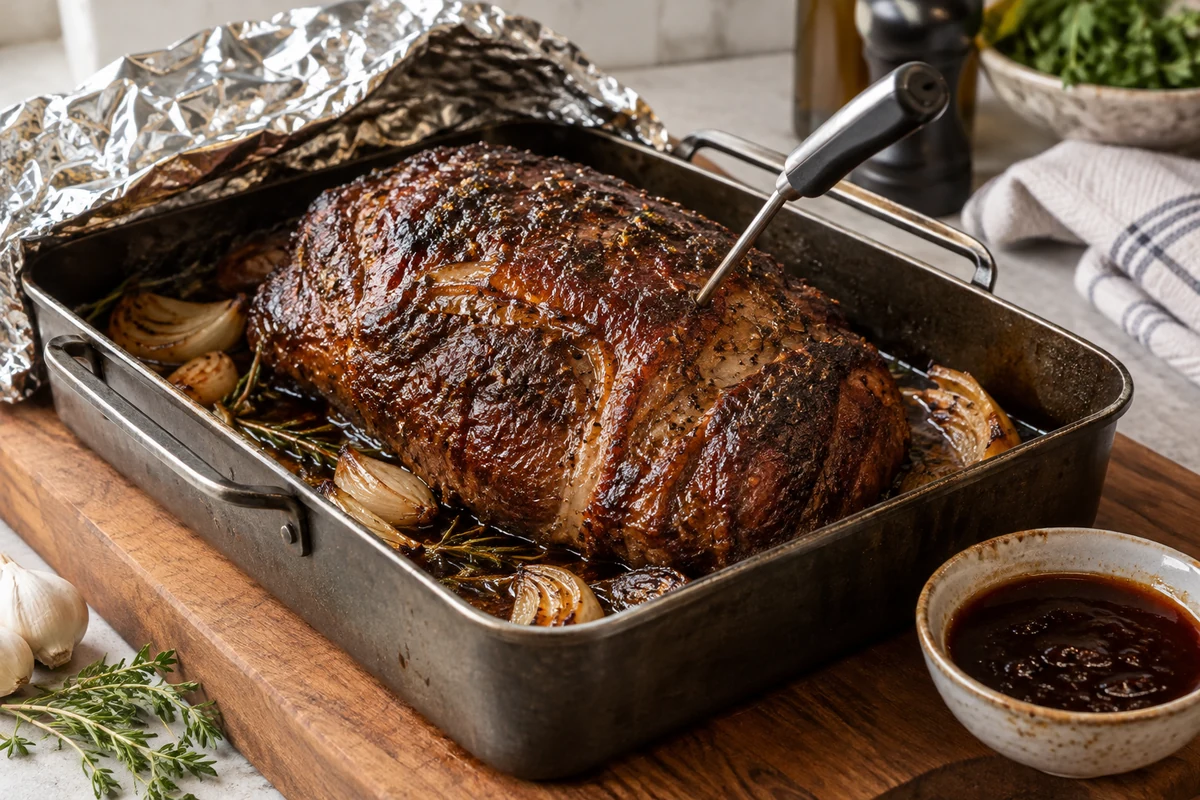
For slow-roasted Brazilian cupim, the thickness and shape of the joint matter as well as its weight. Slow cooking softens connective tissue, but a clock alone cannot tell you when the meat is tender.
Oven temperatures
- Covered slow roast: 150–160°C conventional or 130–140°C fan. The main method above uses 160°C conventional or 140°C fan.
- Glazing stage: about 200°C conventional or 180°C fan for 10–20 minutes, watching closely so the molasses does not burn.
- Fan ovens: the fan settings here are 20°C below the conventional settings. Check your oven’s guidance and adjust if it runs particularly hot.
- Internal temperature and texture: 90–95°C is a useful checkpoint for a tender slow-cooked joint, but tenderness also depends on time. Check several thick areas and do not confuse a texture target with the minimum temperature needed for safe cooking.
When to start checking different sizes
- A 1–1.5 kg piece: start checking after roughly 2–3 hours at the slow-roasting temperatures above; it may need longer.
- A 2–2.5 kg piece: start checking after roughly 2½–3½ hours, allowing extra time for a thick joint.
- A 2.5–3 kg piece: allow at least 3–4 hours before expecting tenderness, with additional time available if needed. This is a planning estimate, not a guaranteed finishing time.
- Pieces over 3 kg: ask the butcher for guidance on that joint and plan a longer covered cook. Do not assume a fixed number of extra minutes per kilogram will be reliable.
Yield and portion planning
- As the main meat dish: allow roughly 300–400 g raw beef per adult. A 2.5–3 kg joint will usually provide around 6–8 generous servings with sides.
- Cooking losses: the joint loses both moisture and rendered fat during cooking. The amount varies, so do not treat a fixed percentage as a guaranteed yield.
- For a mixed buffet: around 200–250 g raw beef per person may be enough when several other substantial dishes are available.
A practical roasting timetable
- Preheat the oven to 160°C conventional or 140°C fan, with a shelf in the centre.
- Prepare the joint with the chosen seasoning, remove excess marinade and brown the surfaces carefully.
- Set it on a low rack in a deep roasting tin with 240 ml stock, onion and herbs underneath; cover tightly with foil.
- Roast slowly and start checking a 2.5–3 kg joint after about 3 hours. Continue covered as needed, topping up the liquid if the tin becomes dry.
- Check with a thermometer and a fork. The meat must be cooked through, and the fibres should give easily before moving to the glazing stage.
- Remove the foil, brush with glaze and finish at 200°C conventional or 180°C fan for roughly 10–20 minutes, watching the surface.
- Rest the joint under loose foil for 15–20 minutes before carving.
Adjusting for your equipment
Use a tin or lidded roasting dish that fits safely in the oven, with clearance from the elements. A thinner piece may cook more quickly, but do not scale the timing mechanically: check its temperature and tenderness instead.
Quick planning tips
- Have a clean food thermometer ready and take readings in the thickest parts of the joint.
- Keep hot stock available to top up the roasting tin if necessary.
- Allow extra time for a stubbornly firm joint, as well as for glazing, resting and carving.
Other ways to cook cupim: barbecue and covered pot
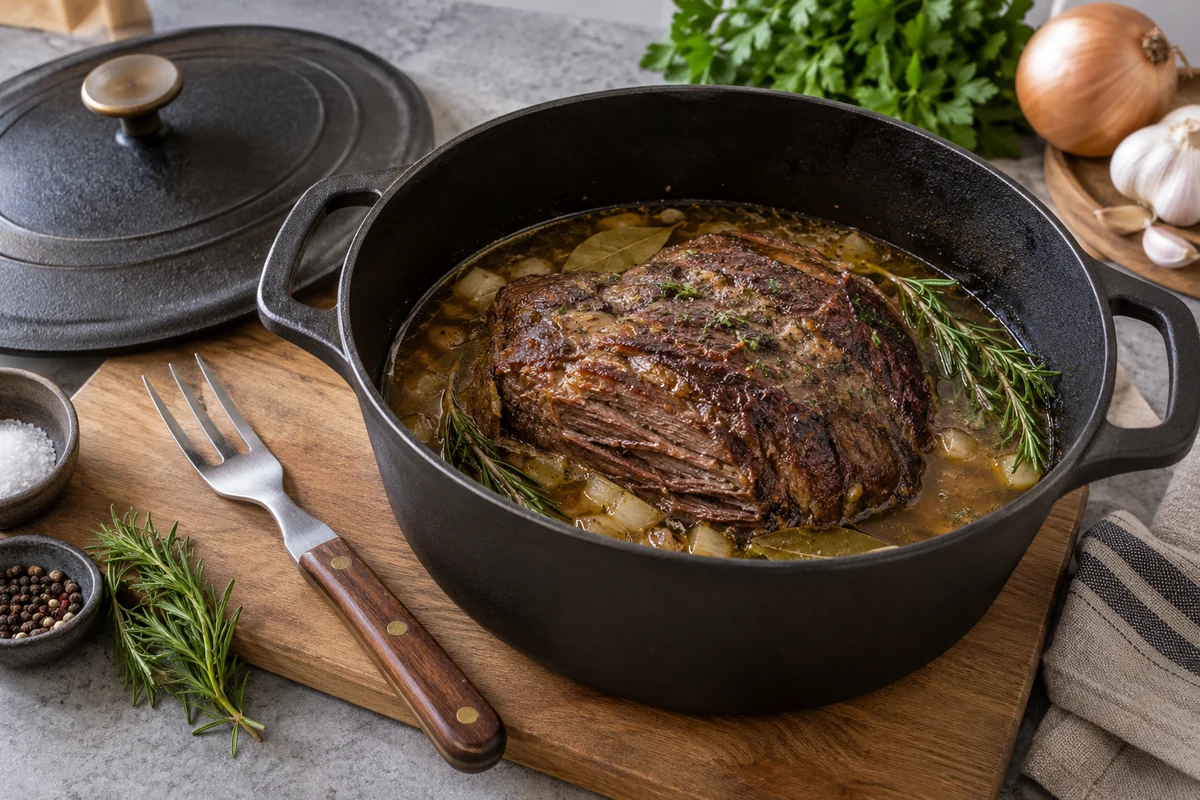
You can use the flavours of slow-roasted Brazilian cupim with other equipment, but the oven recipe is not automatically a complete pressure-cooker or barbecue recipe. Use a method suited to the joint and appliance, then finish with the molasses glaze.
Cooking on a barbecue
A lidded barbecue can add smoke and a distinctive crust. It needs controlled indirect heat, a monitored cooking temperature and enough fuel for a long cook. Always use a barbecue outdoors.
- Set up indirect heat: follow the barbecue manufacturer’s instructions and a reliable cupim method for its cooking temperature. Keep the meat away from direct flames and monitor the heat rather than relying on the lid position alone.
- Tie only if needed: food-safe butcher’s string can help an uneven joint hold its shape; remove it before serving.
- Use a suitable drip tray: a heatproof tray with stock beneath the meat can catch drippings. Position it securely and follow the equipment’s guidance on liquids and clearance.
- Add smoke carefully: use wood chips sold for food smoking, such as applewood, in the quantity and holder recommended for the barbecue. Avoid treated or resinous wood.
- Allow a long cook: a large joint can take many hours. Follow a suitable full method, monitor internal temperature and tenderness, and maintain the required cooking heat throughout.
- Apply glaze late: wait until the meat is tender before adding thin layers of molasses glaze, using a clean reserved portion.
- Finish without burning: let the glaze set under controlled indirect heat and watch closely. Molasses and rendered fat can burn or flare if brought too close to flames.
- Rest before slicing: leave the cooked beef for 15–20 minutes under loose foil.
Cooking in a covered pot
A pressure cooker, slow cooker and oven casserole behave differently. Choose a complete method for the specific appliance and cut; liquid levels, safe capacity and cooking times are not interchangeable.
Pressure-cooker considerations
- Brown if the method calls for it: use the appliance’s approved sauté setting or a separate pan to develop flavour.
- Respect the liquid and capacity requirements: follow the manual’s minimum thin-liquid amount and maximum fill line. Thick sugary glaze should not replace the required cooking liquid.
- Use an appropriate cooking programme: follow a reliable pressure-cooker recipe for the size of cupim you have. A single 60–75 minute estimate is not a dependable instruction for every 2.5–3 kg joint and cooker.
- Release pressure safely: follow the manufacturer’s release procedure and never open until the appliance indicates that pressure has fully fallen. Do not rely on an arbitrary waiting time.
- Glaze once tender: transfer the fully cooked beef to a roasting tin, brush with sauce and finish briefly at 200°C conventional or 180°C fan, watching carefully.
Slow cooker or oven casserole
- Brown the beef if appropriate: a separate browning stage adds flavour before the covered cook.
- Choose the correct quantity of liquid: use the amount in a complete method for your appliance, keep within its capacity and start with fully thawed meat. Do not force an oversized joint into a small slow cooker.
- Cook until properly done: use the programme and timings in that method, then check that the meat is thoroughly cooked and tender. The oven timing above cannot simply be transferred to a slow cooker.
- Reduce the cooking juices: remove the cooked meat, skim excess fat and simmer the juices in a saucepan if they need thickening. Taste before adding salt or combining them with glaze.
- Finish with glaze if wanted: brush the tender beef and give it a short, closely watched oven finish as in the main method.
Tips that apply across the methods
- Liquid requirements vary: use the method and equipment guidance rather than a fixed liquid-to-meat ratio. Evaporation, vessel shape and whether the lid seals all make a difference.
- Keep sauce clean: reserve glazing and serving portions before touching raw meat. Discard used raw marinade and keep its utensils separate.
- Maintain cooking heat: controlled slow cooking is different from holding raw meat on a warm setting. Use the correct cooking programme throughout.
- No oven for glazing? serve the cooked, tender meat with its hot sauce instead. A heavy whole joint does not need to be forced into a frying pan just to form a crust.
- Carve across the grain: slice or lightly shred, then spoon over enough sauce to moisten without overwhelming the beef.
Small flavour adjustments
Food-smoking wood can add a smoky note when used correctly on a barbecue. For less sweetness, reduce the glaze’s molasses slightly and omit optional sugar. Taste the finished sauce before adding more soy sauce or salt.
Serving ideas, side dishes and storing leftovers
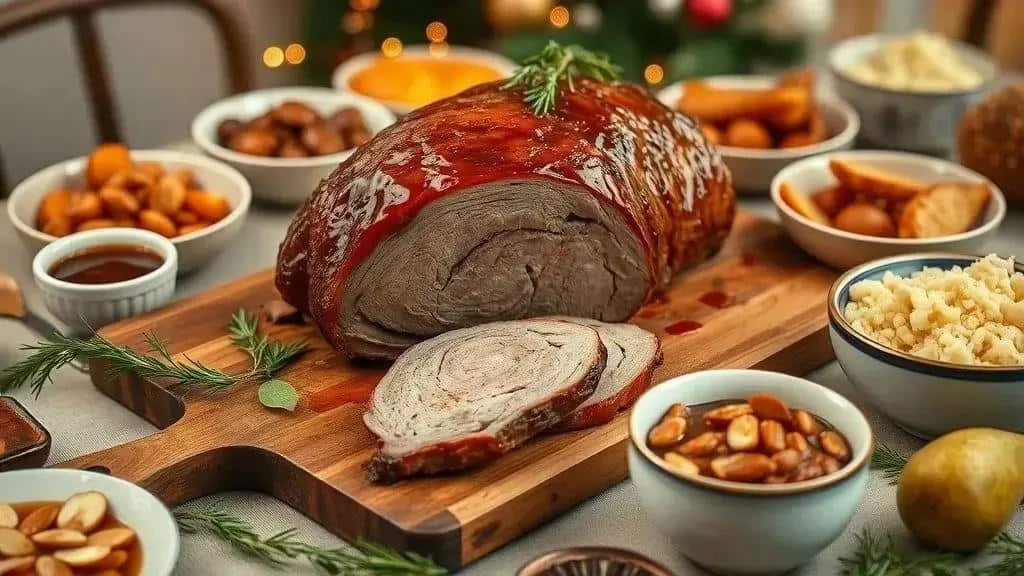
When serving slow-roasted Brazilian cupim, contrast its rich glaze with fresh or lightly dressed sides. Slice across the grain and arrange on a warmed serving platter.
Presentation and garnishes
- A serving board or white platter – choose one with room for the carved meat and a rim or groove to catch juices.
- Sauce on the side – offer a jug of the clean reserved glaze so everyone can choose how much to add.
- Fresh herbs – rosemary or thyme can decorate the platter; remove woody stems before eating.
- Roasted fruit – apple or pear wedges complement the glaze’s sweetness.
- Toasted walnuts – an optional crunchy garnish; check for nut allergies and offer separately if necessary.
Side dishes that work well
- Crisp Brazilian farofa – toasted coarse cassava flour adds contrast; about 150–200 g prepared farofa can provide a small side for four.
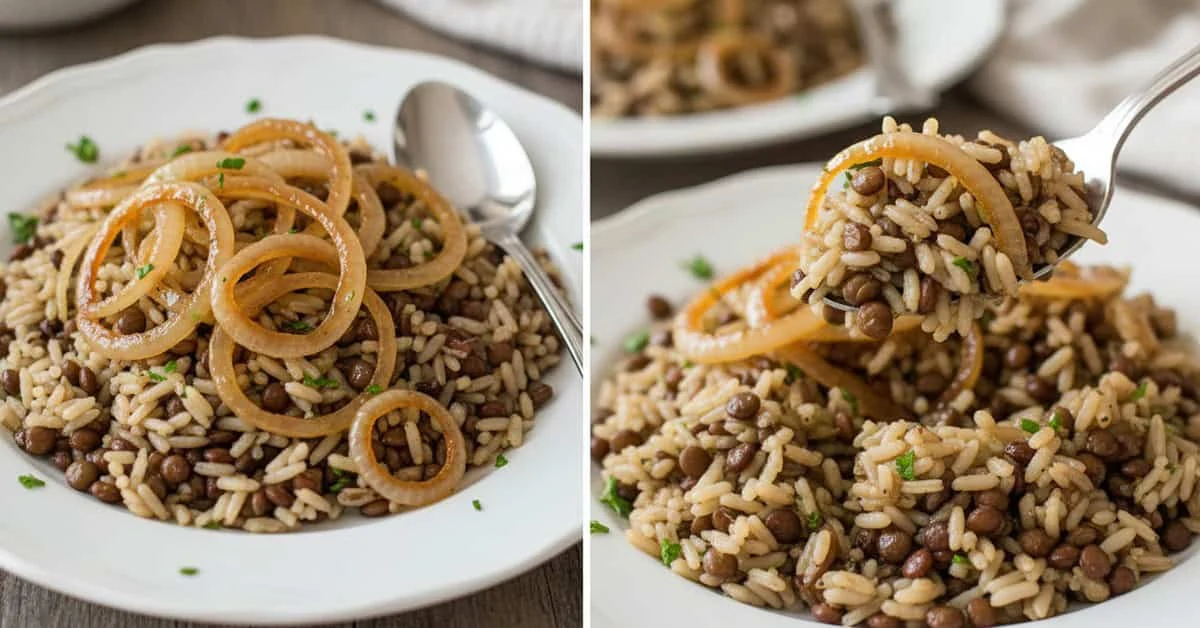
- Rice with raisins or almonds – allow roughly 50–75 g dry rice per person, depending on the other sides; the additions are optional.
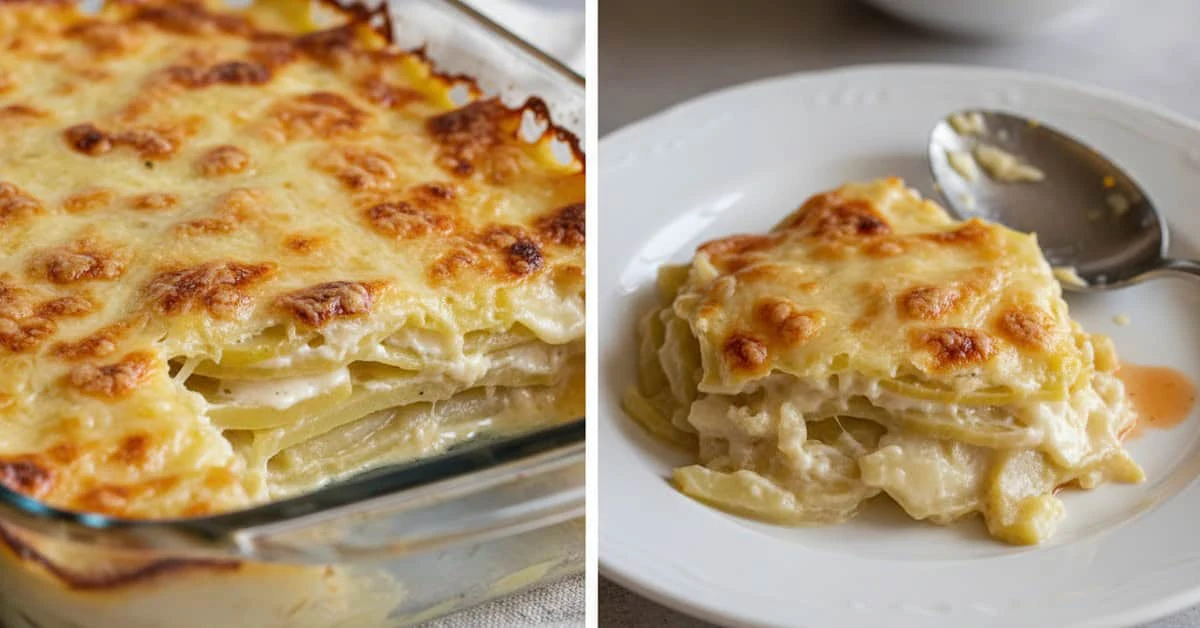
- Creamy mashed potatoes – around 150–200 g per person makes a gentle accompaniment to the rich sauce.
- Roasted vegetables – carrots, sweet potatoes and onions add colour and variety.
- A sharp salad or citrus dressing – brings freshness alongside the fatty cut.
Arranging the table and planning portions
Place the beef platter centrally with the sides around it. As a rough guide, allow 300–400 g raw beef per adult for the main course, or 200–250 g when it forms part of a larger buffet.
Storing leftovers safely
- Cool promptly: divide leftovers into smaller portions so they cool quickly, then refrigerate within 1–2 hours. Do not leave a large joint out until it has slowly cooled completely.
- Use shallow containers: slice or portion the meat rather than chilling a whole large roast. Keep sauce in a separate covered container if practical.
- In the fridge: keep at 5°C or below and use within 48 hours, or freeze promptly if you will not eat it in that time.
- In the freezer: pack in suitable sealed containers or freezer bags, label and aim to use within 2–3 months for best quality. Defrost in the fridge and use within 24 hours of fully defrosting.
Reheating without drying out the beef
- Oven: cover a portion with foil and a little stock, then heat at about 160°C conventional or 140°C fan until steaming hot throughout. Time depends on thickness and quantity.
- On the hob: heat a manageable portion in a covered pan with a splash of stock, turning or stirring as appropriate until hot all the way through.
- Microwave: follow the appliance guidance for covering, turning and standing time; check the centre as well as the edges is steaming hot.
- Glazed finish: if you want to refresh the surface in the oven, do so as part of the same reheating session. Watch the sugar closely and reheat leftovers only once.
Ways to use the leftovers
- Sandwiches or savoury pies: use shredded beef with a little sauce, making sure any reheated filling becomes steaming hot throughout.
- Rice bake: combine with vegetables and a little cheese. If using leftover rice, cool it quickly, ideally within an hour, refrigerate for no more than 24 hours and reheat once until steaming hot.
- Warm beef salad: reheat the meat thoroughly, then add to freshly prepared leaves with a citrus dressing just before serving.
Reheat only the portion you intend to eat and only once. Keeping the sauce separate makes it easier to control the texture and avoid repeatedly warming the whole batch.
A Brazilian centrepiece for the Christmas table
The key to slow-roasted Brazilian cupim is patient covered cooking, followed by a carefully watched glazing stage. Use the timings as checkpoints, let tenderness guide the finish and balance the sweet sauce with fresh, simple sides.
For a barbecue, pressure cooker or slow cooker, choose a complete method designed for that equipment and joint size before adapting these flavours. The molasses glaze can provide the finishing touch without needing to change every part of the cooking process.
Visit the I Love Christmas Blog for more festive recipes, serving ideas and inspiration for a varied Christmas menu.
Slow-roasted cupim: frequently asked questions
How long does a 2.5–3 kg cupim take to cook?
Start checking after about 3 hours at 160°C conventional or 140°C fan, but allow more than 4 hours if needed. Thickness and the individual joint matter. Check that it is cooked through and fork-tender; around 90–95°C is a texture checkpoint, not a guaranteed finishing point.
How do I stop cupim from drying out?
Use a covered roasting tin with stock underneath, top up if it dries out, and reserve the sugary glaze for the final uncovered stage. Rest the cooked beef before carving across the grain.
Can I use a pressure cooker or slow cooker instead?
Yes, with a complete method suitable for that appliance and joint. Follow its capacity, liquid and pressure-release instructions; do not simply transfer the oven timing or assume one fixed cooking time fits every cooker.
How should I store leftovers?
Divide into smaller portions, cool promptly and refrigerate within 1–2 hours. Use within 48 hours or freeze. Defrost in the fridge and reheat only once until steaming hot throughout.
Can I make the molasses glaze ahead?
Yes. Cool a clean batch promptly, refrigerate in a covered container and use within 48 hours or freeze. Keep it away from raw-meat utensils and reheat only the amount needed, once, until steaming hot.
Which sides go well with slow-roasted cupim?
Mashed potatoes, roasted vegetables, rice or crisp Brazilian farofa balance the rich beef. A citrus-dressed salad adds a fresh contrast; offer nut garnishes separately if allergies are a concern.
Sources and Further Reading
- Food Standards Agency: cooking food safely
- Food Standards Agency: chilling, freezing and defrosting food safely
- ABIEC: Brazilian beef cuts