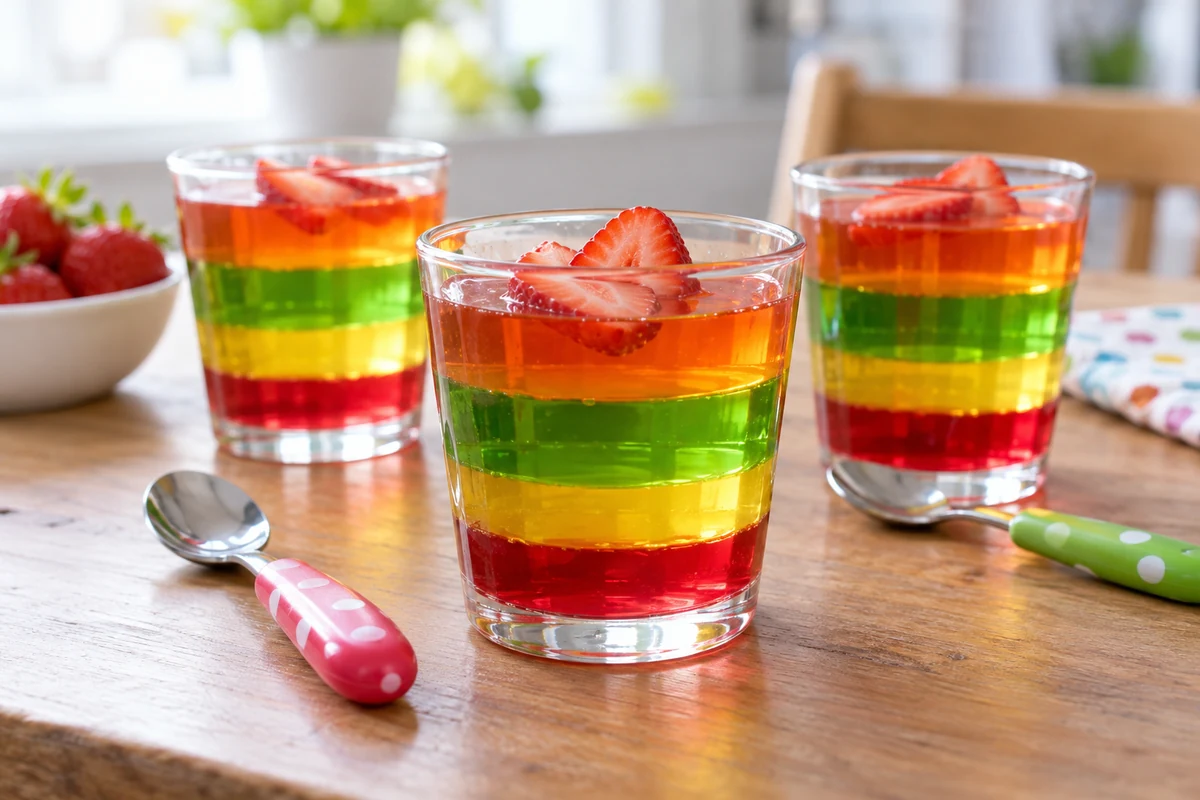
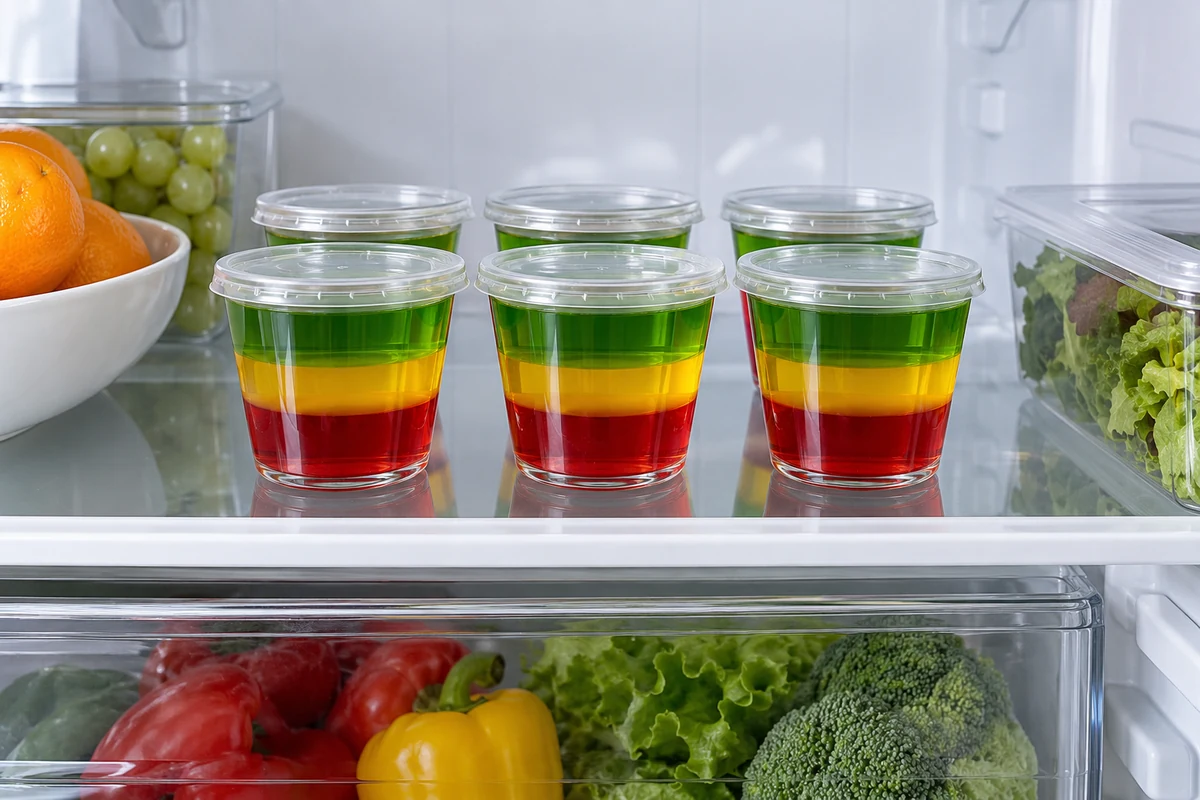
Rainbow jelly cups are made by setting thin layers of different coloured jelly one at a time. Follow the liquid quantities on your chosen packets, let each layer firm up and cool the next mixture before pouring. Serve small portions with suitable fruit toppings, keeping them refrigerated until needed.
These rainbow jelly cups turn a familiar party pudding into a colourful activity. Children can choose the colours and help decorate cooled, set portions while an adult handles the hot water.
Ingredients and equipment for rainbow jelly cups
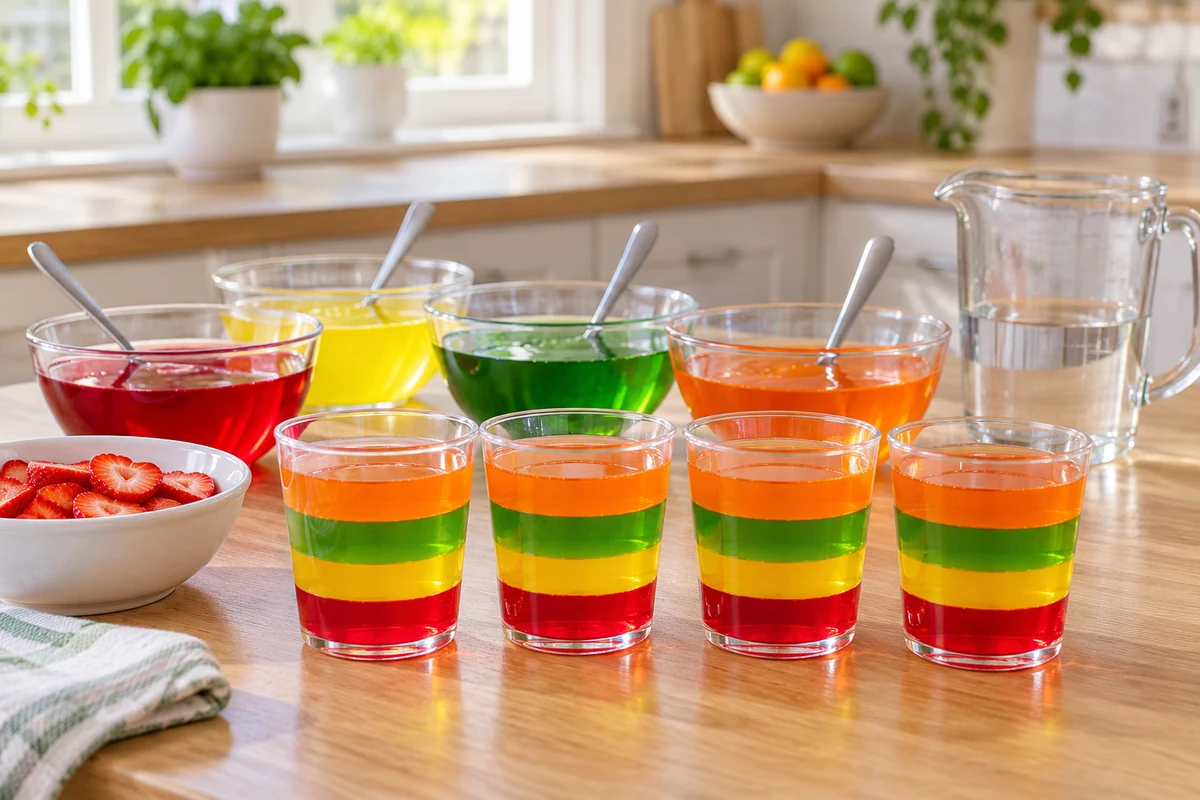
To make rainbow jelly cups, choose four jelly colours and enough small containers for the actual volume your packets make. Four packets each making 570 ml give about 2.28 litres: roughly 16 portions of 140 ml, not six small glasses.
- 4 packets of jelly in different flavours or colours – tablet jelly or crystals are both possible, but packet weights and liquid requirements differ. Choose products suitable for your guests.
- Water as directed on each packet – use the correct hot and cold amounts for that product rather than a universal 500 ml per packet.
- About 200 g fruit for optional decoration – thin strawberry slices or well-drained tinned fruit are useful. Prepare it appropriately for the children’s ages.
- About 16 clear, child-safe 180–200 ml cups – enough for a little headroom above each 140 ml portion. Adjust the number to your packets’ total yield.
- Small spoons and heatproof measuring jugs – for measuring and pouring; no cocktail sticks are needed.
- A bowl of cold water and ice, optional – to cool a heatproof mixing jug before pouring, keeping water out of the jelly.
- Optional creamy topping: plain yoghurt and a little condensed milk – serve as a spoonful on fully set jelly. A separately set condensed-milk layer needs its own measured recipe.
Ingredient swaps and practical tips
- If your chosen jelly allows fruit juice, use it in place of some of the specified cold liquid, not in addition to it. Avoid fresh pineapple, kiwi and papaya in gelatine-based jelly because their enzymes can prevent setting.
- For a lower-sugar option, choose an appropriately labelled product and check its ingredients. Adding honey, juice or condensed milk changes the sugar content; honey does not make a dessert sugar-free.
- For a smaller gathering or less preparation, use two colours instead of four and reduce the number of portions. Make up each packet correctly rather than guessing how to divide unweighed crystals.
- Allow each thin layer to set firmly enough to support the next. This may take an hour or longer depending on depth and fridge temperature; a fixed 30-minute wait is not a guarantee.
- Pour the cooled next layer gently over the back of a spoon held close to the surface. A hot mixture can melt the set layer underneath.
Portions and storage: keep covered at 5°C or below and use within 48 hours for this fruit-topped version, or sooner if ingredient instructions require it. Serve chilled in small portions.
How to make rainbow jelly cups
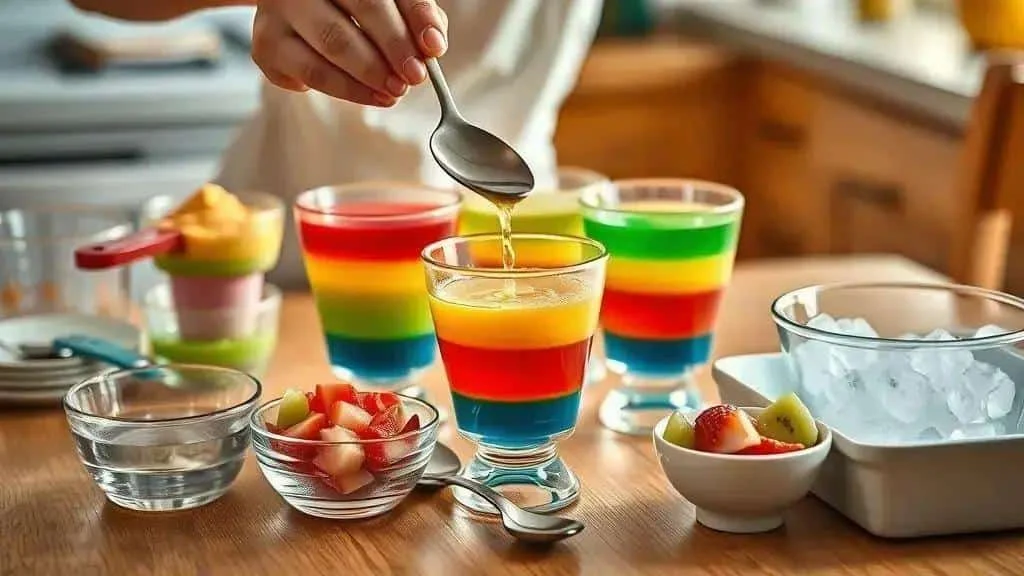
Make your rainbow jelly cups in stages, preparing the next colour only when the preceding layer is nearly ready:
- Make the first colour: an adult should dissolve the jelly in a heatproof jug using the packet’s specified hot water, then add the remaining cold liquid as directed. Stir until completely dissolved.
- Pour the first layer: let the mixture cool without setting. For a 570 ml batch divided between 16 cups, add about 35 ml to each cup. Refrigerate on a level tray until firm enough to support another layer.
- Cool carefully: if needed, stand the mixing jug in cold water before pouring. Do not put hot glass directly into ice or use a freezer to rush the setting process.
- Add the next colours: prepare each in turn, let it cool but remain liquid, then pour gently over the back of a spoon. Keep the portions refrigerated between layers and wait for each to set.
- Add an optional creamy finish: once the final jelly layer is completely set, add a small spoonful of plain yoghurt, lightly sweetened with condensed milk if wanted. This is a topping rather than a gelled layer; do not pour an unmeasured milk-and-gelatine mixture over the cups.
- Decorate: add thin fruit slices or small, age-appropriate pieces to the set jelly shortly before serving. Keep decorations edible and light.
- Store: cover the cups and refrigerate at 5°C or below. Use within 48 hours for the prepared fruit-topped dessert.
- Serve safely: supervise children while eating, use spoons and prepare fruit for their age. Grapes, if used, should be cut lengthways into quarters for young children; avoid whole grapes and hard decorative pieces.
Timing and yield
Four 570 ml batches make roughly 16 small 140 ml portions before toppings. Allow several hours for layering and final setting, preferably preparing the day before. Thin layers may set faster than a full bowl, but check their firmness rather than relying on a fixed timetable.
Rainbow jelly variations
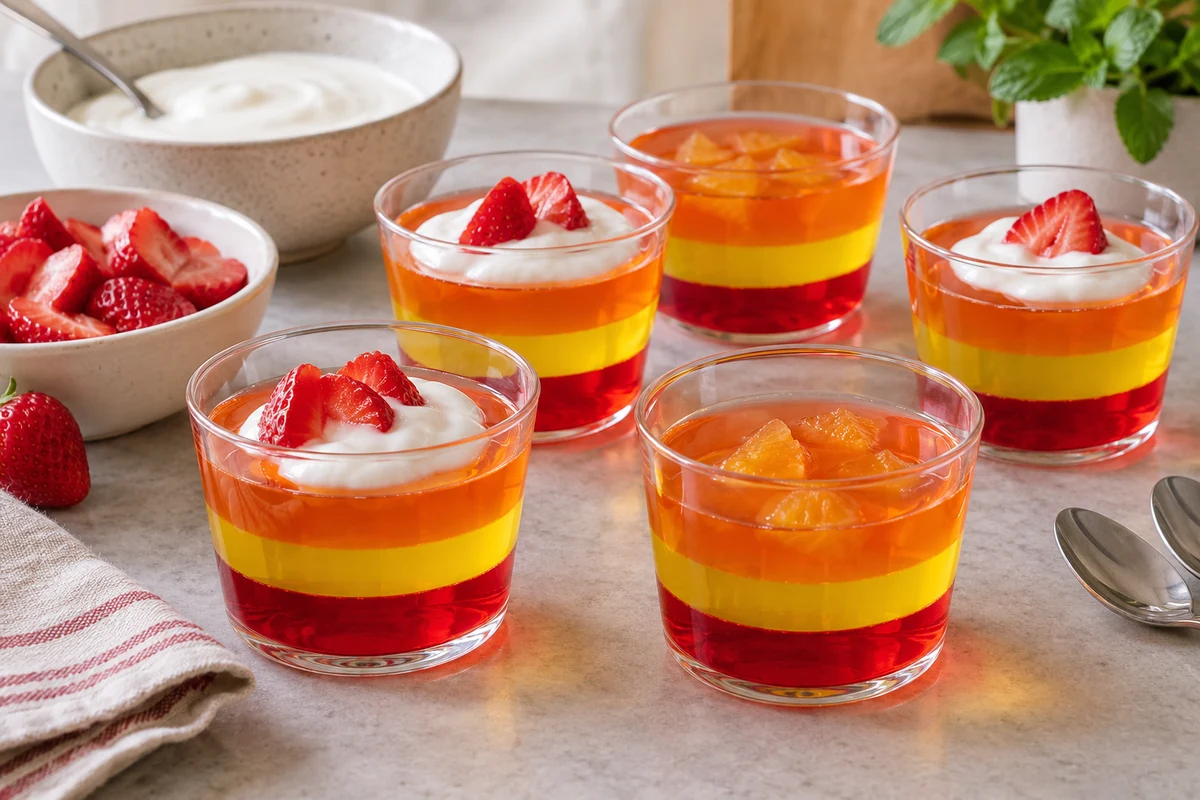
- Fruit juice layers – where the product instructions allow, replace part of the cold liquid with a suitable juice. Keep the total liquid unchanged and avoid fresh pineapple, kiwi or papaya juice in gelatine-based mixtures.
- Creamy finish – spoon plain yoghurt or a little condensed-milk-flavoured yoghurt over fully set jelly. For a genuinely set milk layer, use a complete recipe specifying the gelatine strength, quantity and total liquid.
- Lower-sugar option – use a suitable reduced-sugar or sugar-free jelly as labelled. Juice, honey and condensed milk are not sugar-free additions; choose toppings accordingly.
- Vegan option – use a jelly mix explicitly suitable for vegans. Follow its own preparation instructions: an agar-based product may need boiling and sets differently from gelatine. Do not substitute agar gram for gram.
- Small party portions – use shallow, reusable child-safe cups with spoons. Keep this a soft spooned dessert rather than firm mini-jelly sweets intended to be sucked from a container.
Adapting the recipe
Proportions: follow the packet for total liquid and calculate portions from that volume. Creamy toppings: add only after the jelly has fully set. Timing: wait until the lower layer supports the next, and cool the new liquid before pouring.
Colour and flavour ideas
- Strawberry and yoghurt: red jelly with a small creamy topping.
- Lemon and lime: alternate yellow and green jelly for a bright citrus combination.
- Pineapple and coconut: use a suitable pineapple-flavoured jelly and a little coconut yoghurt. Avoid raw pineapple in gelatine-based layers.
- Berry flavours: alternate strawberry and raspberry jelly, finishing with a few thin strawberry slices.
Storage and serving care
Keep the cups covered and refrigerated until serving, and use within 48 hours for this version. Prepare fruit to suit the children’s ages, check allergies and supervise eating.
Presentation ideas for children
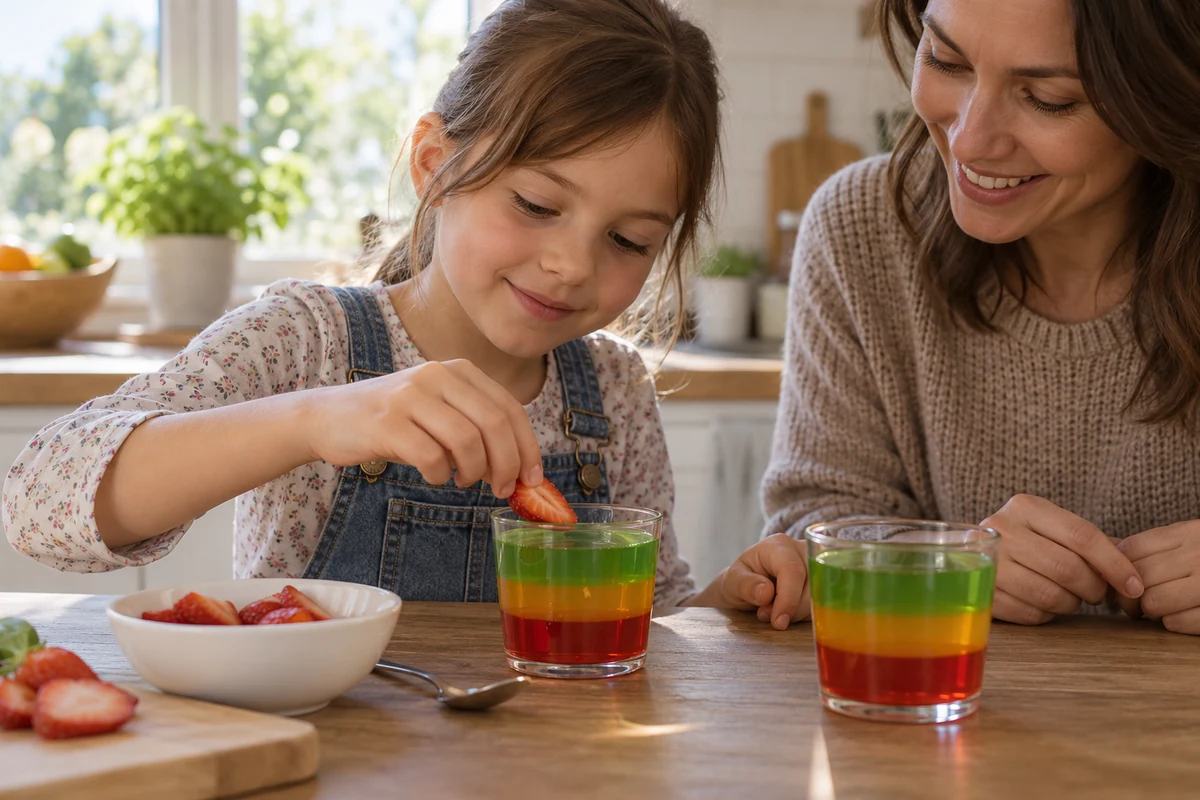
Clear reusable cups show off the colours well. Choose stable, child-safe containers rather than fragile stemmed glasses for younger children.
Simple, colourful presentation
- Rainbow layers – arrange contrasting colours in thin bands.
- Fruit toppings – finish with a thin strawberry slice or another suitable soft fruit prepared for the child’s age.
- Party themes – decorate the serving tray or cup exterior instead of putting plastic figures, pointed cocktail sticks or small umbrellas in the food.
- Creamy topping – add a spoonful of yoghurt or a suitable dairy-free alternative to soften the colour contrast.
- Individual servings – small, shallow cups are easy to serve with a spoon.
Preparing jelly with children
- Let them choose colours – picking two or three flavours can be part of the fun.
- Use a spoon for pouring – an adult can show how a cooled layer flows gently over the back of a spoon.
- Measure each layer – divide the prepared colour equally between the cups. Do not fill each cup two-thirds full with every colour.
- Keep the work area organised – set out measuring jugs, spoons and washed, prepared fruit.
- Allow setting time – keep the cups in the fridge between layers while children decorate paper place cards away from the food.
- Choose suitable tasks – children can help select flavours or add fruit to set jelly; an adult handles boiling water and hot mixtures.
Serving considerations
- Prepare fruit appropriately – quarter grapes lengthways for young children and adjust the firmness and size of other fruit to their needs. Supervise eating.
- Use suitable containers – choose stable, food-safe reusable cups that will not break easily.
- Check temperature – only involve children in handling mixtures once they are safely cool; keep hot jugs out of reach.
- Check ingredients – tell parents about milk or other allergens in toppings and check that the jelly itself meets any dietary requirements.
Transport chilled – cover the cups, place them on a rigid tray and use an insulated cool bag with ice packs for travel.
Understanding jelly ingredients and storage
Traditional gelatine-based jelly and plant-based jelly do not behave exactly alike. Checking the packet is more reliable than using the same method for every product.
Ingredient notes
- Gelatine: ordinary gelatine is derived from animal collagen, so a jelly containing it is not vegetarian or vegan.
- Colour: contrasting layers make an attractive display without needing small non-edible decorations.
- Plant-based alternatives: some use agar or other setting agents and can have a firmer, less elastic texture. Use a product intended for a spooned dessert.
- Fruit enzymes: raw pineapple, kiwi and papaya contain enzymes that can interfere with gelatine setting. This is not simply a matter of the fruit being acidic; follow the jelly maker’s fruit guidance.
Choosing and handling ingredients
- Fresh fruit: wash it well and prepare appropriate slices or pieces, removing hard pips and stones.
- Milk ingredients: yoghurt and condensed milk contain milk unless specifically plant-based. Lactose-free dairy is not suitable for a milk allergy.
- Jelly mix: follow its own liquid quantities and method, whether using tablets, crystals or a vegan mix.
- Agar products: follow the required heating method and quantity on the pack. Do not assume a gelatine recipe can use the same weight of agar.
- Clean preparation: wash hands and use clean utensils, especially when children help.
Keeping the jelly
- Temperature: keep prepared cups at 5°C or below.
- Storage time: use this fruit-topped version within 48 hours, or sooner if any ingredient requires it.
- When to discard: discard spoiled or poorly stored portions. Normal appearance and smell alone do not prove that food kept too warm is safe.
- Transport: use covered cups on a firm tray inside a cool bag with ice packs.
- Freezing: avoid freezing the finished layered cups, as thawing can damage their texture.
Quick reminders
- Cooling the mixture: a cold-water bath around the jug can help before pouring. Setting still needs patience in the fridge.
- Children’s tasks: let them choose colours or decorate set portions, while adults manage hot water.
- Small portions: use modest servings and keep spare cups refrigerated.
Enjoy your colourful jelly cups
Rainbow jelly cups make a cheerful party dessert. Correct packet measurements, thin layers and enough chilling time are the key practical steps; suitable containers and toppings make serving easier.
If you enjoyed these ideas, follow our social channels for more simple festive recipes. Thank you for reading.
Explore the I Love Christmas blog for more seasonal recipes and inspiration.
Rainbow jelly cups: frequently asked questions
Which jelly should I use for a children’s party?
Choose a product with flavours your guests enjoy and check its ingredients and dietary suitability. Tablet jelly, crystals and vegan mixes have different preparation instructions, so use the quantities on the pack.
How can I cool layers without spoiling them?
Cool the liquid in its jug before pouring, then refrigerate the cups on a level tray. Wait until each layer can support the next. Avoid freezing the cups or pouring hot liquid onto a set layer.
Can I put fresh fruit in the layers?
Use fruit allowed by your jelly maker and prepare it appropriately for the children’s ages. Raw pineapple, kiwi and papaya can stop gelatine-based jelly setting; suitable cooked or tinned fruit may be used instead.
How do I add a creamy layer?
The simplest option is a spoonful of yoghurt, optionally sweetened with condensed milk, on fully set jelly. For a separately set milk layer, use a complete recipe with a specified liquid volume and measured setting agent.
How long can I keep the jelly cups?
For this fruit-topped version, cover and refrigerate at 5°C or below and use within 48 hours. Keep them cold during transport in an insulated bag with ice packs.