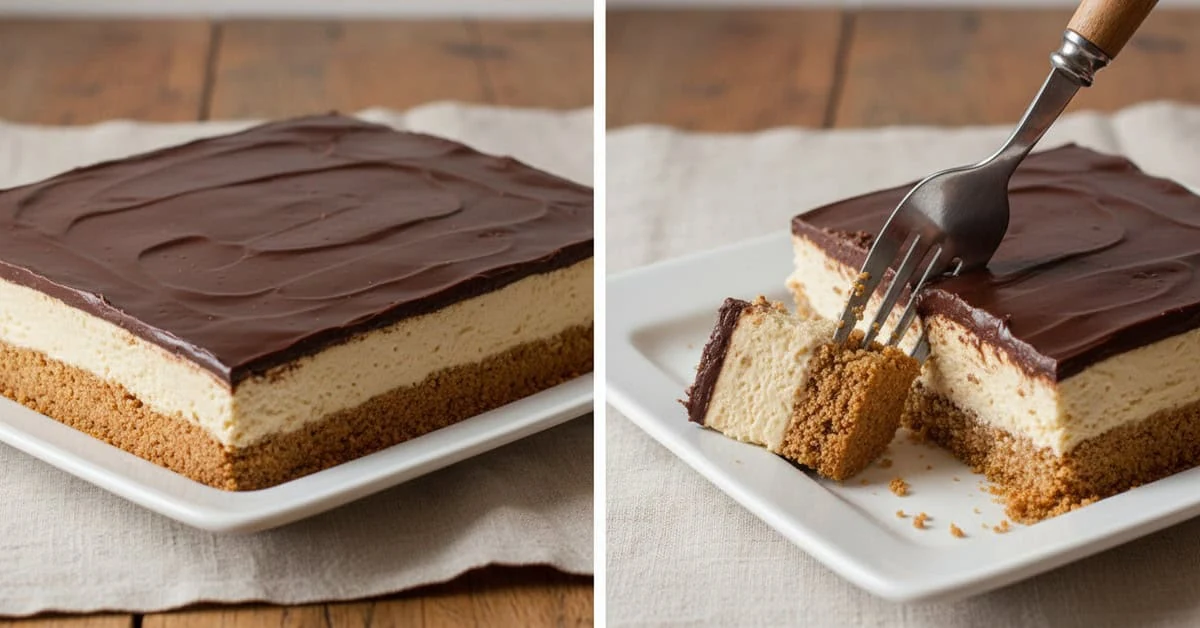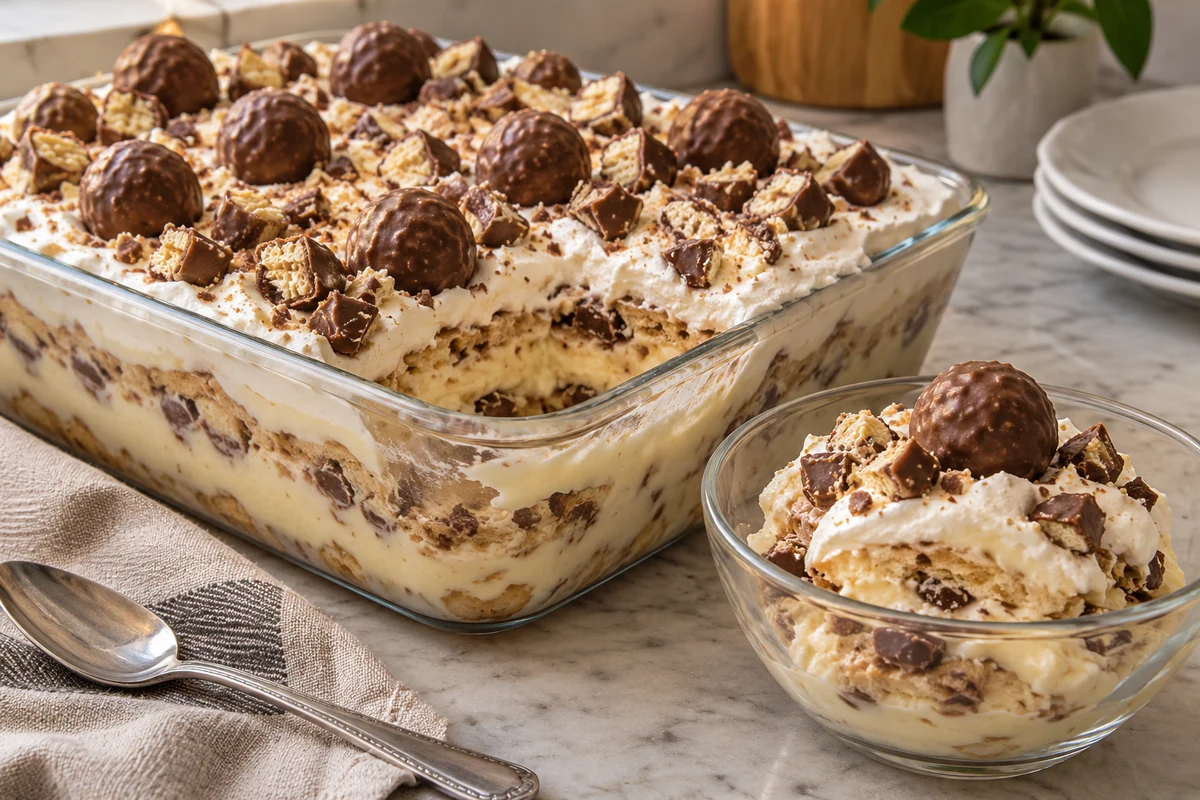
Sonho de Valsa dessert layers condensed milk custard, briefly dipped biscuits and Brazilian chocolate-coated wafer sweets in a serving dish. The biscuits soften as it chills, while sweets added just before serving provide more crunch. Use suitable alternatives for dietary adaptations.
This Sonho de Valsa dessert brings a familiar Brazilian sweet to the Christmas table. It is a creamy layered dessert rather than a baked cake, and you can use similar chocolate-coated wafer sweets if the Brazilian brand is difficult to find in the UK.
Ingredients for Sonho de Valsa dessert
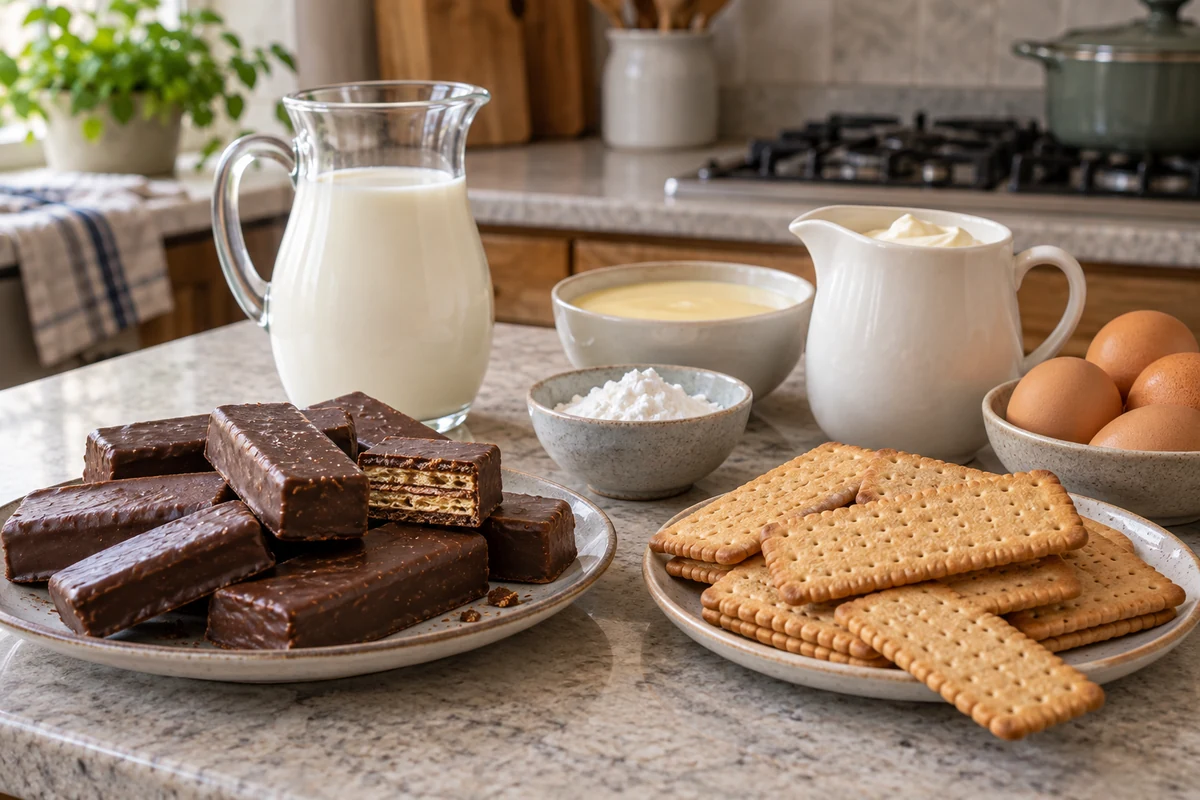
For this Sonho de Valsa dessert, prepare the following ingredients. Measure the milk rather than using a condensed milk tin as a volume guide.
- 1 tin sweetened condensed milk, about 397 g — a 395 g tin is also suitable.
- 500 ml whole milk for the custard, plus about 150 ml for dipping — keep the extra dipping milk separate; use only as much as the biscuits need.
- 30 g cornflour — roughly 3 level tablespoons, but weighing is more reliable. Plain flour is not an equivalent spoon-for-spoon substitute.
- 1 tablespoon butter, about 15 g — to finish the custard; a suitable baking spread is an alternative.
- 200 ml single or double cream — stirred into the cooked custard. Double cream gives a richer result.
- 200 g plain sweet biscuits — Brazilian Maizena-style biscuits or similar firm tea biscuits. These usually contain wheat, despite the Maizena name.
- 200 g Sonho de Valsa sweets, halved or roughly chopped — similar chocolate-coated wafer sweets are an alternative. Check the pack for nuts, peanuts, milk, wheat and other allergens.
- Up to 150 g dark chocolate shavings — divided between the layers and decoration; use less if you prefer a simpler finish.
- 120 ml whipping or double cream, before whipping — separate from the 200 ml cream for the custard. Whip to soft peaks for the top.
- A little cocoa powder, optional — for a light dusting.
- A small handful of chopped nuts, optional — or use some of the measured chocolate shavings to decorate.
How to make the layered dessert
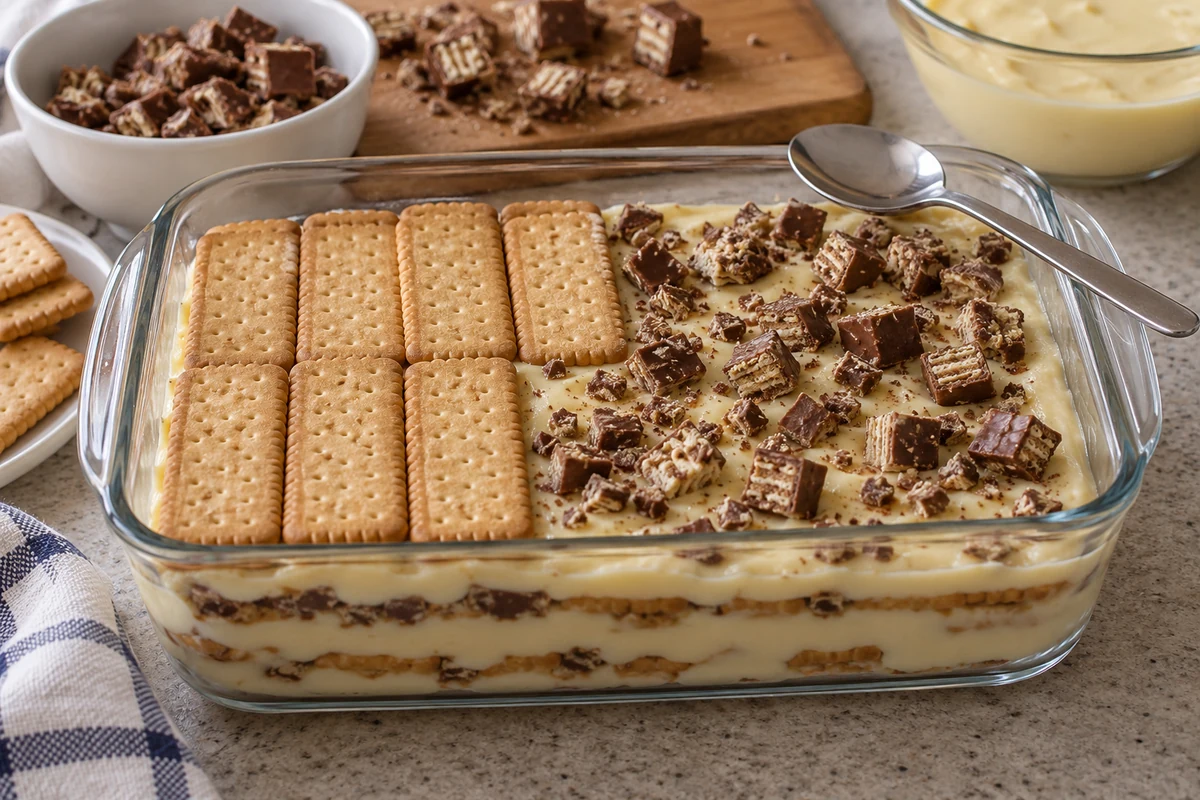
- Prepare your ingredients and equipment: have the measured ingredients, a saucepan, whisk, shallow cooling bowl and a medium serving dish ready. Chop the wafer sweets, reserving a few for decoration if you wish.
- Mix the cornflour slurry: stir 30 g cornflour into a little of the measured 500 ml cold milk until smooth.
- Cook the custard: combine the condensed milk, remaining custard milk and slurry in a saucepan. Heat over medium-low heat, stirring constantly until thickened and gently bubbling, then cook for another 1–2 minutes while stirring to cook the starch. The total time depends on your pan and heat.
- Add butter and cool: remove from the heat, stir in 15 g butter and transfer to a shallow heatproof bowl. Cool promptly, stirring occasionally; refrigerate within 1–2 hours. Use a cover or film suitable for the food’s temperature to prevent a skin.
- Add the cream: once the custard is cool, gently stir in 200 ml cream. Keep refrigerated until assembling.
- Dip the biscuits: pour about 150 ml additional milk into a shallow bowl. Dip each biscuit very briefly, about 1 second per side or less for delicate biscuits, and line the base of the serving dish. Discard leftover dipping milk.
- Make the first layer: spread half the custard over the biscuits, scatter over roughly half the chopped sweets and a little of the measured chocolate shavings.
- Repeat: add another layer of briefly dipped biscuits and the remaining custard. Scatter over the remaining sweets, keeping any reserved decorating pieces aside until serving.
- Finish the top: whip the separate 120 ml cream to soft peaks and spread over the dessert. Add a light cocoa dusting or some chocolate shavings; save crunchy decorations for serving.
- Chill: refrigerate for at least 4 hours, preferably overnight. The biscuit layers soften into a spoonable texture as the dessert rests.
- Practical tips: skimmed milk reduces fat, not sweetness. To make the dessert taste less sweet without altering its set, use darker chocolate, fewer sweet toppings and smaller portions. Avoid soaking the biscuits.
- Serve and keep chilled: take out shortly before serving and keep the remainder covered at 5°C or below. Eat within 48 hours of cooking the custard. Freezing is not recommended for the best biscuit, wafer and cream texture.
Variations on the layered dessert
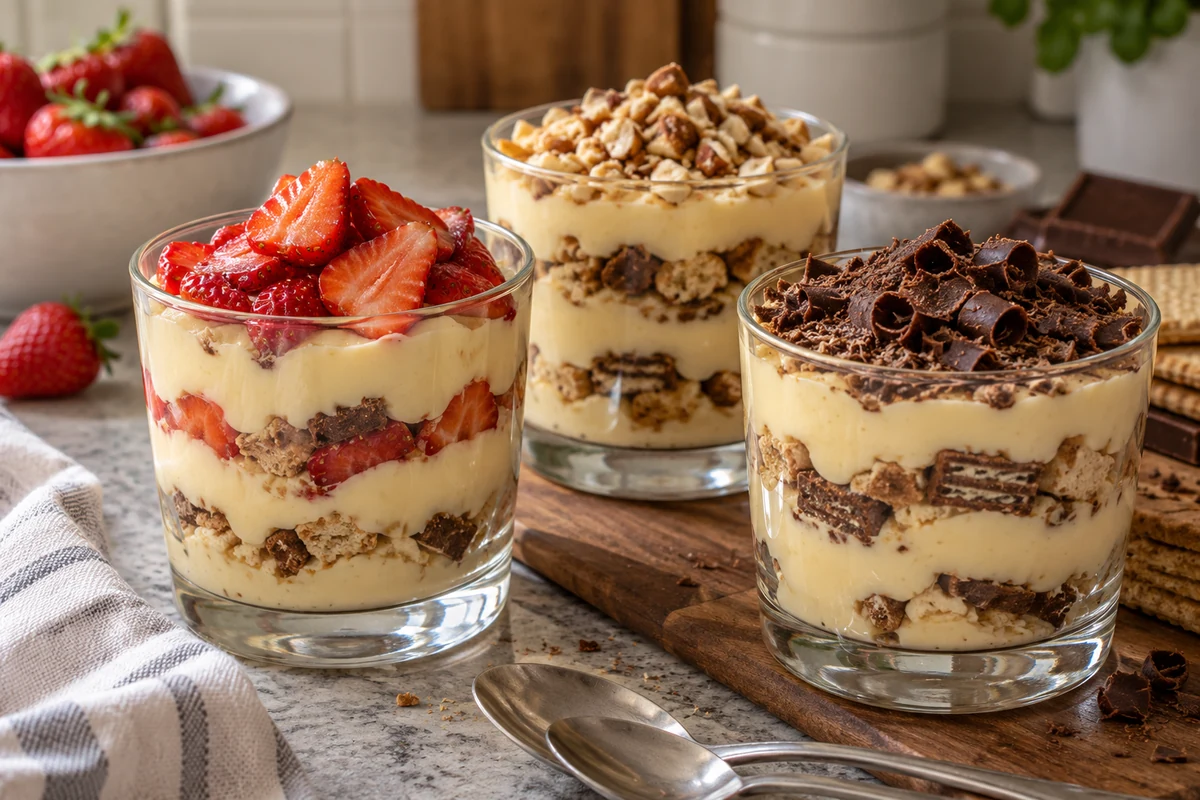
Adapt Sonho de Valsa dessert with a small change to flavour or presentation. Alternative products and additional liquids can affect the set, so avoid changing several ingredients at once.
Chocolate-hazelnut spread and strawberries
Mix up to 3 tablespoons chocolate-hazelnut spread into a portion of the cold custard, then layer with washed, dried, sliced strawberries. Use dark chocolate on top for contrast. Check nut and milk allergens in the spread.
Caramel and nuts
Add a thin layer of thick dulce de leche or cooled salted caramel between the custard and biscuits. Finish with a little chopped walnut, hazelnut or Brazil nut if suitable for your guests. Avoid a large amount of runny sauce, which can make the layers soggy.
A deeper chocolate flavour
Stir about 50 g additional chopped dark chocolate into the hot cooked custard until melted, then cool as usual. Keep the original milk quantity rather than replacing it with an undefined ‘chocolate cream’. This adds richness and does not necessarily reduce the dessert’s sugar content.
Less rich options
Semi-skimmed milk and a thinner whipped-cream topping make a less rich version. A reduced-fat condensed milk can still contain plenty of sugar. Cutting the condensed milk substantially changes the balance, so test that separately rather than assuming an identical texture.
Dairy-free or vegan adaptation
Use suitable plant-based condensed milk, milk drink, cream and whipping topping, and replace the butter with a plant-based alternative. Check the biscuits, chocolate and sweets too; the standard Sonho de Valsa product should not be assumed vegan. Product differences may affect thickness.
Individual festive portions
Layer into clear dessert glasses or small dishes for easy serving. Finish with edible decorations such as mint, chocolate curls or food-grade sprinkles. Keep all portions refrigerated until needed.
Tips for every version
- Dip biscuits briefly rather than soaking them; they will continue to absorb moisture from the custard.
- For a sharper contrast, serve tart fruit alongside or add a little lemon zest. Lemon juice can change a dairy custard’s texture, so do not pour it in to fix sweetness.
- Allow at least 4 hours in the fridge, preferably overnight, for the layers to settle.
- Add crunchy nuts and reserved wafer sweets close to serving time to retain more bite.
Assembling and presenting the dish

Aim for even layers and a mix of creamy and crunchy textures. Brief dipping prevents sogginess, but the biscuit layers are meant to soften as the dessert chills.
Assembly sequence
- An even base: arrange briefly dipped biscuits across the bottom, breaking a few to fill gaps if necessary.
- First custard layer: spread half the cold custard evenly with a spatula.
- Add wafer sweets: scatter chopped or halved sweets over the custard so they are distributed through the servings.
- Repeat the layers: add the remaining biscuits, custard and sweets, saving any decorating pieces before you start.
- Whipped-cream finish: spread or pipe the soft whipped cream over the top.
Finishing touches
- Chocolate shavings: dark chocolate contrasts with the sweet custard; use part of the quantity already measured.
- Wafer sweets on top: add the reserved pieces just before serving, cutting larger sweets into manageable pieces.
- A festive touch: use clean edible mint or a small sprig of culinary rosemary if desired. Keep pine, holly and other decorative foliage away from the food.
- Crunch: scatter nuts or biscuit crumbs on top at the last moment if you want them to stay crisp.
- Sprinkles: use food-grade decorations sparingly and check their suitability for your guests.
Serving at the table
Place the dish on a stable tray for carrying, or use individual glasses to show the layers. Serve chilled; a few minutes out of the fridge is enough if you want it slightly softer.
Storage and transport
- Keep covered at 5°C or below and eat within 48 hours of cooking the custard, or sooner if an ingredient requires it.
- Transport level in an insulated carrier with frozen gel packs. Use ordinary food-safe cold packs rather than loose dry ice around the dessert.
- For the best texture, avoid freezing the assembled whipped cream and wafer layers.
Quick reminders
- Dip biscuits only briefly in the separate milk and discard any dipping milk left afterwards.
- For a decorative finish, pipe small cream swirls and add coarse chocolate curls.
- A tiny pinch of salt or a little lemon zest can balance the flavour, but neither removes sugar from the dessert.
Christmas portions and ingredient swaps
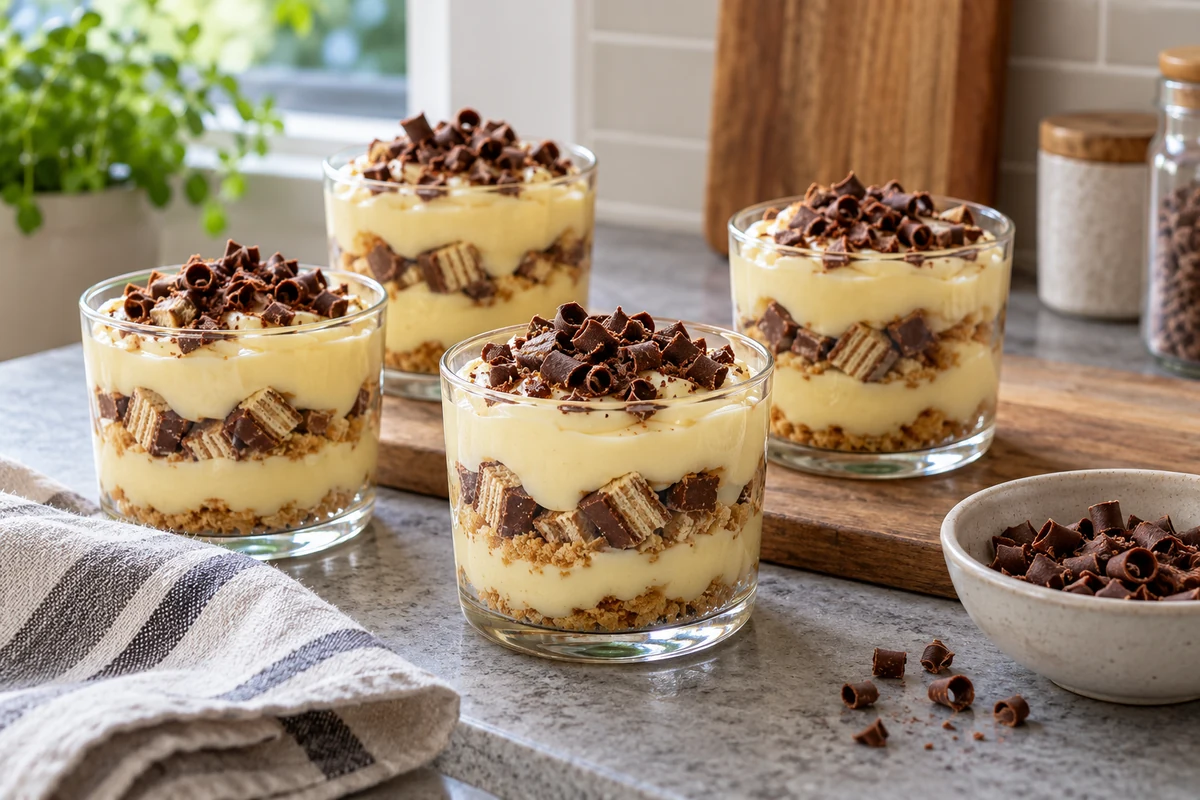
Yield
A medium dish of about 20 × 30 cm makes roughly 10–12 generous portions, or more small servings. Yield depends on dish depth, toppings and the size of the portions you serve.
Scaling the recipe
- Standard batch: use the complete ingredient list above, including 500 ml custard milk, separate dipping milk, 30 g cornflour, 200 ml custard cream and 120 ml whipping cream for the top.
- For about 20–24 portions: double every ingredient and assemble in two dishes. Cook the custard in manageable batches rather than assuming twice the quantity takes the same time.
- For about 5–6 portions: halve every ingredient and use a smaller dish; weigh half the condensed milk and cornflour for consistency.
Practical substitutions
- Less sweet in flavour: reduce sweet decorations, choose darker chocolate and serve smaller portions with tart fruit. A ‘light’ label alone does not establish a lower sugar content.
- Lactose-free: check the milk, condensed milk, butter, creams, biscuits, sweets and chocolate. A lactose-free dairy product still contains milk proteins and is not suitable for a milk allergy.
- Vegan: replace every animal-derived ingredient, including the butter and whipping topping, and use explicitly suitable biscuits and sweets.
- Gluten-free: use gluten-free biscuits and verify the wafer sweets, chocolate, starch and toppings too. Replacing only the biscuits is not enough if the sweets contain wheat.
- Scaling the thickener: keep the same cornflour-to-custard ratio when doubling or halving. Do not add an arbitrary extra spoon for each tin.
- Alternatives to Sonho de Valsa: similar chocolate-coated wafer sweets give the closest crunch. Truffles or filled chocolate pieces work differently and produce a softer variation.
- Butter: a suitable unsalted plant-based alternative can replace the 15 g finishing butter.
Flavour adjustments
- Balancing sweetness: use lemon zest or a small pinch of salt for contrast, without adding lots of extra liquid.
- A bitter chocolate note: choose dark chocolate shavings and a thin cream topping.
- Optional liqueur: add 1–2 tablespoons cocoa or hazelnut liqueur across the whole dessert only for an adults-only version. It remains alcoholic because it is not cooked; label and serve it accordingly.
Individual portions for parties
- Dessert glasses: a 200 ml glass can hold a generous portion; leave room at the top for decoration.
- Tasting portions: 100–120 ml glasses suit a dessert buffet with several choices.
- Prepare ahead: assemble up to a day ahead and refrigerate covered, keeping within the custard’s total 48-hour storage period.
Transport and keeping quality
- Transport: secure the dish level in a cool carrier with ice packs so the cream remains cold.
- Storage: keep covered at 5°C or below for up to 48 hours from cooking the custard. Refrigeration is preferable to freezing for this texture.
- Last-minute decoration: add nuts, wafer sweets and chocolate shavings shortly before serving.
About Sonho de Valsa and the dessert’s ingredients

Sonho de Valsa is a familiar Brazilian confection used both on its own and in layered desserts. Keep the brand name rather than translating it as if it were a generic ingredient.
A Brazilian point of reference
The sweet is associated with gifts and celebrations in Brazil. For readers elsewhere, a chocolate-coated wafer sweet is the most useful description when looking for a substitute; the precise filling and allergens depend on the product.
What each ingredient contributes
- Creamy sweet filling: the filling inside the wafer sweets adds a different texture to the milk custard.
- Chocolate coating: a sweet coating contrasts with darker chocolate shavings used in the assembled dessert.
- Biscuit layers: plain sweet biscuits give structure, then soften as they absorb moisture from the custard.
- Condensed milk and cream: these make the filling rich and smooth; the cornflour supplies the cooked thickening needed for layering.
Why a serving dish works well
A clear dish shows the different layers, and chopped sweets distribute through the dessert more evenly than a few whole pieces. Serve with a spoon rather than expecting the structure of a baked cake.
Useful serving details
- Reserve a few chopped wafer sweets for the top if you want more crunch; those inside the custard will soften.
- Add nuts and decorative crumbs close to serving time.
- Keep the cream and filling covered and refrigerated until needed.
Accompaniments and occasions
Coffee, tea or tart fresh berries provide a contrast to the sweetness. At Christmas, Sonho de Valsa gives the dessert a recognisably Brazilian character; offer suitable alternatives for guests with dietary restrictions.
Sonho de Valsa dessert combines a few straightforward layers into a creamy Christmas treat. Prepare the custard carefully, dip the biscuits briefly and allow enough time for chilling.
Use the portion and ingredient notes to plan your version. Dietary adaptations need changes throughout the recipe, and no-bake assembly still requires proper refrigerated storage.
Thank you for following the recipe. Find more festive ideas on our social channels and the I Love Christmas blog. Share a photograph or let us know how your dessert turned out.
FAQ: Sonho de Valsa dessert
What are the main ingredients?
Condensed milk, measured milk, cornflour, butter, cream, plain sweet biscuits and chocolate-coated wafer sweets, with a separate whipped-cream topping. Similar wafer sweets can replace Sonho de Valsa if needed.
How should I store it, and for how long?
Keep covered at 5°C or below and eat within 48 hours of making the custard. Return leftovers promptly and do not leave it out for more than 2 hours. Freezing is not recommended for the best texture.
How can I make it taste less sweet?
Use darker chocolate, fewer sweet decorations and smaller portions with tart fruit. Skimmed milk reduces fat rather than sugar, and reducing condensed milk substantially changes the custard’s balance.
Can I make a vegan or dairy-free version?
Yes, using suitable replacements for the condensed milk, milk, butter, custard cream, whipping topping, biscuits, chocolate and sweets. Check every label; a single dairy-free substitution does not make the whole dessert suitable.
How do I stop the biscuits becoming soggy?
Dip very briefly rather than soaking, and assemble with cold custard. The biscuits will soften during chilling, which is intended; add crisp wafer pieces on top near serving time if you want more crunch.
How many portions does it make?
A dish of about 20 × 30 cm gives roughly 10–12 generous portions or more small ones. Double the full recipe for two dishes, or halve it for a smaller batch. Individual 100–200 ml glasses work well depending on serving size.
Sources and Further Reading
- Food Standards Agency: chilling, freezing and defrosting food safely
- Food Standards Agency: cooking food safely